1. Introduction
This manual provides essential information for the installation, operation, and maintenance of your ENEVABAGB LED Backlight Strip. This product is designed as a replacement part for various Hisense 65-inch television models. Please read these instructions carefully before proceeding with installation to ensure proper function and safety.
Compatible TV Models: LB6507M V0, 65H6570F, 65H6510G, H65B7100, H65B7300, HD650V1U72-T0L1, HE659XH, HD650V1U71-T0L1B, HD650S1U81-K1+2019052801, H65B7100UK, H65B7300UK, H65B7100IL.
2. Safety Information
WARNING: Television repair, especially involving internal components, can be dangerous and should only be performed by qualified technicians. Incorrect installation can lead to electric shock, fire, or damage to the television.
- Always disconnect the television from the main power supply before beginning any repair work.
- Discharge any residual power in the television's capacitors before touching internal components.
- Wear anti-static gloves and use appropriate tools to prevent electrostatic discharge (ESD) damage to sensitive electronic components.
- Handle LED strips carefully to avoid bending or damaging the LEDs or circuit board.
- Ensure all connections are secure and correctly aligned before reassembling the television.
- Keep the product dry and away from moisture.
3. Package Contents
Verify that all components are present and undamaged upon opening the package.
- 1 set = 10 pcs LED Strip (Model: LB6507M V0)
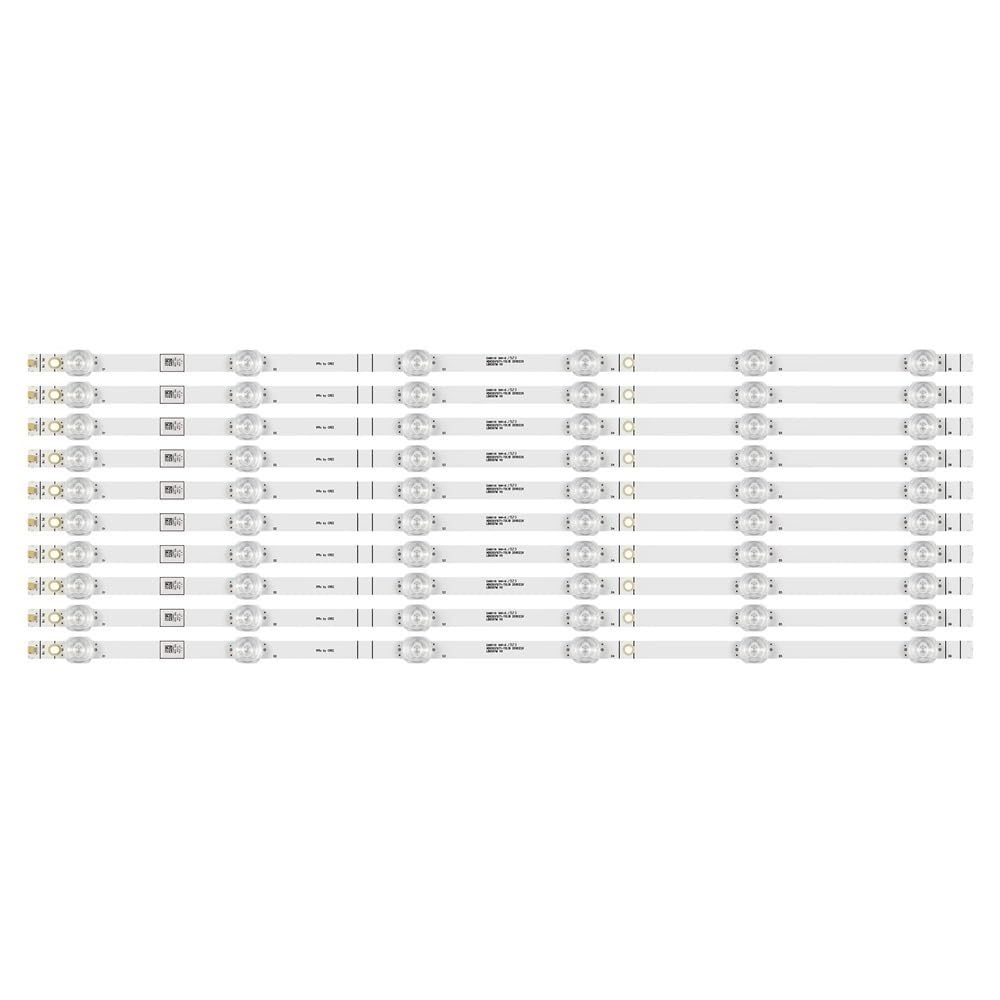
Image 1: Overview of the ENEVABAGB LED Backlight Strip set. Each strip measures 611mm in length and features 6 individual LED beads, operating at 3V per lamp.
4. Setup and Installation
The installation of LED backlight strips requires careful disassembly and reassembly of the television. It is highly recommended that this procedure be performed by a professional TV repair technician.
General Installation Steps (Consult TV Service Manual for Specifics):
- Preparation: Place the TV face down on a soft, clean surface to prevent screen damage. Disconnect all cables and power.
- Disassembly: Carefully remove the TV's back cover, stand, and any internal components (e.g., main board, power supply board, speakers) that obstruct access to the display panel.
- Panel Removal: With extreme caution, remove the LCD panel and diffuser layers. These components are fragile and easily damaged. Note the order and orientation of all layers.
- Old Strip Removal: Locate the existing LED backlight strips. Disconnect their power connectors and gently peel them off the TV chassis. Note their placement.
- New Strip Installation: Align the new ENEVABAGB LED backlight strips in the exact positions of the old ones. Ensure proper contact with any thermal pads or adhesive. Connect the power cables securely.
- Testing: Before full reassembly, temporarily connect the TV to power and test the new backlights to ensure they illuminate correctly and evenly. Disconnect power after testing.
- Reassembly: Carefully reassemble the diffuser layers, LCD panel, and all other TV components in reverse order of disassembly. Ensure no dust or debris is trapped between layers.
- Final Check: Once fully reassembled, connect the TV to power and test its full functionality.

Image 2: An angled view showcasing the individual LED backlight strips, highlighting their design and arrangement.

Image 3: A detailed close-up of the LED backlight strips, illustrating the placement of individual LEDs and the circuit board markings.
5. Operating Instructions
The ENEVABAGB LED Backlight Strip functions automatically with your television's power system. Once correctly installed, the backlights will illuminate when the TV is powered on and turn off when the TV is powered off or enters standby mode. No user intervention is required for their operation.
6. Maintenance
LED backlight strips are designed for long-term, maintenance-free operation once installed. To ensure their longevity:
- Avoid exposing the television to extreme temperatures or humidity.
- Do not attempt to clean the internal LED strips directly. If the TV requires internal cleaning, consult a professional.
- Ensure adequate ventilation for the television to prevent overheating, which can reduce the lifespan of LED components.
7. Troubleshooting
If you experience issues after installing the LED backlight strips, consider the following common problems and solutions:
| Problem | Possible Cause | Solution |
|---|---|---|
| No backlight / Dark screen | Loose connection, faulty strip, power supply issue, main board issue. | Check all strip connections. Verify power supply board output. If unsure, consult a technician. |
| Flickering backlight | Loose connection, faulty strip, power supply instability. | Ensure all connections are secure. Test individual strips if possible. |
| Uneven brightness / Dark spots | Damaged LED, improperly seated diffuser, dust/debris. | Carefully re-check diffuser placement. Inspect strips for damaged LEDs. |
| TV not turning on after installation | Incorrect reassembly, short circuit, component damage during installation. | Double-check all internal connections and ensure no screws are misplaced. Re-verify all steps. Seek professional help. |
8. Specifications
- Brand: ENEVABAGB
- Model Number (Strip): LB6507M V0 (Also compatible with HD650S1U81-K1+2019052801)
- Length per Strip: 611mm
- Number of LED Beads per Strip: 6
- Voltage per LED Lamp: 3 V
- Package Includes: 1 set = 10 pcs LED Strip
- Light Source Type: LED
- Power Source: DC Power Supply (from TV)
- Indoor/Outdoor Usage: Indoor only
- Item Weight (Total): Approximately 50 Grams (1.76 ounces)

Image 4: A close-up view of the connector end of an LED backlight strip, showing the electrical contacts.

Image 5: Detailed view of the individual LED components and identification markings printed on the strip.
9. Warranty and Support
For warranty information or technical support regarding your ENEVABAGB LED Backlight Strip, please contact the seller directly through the platform where the purchase was made. Provide your order number and a detailed description of the issue for prompt assistance.