1. Introduction
Thank you for choosing the Newsoul 23.8-inch QLED Portable Monitor. This monitor combines a large display size with advanced IPS LCD technology, offering a superior visual experience for work, gaming, and entertainment. Its portable design and versatile connectivity make it an ideal solution for expanding your workspace or enjoying media on the go. This manual provides detailed instructions for setting up, operating, and maintaining your new monitor.
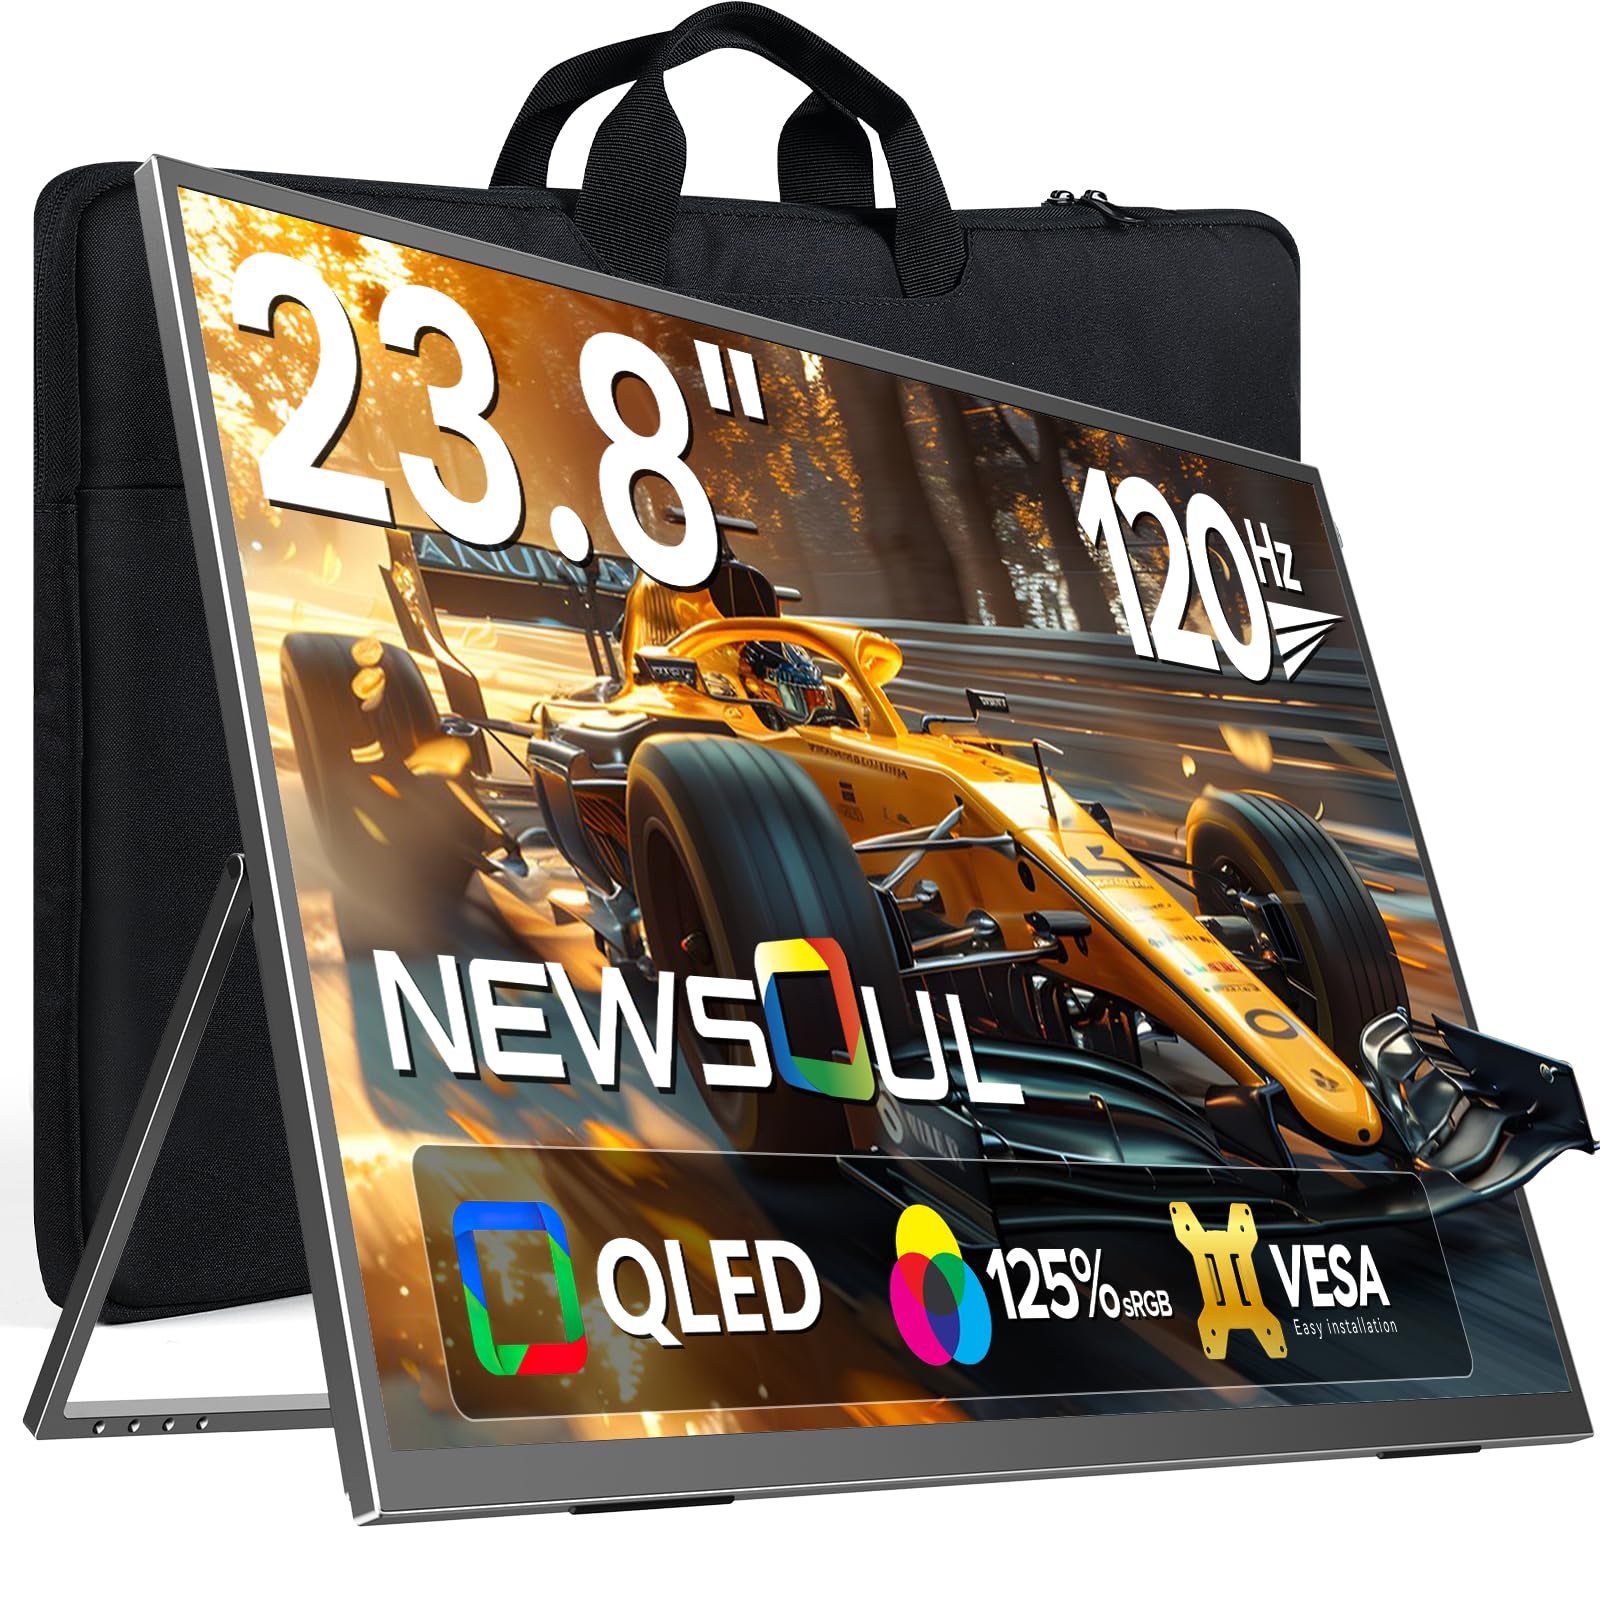
Image: Newsoul 23.8-inch QLED Portable Monitor in use.
2. Safety Information
Please read and follow these safety guidelines to ensure safe operation and prolong the life of your monitor:
- Do not expose the monitor to rain, moisture, or extreme temperatures.
- Avoid placing the monitor near heat sources or in direct sunlight.
- Use only the power adapter and cables provided by the manufacturer.
- Do not attempt to disassemble or repair the monitor yourself. Refer all servicing to qualified personnel.
- Keep the monitor away from strong magnetic fields.
- Clean the screen with a soft, lint-free cloth. Avoid using harsh chemicals or abrasive cleaners.
3. Package Contents
Verify that all items are present in your package:
- Newsoul 23.8-inch QLED Portable Monitor
- USB Type-C to Type-C Cable
- HDMI to Mini HDMI Cable
- Power Adapter (PD30W recommended for full functionality)
- User Manual (this document)
4. Product Overview
4.1. Key Features
- 23.8-inch QLED Display: Experience vibrant colors and high contrast with 125% sRGB color gamut and 400 Nits brightness.
- 120Hz High Refresh Rate: Enjoy smooth visuals and reduced ghosting, ideal for gaming and fast-paced content.
- Full HD (1920x1080) Resolution: Crisp and clear images for all your tasks.
- Integrated 180° Adjustable Stand: Offers flexible viewing angles in both landscape and portrait modes.
- VESA Mount Compatible: Standard 75x75mm VESA holes for alternative mounting options.
- Versatile Connectivity: Features USB Type-C (full-featured) and HDMI ports for wide compatibility with various devices.
- Anti-Glare Matte Screen: Reduces reflections and eye strain for comfortable viewing.
- Slim and Lightweight Design: Easy to carry and store, enhancing productivity anywhere.
4.2. Monitor Components

Image: Overview of monitor ports and control buttons.
- Left Side Ports: Power & Return Button, Menu & Confirm Button, '+' Button (Brightness/Volume Up), '-' Button (Brightness/Volume Down), Headphone Jack.
- Right Side Ports: Mini HDMI, USB Type-C (full-featured), DC Power Input.
- Integrated Stand: Adjustable from 0-180 degrees.
- VESA Mounting Holes: 75x75mm standard.
5. Setup
5.1. Using the Integrated Stand
The monitor features an integrated stand that allows for flexible positioning. Simply unfold the stand from the back of the monitor to your desired angle (0-180 degrees). The stand is designed for stability in both landscape and portrait orientations.

Image: The monitor's integrated stand allows for versatile positioning compared to traditional monitors.
5.2. VESA Mounting
For alternative mounting solutions, the monitor is equipped with standard 75x75mm VESA mounting holes. This allows you to attach it to a monitor arm or wall mount (sold separately).
- Ensure the VESA mount is compatible with 75x75mm hole patterns.
- Use M4x5mm screws for mounting.

Image: The monitor features 75x75mm VESA mounting holes for flexible installation.
5.3. Connecting to Devices
The monitor supports various devices via USB Type-C and HDMI connections.
5.3.1. USB Type-C Connection (Laptop/Smartphone)
For devices with a full-featured USB Type-C 3.1 or Thunderbolt 3/4 port, a single USB Type-C cable can transmit both video signal and power.
- Connect the DC power supply to power the monitor before use (if your device cannot provide sufficient power).
- Use the provided USB Type-C to Type-C cable to connect your laptop or smartphone to the monitor's USB Type-C port.
Note: For stable operation, especially with older MacBooks or if power is insufficient, use the provided PD30W power adapter. Ensure your device's Type-C port supports full functionality (video output and power delivery).

Image: Simple USB-C connection for laptops, providing both power and signal.

Image: Connect your smartphone via USB-C for a larger display experience.
5.3.2. HDMI Connection (PC/Gaming Console)
Use the provided HDMI to Mini HDMI cable to connect to devices like PCs, PS4/PS5, Xbox, or Nintendo Switch.
- Connect the DC power supply to the monitor.
- Connect one end of the HDMI to Mini HDMI cable to your device's HDMI output and the other end to the monitor's Mini HDMI input.
Note: Nintendo Switch requires HDMI connection (USB-C is not supported for video output directly from Switch).

Image: Connect gaming consoles like PS4/PS5, Xbox, or Switch via HDMI for an immersive gaming experience.
6. Operating the Monitor
6.1. Power On/Off and Basic Controls
- Power On/Off: Press and hold the Power & Return button for a few seconds.
- Brightness Adjustment: Use the '+' and '-' buttons to adjust screen brightness.
- Volume Adjustment: Use the '+' and '-' buttons to adjust speaker volume.
6.2. On-Screen Display (OSD) Menu
Press the Menu & Confirm button to access the OSD menu. Use the '+' and '-' buttons to navigate and the Menu & Confirm button to select options.
- Input Source: Select between USB Type-C and HDMI inputs.
- Picture Settings: Adjust brightness, contrast, color temperature, and aspect ratio.
- Audio Settings: Adjust volume and mute.
- OSD Settings: Adjust OSD language, transparency, and timeout.
- Advanced Settings: Enable/disable features like FreeSync and HDR.

Image: Adjusting HDR settings through the OSD menu for enhanced visual quality.
6.3. Portrait/Landscape Mode
The monitor supports both landscape and portrait orientations. To switch modes, physically rotate the monitor and then manually adjust the display settings on your connected device (PC, laptop, etc.) to match the new orientation. The monitor does not automatically detect rotation.
6.4. FreeSync Technology
This monitor supports FreeSync technology, which synchronizes the monitor's refresh rate with your graphics card's frame rate to reduce screen tearing and stuttering, providing a smoother gaming experience. Enable FreeSync in the monitor's OSD menu and your graphics card settings.
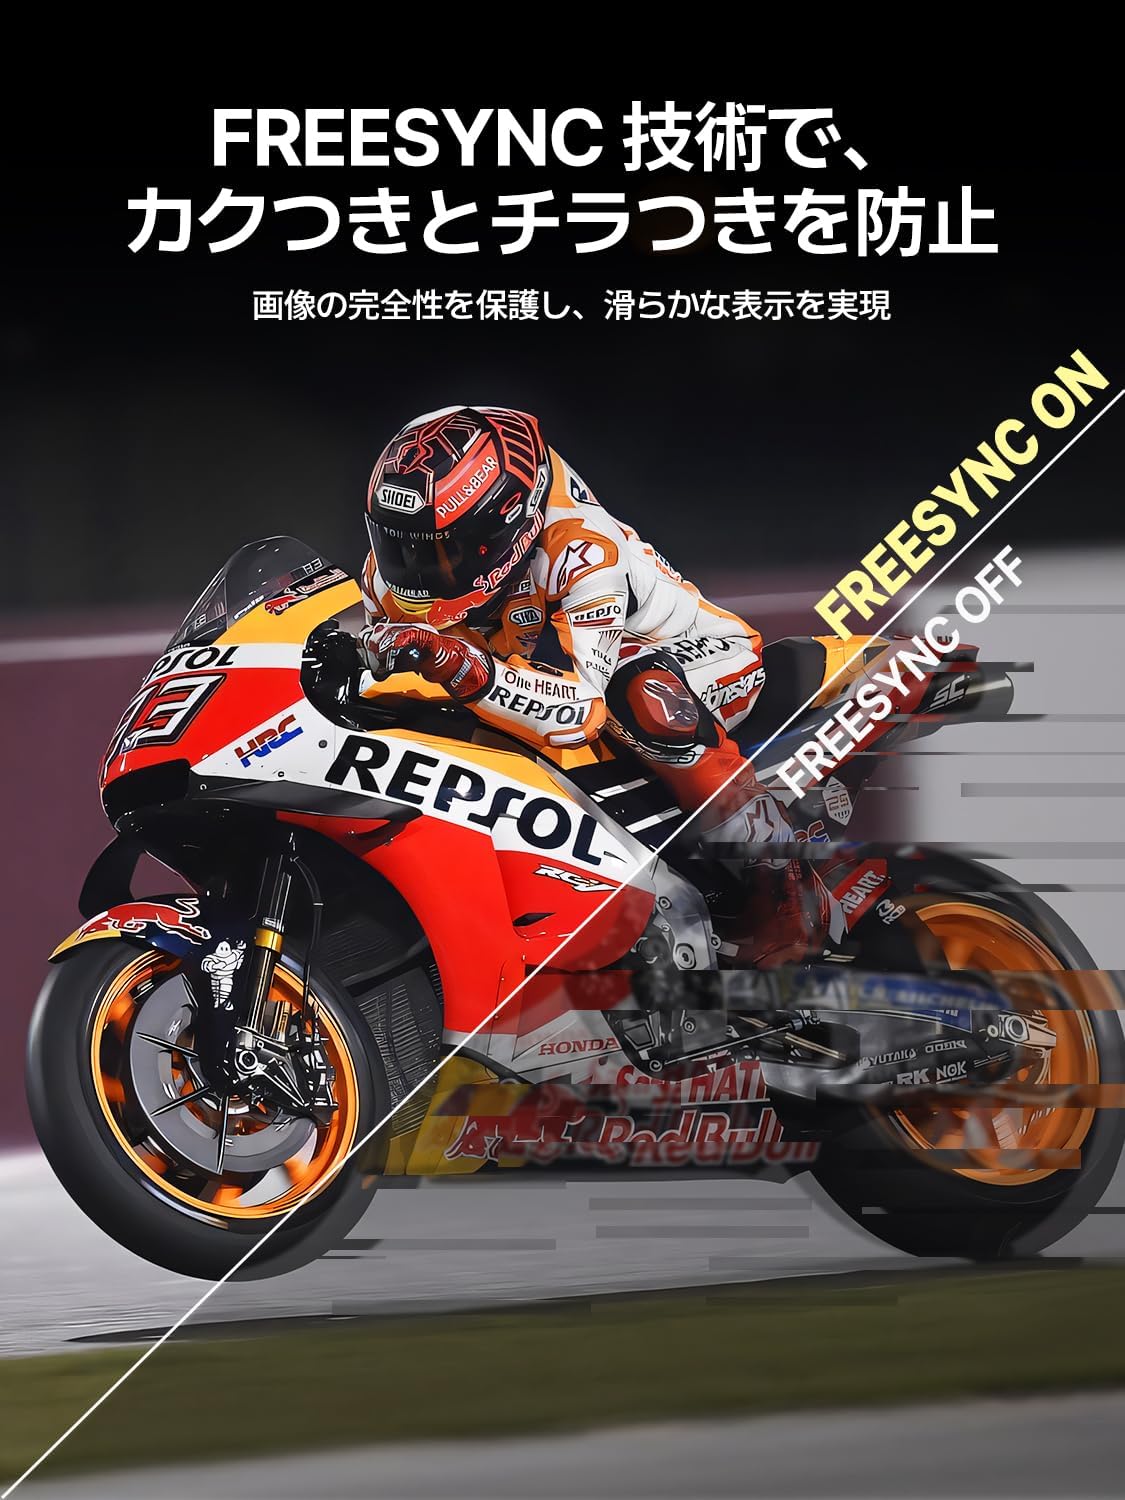
Image: FreeSync technology prevents screen tearing and flickering for a smooth display.
7. Maintenance
7.1. Cleaning the Monitor
- Always unplug the monitor before cleaning.
- Use a soft, lint-free cloth slightly dampened with water or a mild, non-abrasive screen cleaner.
- Do not spray cleaner directly onto the screen.
- Avoid using alcohol, ammonia, or abrasive cleaners, as they can damage the screen surface.
7.2. Storage
When not in use for extended periods, store the monitor in a cool, dry place, preferably in its original packaging or a protective case, to prevent dust accumulation and damage.
8. Troubleshooting
If you encounter issues with your monitor, please refer to the following common problems and solutions:
| Problem | Possible Cause | Solution |
|---|---|---|
| No power | Power cable not connected or faulty adapter. | Ensure power adapter is securely connected. Try a different power outlet. |
| No signal | Incorrect input source selected or faulty cable. | Check cable connections. Select the correct input source in the OSD menu. Ensure your device is outputting video. |
| Screen flickering | Insufficient power, faulty cable, or incompatible refresh rate. | Ensure sufficient power (use PD30W adapter). Try a different cable. Adjust refresh rate on your device. |
| Image distorted/incorrect colors | Cable issue, display settings. | Try a different cable. Reset display settings in the OSD menu. Update graphics drivers on your device. |
| No audio | Volume too low, muted, or incorrect audio output selected on device. | Increase monitor volume. Check audio output settings on your connected device. |
9. Specifications
| Feature | Detail |
|---|---|
| Brand | Newsoul |
| Model Number | 238PM |
| Screen Size | 23.8 inches |
| Resolution | 1920 x 1080 (Full HD) |
| Aspect Ratio | 16:9 |
| Refresh Rate | 120 Hz |
| Response Time | 1 ms |
| Panel Type | IPS LCD (QLED technology) |
| Color Gamut | 125% sRGB |
| VESA Compatibility | 75x75mm |
| Connectivity | USB Type-C (full-featured), Mini HDMI, 3.5mm Audio Jack, DC Power Input |
| Product Dimensions | 0.58 x 53.34 x 50.29 cm (0.23 x 21 x 19.8 inches) |
| Product Weight | 2.9 kg (6.4 lbs) |
10. Product Videos
Newsoul 23.8-inch 120Hz QLED Portable Monitor Overview
Video: This video provides a comprehensive overview of the EVICIV QLED 23.8-inch 120Hz portable monitor, showcasing its features and applications.
UPERFECT 23.8-inch Large Portable Monitor
Video: This video highlights the UPERFECT 23.8-inch large portable monitor, demonstrating its size comparison, portability, adjustable stand, and gaming capabilities.
23.8-inch Portable Monitor Features
Video: This video showcases various features of a 23.8-inch portable monitor, including its stand, connectivity, and usage scenarios.
23.8-inch Large Screen Mobile Monitor
Video: This video demonstrates the large screen capabilities of a 23.8-inch mobile monitor, highlighting its use for various tasks and entertainment.
11. Warranty and Support
11.1. Warranty Information
The Newsoul 23.8-inch QLED Portable Monitor comes with a one-year quality guarantee from the date of purchase. This warranty covers manufacturing defects and malfunctions under normal use. It does not cover damage caused by misuse, accidents, unauthorized modifications, or natural disasters.
11.2. Customer Support
For any questions, concerns, or technical assistance, please contact our customer support team. We offer 24-hour support to ensure your satisfaction.
- Email: supportjp@newsoul.store
- Please provide your product model number (238PM) and a detailed description of your issue when contacting support.