RQG DMX-384B
RQG 384 Channel DMX512 Controller User Manual
Model: DMX-384B
1. Introduction
Thank you for choosing the RQG 384 Channel DMX512 Controller. This intelligent lighting console is designed to provide extensive and precise control over various DMX lighting effects, making it ideal for DJ lights, bar setups, nightclubs, and stage lighting applications. This manual will guide you through the setup, operation, and maintenance of your DMX controller to ensure optimal performance and an impressive visual experience.
Please read this manual thoroughly before operating the device and keep it for future reference.
2. Product Overview
2.1 Key Features
- 384-Channel DMX Control: Offers extensive control over lighting effects, allowing for precise and synchronized stage lighting.
- Programmable Scenes: Supports 30 banks x 8 scenes, enabling users to create diverse and dynamic lighting arrangements.
- Wide Compatibility: Works with all 3-pin DMX cables and is applicable to various moving head lights, LED strips, PAR cans, spotlights, floodlights, strobe lights, fog machines, color changers, and other DMX512 lighting fixtures.
- Versatile Application: Ideal for editing and controlling live lighting shows in stages, theaters, concerts, bars, nightclubs, large events, and restaurants.
- User-Friendly Design: Lightweight, compact, and reliable with gel handles to prevent scratches. Equipped with a gooseneck LED light for seamless operation in low-light conditions.
2.2 Package Contents
Please verify that all items are present in the package:
- 1 x DJ DMX Light Controller (Model: DMX-384B)
- 1 x Power Adapter
- 1 x USB Gooseneck LED Light
- 1 x User Manual

Figure 2.2.1: Contents of the package including the DMX controller, power adapter, and gooseneck LED light.
3. Setup
Follow these steps to set up your DMX controller:
3.1 Connecting Power
- Locate the DC INPUT port on the rear panel of the controller.
- Connect the provided power adapter to the DC INPUT port.
- Plug the power adapter into a suitable AC 110-240V, 50-60Hz power outlet.
- Press the POWER button on the rear panel to turn on the controller.
3.2 DMX Connections
The controller uses standard 3-pin DMX cables for connecting to lighting fixtures.
- Connect one end of a 3-pin DMX cable to the DMX512 OUTPUT port on the rear panel of the controller.
- Connect the other end of the DMX cable to the DMX INPUT of your first DMX lighting fixture.
- For multiple fixtures, daisy-chain them by connecting the DMX OUTPUT of the first fixture to the DMX INPUT of the next, and so on. Ensure the last fixture in the chain has a DMX terminator if recommended by the fixture manufacturer.
3.3 Connecting the Gooseneck LED Light
The included USB Gooseneck LED Light provides illumination for the control panel in dark environments.
- Insert the USB connector of the gooseneck LED light into the LAMP USB port on the rear panel of the controller.
- Adjust the flexible neck to direct the light as needed.

Figure 3.3.1: Rear panel connections of the DMX-384B controller.
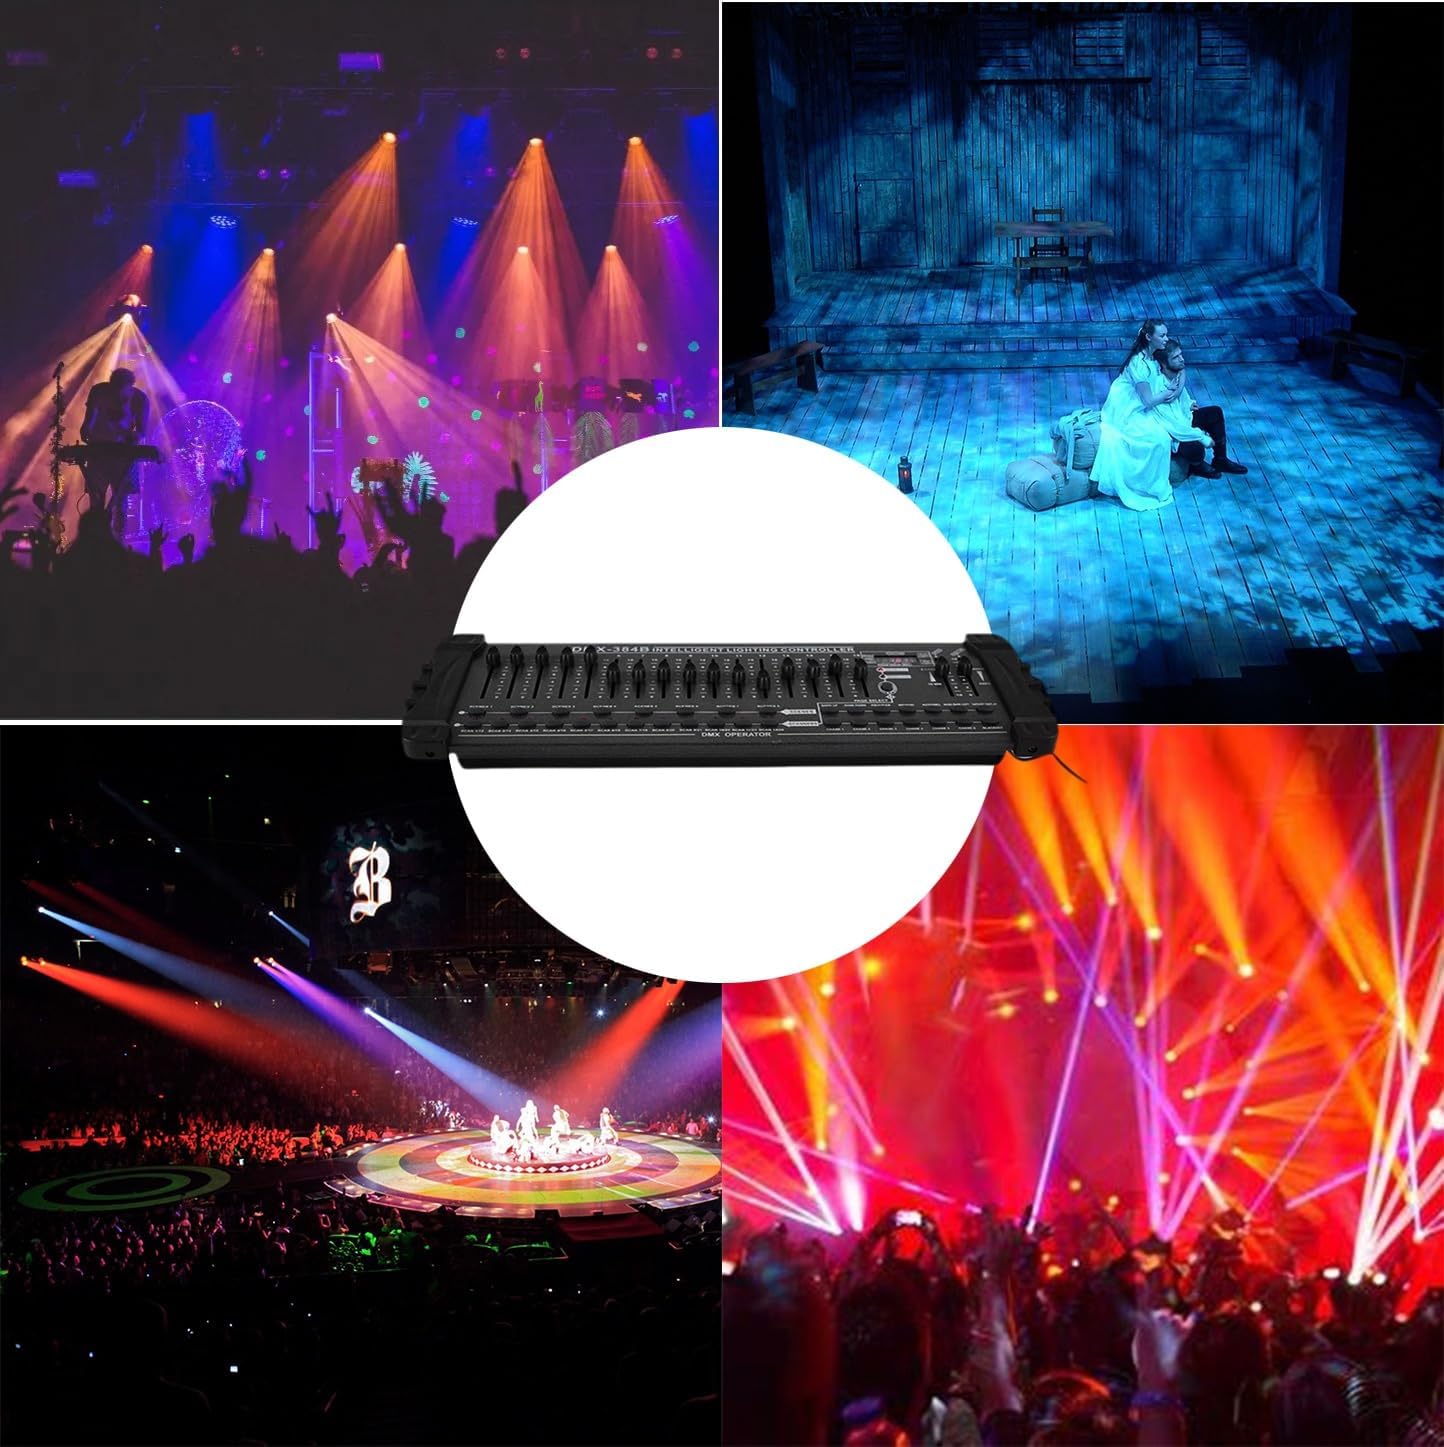
Figure 3.3.2: Gooseneck USB LED Light connected to the controller.
4. Operating Instructions
This section details the basic operation and programming of your DMX controller.
4.1 Control Panel Overview

Figure 4.1.1: Detailed view of the DMX controller's main control section.
- Faders (1-16): Control individual DMX channels.
- SCANNER Buttons (1-24): Select DMX fixtures or groups of fixtures.
- SCENES Buttons (1-8): Select and activate programmed scenes.
- BANK UP/DOWN: Navigate through the 30 banks of scenes.
- PROGRAM: Enter programming mode to create or edit scenes.
- MIDI/ADD: Used for MIDI control or adding steps in programming.
- AUTO/DEL: Activate auto-run mode or delete steps/scenes.
- MUSIC BANK COPY: Copy scenes triggered by music.
- TAP SYNC DISPLAY: Adjust the speed of chases or auto-run.
- SPEED Fader: Adjusts the speed of chases or auto-run.
- FADE TIME Fader: Adjusts the fade time between steps in a chase or scene.
- BLACKOUT: Instantly turns off all DMX output.
- CHASE Buttons (1-6): Select and activate programmed chases.
4.2 Controlling DMX Channels
- Ensure the controller is powered on and DMX fixtures are connected.
- Select the desired scanner(s) (fixture(s)) by pressing the corresponding SCANNER buttons (1-24). The selected scanner's LED will illuminate.
- Adjust the faders (1-16) to control the DMX channels assigned to the selected fixture(s). Each fader corresponds to a DMX channel value from 0 to 255.
- Use the PAGE SELECT button to switch between DMX channel pages if your fixture requires more than 16 channels.
4.3 Programming Scenes
The controller allows you to program up to 30 banks, each containing 8 scenes (total 240 scenes).
- Press the PROGRAM button to enter programming mode. The PROGRAM LED will flash.
- Select the desired BANK using the BANK UP/DOWN buttons.
- Select the scanner(s) you wish to program by pressing the corresponding SCANNER buttons.
- Adjust the faders to create the desired lighting effect for the selected scanner(s).
- Press the MIDI/ADD button to save this step.
- Press the desired SCENE button (1-8) where you want to save this effect. The scene LED will flash to confirm.
- Repeat steps 3-6 to add more steps to the same scene or program other scenes within the bank.
- Press the PROGRAM button again to exit programming mode.
4.4 Scene Playback
- Select the desired BANK using the BANK UP/DOWN buttons.
- Press the desired SCENE button (1-8) to activate the programmed scene.
- To activate multiple scenes simultaneously, press and hold the first scene button, then press additional scene buttons.
4.5 Auto-Run and Music Trigger Modes
- Auto-Run: Press the AUTO/DEL button to activate auto-run mode. The controller will cycle through programmed scenes or chases. Adjust the SPEED and FADE TIME faders to control the playback.
- Music Trigger: Press the MUSIC TRIGGER button to activate sound-activated mode. The controller will respond to external audio input (via built-in microphone or MIDI input) to trigger scenes or chases.
4.6 Blackout Function
Press the BLACKOUT button to instantly turn off all DMX output. Press it again to restore the previous lighting state.
5. Maintenance
Proper maintenance ensures the longevity and reliable operation of your DMX controller.
- Cleaning: Regularly wipe the surface of the controller with a soft, dry cloth. Do not use abrasive cleaners or solvents.
- Storage: When not in use for extended periods, store the controller in a cool, dry place, away from direct sunlight and extreme temperatures.
- Ventilation: Ensure proper ventilation around the unit during operation to prevent overheating. Do not block ventilation openings.
- Cable Management: Keep DMX and power cables organized and free from kinks or damage to prevent signal loss or electrical hazards.
6. Troubleshooting
If you encounter issues with your DMX controller, refer to the following common problems and solutions:
| Problem | Possible Cause | Solution |
|---|---|---|
| Controller does not power on. | No power supply; faulty power adapter; power button off. | Check power adapter connection and wall outlet. Ensure power button is pressed. Try a different power outlet. |
| Lights are not responding to the controller. | Incorrect DMX addressing; faulty DMX cable; DMX fixture not powered; DMX output disabled. | Verify DMX addresses on fixtures match controller settings. Check DMX cable connections. Ensure fixtures are powered on. Confirm Blackout is not active. |
| Intermittent light response or flickering. | Loose DMX connection; DMX signal interference; missing DMX terminator. | Secure all DMX cable connections. Use shielded DMX cables. Add a DMX terminator to the last fixture in the chain. |
| Gooseneck LED light not working. | Loose USB connection; faulty LED light. | Ensure the USB light is fully inserted into the LAMP port. Test the light in another USB port if available. |
If the problem persists after attempting these solutions, please contact customer support.
7. Specifications
| Parameter | Value |
|---|---|
| Supply Voltage | AC 110-240V, 50-60Hz |
| DC Range | 9V-12V |
| Required Current | min. 500mA |
| Power Consumption | 10W |
| Dimensions (L x W x H) | 20.9 x 7.5 x 3.1 inches (53.1 x 19.1 x 7.9 cm) |
| Net Weight | 5.95 lb (2.7 kg) |
| Item Weight (Shipping) | 6.74 pounds (3.06 kg) |
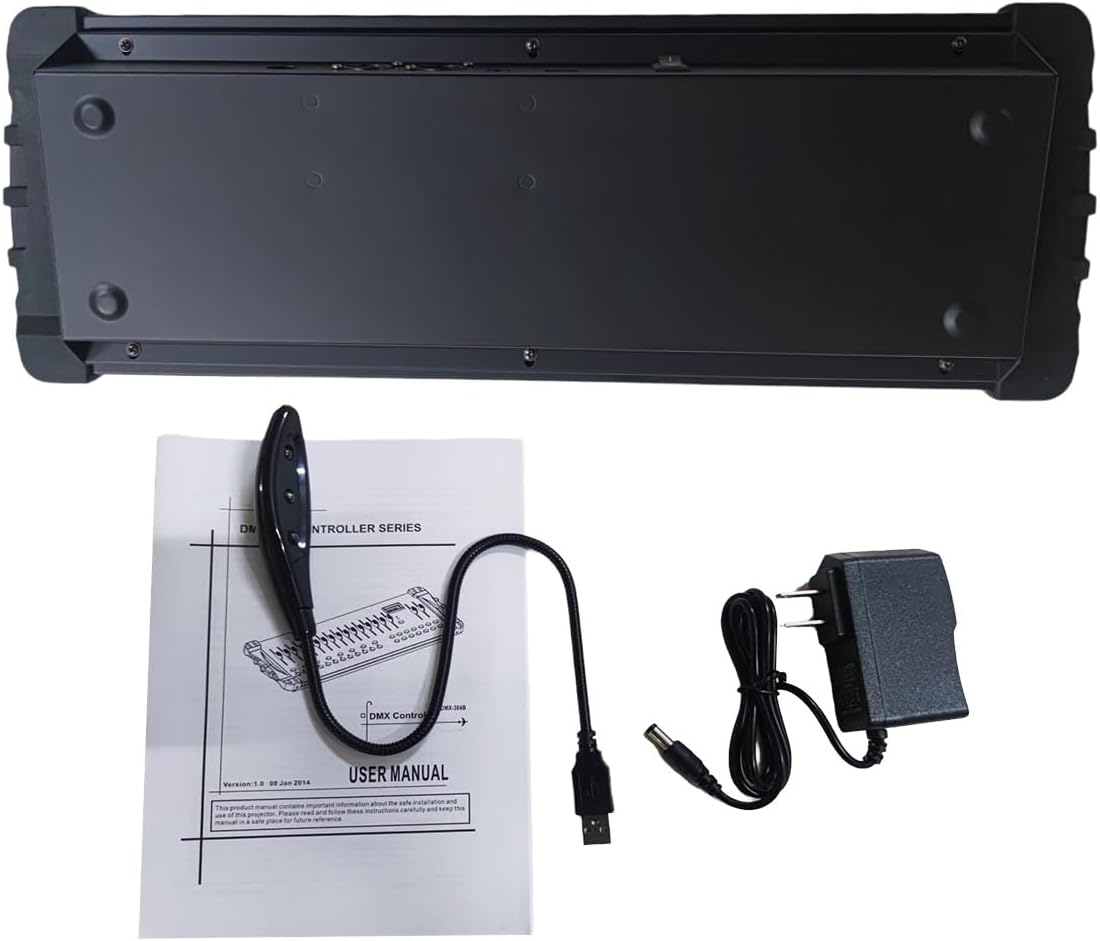
Figure 7.1.1: Top view dimensions of the DMX-384B controller.

Figure 7.1.2: Side view dimensions of the DMX-384B controller.
8. Warranty and Support
Specific warranty details for the RQG 384 Channel DMX512 Controller are not provided in this manual. For information regarding warranty coverage, returns, or technical support, please refer to the product packaging, the seller's website, or contact the manufacturer directly.
For general inquiries or troubleshooting assistance not covered in this manual, please reach out to RQG customer service through their official channels.
Ask a question about this manual
Ask about setup, troubleshooting, compatibility, parts, safety, or missing instructions. Manuals+ will review the question and use this page’s manual context to help answer it.