1. Introduction
Thank you for choosing Tilswall Colored Mini Hot Glue Sticks. These glue sticks are designed for various crafting, DIY, and repair projects, offering strong adhesion and quick setting properties. This manual provides essential information for safe and effective use.
2. Safety Information
- Hot Surfaces: Hot glue guns and dispensed glue reach high temperatures. Avoid direct contact with skin to prevent burns.
- Eye Protection: Always wear appropriate eye protection when operating a hot glue gun.
- Ventilation: Use in a well-ventilated area.
- Children: Keep out of reach of children. Adult supervision is required if children are using hot glue guns and sticks.
- Flammable Materials: Do not use near flammable liquids or gases.
3. Product Features
- Versatile & Strong Bonding: Provides powerful adhesion and quick drying on materials such as wood, glass, fabric, foam, paper, and plastic. Suitable for wig attachment, hair accessory design, and various DIY projects.
- Fast-Setting & Durable: Forms a strong and stable bond within seconds, ensuring long-lasting hold.
- Eco-Friendly & Safe Formula: Manufactured from non-toxic EVA material, safe for users and materials. Harmless to skin and environmentally conscious.
- Compatible with Most Mini Glue Guns: Designed with a diameter of 7mm and length of 100mm, these sticks fit all standard mini hot glue guns.
4. Setup
- Select a Compatible Glue Gun: Ensure your hot glue gun is a mini size, designed for 7mm diameter glue sticks.
- Insert Glue Stick: Insert one Tilswall Colored Mini Hot Glue Stick into the back opening of your glue gun. Push it gently until it stops.
- Power On and Preheat: Plug in your glue gun and turn it on. Allow sufficient time for the glue gun to preheat, typically 3-5 minutes, until the glue is melted and ready to dispense.
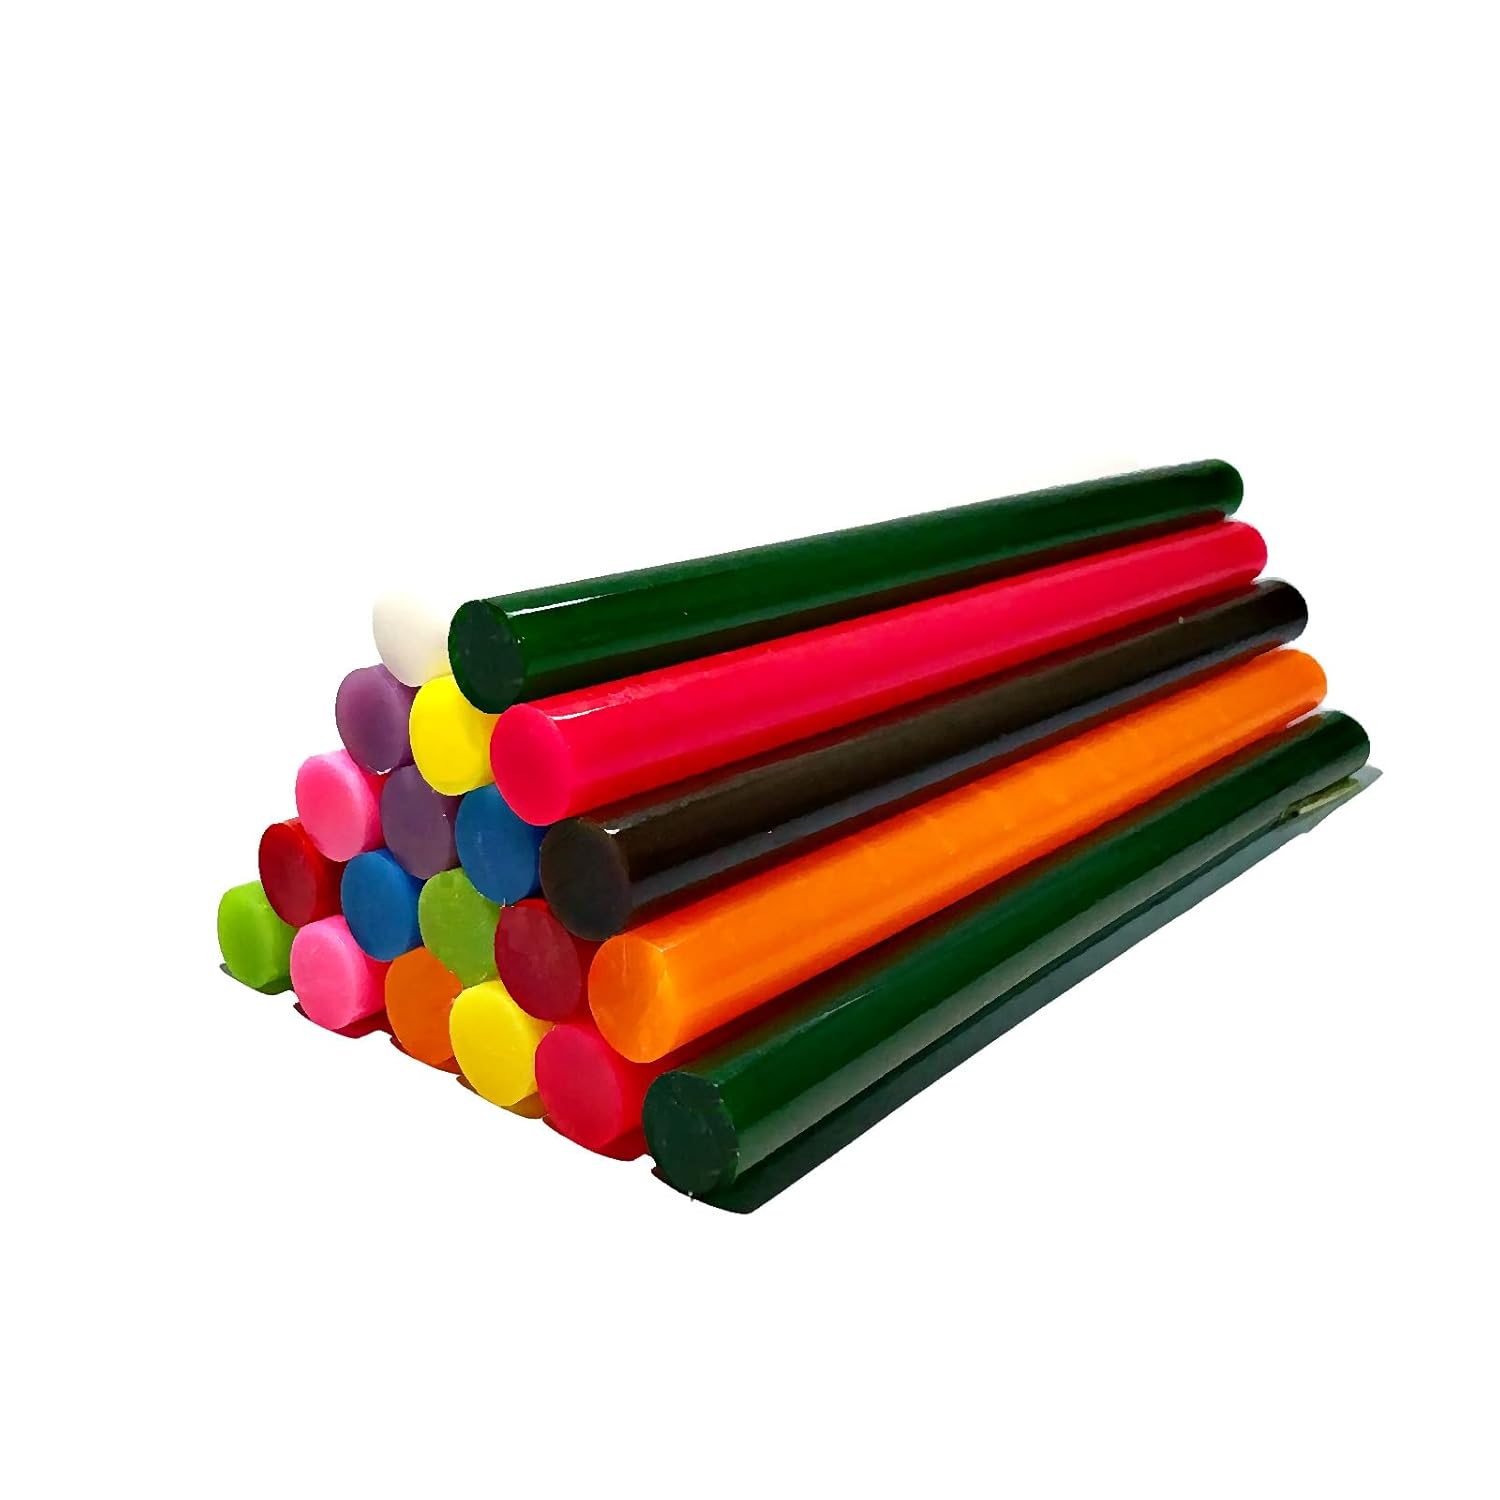
Image: A single red Tilswall mini hot glue stick shown with its dimensions (0.7cm diameter, 10cm length), next to a white product box and a blue mini glue gun. This illustrates the size and compatibility of the glue sticks.
5. Operating Instructions
- Prepare Surfaces: For optimal adhesion, ensure the surfaces to be bonded are clean, dry, and free from dust, oil, or grease.
- Apply Glue: Once the glue gun is preheated, gently squeeze the trigger to dispense a small amount of molten glue onto one of the surfaces.
- Join Materials: Immediately press the two surfaces together firmly. Hold them in place for a few seconds until the glue sets. The glue sets quickly, so work efficiently.
- Continuous Use: As you use the glue, the stick will shorten. Insert a new glue stick into the back of the gun to push the remaining stick forward.

Image: A blue mini hot glue gun dispensing a bead of red molten glue onto a white surface. Various colored glue sticks are visible in the background, demonstrating the product in use.

Image: A person's hands are shown using a blue mini hot glue gun to attach decorative elements, such as dried leaves and twine, to a craft project with a textured yellow background. This illustrates the application of the glue sticks in crafting.
6. Usage Tips
- For the strongest bond, ensure surfaces are clean, dry, and free from dust or oil.
- To remove hot glue, apply a small amount of denatured alcohol along the glue edge. This can help loosen the bond for easier removal.
- Practice on scrap materials before applying to your main project.

Image: A person's hands are shown using a blue mini hot glue gun to attach small, decorative ladybug figures to a brown paper-wrapped gift. This demonstrates the use of the glue sticks for detailed decorative work.
7. Maintenance and Storage
- Cleaning: Do not attempt to clean the nozzle of a hot glue gun while it is hot. Allow it to cool completely. Any dried glue on the nozzle can usually be carefully peeled off once cool.
- Storage: Store unused Tilswall Colored Mini Hot Glue Sticks in a cool, dry place, away from direct sunlight and extreme temperatures. Keep them in their original packaging to protect them from dust and damage.
8. Troubleshooting
- Glue Not Melting: Ensure the glue gun is properly plugged in and has had sufficient time to preheat (3-5 minutes). Verify the glue stick is fully inserted.
- Poor Adhesion: Check that surfaces are clean, dry, and free of contaminants. Apply glue quickly and press surfaces together immediately after application.
- Glue Stringing: This is common with hot glue. Try quickly pulling the glue gun away from the project after releasing the trigger. A quick wipe of the nozzle can also help.
9. Specifications
| Attribute | Detail |
|---|---|
| Model Number | Sticks20 |
| Diameter | 7mm (0.28 inches) |
| Length | 100mm (3.94 inches) |
| Quantity | 20 Count |
| Material | Non-toxic EVA |
| Compatibility | Standard Mini Hot Glue Guns |
| Product Dimensions | 4.21 x 3.43 x 0.75 inches (packaging) |
| Item Weight | 2.89 ounces |
10. Warranty and Support
For any questions or support regarding your Tilswall Colored Mini Hot Glue Sticks, please refer to the contact information provided with your purchase or visit the official Tilswall website. Please note that specific warranty details may vary by region and retailer.