Introduction
Thank you for choosing the lensuge 4K 3-Channel Dash Camera. This comprehensive user manual provides detailed instructions for the installation, operation, and maintenance of your new dash cam system. Designed to capture critical moments on the road, this device features 4K front recording, a rear camera, and an interior camera, along with essential functions like 24-hour parking monitoring and G-sensor incident detection. Please read this manual thoroughly before using the product to ensure optimal performance and safety.
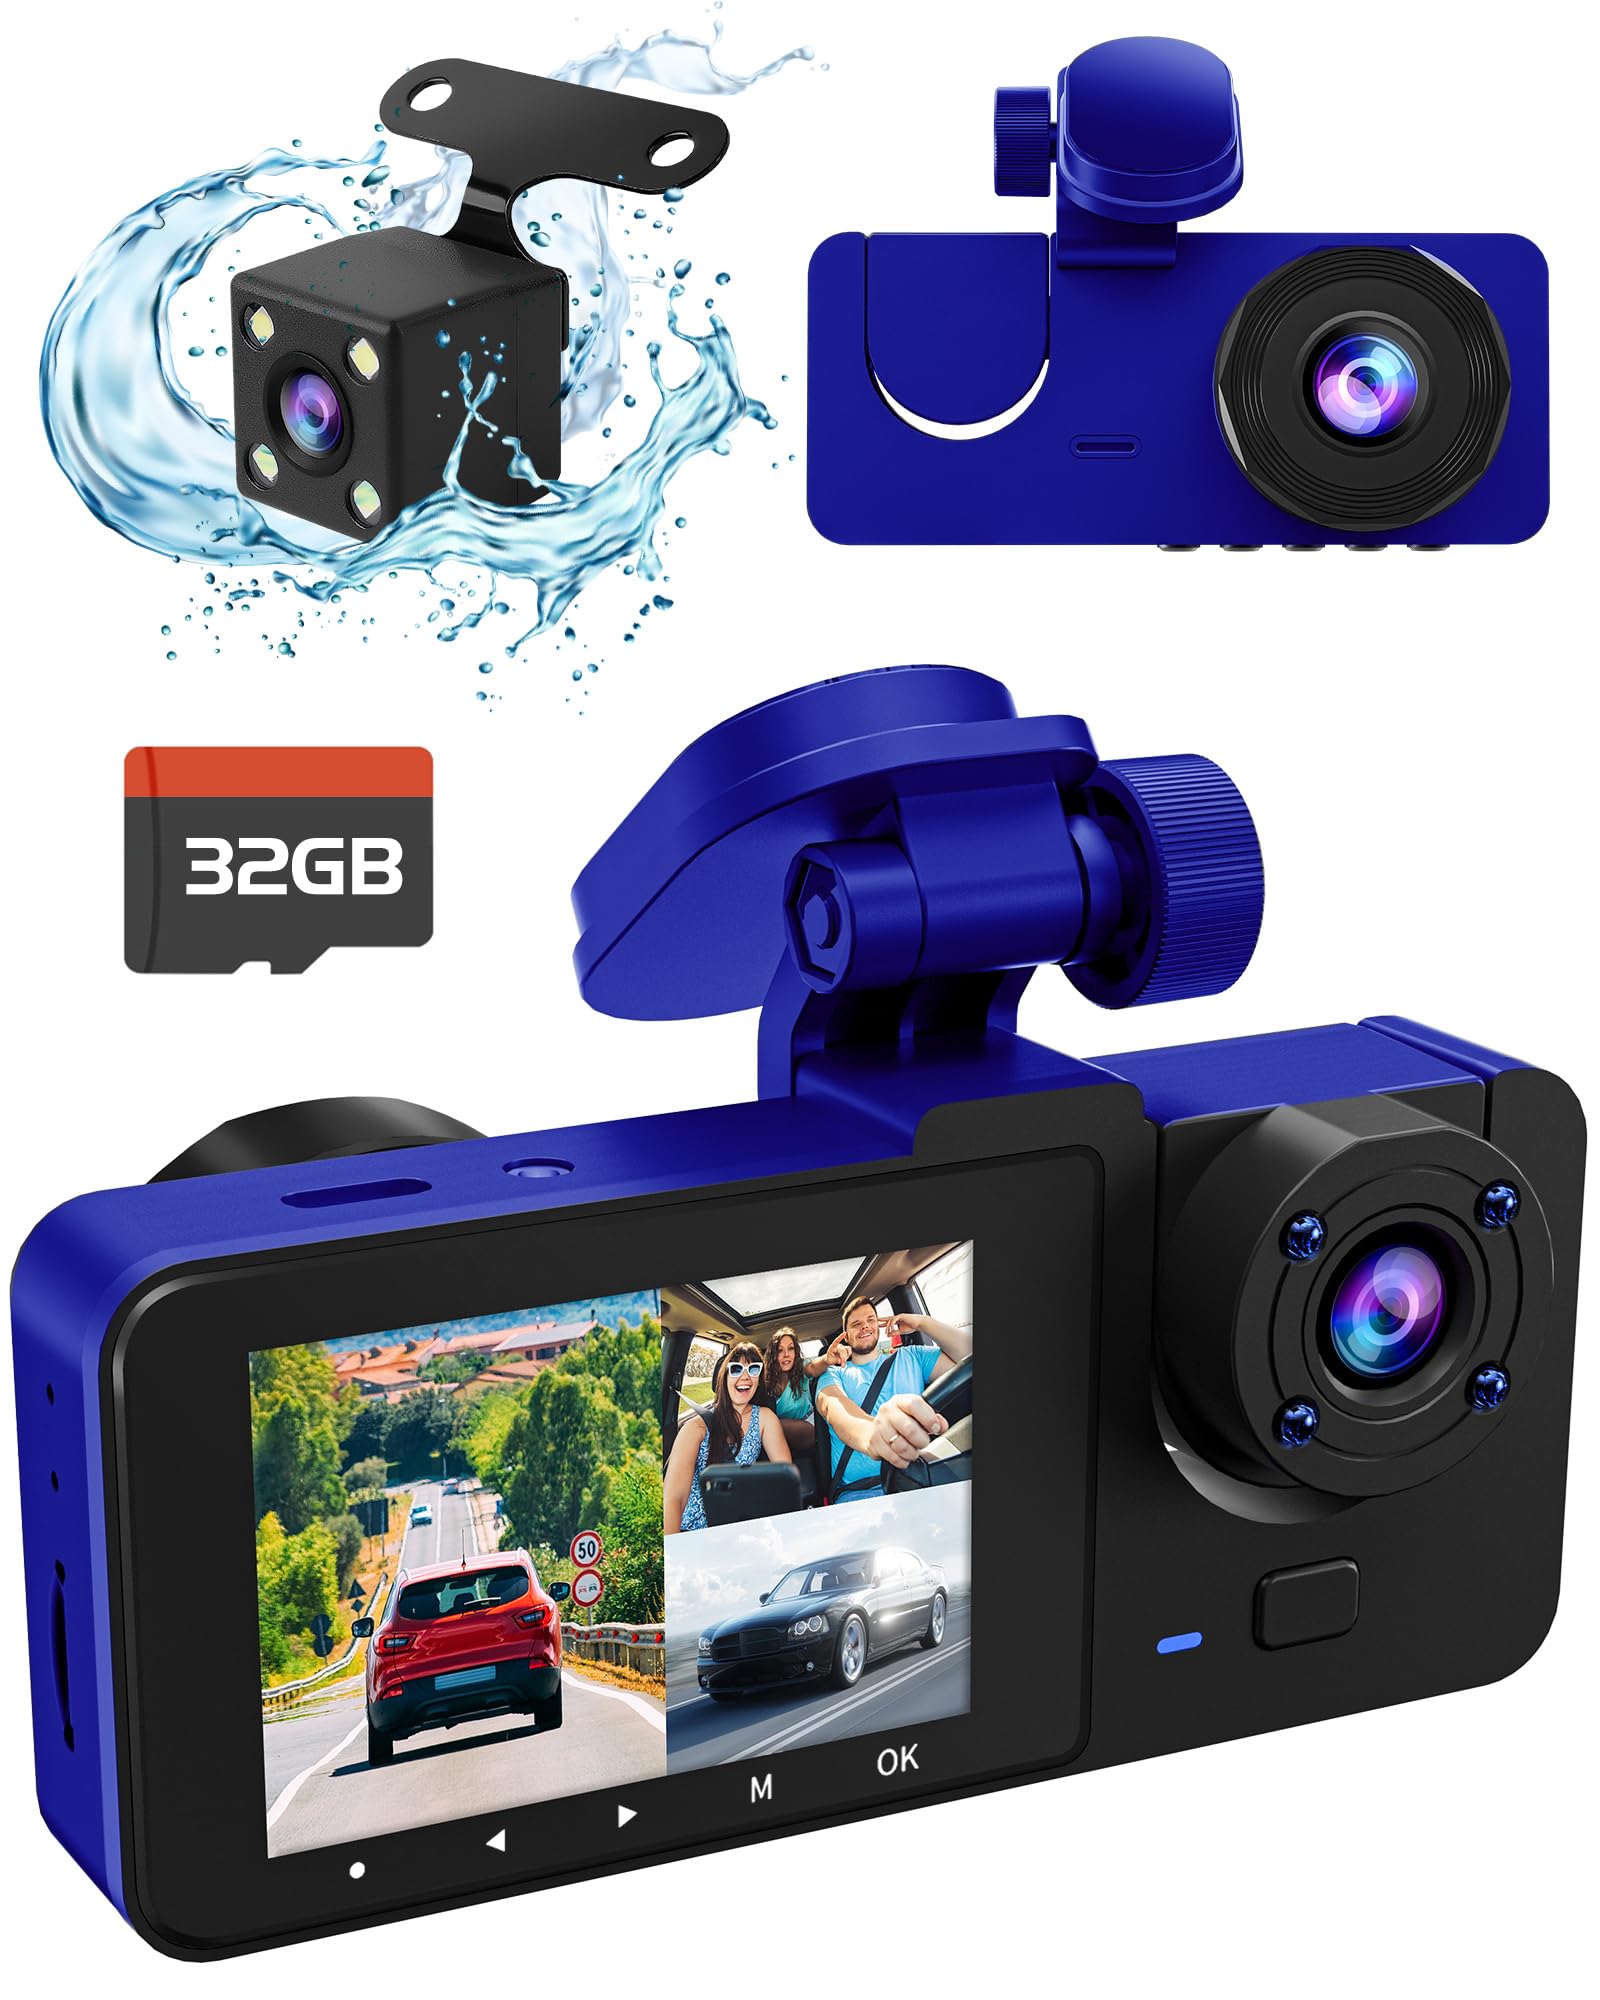
Image: The lensuge 4K 3-Channel Dash Camera system, showing the main unit, rear camera, interior camera, and included 32GB SD card.
Package Contents
- Main Dash Camera Unit (Front & Interior Camera)
- Rear Camera with Cable
- Car Charger
- Suction Cup Mount
- 32GB Micro SD Card
- User Manual (this document)
Setup and Installation
1. Prepare the Micro SD Card
- Insert the included 32GB Micro SD card into the dash cam's SD card slot. Ensure the card is inserted correctly with the contacts facing the camera.
- It is recommended to format the SD card within the dash cam's settings before first use to ensure compatibility and optimal performance. Navigate to System Settings > Format SD Card.
2. Install the Front Dash Camera
- Clean the windshield area where you intend to mount the dash cam.
- Attach the suction cup mount to the main dash camera unit.
- Press the suction cup firmly against the windshield, ensuring it is securely attached and does not obstruct your view. Position the camera to capture a clear view of the road ahead and the vehicle's interior.
- Adjust the camera lens angle as needed.
3. Install the Rear Camera
- Identify a suitable location on your rear windshield for the rear camera. Ensure it has a clear view of the road behind.
- Clean the mounting surface.
- Attach the rear camera using its adhesive pad or screws (if provided and preferred).
- Route the rear camera cable neatly along the vehicle's headliner and A-pillar, connecting it to the designated rear camera input port on the main dash cam unit.
4. Power Connection
- Connect the car charger to the dash cam's power input port.
- Plug the other end of the car charger into your vehicle's 12V power outlet (cigarette lighter socket).
- Route the power cable neatly to avoid interference with driving.
- The dash cam will typically power on automatically when the vehicle's ignition is turned on and begin recording.
Operating Instructions
Basic Operation
- Power On/Off: The camera automatically powers on/off with the vehicle's ignition. You can also manually power it on/off by pressing and holding the Power button.
- Recording: Once powered on, the dash cam will automatically start loop recording. The screen will display live feeds from the front, interior, and rear cameras.
- Screen Display Modes: Press the 'M' (Mode) button to cycle through different display modes (e.g., Front only, Front + Interior, Front + Rear, All three views).
- Menu Navigation: Use the arrow buttons to navigate through menu options and the 'OK' button to confirm selections.
Key Features
- Loop Recording: The dash cam continuously records, overwriting the oldest unlocked files when the SD card is full. This ensures continuous recording without manual intervention.
- G-Sensor (Emergency Lock): The built-in G-sensor detects sudden shakes or collisions. When triggered, the current video segment is automatically locked and saved to prevent it from being overwritten by loop recording. The sensitivity of the G-sensor can be adjusted in the settings.
- 24-Hour Parking Mode:
- Motion Detection: If enabled, the camera will automatically start recording when motion is detected around the vehicle while parked.
- Collision Detection: In parking mode, if the G-sensor detects an impact, the camera will automatically power on and record a short video, then power off.
- Note: For continuous 24-hour parking monitoring, a hardwire kit (sold separately) is usually required to provide constant power to the dash cam. Otherwise, the parking mode relies on the dash cam's internal battery, which has limited capacity.
- Playback: To view recorded videos, stop recording (if active) and enter Playback mode via the menu. You can browse through locked and normal video files.
Maintenance
- Cleaning: Use a soft, dry cloth to clean the camera lenses and screen. Avoid using abrasive cleaners or solvents.
- SD Card Management:
- Regularly format the Micro SD card (e.g., once a month) to maintain optimal recording performance and prevent data corruption.
- Use a high-quality Class 10 or U3 Micro SD card for reliable recording.
- If the SD card becomes full of locked files, manually delete them or format the card.
- Firmware Updates: Check the manufacturer's website (lensuge) periodically for firmware updates. Updates can improve performance and add new features.
Troubleshooting
| Problem | Possible Cause | Solution |
|---|---|---|
| Dash cam does not power on. | No power from car charger; faulty charger; loose connection. | Check car charger connection and vehicle's 12V outlet. Try a different charger or outlet. Ensure the car's ignition is on. |
| Camera stops recording or shows "SD Card Full" error. | SD card is full of locked files; SD card is corrupted or too slow. | Format the SD card in the camera's settings. Use a high-quality Class 10 or U3 Micro SD card. Reduce G-sensor sensitivity if too many files are being locked. |
| Rear camera intermittently goes black or disconnects. | Loose connection of the rear camera cable; damaged cable. | Check and re-secure the connection of the rear camera cable to the main unit. Ensure the cable is not pinched or damaged. If the issue persists, the cable or camera may need replacement. |
| Video quality is poor or blurry. | Protective film on lens; dirty lens; incorrect resolution settings. | Remove any protective film from the lens. Clean the lens with a soft cloth. Check video resolution settings in the menu and ensure it's set to 4K (Front) or high resolution. |
| Parking mode not working as expected. | Not hardwired; incorrect settings; low internal battery. | Ensure parking mode is enabled in settings. For 24-hour monitoring, a hardwire kit is recommended. Check G-sensor sensitivity for parking mode. |
Specifications
- Model: B0DM8T24ZR
- Brand: lensuge
- Dimensions: 3.23 x 2.31 x 1.56 inches
- Video Resolution: Up to 4K (Front Camera)
- Camera Channels: 3 (Front, Interior, Rear)
- Storage: Supports Micro SD Card (32GB included)
- Connectivity: USB
- Special Features: Loop Recording, G-Sensor, 24H Parking Mode
- Orientation: Front and Rear and Inside
Warranty and Support
This lensuge product comes with a standard manufacturer's warranty. For specific warranty terms, duration, and claim procedures, please refer to the warranty card included in your product packaging or visit the official lensuge website. For technical support, troubleshooting assistance beyond this manual, or inquiries about replacement parts, please contact lensuge customer service through their official channels. Keep your purchase receipt as proof of purchase for warranty claims.
Official lensuge Store: Visit the lensuge Store on Amazon