1. Safety Information
Please read and understand all instructions before beginning assembly and use. Failure to follow these instructions may result in serious injury. Keep these instructions for future reference.
- Keep all small parts away from children during assembly.
- Ensure all bolts and screws are securely tightened before use. Recheck periodically.
- Do not use power tools for assembly unless specifically instructed, as overtightening may damage components.
- Place the bed on a level surface.
- Do not stand or jump on the bed frame.
- Use only the recommended mattress size for this bed frame.
2. Package Contents
Verify that all parts are present before assembly. If any parts are missing or damaged, contact customer support.
| Part | Description | Quantity |
|---|---|---|
| A | Headboard | 1 |
| B | Side Rails | 2 |
| C | Footboard | 1 |
| D | Wooden Slats | 8 |
| E | Center Support Bar | 1 |
| F | Support Legs (for center bar) | 2-3 |
| G | Metal Legs (decorative) | 4 |
| H | Hardware Pack (bolts, washers, Allen key) | 1 |
3. Assembly Instructions
Follow these steps carefully to assemble your bed frame. It is recommended to have two people for assembly.
Step 1: Attach Side Rails to Headboard and Footboard
Connect the side rails (B) to the headboard (A) and footboard (C) using the provided bolts and washers from the hardware pack (H). Do not fully tighten bolts until all parts are aligned.

Image: Bed frame structure showing headboard, footboard, and side rails connected.
Step 2: Install Center Support Bar and Legs
Attach the center support bar (E) to the pre-drilled holes on the headboard and footboard. Secure the support legs (F) to the center bar. Ensure the center bar is level and provides adequate support.
Step 3: Place Wooden Slats
Lay the wooden slats (D) across the side rails, ensuring they are evenly spaced and secured if attachment points are present. The mattress anti-displacement device should be positioned at the foot of the bed to prevent the mattress from sliding.

Image: Close-up of the wooden slats laid across the frame with the mattress anti-displacement bar in place.
Step 4: Attach Decorative Metal Legs
Screw the four decorative metal legs (G) into the designated corners of the bed frame. Once all parts are assembled, go back and fully tighten all bolts and screws.
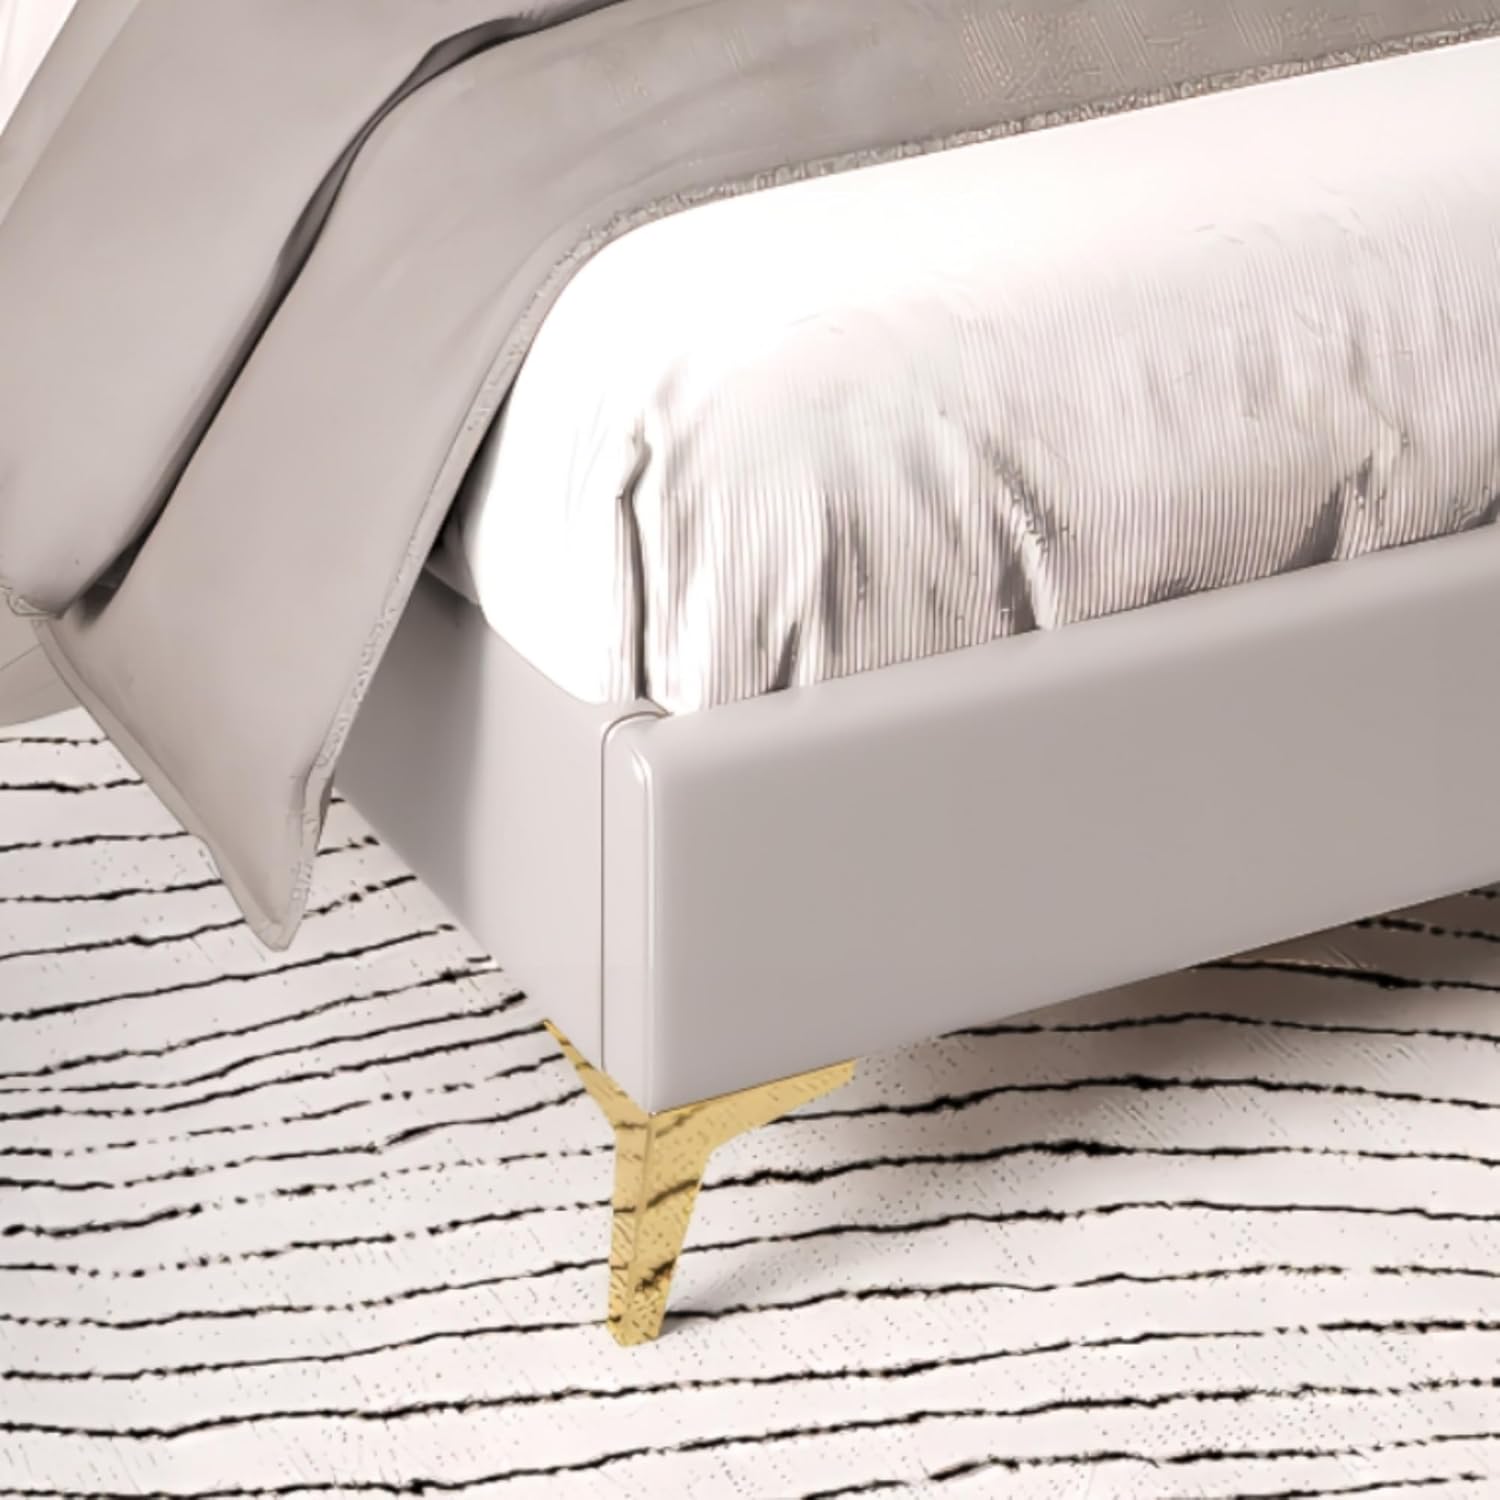
Image: Detail of one of the golden metal legs attached to the bed frame.
4. Operating Instructions
Once assembled, your bed frame is ready for use. Place your Queen size mattress directly onto the wooden slats. The integrated mattress anti-displacement device will help keep your mattress in place.

Image: The assembled bed frame with a mattress and bedding, ready for use.
5. Maintenance
- Cleaning: For the upholstered parts, gently wipe with a damp cloth and mild soap if necessary. Avoid harsh chemicals. For wooden and metal parts, wipe with a dry or slightly damp cloth.
- Tightness Check: Periodically check all bolts and screws to ensure they remain tight. Retighten as needed to maintain stability.
- Avoid Overloading: Do not exceed the recommended weight capacity of the bed frame (up to 800 pounds).
- Sunlight Exposure: Avoid prolonged direct sunlight exposure to prevent fading of the upholstery.
6. Troubleshooting
| Problem | Possible Cause | Solution |
|---|---|---|
| Bed feels wobbly or unstable. | Loose bolts or screws. | Check and tighten all assembly bolts and screws. Ensure the bed is on a level surface. |
| Squeaking noises. | Loose connections or friction between parts. | Retighten all hardware. If squeaking persists, apply a small amount of lubricant (e.g., silicone spray) to contact points between metal parts or where slats meet the frame. |
| Mattress slides off the frame. | Mattress anti-displacement device not installed or improperly positioned. | Ensure the mattress anti-displacement bar is correctly installed at the foot of the bed. Verify mattress size matches the bed frame. |
7. Specifications
- Product Type: Upholstered Platform Bed Frame
- Model: HRTTRRXES
- Size: Queen
- Color: Light Gray
- Headboard Height: 56 inches
- Overall Assembled Dimensions (L x W x H): 84.65" x 63.80" x 56.00"
- Slats Material: Pinewood
- Frame Material: Solid Pine, Metal, Faux Leather Upholstery
- Weight Capacity: Up to 800 lbs
- Assembly Required: Yes

Image: Detailed dimensions of the Queen size bed frame.
8. Warranty and Support
For warranty information, missing parts, or technical support, please refer to the documentation included with your purchase or contact the manufacturer directly. Keep your purchase receipt for warranty claims.
Manufacturer: Generic