Introduction
The M-D Building Products Platinum™ XL Door Seal (Model 11829) is designed to provide superior weatherproofing for doors with kerf or channel door jambs. Made from premium rubber, this seal offers exceptional material memory and remains flexible in extreme temperatures, ensuring year-round performance. It effectively blocks drafts, moisture, dust, and insects, contributing to improved energy efficiency and indoor comfort.
Safety Information
- Always wear appropriate personal protective equipment (PPE), such as gloves and eye protection, during installation.
- Keep out of reach of children and pets.
- Use caution when using cutting tools.
- Ensure the work area is well-lit and clear of obstructions.
Package Contents
- 1 x M-D Building Products Platinum™ XL Rubber Door Seal (81 inches long)
Tools Required
- Measuring tape
- Utility knife or sharp scissors
- Flat-head screwdriver or putty knife (optional, for removing old weatherstripping)
- Paint stir stick or similar thin tool (optional, for widening tight kerf slots)
- Soft mallet (optional, for tapping into place)
Setup and Installation
This door seal is designed for easy installation into door jambs equipped with a kerf or channel slot. Ensure your door frame has this type of groove before proceeding.
- Prepare the Door Frame:
If replacing old weatherstripping, carefully remove it from the kerf slot using a flat-head screwdriver or putty knife. Clean the kerf slot thoroughly to remove any debris or old adhesive residue.

Image: A close-up view of a white door frame, highlighting the kerf slot where the weatherstripping is inserted. This image demonstrates the area where preparation is needed before installation.
- Measure and Cut:
Measure the length of the door jambs (top and sides) where the seal will be installed. Cut the Platinum™ XL Door Seal to the required lengths using a utility knife or sharp scissors. It is recommended to cut slightly longer and trim for a precise fit.
Note: One 81-inch package is typically sufficient for one side of a standard door. For a complete seal around the top and both sides, multiple packages may be required depending on door dimensions.
- Insert the Seal:
Starting from one end, align the fin of the door seal with the kerf slot in the door jamb. Gently push the fin into the slot. Work your way down the jamb, pressing the seal firmly into place. The seal should slide in smoothly.
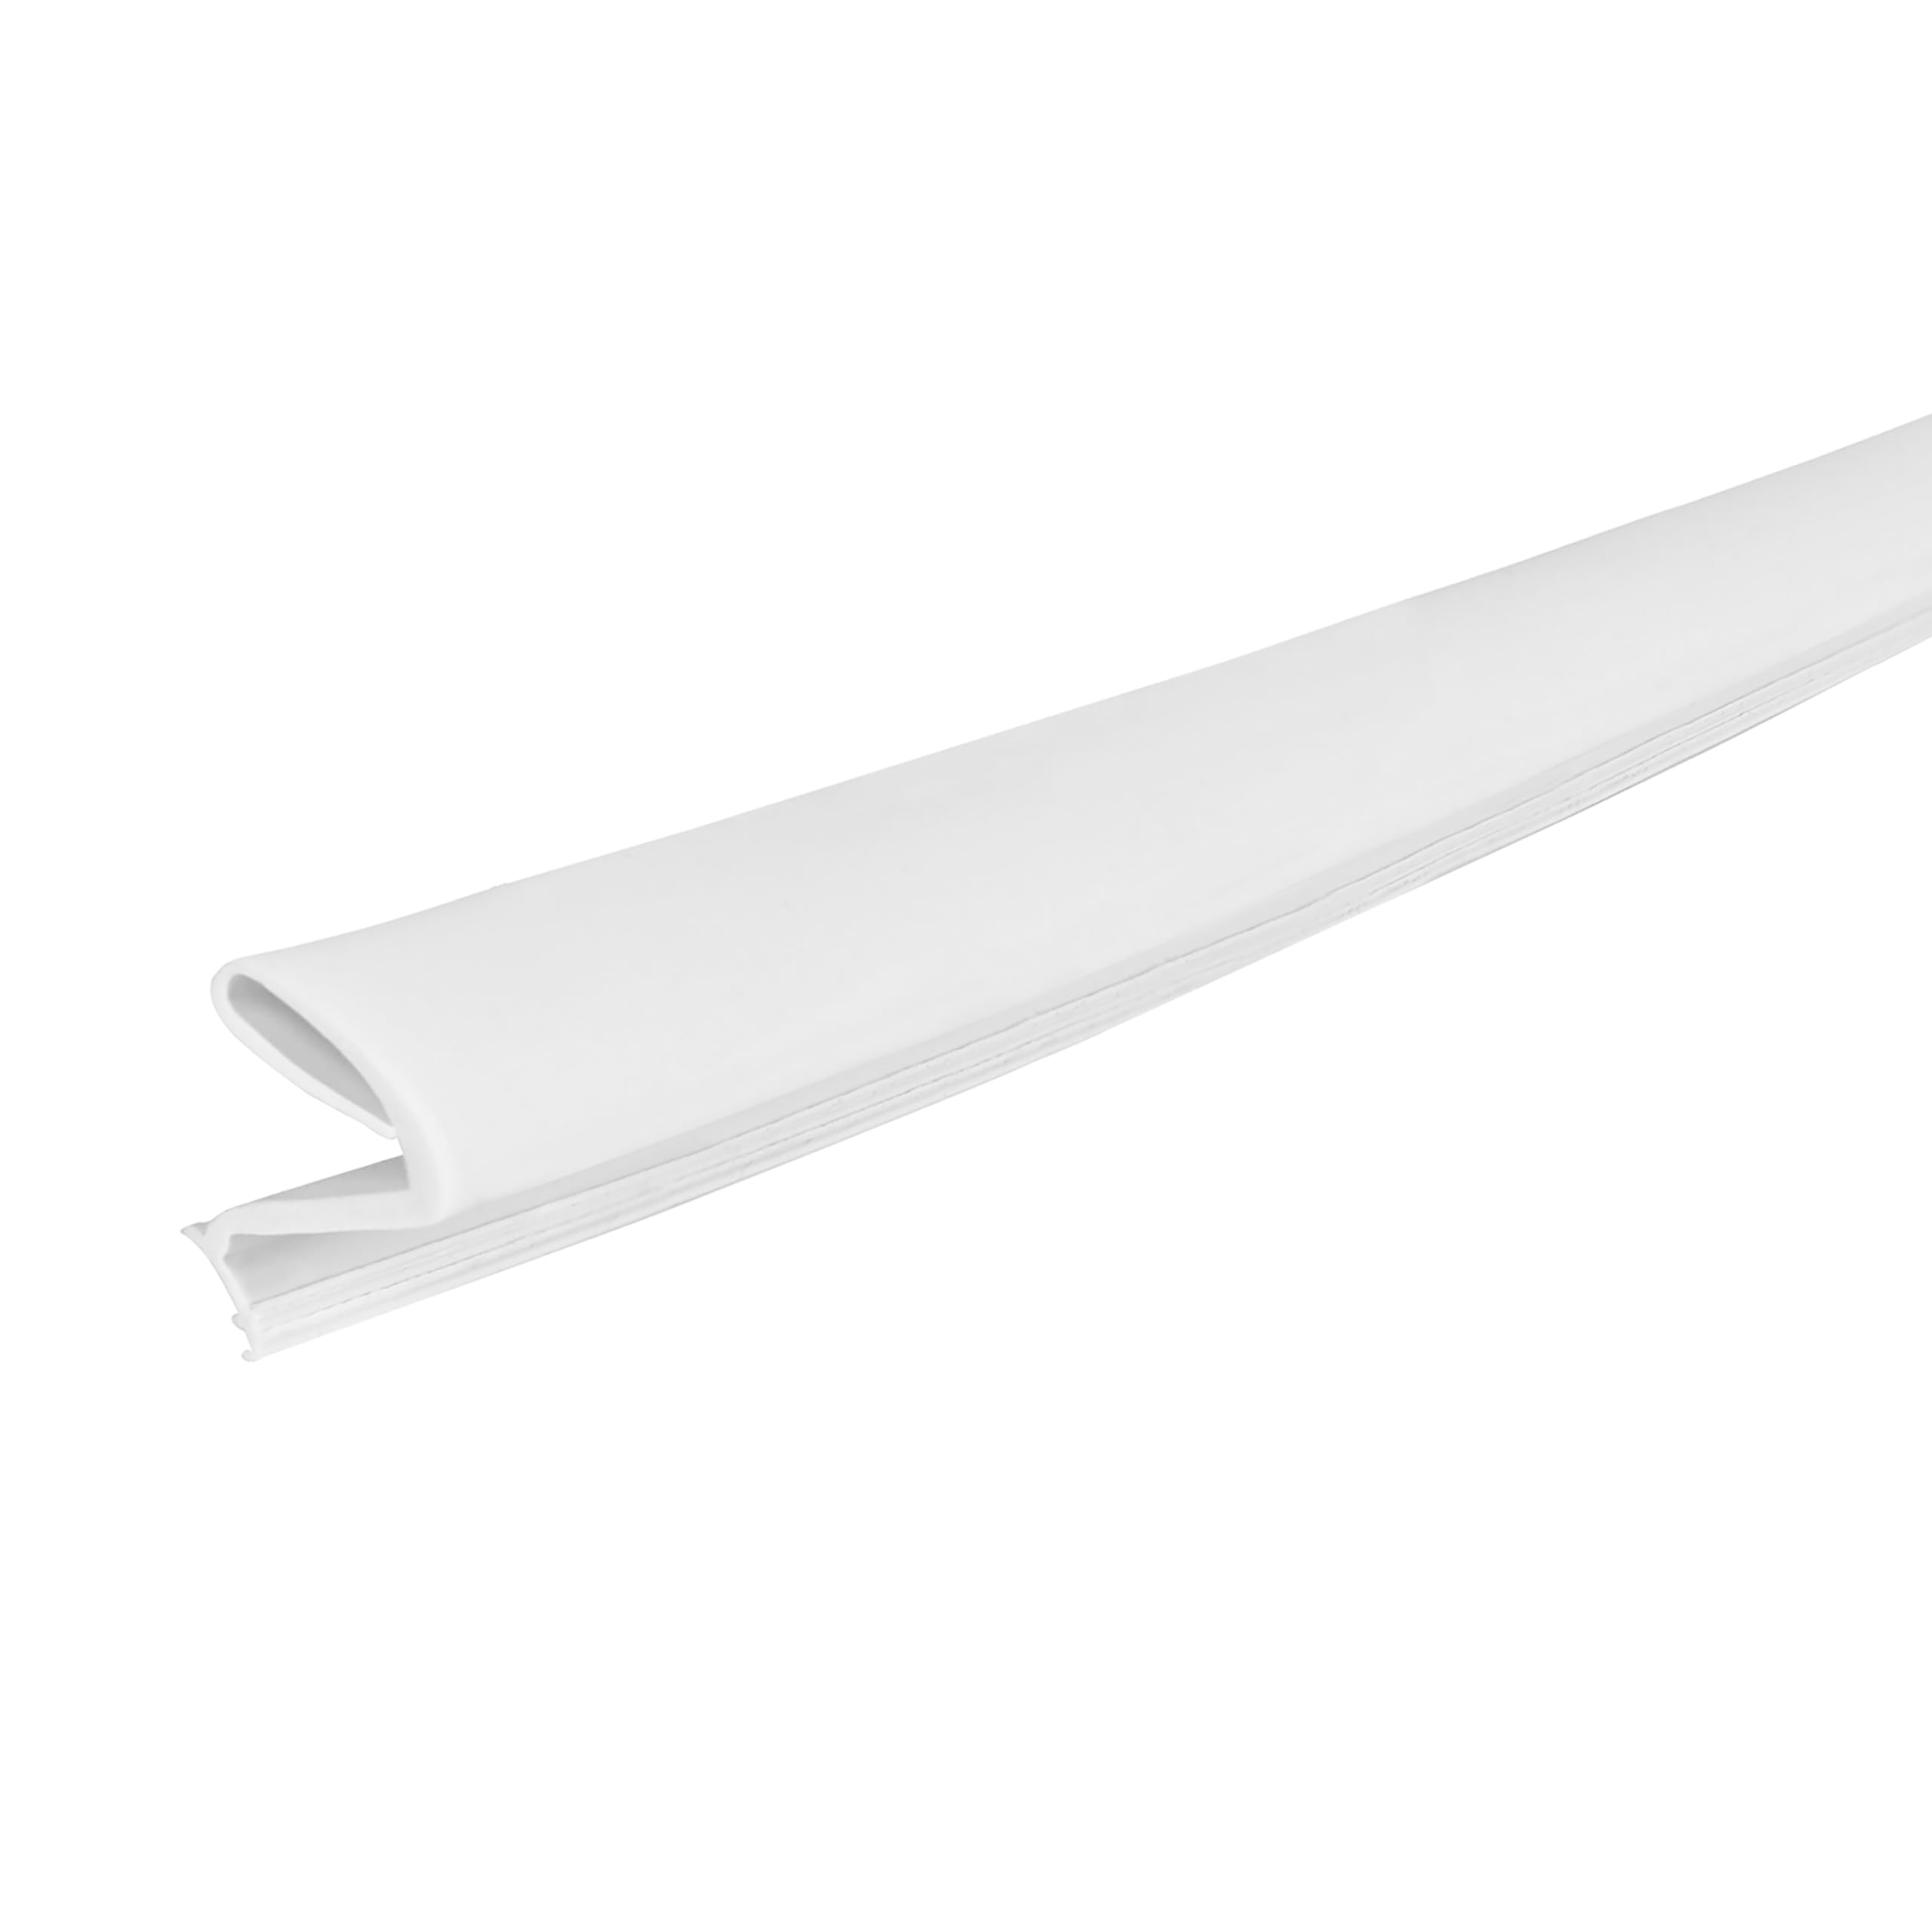
Image: A detailed view of the M-D Building Products Platinum XL Door Seal, showcasing its unique profile with a fin designed to fit into a kerf slot. This illustrates how the seal is constructed for insertion.
- Adjusting for Tight Slots (Optional):
If the kerf slot is particularly tight, you may use a paint stir stick or similar thin tool to gently widen the gap slightly before inserting the seal. For a very snug fit, a soft mallet can be used to lightly tap the seal into the slot, ensuring it is fully seated.
- Check Fit and Trim:
Once the seal is installed along the entire length, close the door to check for a proper seal. There should be no visible gaps or drafts. Trim any excess material with a utility knife or scissors for a clean finish.
Operating and Benefits
Once installed, the Platinum™ XL Door Seal creates a barrier against external elements. Its premium rubber construction ensures a tight seal that adapts to temperature changes, preventing air leakage. This results in:
- Reduced energy consumption by minimizing heat loss in winter and heat gain in summer.
- Protection against drafts, dust, rain, and insects.
- Improved indoor comfort and air quality.
- Noise reduction from outside.
Maintenance
The M-D Building Products Platinum™ XL Door Seal requires minimal maintenance to ensure long-lasting performance.
- Periodically inspect the seal for any signs of wear, tears, or damage.
- Clean the seal with a damp cloth and mild soap as needed to remove dirt or grime. Avoid harsh chemicals that could degrade the rubber.
- Ensure the seal remains securely seated in the kerf slot. Re-insert if any sections have come loose.
Troubleshooting
| Problem | Possible Cause | Solution |
|---|---|---|
| Seal does not fit into the kerf slot. | Kerf slot is too narrow or obstructed. | Ensure the slot is clean. Gently widen the slot with a thin tool like a paint stir stick. Verify the seal is oriented correctly. |
| Seal falls out or comes loose. | Improper installation; not fully seated in the slot. | Re-insert the seal, ensuring it is pushed firmly and completely into the kerf slot along its entire length. |
| Drafts or gaps still present after installation. | Seal not making full contact with the door; uneven door frame. | Inspect the entire length of the seal. If gaps persist, consider adding thin sponge strips behind the seal in specific areas to increase thickness and contact, as suggested by some users. Ensure the door itself is properly aligned. |
| Seal is curled or kinked from packaging. | Normal condition from packaging. | The material is designed to regain its shape. Kinks typically work themselves out shortly after installation and exposure to normal temperatures. |
Specifications
- Model Number: 11829
- Material: Premium Rubber
- Color: White
- Dimensions: 81 inches (L) x 1 inch (W) x 5/8 inch (H)
- Item Weight: Approximately 6.4 ounces
- Application: Doors with kerf/channel door jambs
- Features: Remains flexible in extreme temperatures, exceptional material memory.
Warranty and Support
For warranty information or technical support, please contact M-D Building Products directly through their official website or customer service channels. Keep your purchase receipt as proof of purchase.
M-D Building Products: Visit the M-D Building Products Store on Amazon


