1. Introduction
Thank you for choosing the LITTLE TREE F2002 70.9-Inch Long Console Table. This manual provides essential information for safe assembly, proper usage, and maintenance of your new furniture. Please read these instructions carefully before beginning assembly and retain them for future reference.

Image 1.1: The LITTLE TREE F2002 70.9-Inch Long Console Table in Rustic finish.
2. Safety Information
To ensure safe use and prevent injury or damage, please observe the following:
- Always follow the assembly instructions carefully and completely.
- Do not exceed the maximum weight limit of 300 lb (136 kg) on the tabletop.
- Ensure the table is stable and secure on a level surface before placing any items on it or using it.
- Utilize the included anti-tip hardware to secure the table to a wall, especially in households with children or pets, to prevent accidental tipping.
- Keep small parts and packaging materials away from children to avoid choking hazards.
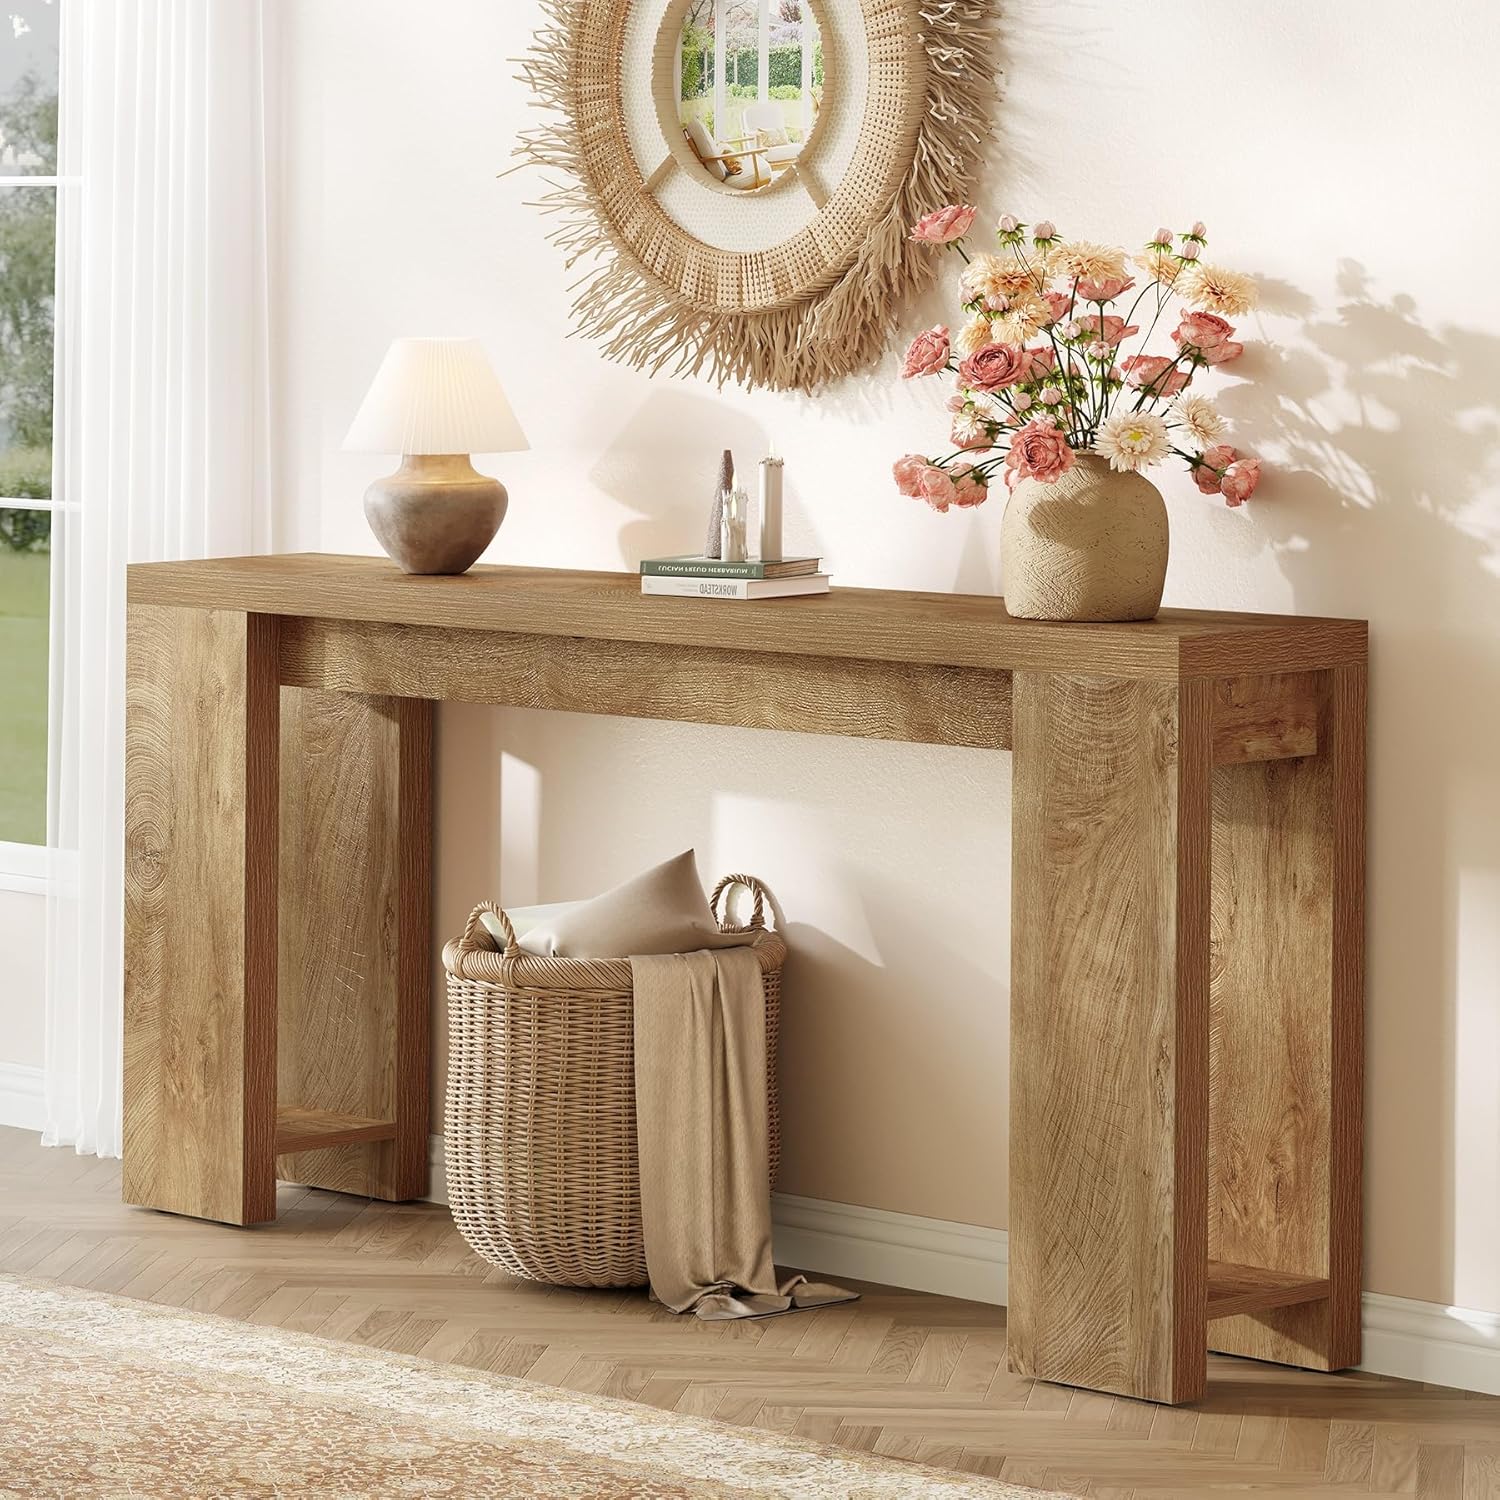
Image 2.1: Illustration of the anti-tip design, demonstrating how to secure the table to a wall to prevent fall hazards.
3. Package Contents
Before assembly, verify that all components listed below are present and undamaged. If any parts are missing or damaged, please contact customer support.
- Tabletop Panel
- Side Support Panels (2)
- Bottom Shelf Panels (2)
- Connecting Hardware (screws, dowels, etc.)
- Protective Foot Pads (8)
- Anti-Tip Hardware Kit
- Assembly Guide
- Installation Tool (e.g., screwdriver)
4. Assembly Instructions
Assembly is designed to be straightforward. It is recommended that one person performs the assembly. Please follow the step-by-step guide provided in the package. Ensure each component is correctly oriented before tightening screws.
- Unpack and Identify Parts: Carefully remove all contents from the packaging. Lay out all components on a clean, soft surface (e.g., carpet) to prevent scratches. Refer to the included parts list to identify each piece.
- Attach Side Support Panels: Connect the side support panels to the tabletop panel using the specified hardware. Ensure a secure fit.
- Install Bottom Shelf Panels: Attach the bottom shelf panels to the lower section of the side support panels.
- Secure All Connections: Once all panels are in place, tighten all screws and fasteners to ensure the table is rigid and stable. Do not overtighten.
- Apply Protective Foot Pads: Attach the 8 protective foot pads to the bottom of the table's legs. These pads help ensure stability and prevent floor scratches.
- Install Anti-Tip Hardware: Following the instructions in the anti-tip kit, secure the table to a wall using the provided hardware. This is a critical safety step.

Image 4.1: Dimensional view of the console table, indicating its length, width, and height for assembly reference.
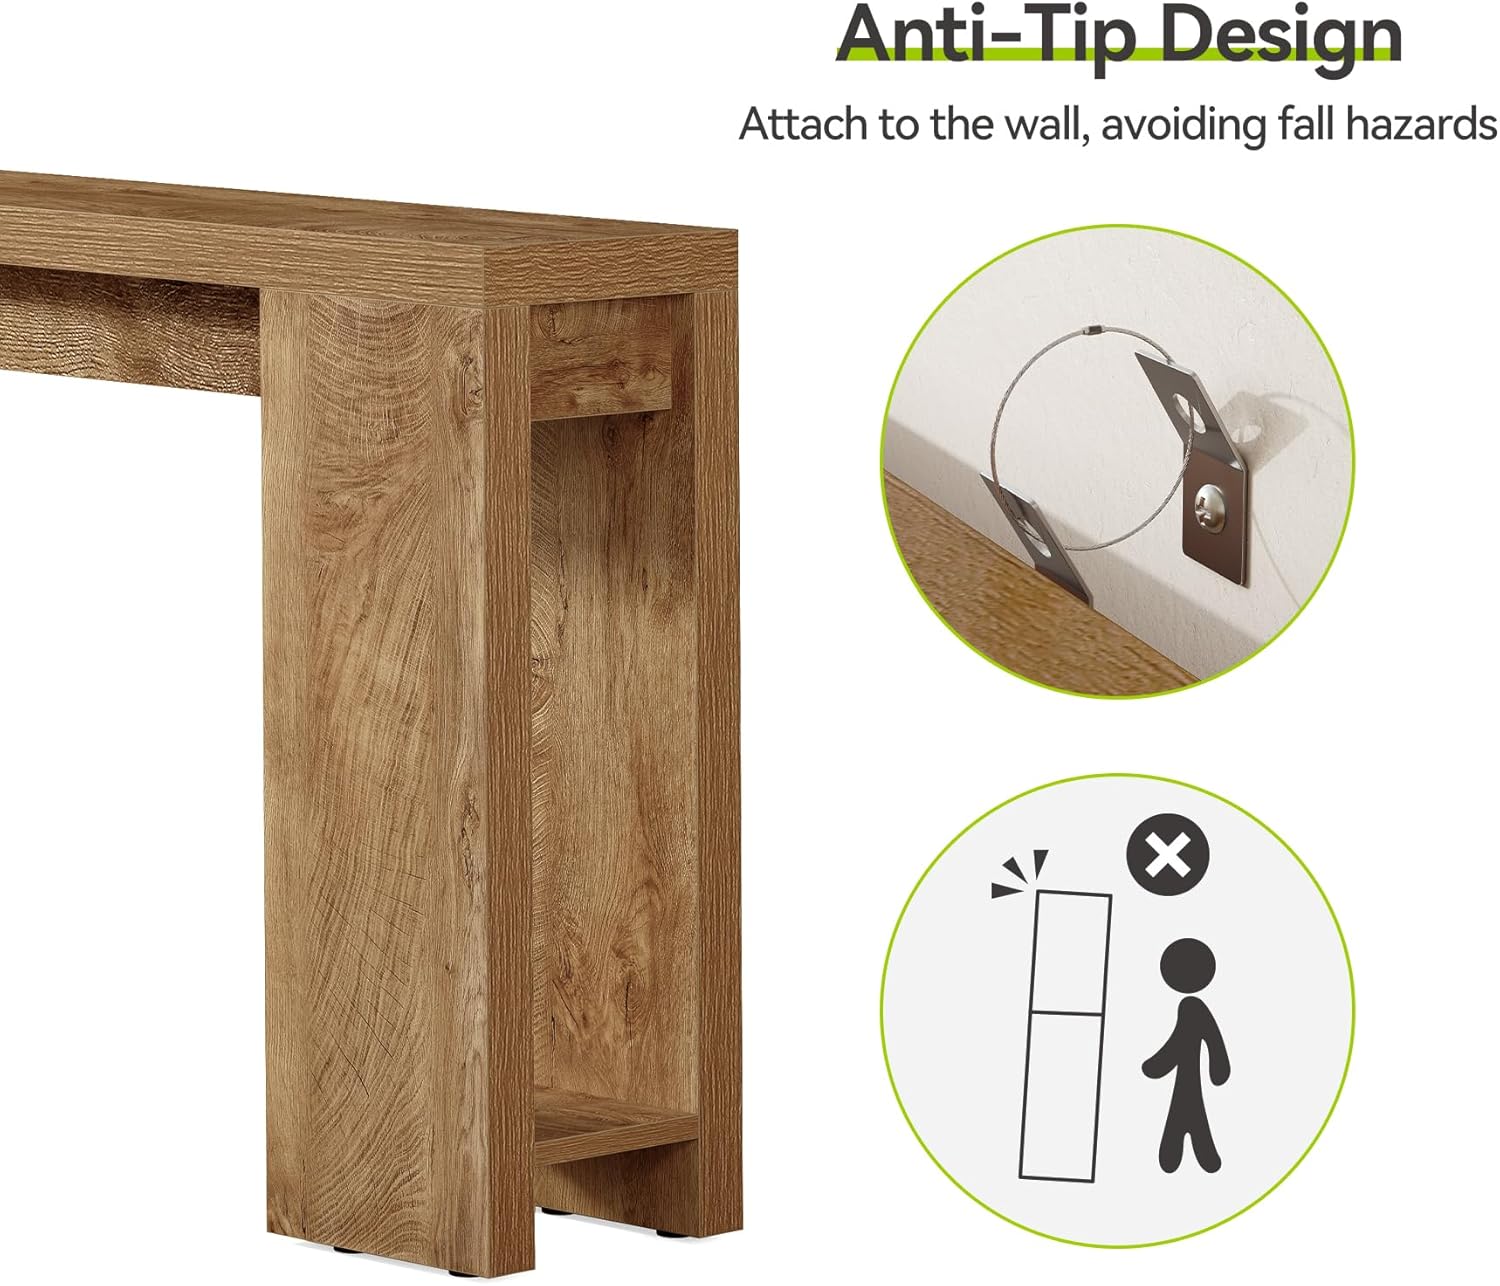
Image 4.2: Detail of the protective foot pads, which help stabilize the table and protect flooring.
5. Usage and Placement
This console table is designed for indoor residential use. Its narrow and elongated design makes it suitable for various areas:
- Entryway/Hallway: Ideal for welcoming guests and providing a surface for keys, mail, or decorative items.
- Behind a Couch: Can be placed behind a sofa to hold lamps, books, or beverages.
- Living Room/Bedroom/Study Room: Functions as an accent table for displaying decor, plants, or small electronics.
Ensure the table is placed on a flat, stable surface. Avoid placing it in direct sunlight or near heat sources to prevent material degradation. The open area under the table can be used for storing baskets or other items.

Image 5.1: The console table positioned in an entryway, showcasing its functional and aesthetic placement.

Image 5.2: The console table used behind a couch, illustrating its versatility in a living room.
6. Maintenance
To maintain the appearance and longevity of your console table:
- Cleaning: Wipe the surface with a soft, damp cloth. Avoid harsh chemicals or abrasive cleaners, as these can damage the finish.
- Spills: Promptly clean up any spills to prevent staining. The rustic grain finish is designed to resist water and scratches, but immediate attention to spills is recommended.
- Protection: Use coasters under drinks and placemats under hot items to protect the tabletop.
- Inspection: Periodically check all screws and fasteners to ensure they remain tight. Retighten if necessary.
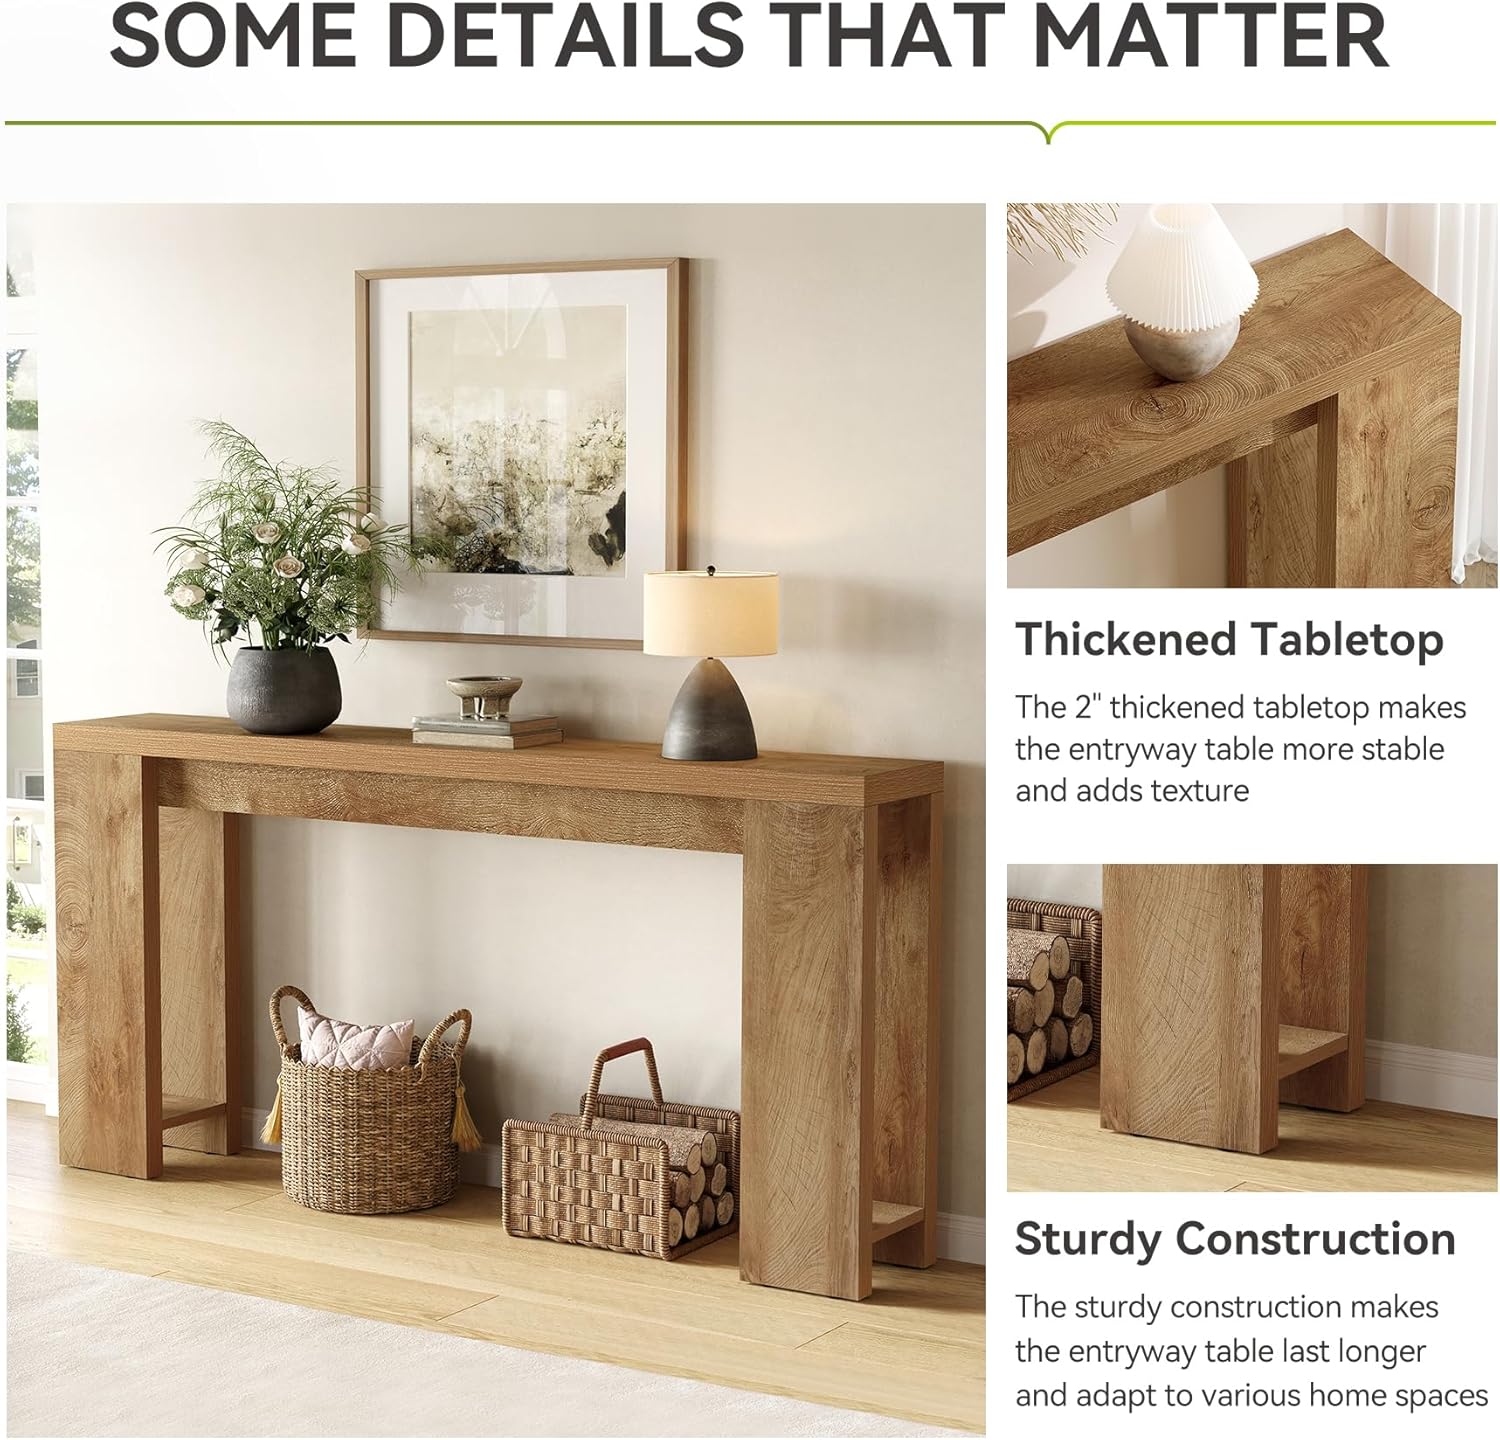
Image 6.1: A close-up view of the 2-inch thick tabletop, highlighting its durable surface and rustic grain finish.
7. Troubleshooting
If you encounter any issues with your console table, consider the following:
- Wobbling: Ensure the table is on a level surface. Adjust the protective foot pads if necessary to compensate for uneven flooring. Check that all assembly screws are securely tightened.
- Scratches/Damage: While the surface is designed to resist scratches, minor damage can occur. For deeper scratches, consider using furniture repair markers or contacting a professional for advice.
- Color Variation: Note that due to different lighting conditions and monitor settings, there may be slight color differences between the product images and the actual item. This is normal and not a defect.
For persistent issues or concerns not addressed here, please contact LITTLE TREE customer support.
8. Specifications
| Feature | Detail |
|---|---|
| Brand | LITTLE TREE |
| Model Number | F2002 |
| Product Dimensions (L x W x H) | 70.9" x 11.8" x 33.5" (180 cm x 30 cm x 85 cm) |
| Tabletop Thickness | 2 Inches (5 cm) |
| Maximum Weight Recommendation | 300 Pounds (136 kg) |
| Color | Rustic Brown |
| Material Type | Engineered Wood (MDF) |
| Item Weight | 54 Pounds (24.5 kg) |
| Assembly Required | Yes (Tools and guide included) |
| Indoor/Outdoor Usage | Indoor Only |
9. Warranty and Support
For information regarding product warranty, returns, or customer support, please refer to your purchase documentation or contact the retailer directly. LITTLE TREE is committed to providing quality products and assistance.
Please note that no official product videos with verified seller creator type were available in the provided data for embedding in this manual.