Introduction
This manual provides detailed instructions for the installation, operation, and maintenance of your MSI MEG X870E GODLIKE E-ATX motherboard. Designed for high-performance computing, this motherboard supports AMD Ryzen 9000, 8000, and 7000 series processors on the AM5 socket, featuring advanced technologies such as DDR5 memory, PCIe 5.0, USB4, Wi-Fi 7, and 10G LAN. Please read this manual thoroughly before proceeding with installation to ensure proper setup and optimal performance.
Safety Information
- Always disconnect the power cord from the wall outlet before touching any components inside the computer case to prevent electric shock.
- Wear an anti-static wrist strap when handling motherboard components to prevent electrostatic discharge (ESD) damage.
- Handle components by their edges and avoid touching pins or circuitry.
- Ensure proper ventilation within your computer case to prevent overheating.
- Keep the motherboard away from moisture and extreme temperatures.
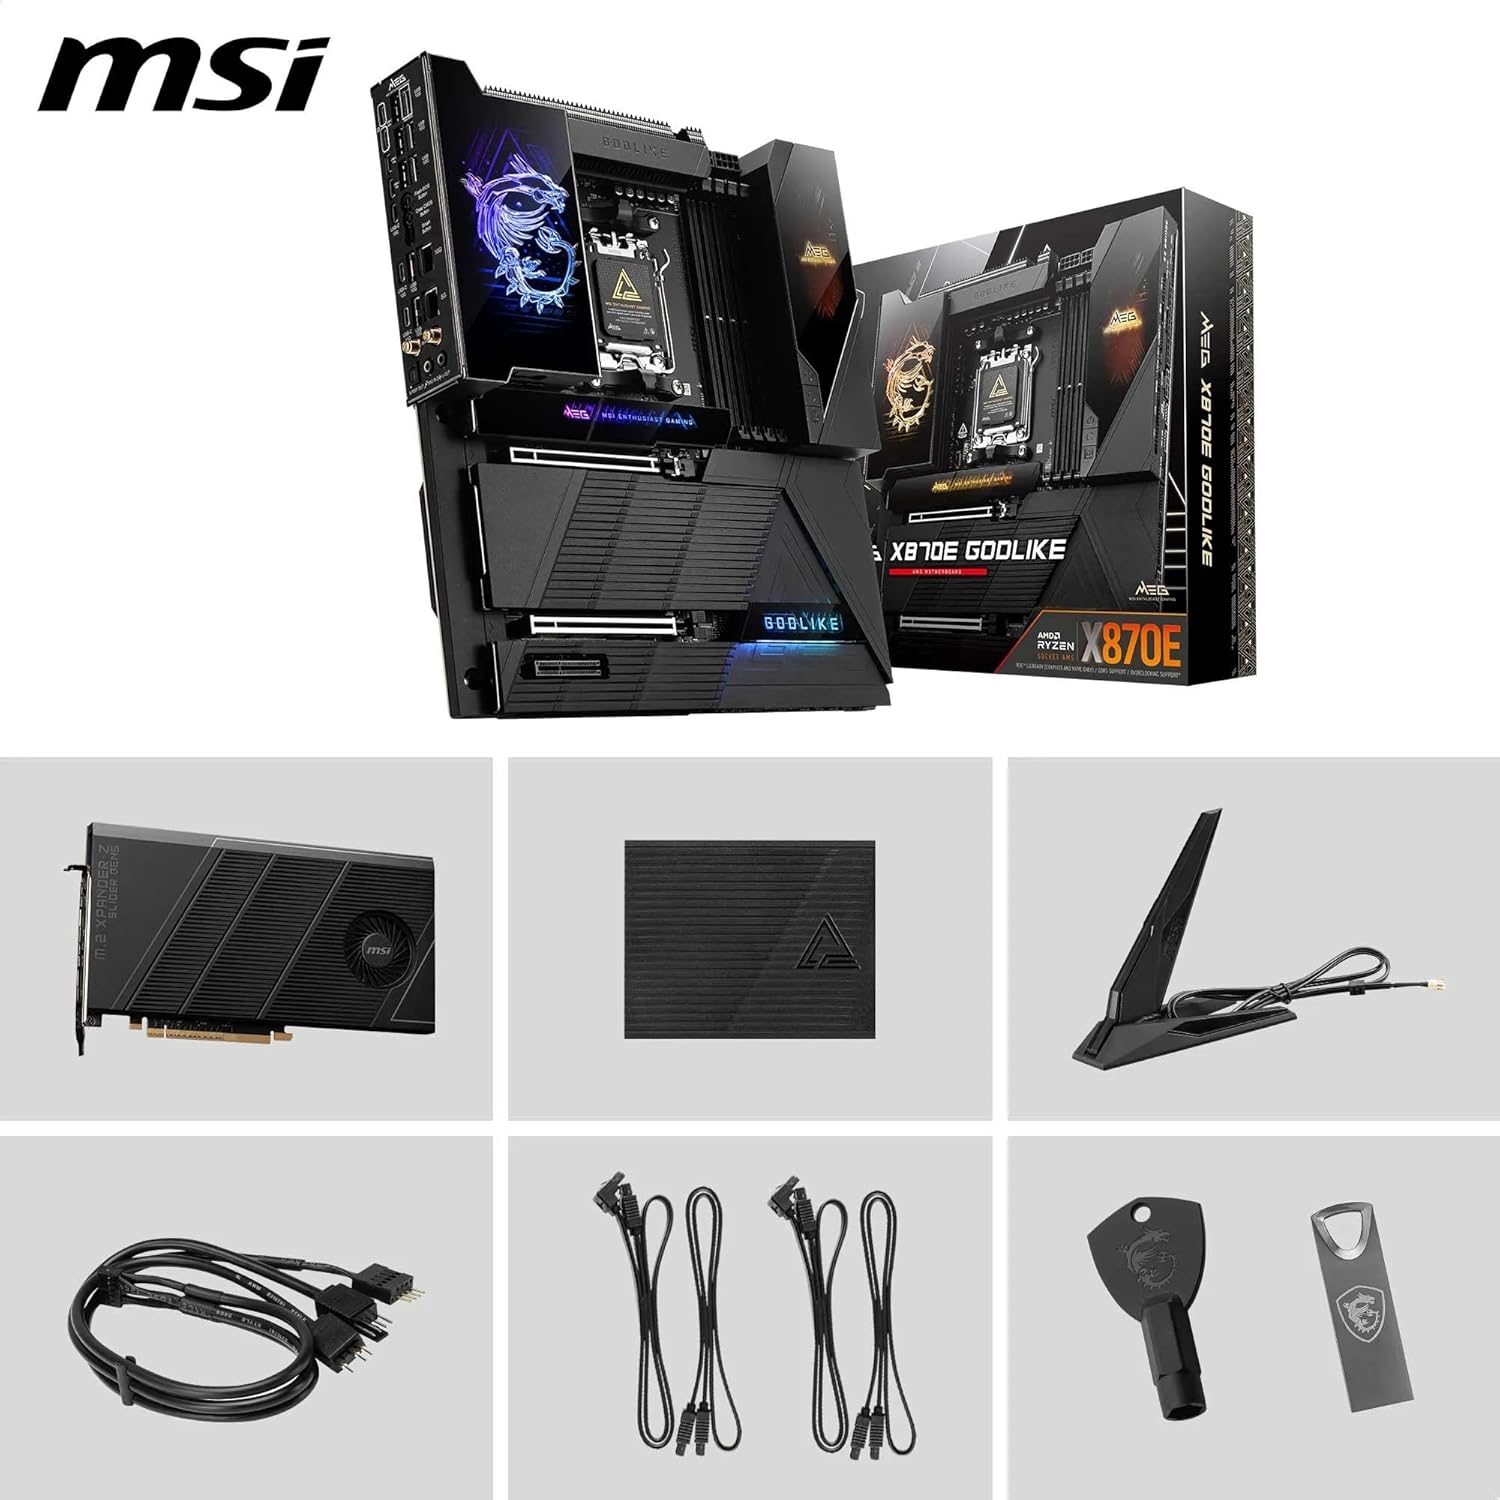
Package Contents
Verify that all items listed below are included in your motherboard package:
- MSI MEG X870E GODLIKE E-ATX Motherboard
- M.2 XPANDER-Z SLIDER GEN5 Card
- Wi-Fi Antenna
- SATA Cables (x2)
- M.2 Screws with Standoffs
- I/O Shield
Setup
1. Component Installation
1.1 CPU Installation (Socket AM5)
Carefully open the CPU socket lever. Align the triangular mark on your AMD Ryzen processor with the corresponding mark on the socket. Gently place the CPU into the socket without applying force. Close the lever to secure the CPU.
1.2 Memory (RAM) Installation (DDR5)
Open the clips on both ends of the DDR5 DIMM slots. Align the notch on the DDR5 memory module with the key in the DIMM slot. Press down firmly on both ends of the memory module until the clips snap into place. This motherboard supports DDR5 memory speeds up to 9000+ MT/s with overclocking.
1.3 M.2 SSD Installation (PCIe 5.0/4.0)
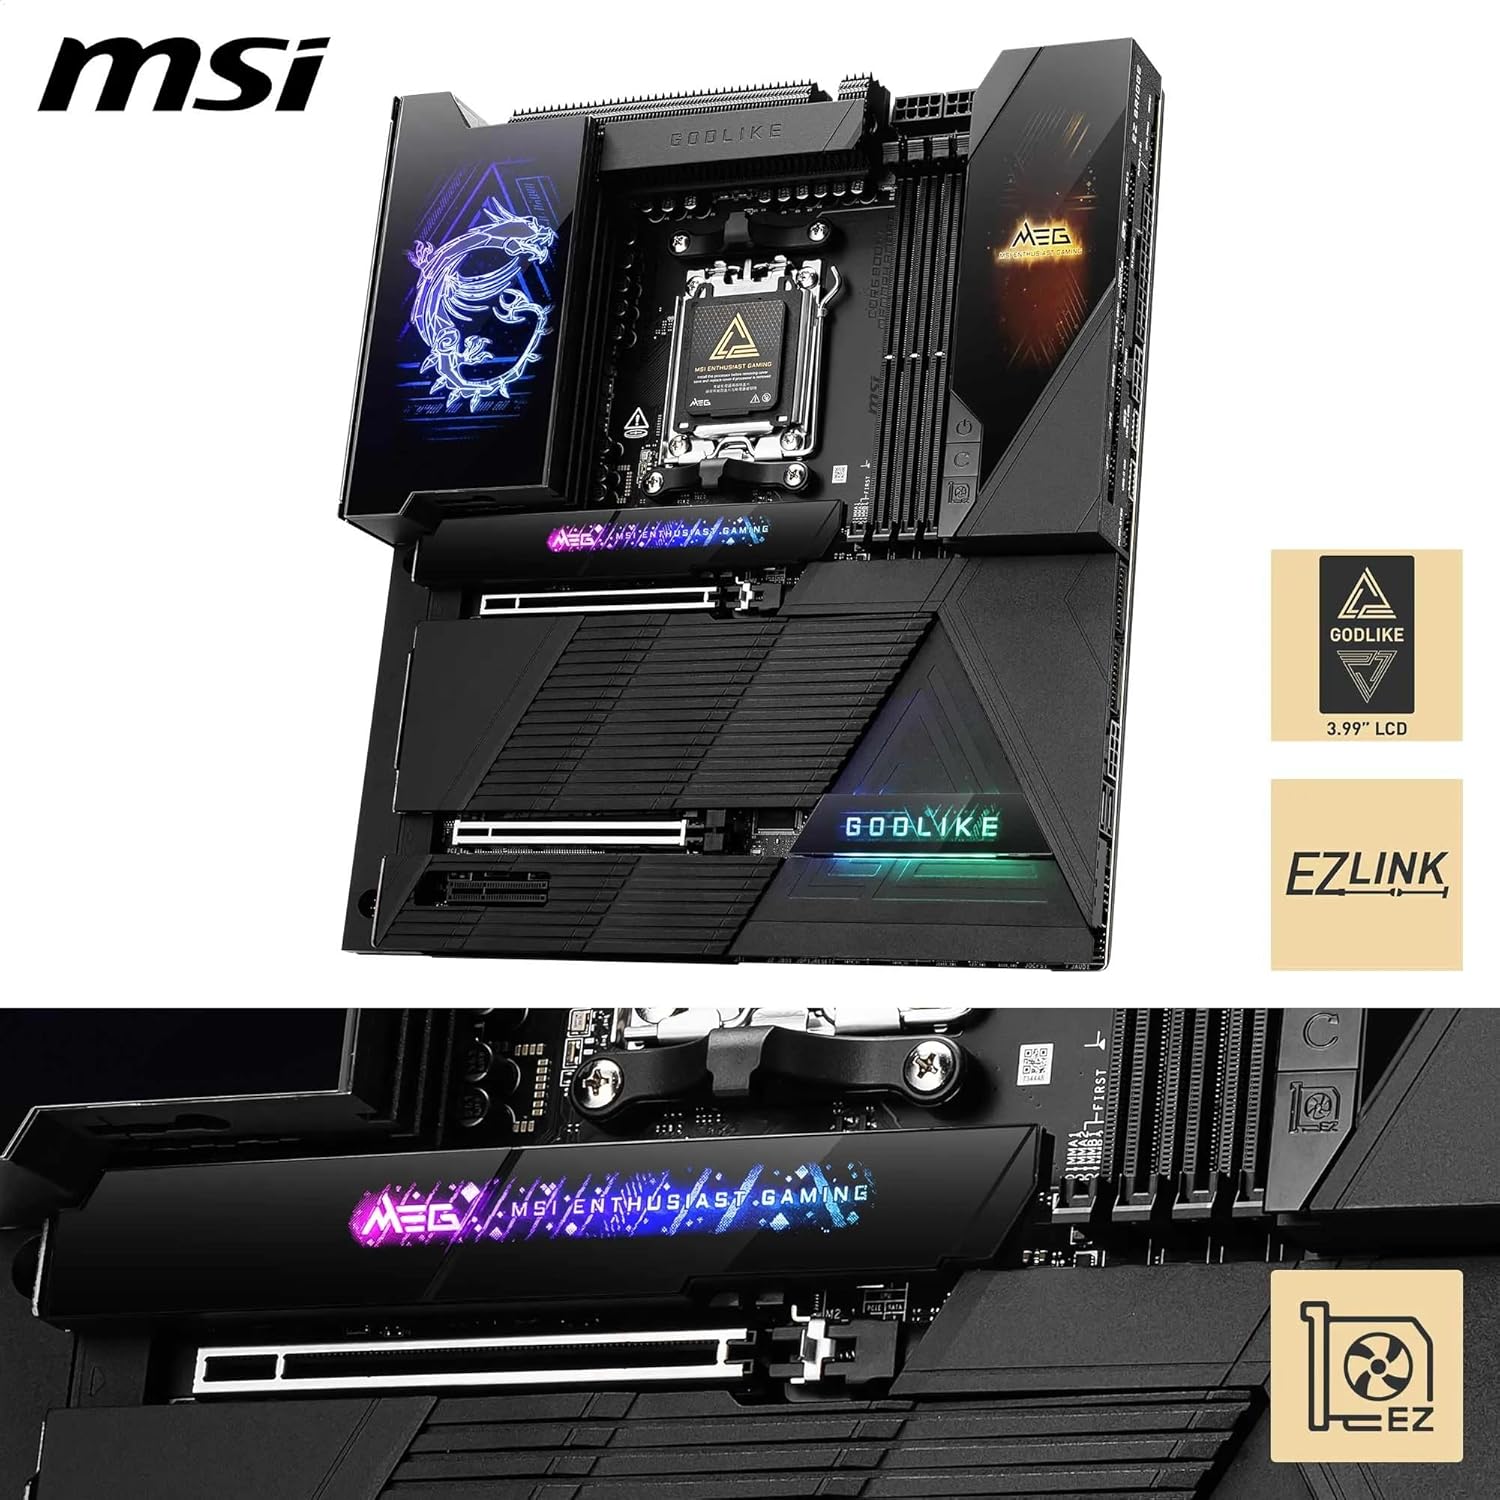
The MEG X870E GODLIKE features onboard M.2 Gen5 x4 and Gen4 x4 slots, along with the M.2 XPANDER-Z SLIDER GEN5 card for additional Gen5 slots. To install an M.2 SSD, locate the desired M.2 slot. Utilize the EZ Slide M.2 mechanism or the EZ M.2 Clip II for tool-less installation. For slots with heatsinks, remove the heatsink, insert the SSD, and reattach the heatsink. The M.2 XPANDER-Z SLIDER GEN5 card provides two additional M.2 Gen5 slots for expanded storage.

1.4 Graphics Card Installation (PCIe 5.0 x16)
Locate the primary PCIe 5.0 x16 slot. Open the retention clip at the end of the slot. Align your graphics card with the slot and press down firmly until it clicks into place. The PCIe Release feature simplifies removal by allowing you to easily unlatch the card.

2. Power Connections
2.1 ATX Power Connectors
Connect the 24-pin ATX power cable from your power supply to the main power connector on the motherboard. Connect the dual 8-pin CPU power cables to the CPU power connectors located near the CPU socket. Ensure all connections are secure.
2.2 Fan Headers
Connect your case fans and CPU cooler fans to the appropriate fan headers on the motherboard. The motherboard includes a Combo-fan header (3A) for versatile cooling solutions.
3. Peripheral Connections
3.1 Rear I/O Panel
Connect your display, keyboard, mouse, and other peripherals to the rear I/O panel. This includes USB4 Type-C (40Gbps with display output), multiple USB 10G ports, Marvell 10G LAN, Realtek 5G LAN, and Wi-Fi 7 antenna connectors. The 7.1 USB High Performance Audio with Audio Boost 5 HD supports S/PDIF output.

3.2 Internal Headers
Connect front panel USB ports, audio jacks, and other case connections to the corresponding internal headers on the motherboard. Refer to the motherboard diagram for exact locations.
Operating
1. Initial Boot and BIOS/UEFI Setup
After assembling your system, power it on. Press the 'Delete' key during startup to enter the BIOS/UEFI setup utility. Here, you can configure system settings, enable DDR5 XMP/EXPO profiles for optimal memory performance, and monitor hardware status. The Dynamic Dashboard III provides real-time hardware monitoring and personalization options.
2. Driver and Software Installation
Once the operating system is installed, install the latest drivers for your motherboard's chipset, LAN, Wi-Fi, and audio components. These drivers are typically available on the MSI official website. Additionally, install MSI's utility software for further system optimization and control.
Maintenance
1. Cooling System
The MEG X870E GODLIKE features a robust Frozr Guard cooling system, including a Wavy fin design, Direct-touch Cross Heat-pipe, 9W/mK MOSFET thermal pads, and double-sided EZ M.2 Shield Frozr II. Regularly check and clean dust from your case fans and heatsinks to maintain optimal thermal performance. Ensure adequate airflow within your PC case.

2. BIOS Updates
Periodically check the MSI official website for the latest BIOS updates. BIOS updates can improve system stability, compatibility, and performance. Follow the instructions provided by MSI for the specific update method (e.g., M-Flash utility, Flash BIOS Button). Always back up your current BIOS settings before updating.
Troubleshooting
- No Display on Boot: Check all power connections, ensure the graphics card is seated correctly, and verify monitor input. Try clearing CMOS using the Clear CMOS button on the rear I/O panel.
- System Instability/Crashes: Ensure all drivers are up to date. Check memory compatibility and stability (e.g., run memory diagnostic tools). Verify CPU and GPU temperatures.
- Peripheral Not Detected: Ensure the peripheral is correctly connected to the appropriate port. Try updating relevant drivers or checking BIOS settings for port enablement.
- Slow Boot Times: Disable unnecessary startup programs. Ensure your operating system is installed on a fast SSD. Check BIOS settings for fast boot options.
Specifications
| Feature | Specification |
|---|---|
| Brand | MSI |
| Model Name | MEG X870E GODLIKE |
| CPU Socket | Socket AM5 |
| Compatible Processors | Supports AMD Ryzen 9000/ 8000/ 7000 Series Desktop Processors |
| Chipset Type | AMD X870E |
| RAM Memory Technology | DDR5 |
| Memory Speed | 9000 MHz (OC) |
| Max Memory Capacity | 256 GB |
| PCIe Slots | PCIe 5.0 x16, PCIe 4.0 x16 |
| M.2 Slots | 2x M.2 Gen5 x4, 3x M.2 Gen4 x4 (onboard); 2x M.2 Gen5 (via M.2 XPANDER-Z SLIDER GEN5) |
| LAN | Marvell 10G LAN + Realtek 5G LAN |
| Wireless Connectivity | Wi-Fi 7, Bluetooth 5.4 |
| USB Ports | USB4 Type-C (40Gbps), USB 10Gbps, etc. |
| Audio | 7.1 USB High Performance Audio with Audio Boost 5 HD |
| Form Factor | E-ATX |
Warranty and Support
Your MSI MEG X870E GODLIKE motherboard comes with a manufacturer's warranty. For detailed warranty terms, technical support, driver downloads, and further assistance, please visit the official MSI website. Keep your proof of purchase for warranty claims.
Official MSI Support: https://www.msi.com/support


