Introduction
Thank you for purchasing the Kenko Pieni 8 Digital Toy Camera. This miniature camera is designed to capture photos and videos with a unique retro aesthetic, reminiscent of 8mm film cameras. Its compact size and simple operation make it an enjoyable device for capturing everyday moments with a nostalgic feel. This manual provides detailed instructions for proper setup, operation, and maintenance of your camera.
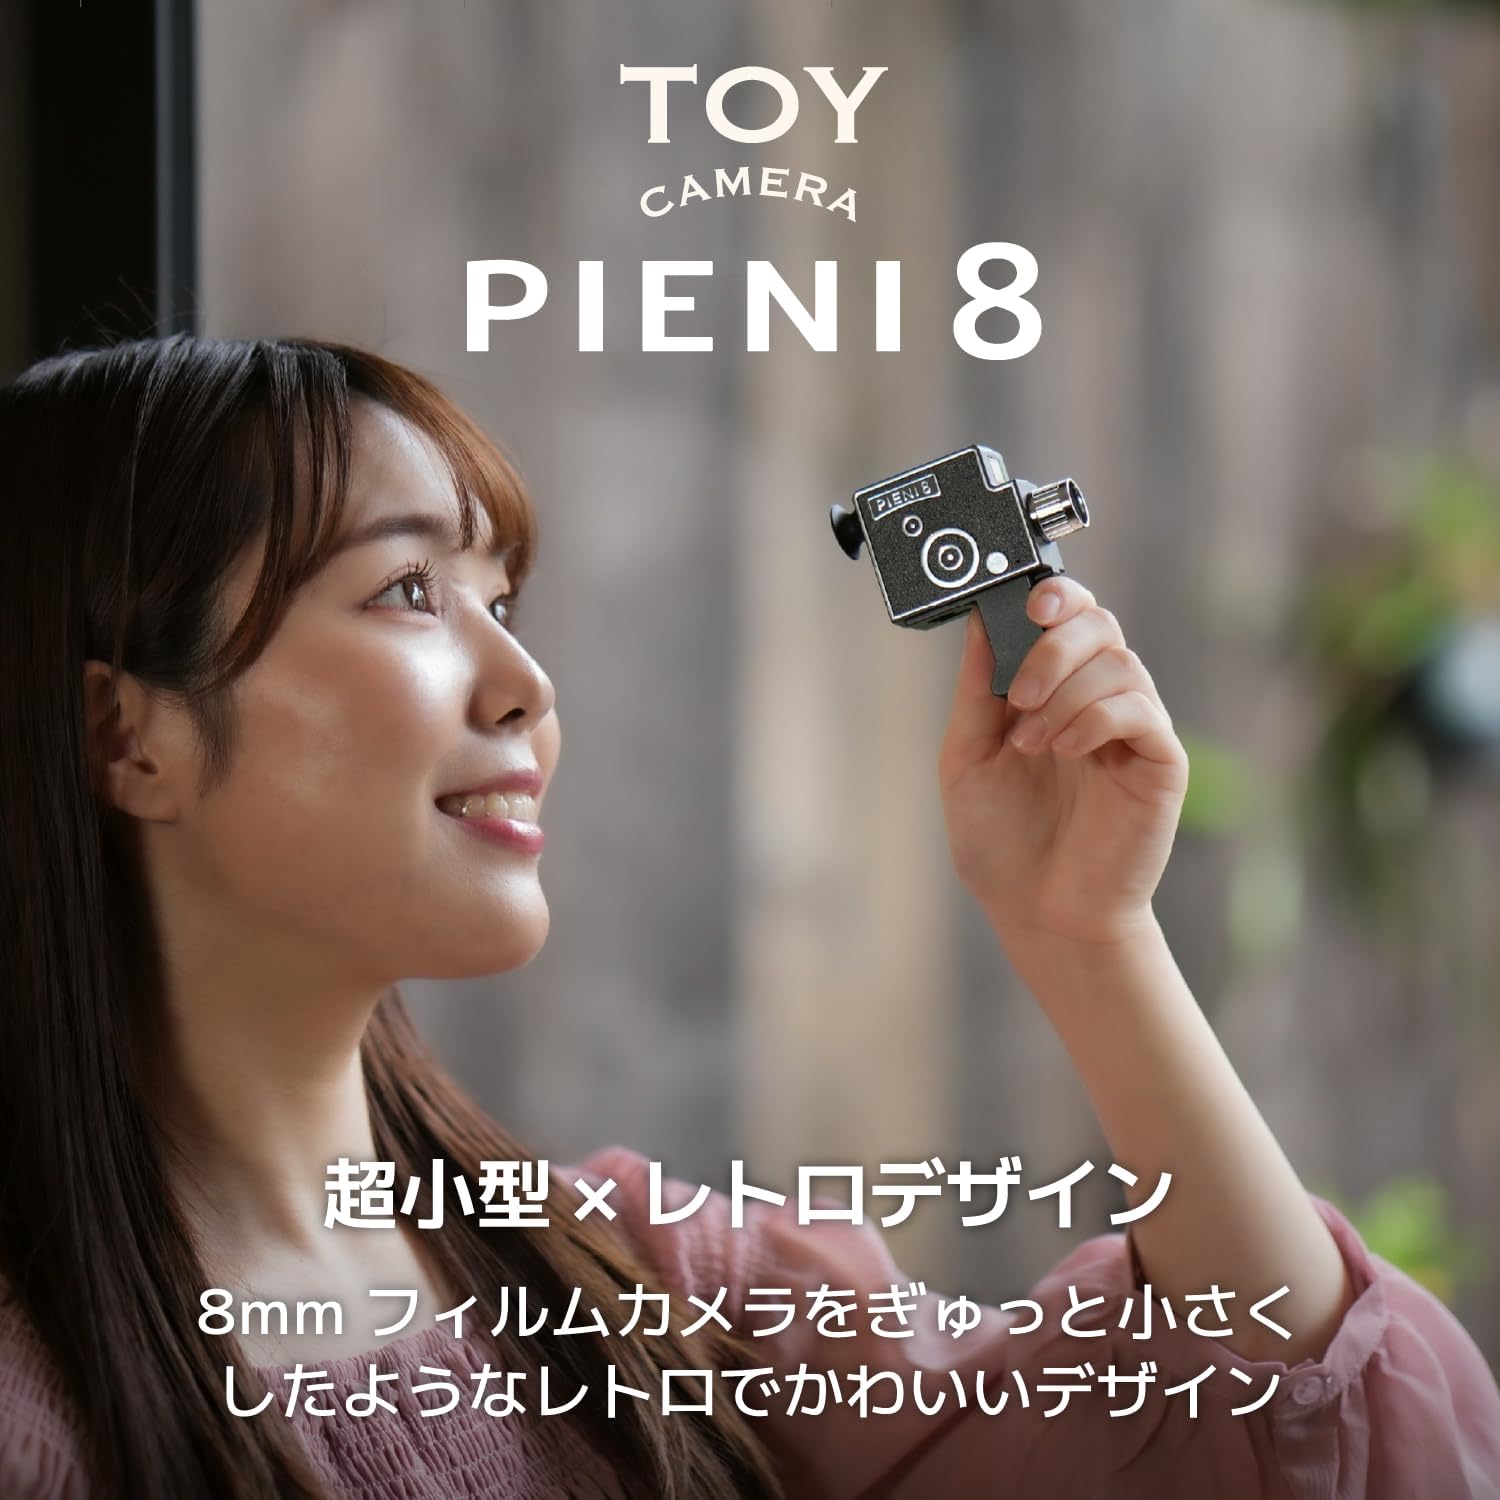
Image: The Kenko Pieni 8 camera, demonstrating its small, handheld form factor.
Safety Information
- Do not expose the camera to water or excessive moisture. The camera is not water-resistant.
- Avoid dropping the camera or subjecting it to strong impacts.
- Keep the camera away from extreme temperatures and direct sunlight.
- Do not attempt to disassemble or modify the camera. This will void the warranty.
- Use only the provided USB cable for charging and data transfer.
- Store the camera and accessories out of reach of small children.
Package Contents
Please check that all the following items are included in your package:
- Kenko Pieni 8 Digital Toy Camera (Main Unit)
- Hand Strap
- Key Chain
- USB Cable (Type-A to Type-C)
- Instruction Manual

Image: The Kenko Pieni 8 camera shown with the hand strap and keychain accessories.
Product Overview
The Kenko Pieni 8 features a simple design with minimal controls, focusing on ease of use and its unique retro output.

Image: Front view of the Kenko Pieni 8 camera, resembling a classic 8mm film camera.
Key Features:
- Retro Image Capture: Records photos and videos with a nostalgic, film-like appearance.
- Audio Recording: Videos include audio.
- Compact Design: Miniature size, ideal for portability.
- MicroSDHC Support: Stores media on external microSDHC cards (up to 32GB, not included).
- USB Type-C: For charging and data transfer.
- No LCD Monitor: Encourages a surprise element when viewing captured media on a computer or smartphone.
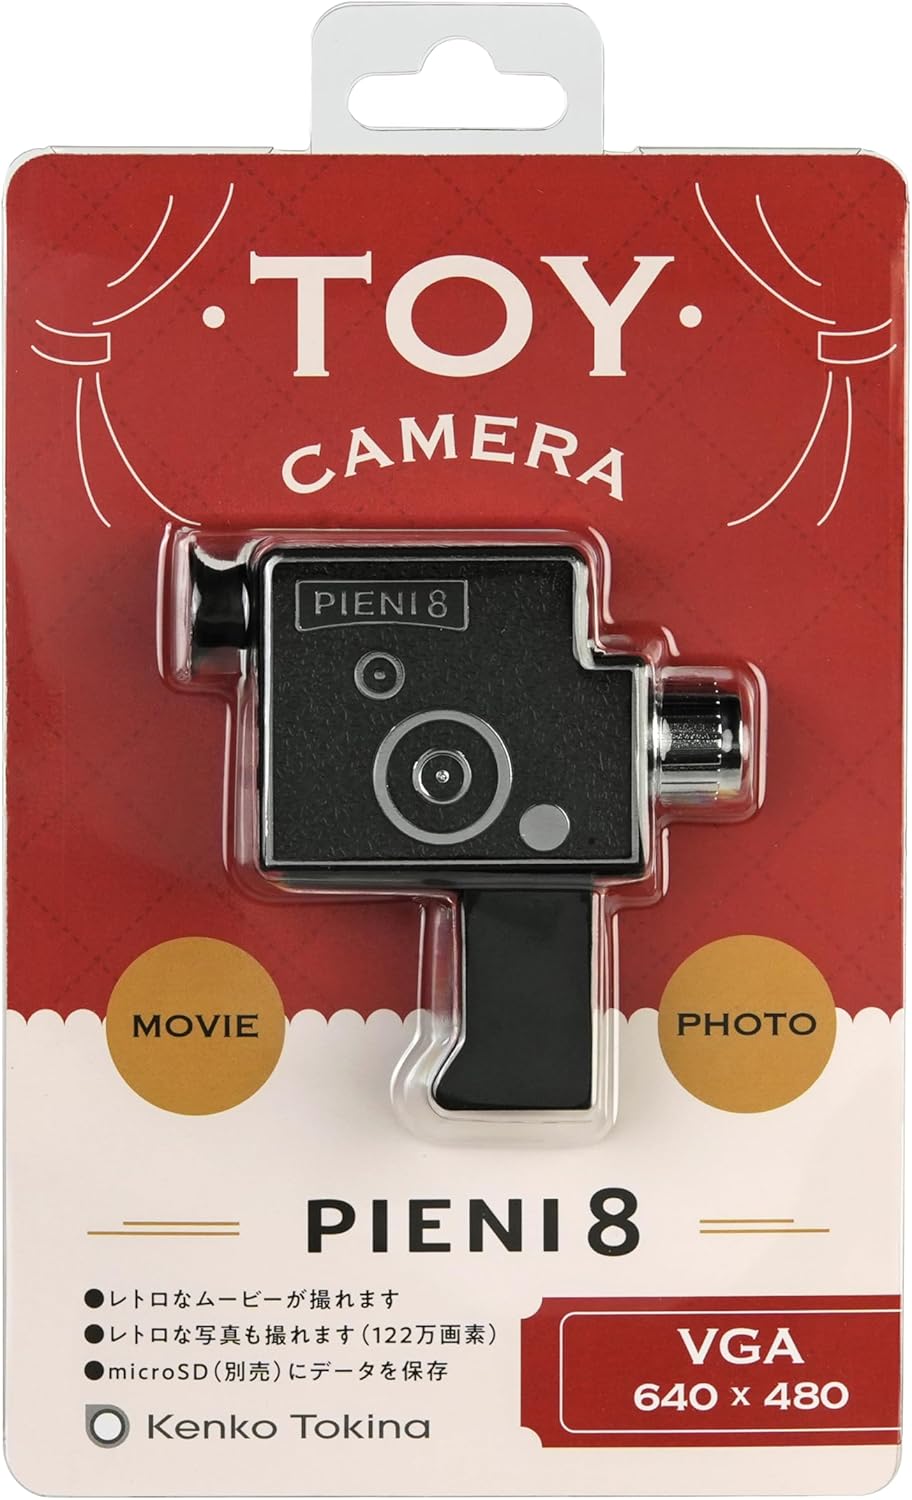
Image: A user looking through the camera's viewfinder, which serves as a guide for framing shots.
Setup
1. Inserting a MicroSD Card
The Kenko Pieni 8 requires a microSDHC card (sold separately, up to 32GB) to store photos and videos. There is no internal memory.
- Locate the microSD card slot on the camera body.
- Gently insert the microSDHC card into the slot with the gold contacts facing down, until it clicks into place.
- To remove the card, push it in gently until it springs out.

Image: The microSD card slot on the camera, indicating where to insert the memory card.
2. Charging the Battery
The camera has a built-in lithium-ion battery. Charge it before first use and whenever the battery is low.
- Connect the small end of the included USB Type-C cable to the USB port on the camera.
- Connect the larger end of the USB Type-A cable to a USB power adapter (not included) or a computer's USB port.
- The charging indicator light will illuminate during charging and turn off when fully charged.

Image: The camera connected via USB-C cable to a computer for charging.
Operating Instructions
Power On/Off
- To power on, press and hold the power button until the indicator light turns on.
- To power off, press and hold the power button until the indicator light turns off.
Taking Photos
- Ensure the camera is powered on and a microSD card is inserted.
- Point the camera at your subject. Use the viewfinder for general framing.
- Press the shutter button once to take a photo. The indicator light may flash briefly.
Recording Videos
- Ensure the camera is powered on and a microSD card is inserted.
- Point the camera at your subject.
- Press and hold the shutter button to start recording video. The indicator light will typically remain on or flash slowly.
- Release the shutter button to stop recording.

Image: A sample image demonstrating the retro video and photo style produced by the camera.
Transferring Data
Since the Pieni 8 does not have an LCD screen, you will need to transfer files to a computer or smartphone to view them.
- Connect the camera to your computer using the provided USB Type-C cable.
- The camera will appear as a removable storage device (like a USB drive).
- Open the camera's folder and copy the desired photo (JPEG) and video (MJPEG/AVI) files to your computer.
- Alternatively, you can remove the microSD card and insert it into a card reader connected to your computer or smartphone.
Maintenance
- Cleaning: Use a soft, dry cloth to wipe the camera body. For the lens, use a lens cleaning cloth. Do not use liquid cleaners or abrasive materials.
- Storage: When not in use for extended periods, store the camera in a cool, dry place, away from direct sunlight and dust. Ensure the battery is partially charged (around 50%) before long-term storage to prolong battery life.
- Battery Care: Avoid fully discharging the battery frequently. Recharge it regularly to maintain optimal performance.
Troubleshooting
- Camera does not power on:
- Ensure the battery is charged. Connect the camera to a power source using the USB cable and allow it to charge for at least 30 minutes.
- Press and hold the power button firmly for a few seconds.
- Cannot take photos/videos:
- Check if a microSDHC card is properly inserted.
- Ensure the microSDHC card has sufficient free space.
- The battery might be too low. Charge the camera.
- Files are not appearing on the computer:
- Ensure the USB cable is securely connected to both the camera and the computer.
- Try a different USB port on your computer.
- Try removing the microSD card and using a separate card reader.
- Ensure the camera is powered on when connected to the computer for data transfer.
- Poor image/video quality:
- The Pieni 8 is designed for a retro, lo-fi aesthetic. Image quality will not be comparable to modern digital cameras.
- Ensure the lens is clean and free of smudges.
- Shoot in well-lit environments, as the camera has fixed ISO sensitivity.
Specifications
| Feature | Detail |
|---|---|
| Image Sensor | 1/9 type 1.2 megapixel CMOS sensor |
| Lens | f=1.8mm F2.8 |
| Shooting Distance | Approx. 0.3 m ~ (fixed focus) |
| Internal Memory | None |
| External Memory | microSDHC card (~32GB) |
| Still Image Format | JPEG |
| Video Format | MJPEG (AVI) |
| Still Image Size | 1280 x 960 |
| Video Size | 640 x 480 30 fps (12 fps for retro effect) |
| Shutter Speed | 1/100 seconds (fixed) |
| ISO Sensitivity | 100 (fixed) |
| Power Supply | Lithium-ion battery (built-in) |
| Input/Output Port | USB Type-C port (for charging and data transfer) |
| Dimensions (L x W x H) | Approx. 76 x 77 x 23 mm (0.91 x 2.99 x 3.03 inches) |
| Weight | Approx. 32 g (main unit only) |
| Color | Black |
Note: Specifications are subject to change without notice for product improvement.
Warranty and Support
Warranty Information
Kenko products are manufactured under strict quality control standards. This product is covered by a limited warranty against defects in materials and workmanship from the date of purchase. Please refer to the warranty card included in your package for specific terms and conditions, including the warranty period and claim procedures. Keep your proof of purchase for warranty service.
Customer Support
If you encounter any issues or have questions regarding your Kenko Pieni 8 Digital Toy Camera that are not addressed in this manual, please contact Kenko customer support. Contact information can typically be found on the Kenko official website or on the warranty card.
For the latest information and support resources, please visit the official Kenko website: www.kenko-tokina.co.jp/english/