1. Important Safety Information
Please read all instructions carefully before using the Molypet Automatic Pet Feeder. Failure to follow these instructions may result in product damage or injury.
- Use this product for dry pet food only. Do not use wet, canned, or moist food.
- This appliance is intended for indoor use only. Do not expose to rain or moisture.
- Keep the feeder and its power cord out of reach of children and pets to prevent entanglement or accidental tipping.
- Always ensure the power adapter is connected to a proper electrical outlet.
- Do not immerse the main feeder unit in water or any other liquid.
- Unplug the feeder when not in use or before cleaning.
2. Product Overview
The Molypet Automatic Pet Feeder is designed to provide convenient and consistent feeding for your pets, especially suitable for households with two cats. It features a large capacity, programmable feeding schedules, and a voice recording function to call your pets for meals.
2.1 Key Features
- Dual Bowl Design: Equipped with a bidirectional separator to distribute food into two bowls, allowing multiple pets to eat simultaneously.
- Flexible Feeding Schedule: Program up to 6 meals per day, with 1 to 50 portions (10g to 500g) per meal, customizable to your pet's needs.
- Anti-Jam Mechanism: Features a unique rotor design that automatically reverses to clear any stuck food, ensuring consistent dispensing.
- Large 6L Capacity: Stores approximately 25.4 cups of dry food, reducing refill frequency and ensuring fresh food with a triple seal design.
- Power-Off Memory: Built-in chip retains time and settings for up to 7 days in case of power failure, eliminating the need for reprogramming.
- 10-Second Voice Recorder: Record a personalized message to call your pets at meal times.
2.2 Components
Familiarize yourself with the parts of your Molypet Automatic Pet Feeder:
- Main Feeder Unit (with control panel and display)
- Food Storage Tank (6L capacity)
- Lid
- Food Outlet Separator
- Stainless Steel Bowls (x2)
- Power Adapter (USB cable)
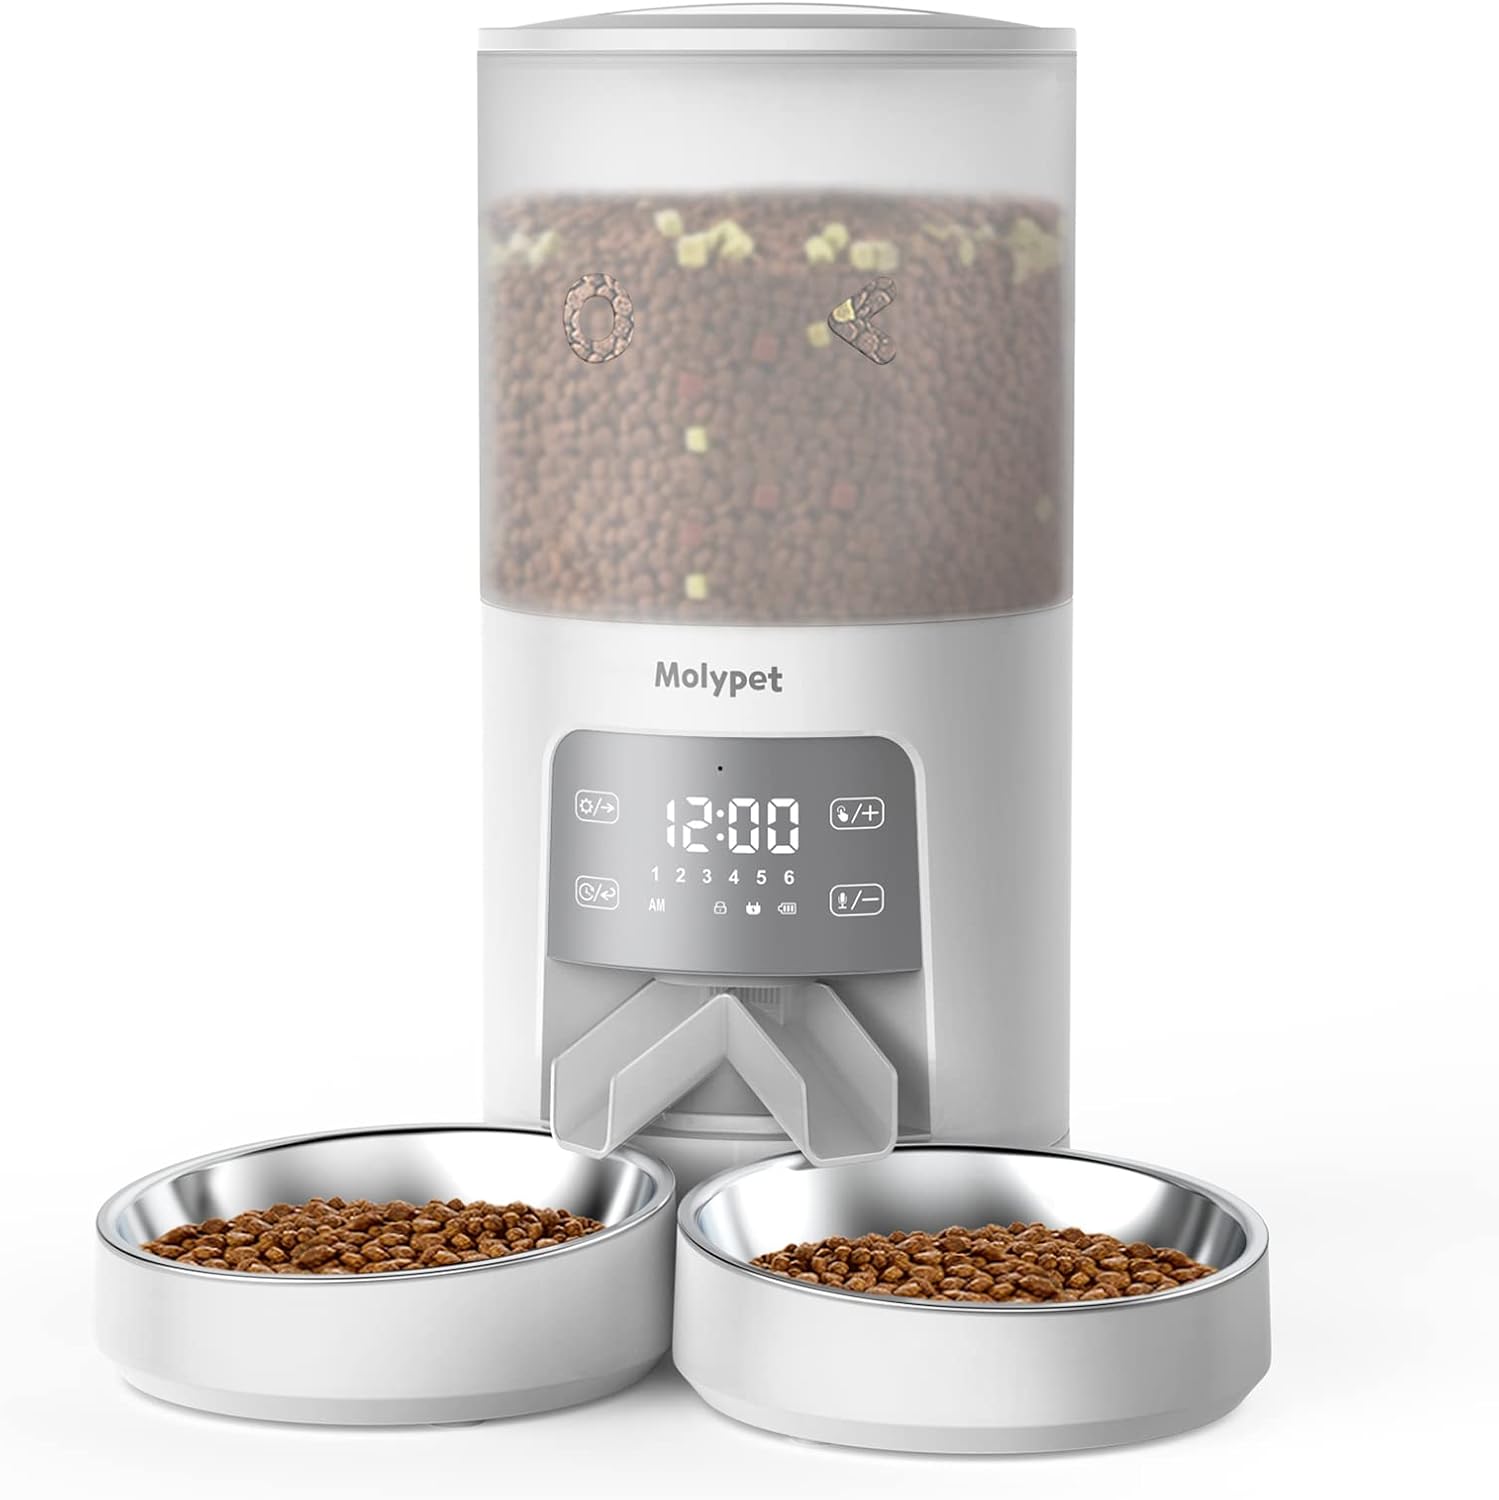
Figure 2.1: Overview of the Molypet Automatic Pet Feeder with its dual bowls and control panel.

Figure 2.2: The dual bowl design allows two pets to eat simultaneously without waiting.

Figure 2.3: The 6L (25.4 cups) capacity ensures sufficient food for extended periods, suitable for two adult cats for approximately two weeks.
3. Setup Instructions
Follow these steps to set up your Molypet Automatic Pet Feeder:
3.1 Unpacking
- Carefully remove all components from the packaging.
- Check for any damage during transit. If any parts are damaged or missing, contact customer support.
- Remove any protective films or packaging materials from the feeder.
3.2 Assembly
- Place the main feeder unit on a flat, stable surface.
- Insert the food outlet separator into the designated slot at the bottom of the feeder.
- Place the two stainless steel bowls onto the base, aligning them with the food outlets.
- Open the lid of the food storage tank.
- Fill the food storage tank with dry pet food. Ensure the food kibble size is appropriate for the feeder mechanism (typically 2-15mm).
- Close the lid securely to maintain food freshness.
3.3 Power Connection
- Connect the USB power cable to the feeder's power input port.
- Plug the other end of the USB cable into a standard wall adapter and then into a power outlet.
- The feeder display will light up, indicating it is powered on.
4. Operating Instructions
This section guides you through programming and operating your Molypet Automatic Pet Feeder.
4.1 Setting the Current Time
- Press and hold the "Set" button (often represented by a gear icon or "SET") until the hour digit flashes.
- Use the "+" and "-" buttons to adjust the hour.
- Press "Set" again to move to the minute digit, then adjust with "+" and "-".
- Press "Set" one more time to save the time.
4.2 Programming Meal Schedules
The feeder supports up to 6 meals per day.
- Press the "Meal" button (often represented by a food bowl icon or "M") to enter meal programming mode. The meal number (e.g., "1") will flash.
- Use "+" and "-" to select the meal number you wish to program (1-6).
- Press "Set" to confirm the meal number. The hour digit for that meal will flash.
- Adjust the hour and minute for the meal time using "+" and "-", pressing "Set" to move between them.
- After setting the time, the portion number will flash. Adjust the number of portions (1-50) using "+" and "-". Each portion is approximately 10g.
- Press "Set" to save the settings for the current meal.
- Repeat steps 1-6 for additional meals. To disable a meal, set its portion size to "0".
4.3 Voice Recording
You can record a 10-second voice message to play at each meal time.
- Press and hold the "Record" button (often represented by a microphone icon) until you hear a beep.
- Speak clearly into the microphone for up to 10 seconds.
- Release the "Record" button when finished. You will hear another beep, indicating the recording is saved.
- To test the recording, press the "Play" button (often represented by a speaker icon).
- To delete the recording, press and hold the "Record" button until you hear two beeps.
4.4 Manual Feeding
To dispense food manually, press the "Manual Feed" button (often represented by a food dispensing icon or "FEED"). Each press will dispense one portion.
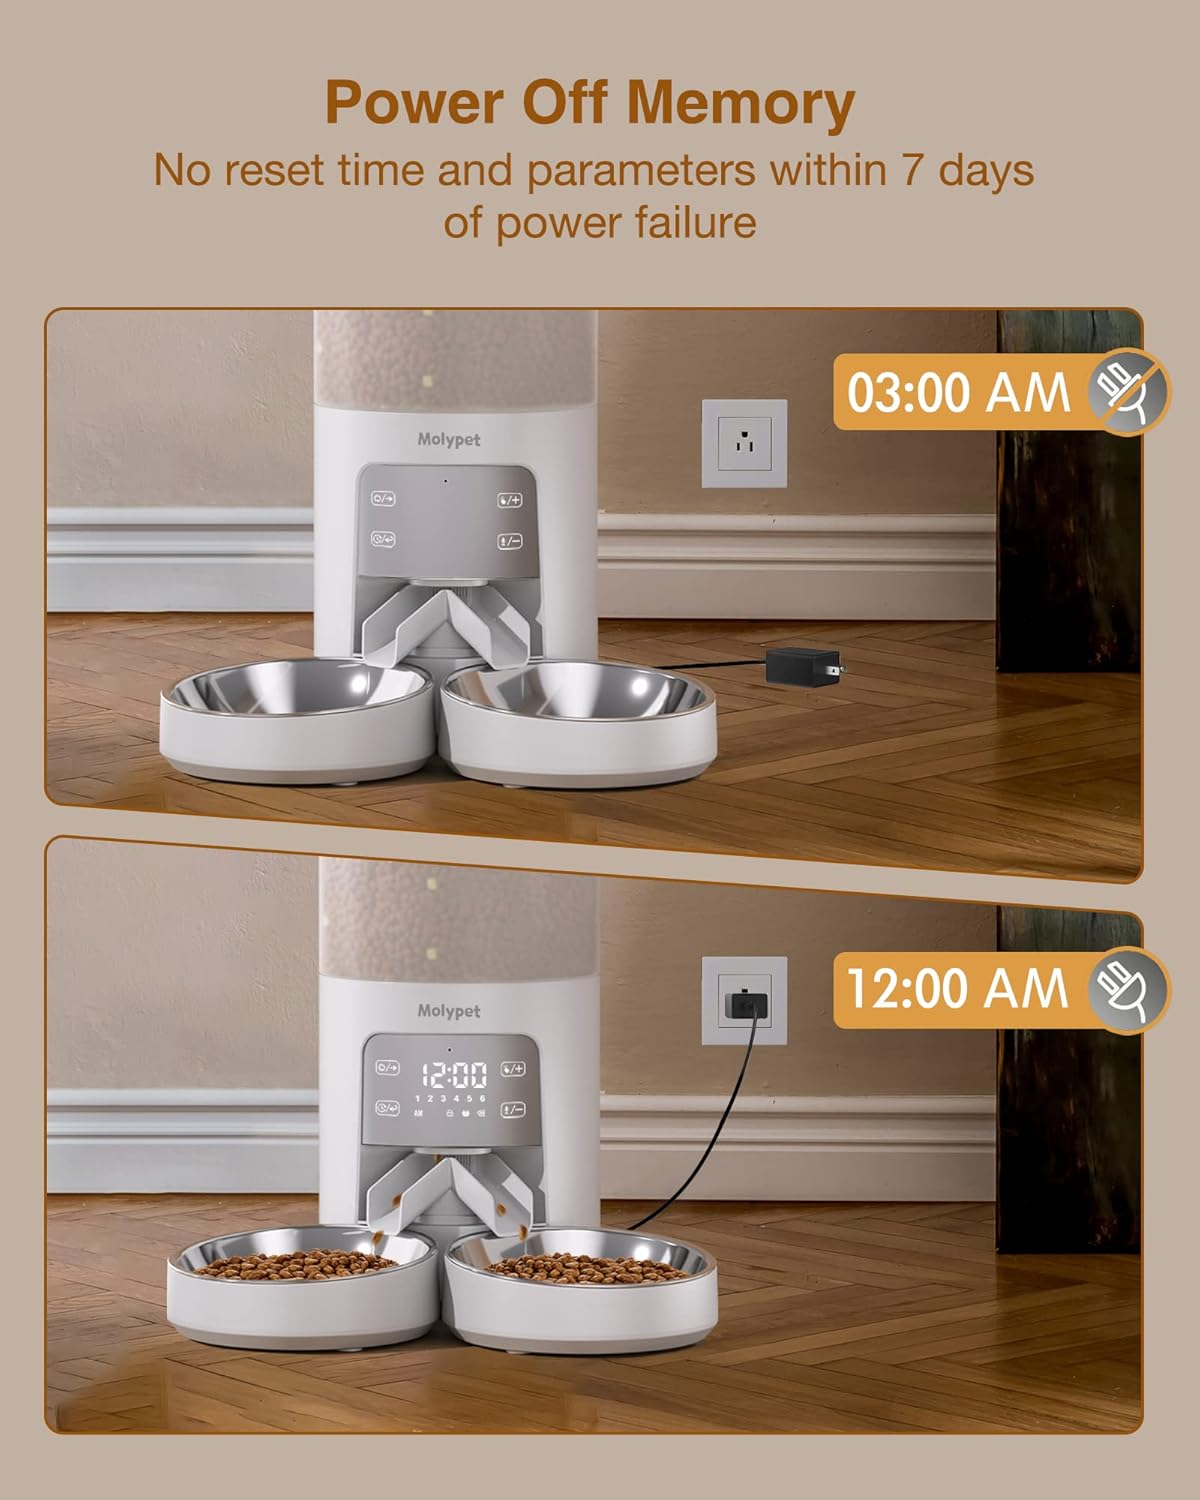
Figure 4.1: The feeder retains its settings for up to 7 days during a power outage, ensuring consistent feeding schedules.
5. Maintenance and Cleaning
Regular cleaning ensures the longevity and hygienic operation of your Molypet Automatic Pet Feeder.
5.1 Disassembly for Cleaning
- Unplug the feeder from the power outlet.
- Remove any remaining food from the storage tank.
- Detach the food storage tank from the main feeder base.
- Remove the stainless steel bowls and the food outlet separator.
5.2 Cleaning Instructions
- Food Storage Tank, Lid, Bowls, and Separator: These parts can be hand-washed with mild soap and water. Rinse thoroughly and allow them to air dry completely before reassembly.
- Main Feeder Unit (Base): The base is NOT washable. Wipe the exterior of the main feeder unit with a soft, damp cloth. Do not use abrasive cleaners or immerse the unit in water. Ensure no water enters the control panel or power port.
5.3 Reassembly
- Ensure all cleaned parts are completely dry.
- Reattach the food storage tank to the main feeder base.
- Reinsert the food outlet separator.
- Place the stainless steel bowls back onto the base.
- The feeder is now ready for refilling and use.

Figure 5.1: The feeder can be easily disassembled for thorough cleaning of the food contact parts. Note: The base unit is not washable.
6. Troubleshooting
If you encounter issues with your Molypet Automatic Pet Feeder, refer to the following common problems and solutions:
| Problem | Possible Cause | Solution |
|---|---|---|
| Feeder not powering on. | Power adapter not connected, power outlet issue. | Ensure the power adapter is securely plugged into the feeder and a working wall outlet. Try a different outlet. |
| Food not dispensing. | Food tank empty, food stuck, incorrect programming. | Check food level. Verify programming settings (meal times, portions). Check for food blockage in the dispenser mechanism. |
| Food gets stuck frequently. | Kibble size too large, food moisture, debris. | Ensure kibble size is within recommended range (2-15mm). Ensure food is dry. Clean the dispensing mechanism thoroughly. The feeder has an anti-jam rotor that will attempt to clear blockages. |
| Voice recording not playing. | No recording saved, volume too low. | Re-record the message. Ensure the volume is not muted (if applicable, check manual for volume control). |
| Settings lost after power outage. | Power outage exceeded 7 days. | The feeder retains settings for up to 7 days. If the outage was longer, reprogram the settings. |

Figure 6.1: The internal rotor automatically reverses to clear any stuck food, then returns to normal operation.
7. Product Specifications
| Brand | Molypet |
| Model Number | F02 |
| Capacity | 6 Liters (approx. 25.4 cups) |
| Dimensions (L x W x H) | 19.61 x 19.61 x 45.01 cm (7.72 x 7.72 x 17.72 inches) |
| Weight | 2.94 kg (6.48 lbs) |
| Material | Polyethylene Terephthalate, Stainless Steel |
| Power Source | AC Power Adapter (USB cable included) |
| Recommended Food Type | Dry pet food (kibble size 2-15mm) |
| Number of Meals per Day | 1-6 meals |
| Portions per Meal | 1-50 portions (approx. 10g per portion) |
| Voice Recording Length | 10 seconds |
| Power-Off Memory | Retains settings for up to 7 days |


