1. Important Safety Information
Please observe the following safety precautions to reduce the risk of fire, electric shock, personal injury, or damage to the appliance.
- This high-power product requires a 220~240V hard-wired connection. It does not have a plug. Installation must be performed by a qualified electrician.
- Do not touch hot surfaces. Use handles or knobs.
- Always supervise children near the appliance. The Child Safety Lock feature should be used to prevent accidental operation.
- Do not use aluminum, glass, ceramic, or copper cookware on this induction cooktop. Only magnetic material cookware is compatible.
- Ensure proper ventilation around the cooktop.
- Do not store flammable materials near the cooktop.
- In case of malfunction, disconnect power and contact customer support. Do not attempt repairs yourself.
- The cooktop features a Residual Heat Indicator ('H') to warn when surfaces are still hot after use.
- Overheat Protection and Auto-switch off functions are integrated for safety.
2. Product Overview
The Noxton 30 inch Induction Cooktop is a 7200W electric cooktop featuring 4 cooking zones with Boost functionality, 9 power settings, a timer, child safety lock, and pause function. It is designed for 220-240V hard-wired installation.

Image 1: Top-down view of the Noxton 30 inch Induction Cooktop, showing the four cooking zones and touch control panel.
Key Features:
- 4 BOOST Burners: Two burners can boost to 2500W, two to 1800W for rapid heating.
- 9 Power Settings: Flexible heat control for various cooking needs.
- Timer Function: Set cooking duration from 0 to 99 minutes.
- Child Safety Lock: Prevents accidental operation.
- Pause Function: Temporarily stops cooking.
- Residual Heat Indicator: Displays 'H' when a cooking zone is hot.
- Overheat Protection: Automatic shutdown if temperature exceeds safe limits.
- Vitro Ceramic Glass Surface: Durable and easy to clean.
3. Installation and Setup
This appliance must be installed by a qualified electrician in accordance with local electrical codes.
Electrical Connection:
- The cooktop requires a 220-240V~, 50/60Hz power supply.
- It must be hard-wired to a dedicated circuit with a 32-40 Amp breaker.
- The appliance does not come with a plug.
Cut-out Dimensions:
Ensure the heat-resistant work surface is square and level before installation.
- Stovetop size: 30.31" x 20.47" (77 cm x 52 cm)
- Cut-out size: 29.13" x 19.3" x 1.73" (74 cm x 49 cm x 4.4 cm)
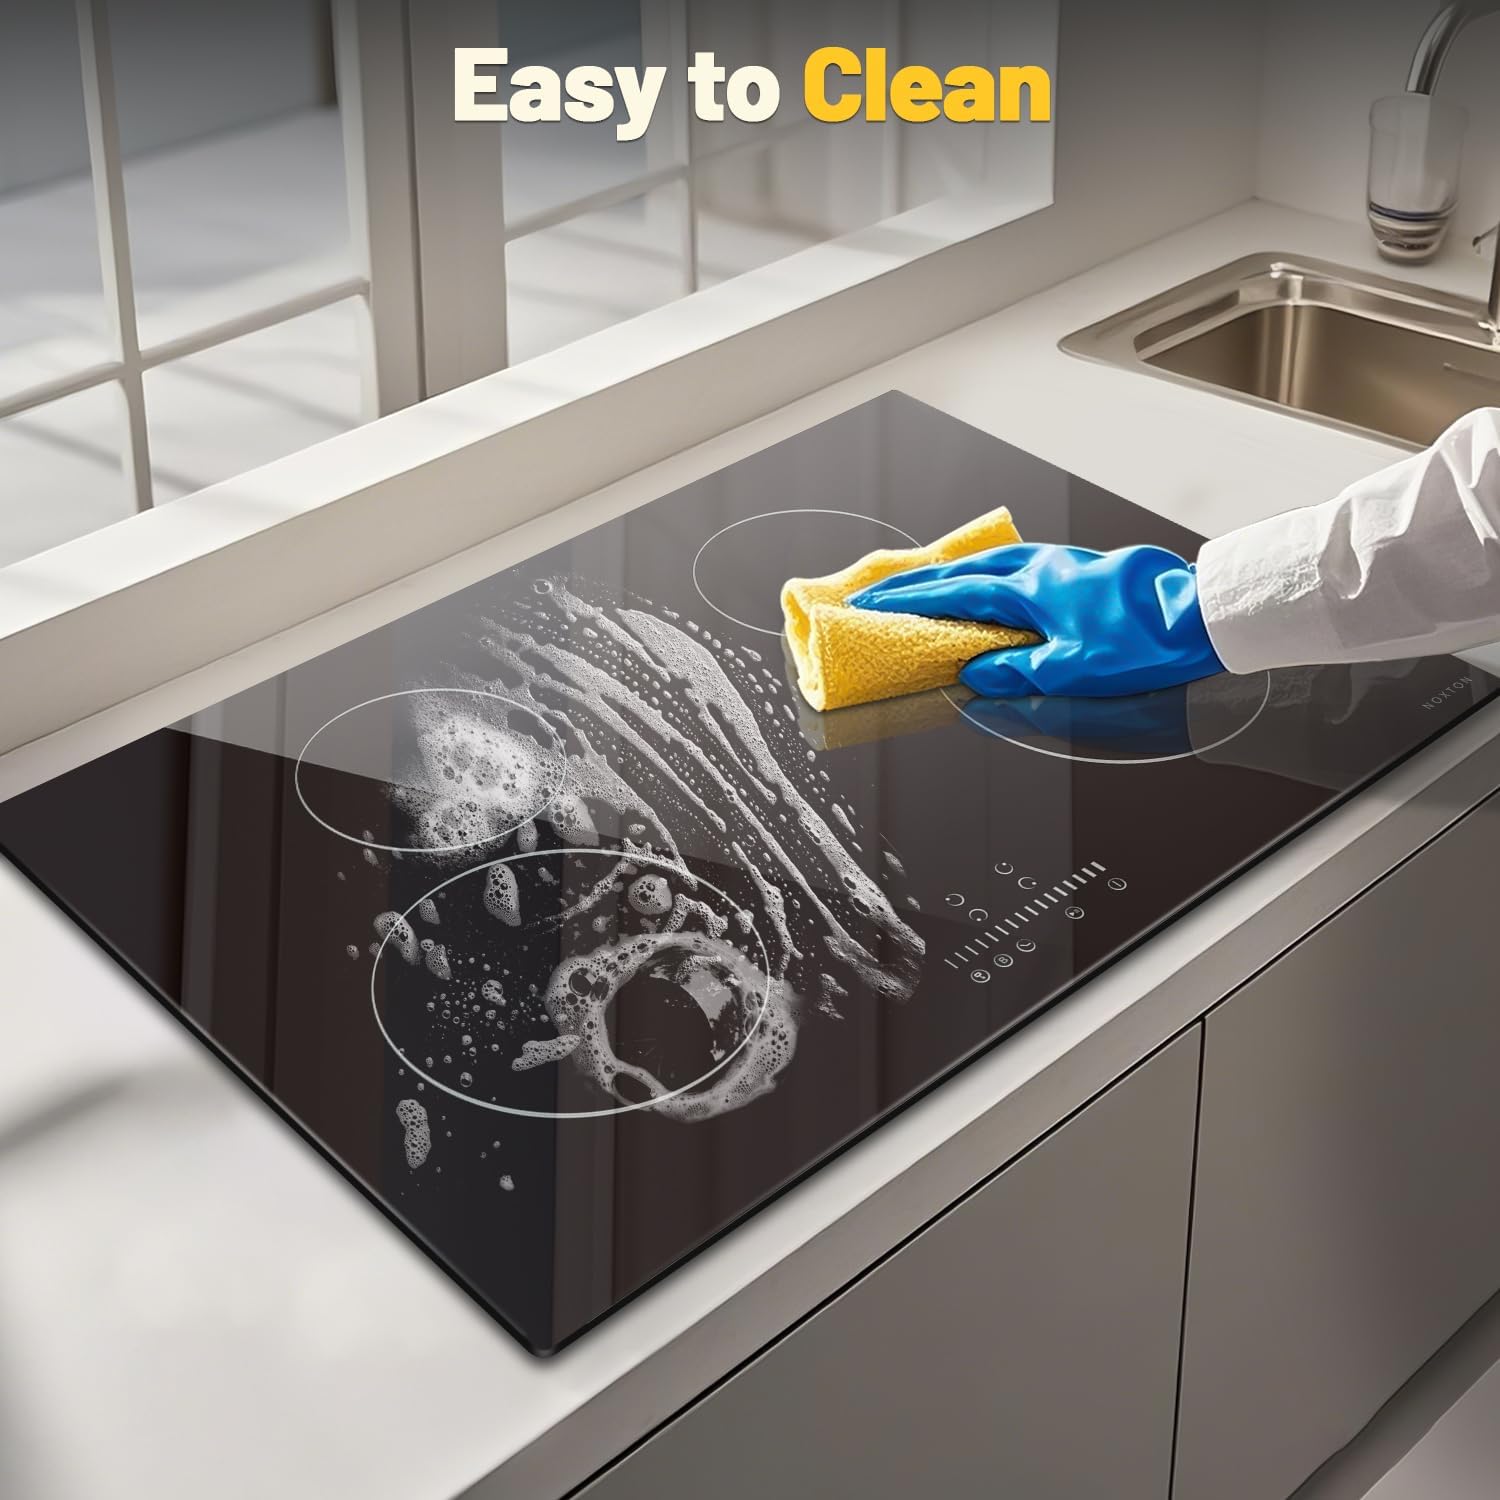
Image 2: Diagram showing the stovetop and cut-out dimensions, along with a wiring diagram for 220-240V hard-wired installation.
An installation kit and cleaning scraper are included with the product.
4. Operating Instructions
The cooktop features sensitive slide touch controls for easy operation.

Image 3: Close-up of the cooktop's multi-functional touch screen with swipe control, highlighting features like Child Lock, Timer, Stop&Go, Power/Timer regulating controls, BOOST control, and ON/OFF control.
Power On/Off:
- Press the ON/OFF button to turn the cooktop on or off.
Selecting a Cooking Zone and Power Level:
- After turning on, select the desired cooking zone by touching its corresponding control.
- Adjust the power level from P1 to P9 using the slide touch control or +/- buttons.
- The cooktop offers 9 power levels, allowing precise control for various cooking methods.

Image 4: Visual representation of the 9 power levels (P1-P9) and their typical uses, from simmering to boiling.
Boost Function:
- Activate the BOOST function to temporarily increase the power of a cooking zone for faster heating.
- Left Rear Zone and Right Rear Zone can boost to 2500W.
- Left Front Zone and Right Front Zone can boost to 1800W.
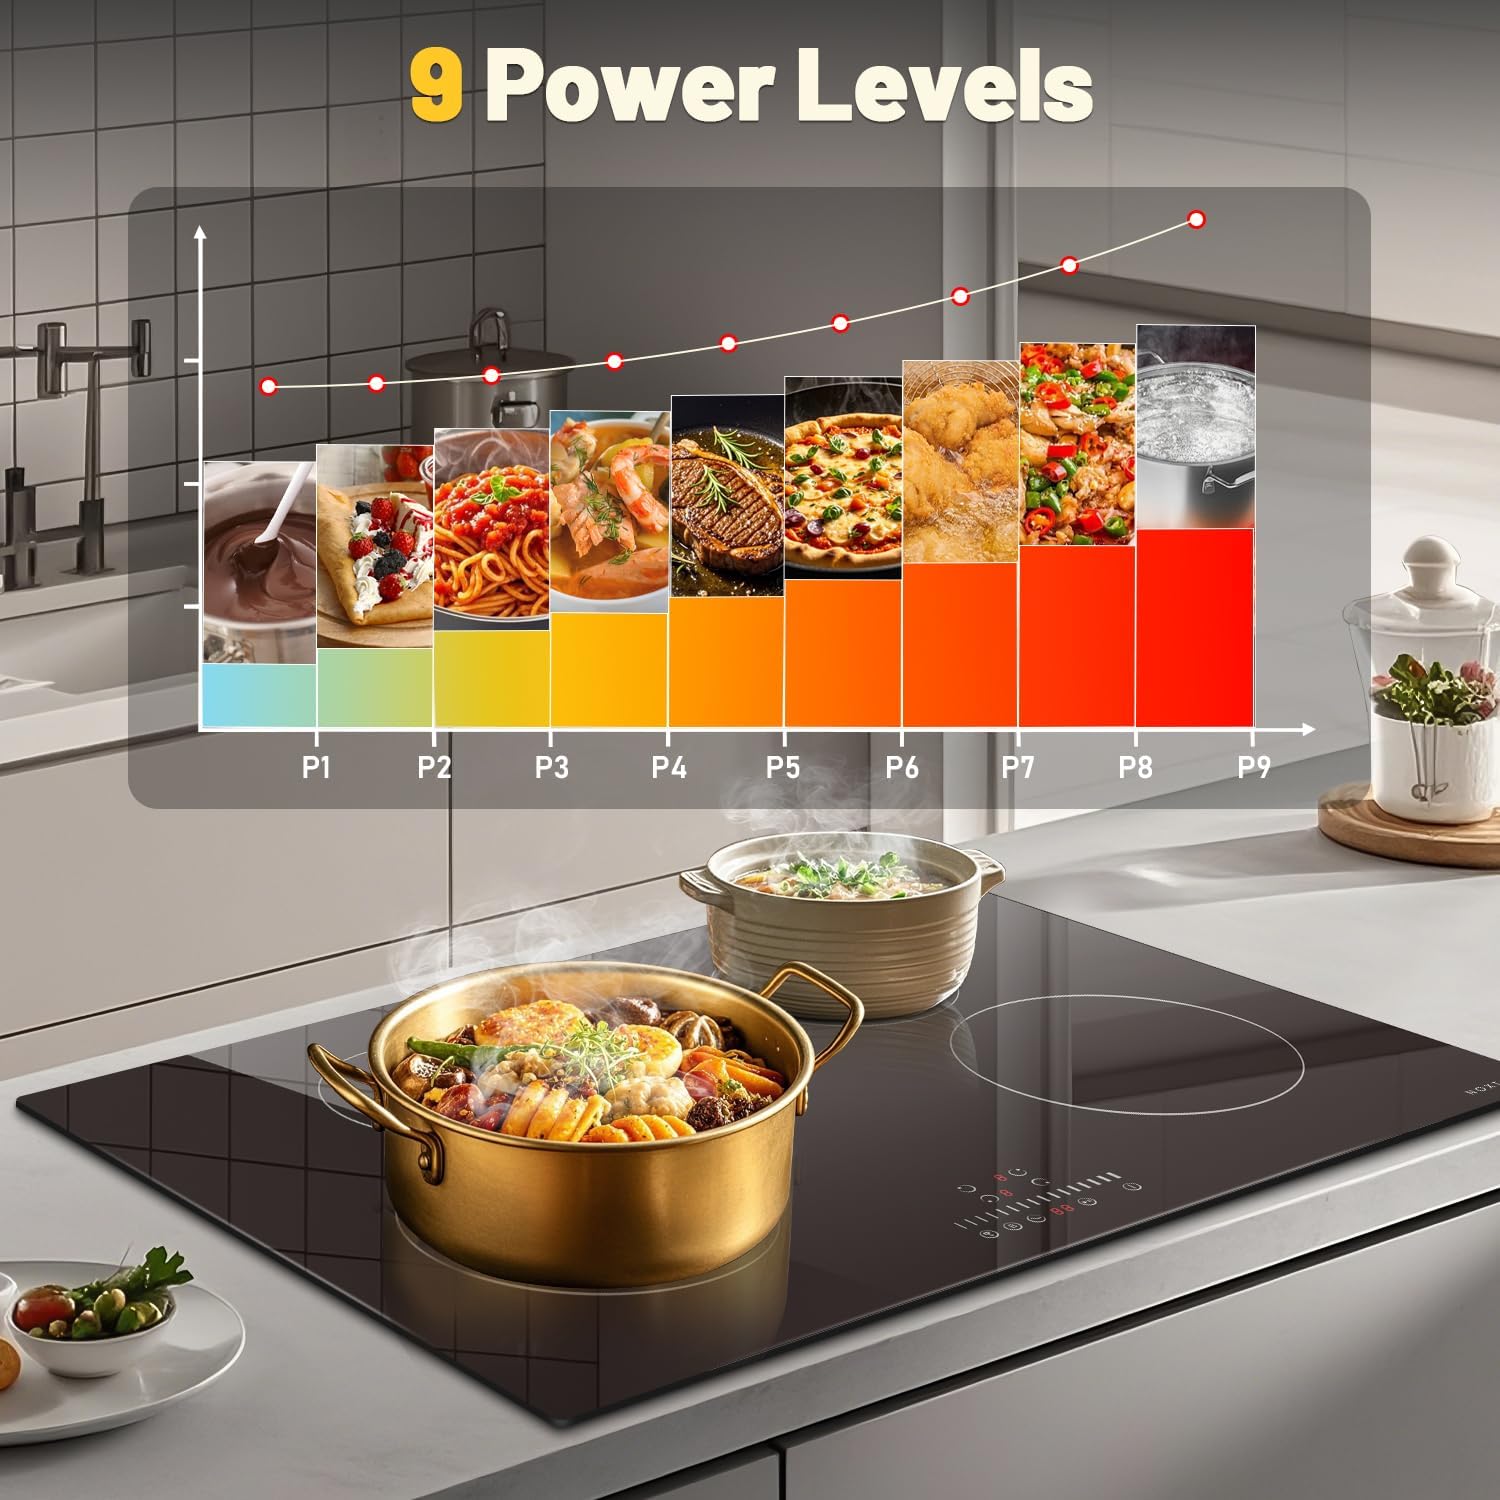
Image 5: Diagram illustrating the power distribution of each burner, including their standard and boost wattage (1500W/1800W and 2100W/2500W).
Timer Function:
- Select a cooking zone and then press the Timer button.
- Adjust the desired cooking time from 0 to 99 minutes using the controls.
- The cooktop will automatically switch off the selected zone when the timer expires.
Child Safety Lock:
- To activate, press and hold the Child Lock button. An indicator will light up.
- This prevents accidental changes to settings or activation of the cooktop.
- To deactivate, press and hold the Child Lock button again.
Pause Function (Stop&Go):
- Press the Pause button to temporarily stop all active cooking zones.
- Press it again to resume cooking with the previous settings.
5. Compatible Cookware
Induction cooktops require cookware made of magnetic materials. Ensure your pots and pans are compatible for optimal performance.
- Compatible: Cast iron pan, Stainless steel pot, Enameled Cast Iron pot, Iron wok.
- Incompatible: Aluminum cookware, Ceramic cookware, Copper cookware, Glass cookware.
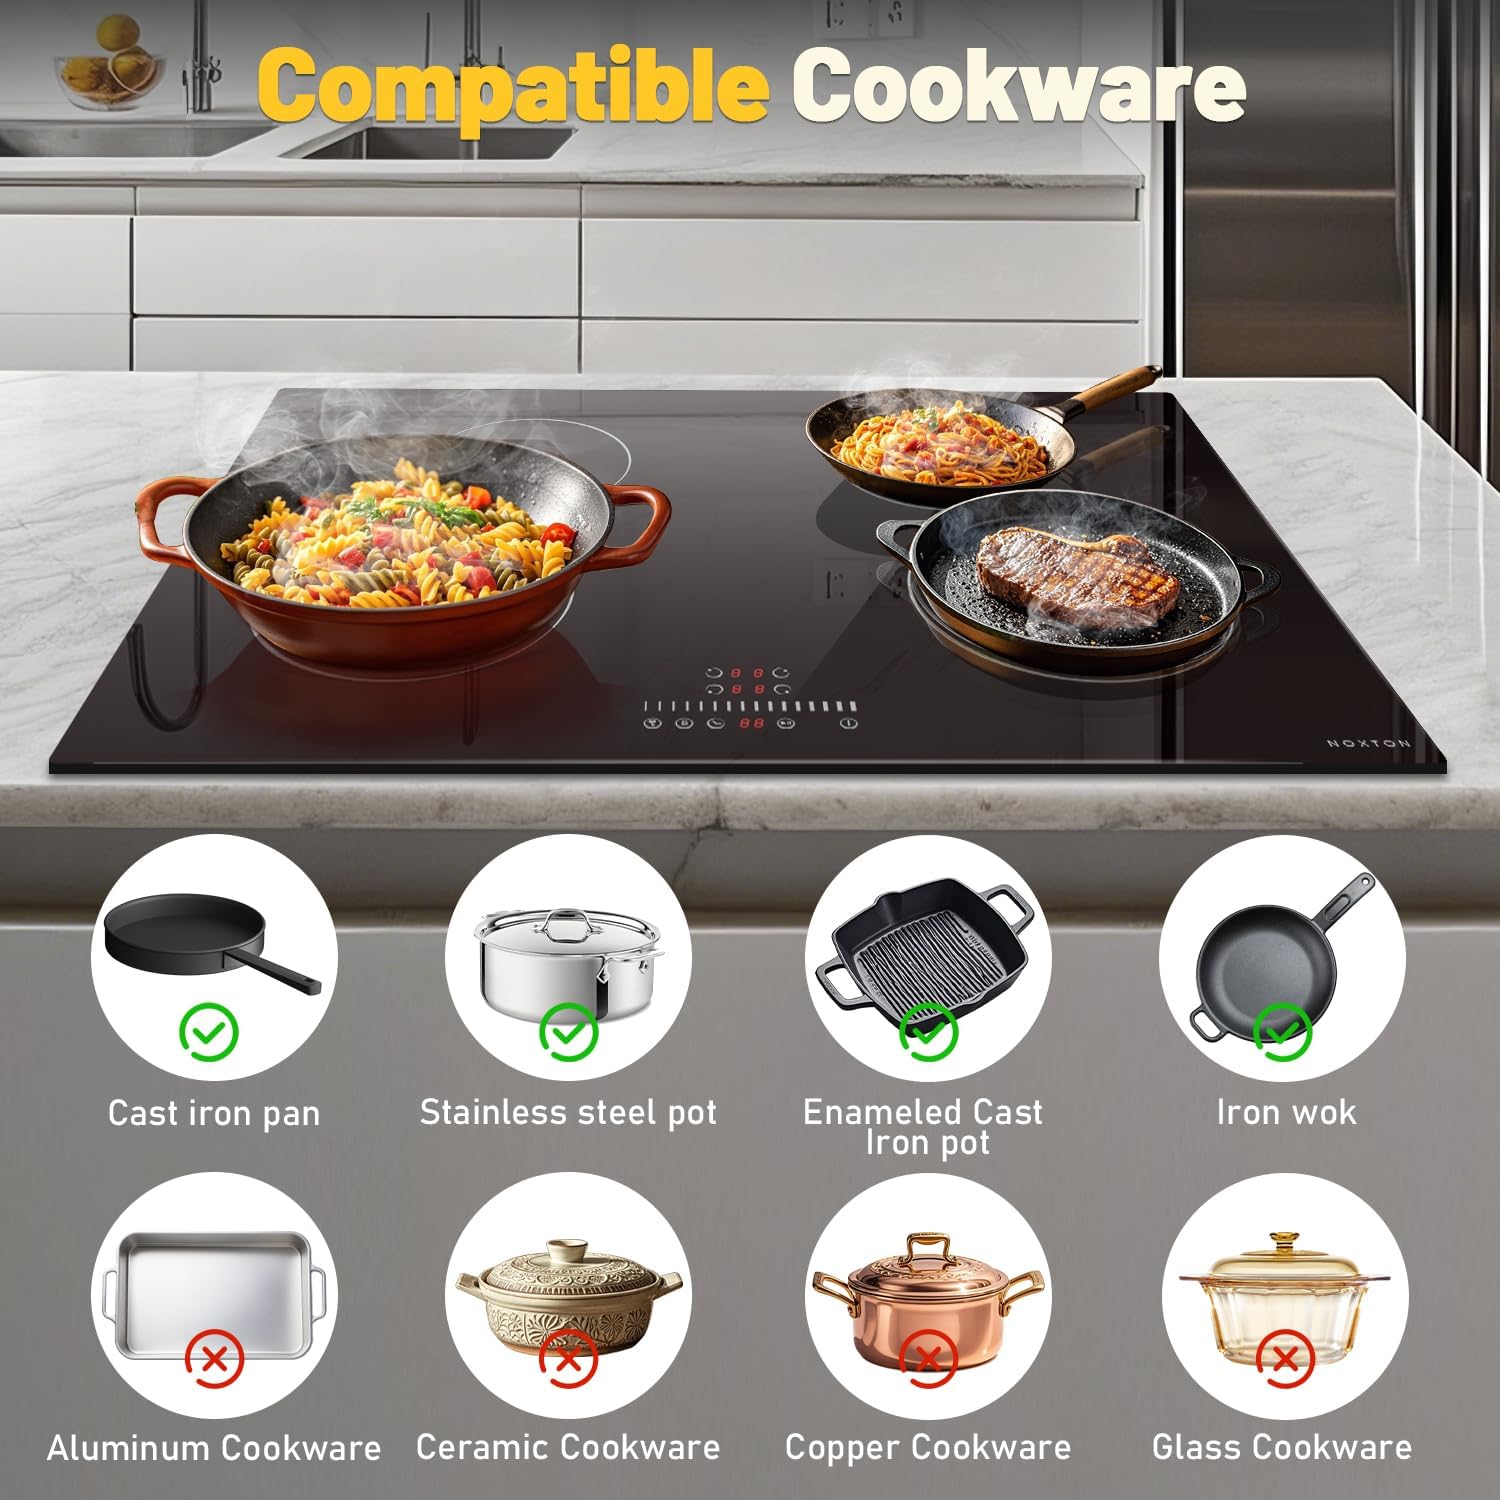
Image 6: Visual guide showing examples of compatible cookware (cast iron, stainless steel, enameled cast iron, iron wok) and incompatible cookware (aluminum, ceramic, copper, glass) for induction cooktops.
6. Cleaning and Maintenance
Regular cleaning helps maintain the appearance and performance of your cooktop.
- Always ensure the cooktop is cool and turned off before cleaning. Check the Residual Heat Indicator ('H').
- Wipe the Vitro Ceramic Glass Surface with a damp cloth and mild detergent.
- For stubborn stains or burnt-on food, use the provided cleaning scraper carefully.
- Avoid abrasive cleaners, scouring pads, or harsh chemicals that can scratch the surface.
- Do not immerse the cooktop in water or spray excessive liquid directly onto the controls.

Image 7: A hand wearing a blue glove wiping the cooktop surface with a yellow cloth and cleaning solution, demonstrating the ease of cleaning.
7. Troubleshooting
If you encounter issues with your cooktop, refer to the following common problems and solutions:
| Problem | Possible Cause | Solution |
|---|---|---|
| Cooktop does not turn on. | No power supply; Child Lock activated; Cooktop is locked after cleaning. | Check circuit breaker. Deactivate Child Lock by pressing and holding the lock button. If locked after cleaning, try unplugging and plugging back in (if accessible, otherwise consult an electrician). |
| Cooking zone not heating. | Incompatible cookware; Cookware not centered; Overheat protection activated. | Use magnetic cookware. Center the pot/pan on the zone. Allow cooktop to cool if 'H' is displayed or an error code appears. |
| Display shows 'H'. | Residual heat indicator. | This is normal. The zone is still hot. Do not touch. It will disappear when the surface cools down. |
| Cooktop beeps and turns off. | Overheat protection; Spill on controls; Timer expired. | Remove hot cookware and allow to cool. Clean any spills on the control panel. Check if the timer has completed its cycle. |
For issues not listed here, please contact customer support.
8. Specifications
| Feature | Detail |
|---|---|
| Brand | NOXTON |
| Model Number | NTI-M47206 |
| Total Power | 7200W |
| Power Supply | 220V-240V~, 50/60Hz, 32~40Amps |
| Heating Elements | 4 Induction Burners |
| Left Front Zone | 1500W (Boost 1800W) |
| Left Rear Zone | 2100W (Boost 2500W) |
| Right Front Zone | 1500W (Boost 1800W) |
| Right Rear Zone | 2100W (Boost 2500W) |
| Stovetop Dimensions (L x W) | 30.31" x 20.47" (77 cm x 52 cm) |
| Cut-out Dimensions (L x W x D) | 29.13" x 19.3" x 1.73" (74 cm x 49 cm x 4.4 cm) |
| Material | Vitro Ceramic Glass |
| Special Features | Boost Mode, Child Safety Lock, Easy To Clean, Pause Function, Timer, Residual Heat Indicator, Overheat Protection |
9. Warranty and Customer Support
For warranty information or technical assistance, please contact Noxton customer support. Keep your purchase receipt and model number (NTI-M47206) handy for faster service.
Contact details can typically be found on the manufacturer's website or your purchase documentation.