MASTERCANOPY B0DLW1L54G (Bundle: B0841TC2DC, B0DJVTVZTN)
MASTERCANOPY Product Instruction Manual
For 10' x 10' Louvered Aluminum Pergola & 8' x 5' Grill Gazebo
1. Product Overview
This manual provides detailed instructions for the assembly, operation, and maintenance of your MASTERCANOPY 10' x 10' Louvered Aluminum Pergola and 8' x 5' Grill Gazebo. These outdoor structures are designed to enhance your outdoor living space, providing shade and shelter.
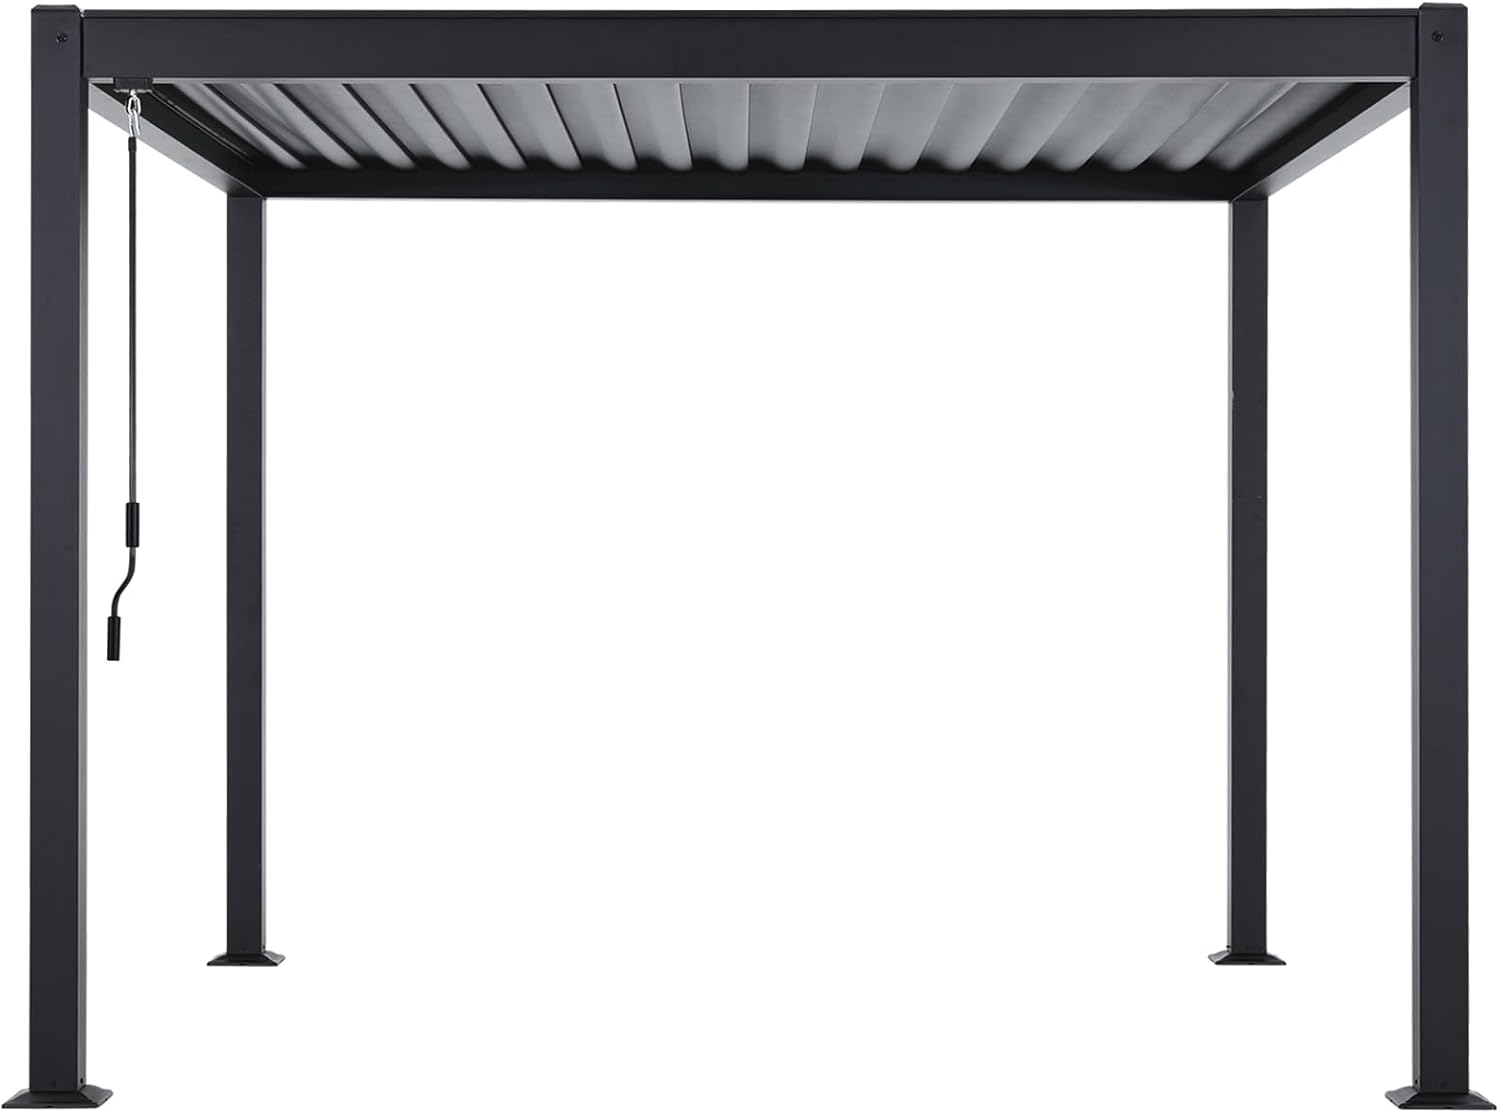
Image 1.1: The MASTERCANOPY 10' x 10' Louvered Aluminum Pergola. This image shows the full structure of the black aluminum pergola with its adjustable louvered roof.
2. Safety Information
Please read and understand all safety warnings and instructions before assembly and use. Failure to follow these instructions may result in injury or damage to the product.
- Ensure all parts are present and undamaged before beginning assembly.
- Assemble on a flat, level surface.
- Use appropriate safety gear, such as gloves and eye protection, during assembly.
- Do not attempt to assemble during strong winds or adverse weather conditions.
- Securely anchor the pergola and gazebo to the ground using appropriate hardware (not always included, check package contents).
- Regularly inspect the structure for loose bolts, damaged parts, or signs of wear.
- Do not hang heavy objects from the frame.
- Clear snow accumulation from the louvered roof to prevent collapse.
3. Package Contents
Your package includes the following main components:
- One (1) MASTERCANOPY 10' x 10' Louvered Aluminum Pergola (Black)
- One (1) MASTERCANOPY 8' x 5' Grill Gazebo Outdoor BBQ Gazebo Canopy with 2 LED Lights (Burgundy)
- All necessary hardware for assembly (bolts, nuts, washers, etc.)
- Assembly tools (may vary, typically includes wrenches and Allen keys)
Note: Please refer to the specific parts list included with each individual product for a complete inventory of components.
4. Setup and Assembly
Assembly typically requires two or more adults. Follow the step-by-step instructions provided in the separate assembly manuals for each structure. Below are general guidelines and key features related to assembly.
4.1. Pergola Assembly Highlights
- Frame Construction: Begin by assembling the main aluminum frame. Ensure all connections are secure.
- Louvered Roof Installation: Install the individual louver panels into the roof frame. Pay attention to the orientation for proper operation.
- Crank Handle Mechanism: Attach the crank handle mechanism for adjusting the louvered roof. Test its smooth operation.
- Integrated Drainage System: The pergola features an integrated drainage system within the frame to manage rainwater. Ensure proper alignment during assembly to allow water to flow through the posts.

Image 4.1: Integrated Drainage System. This image highlights the internal drainage channels within the pergola frame, designed to direct rainwater away from the covered area and down through the posts.

Image 4.2: Material Quality Comparison. This image illustrates the robust construction of the pergola, featuring 1.2mm thick aluminum louvers, which are more durable and rust-proof compared to thinner steel alternatives.
4.2. Grill Gazebo Assembly Highlights
Refer to the specific manual for the 8' x 5' Grill Gazebo for detailed assembly steps. Key points include:
- Assemble the frame structure first.
- Install the canopy fabric securely.
- Attach the LED lights according to the instructions.
5. Operating Instructions (Pergola)
The MASTERCANOPY Louvered Aluminum Pergola features an adjustable roof system, allowing you to control sunlight and ventilation.
5.1. Adjusting the Louvered Roof
- Locate the crank handle attached to the side of the pergola frame.
- Turn the crank handle clockwise to open the louvers, allowing more sunlight and air circulation.
- Turn the crank handle counter-clockwise to close the louvers, providing full shade and protection from light rain.
- The louvers can be freely adjusted from 0° (fully closed) to 90° (fully open) to suit your needs.

Image 5.1: Easy Louver Adjustment. This image demonstrates the simple operation of the louvered roof using the integrated crank handle, making it easy to adjust the louvers for desired shade or sunlight.

Image 5.2: Adjustable Louvered Roof. This aerial view shows the versatility of the louvered roof, illustrating both the fully open and fully closed positions, allowing for complete control over sun exposure.
5.2. Operating LED Lights (Grill Gazebo)
The grill gazebo is equipped with two LED lights. Refer to the gazebo's specific manual for instructions on powering and operating these lights, which typically involve a switch or remote control.
6. Maintenance
Regular maintenance will extend the life and appearance of your outdoor structures.
- Cleaning: Clean the aluminum frame and louvers with mild soap and water. Rinse thoroughly with clean water. Avoid abrasive cleaners or harsh chemicals.
- Fabric Care (Gazebo): The gazebo canopy fabric can be spot cleaned with mild soap and water. Allow to air dry completely before folding or storing.
- Inspection: Periodically check all bolts and connections to ensure they are tight. Re-tighten if necessary. Inspect for any signs of rust, corrosion, or damage.
- Winterization: In areas with heavy snow or extreme weather, it is recommended to open the pergola louvers to prevent snow accumulation and potential damage. The gazebo canopy may need to be removed and stored indoors during winter months.
- Drainage System (Pergola): Ensure the integrated drainage channels are free of debris (leaves, dirt) to allow for proper water flow.
7. Troubleshooting
| Problem | Possible Cause | Solution |
|---|---|---|
| Louvered roof difficult to adjust. | Mechanism may be stiff or obstructed. | Check for debris in the louver tracks. Apply a silicone-based lubricant to moving parts if needed. |
| Water pooling on pergola roof. | Drainage channels blocked or louvers not fully closed. | Clear any debris from the internal drainage system. Ensure louvers are fully closed during rain. |
| Structure feels unstable. | Loose connections or improper anchoring. | Re-tighten all bolts and nuts. Ensure the structure is properly anchored to the ground. |
| LED lights not working (Grill Gazebo). | Batteries dead or connection issue. | Replace batteries. Check all electrical connections. |
8. Specifications
- Pergola Dimensions: Approximately 10 feet (Length) x 10 feet (Width)
- Pergola Material: Aluminum frame and louvers (1.2mm thickness)
- Pergola Color: Black
- Gazebo Dimensions: Approximately 8 feet (Length) x 5 feet (Width)
- Gazebo Features: 2 LED Lights
- Gazebo Canopy Color: Burgundy
- ASIN (Bundle): B0DLW1L54G
9. Warranty and Support
MASTERCANOPY products are designed for durability and performance. For specific warranty information, including coverage details and duration, please refer to the warranty card included with your product or visit the official MASTERCANOPY website.
For customer support, replacement parts, or further assistance, please contact MASTERCANOPY customer service through their official channels. You can often find contact information on the product packaging or the brand's website.
MASTERCANOPY Official Store: Visit the MASTERCANOPY Store on Amazon
Ask a question about this manual
Ask about setup, troubleshooting, compatibility, parts, safety, or missing instructions. Manuals+ will review the question and use this page’s manual context to help answer it.