
Introduction
Thank you for choosing the vidaXL Shoe Rack. This manual provides essential information for the safe assembly, operation, and maintenance of your new shoe rack. Please read these instructions carefully before beginning assembly and retain them for future reference.
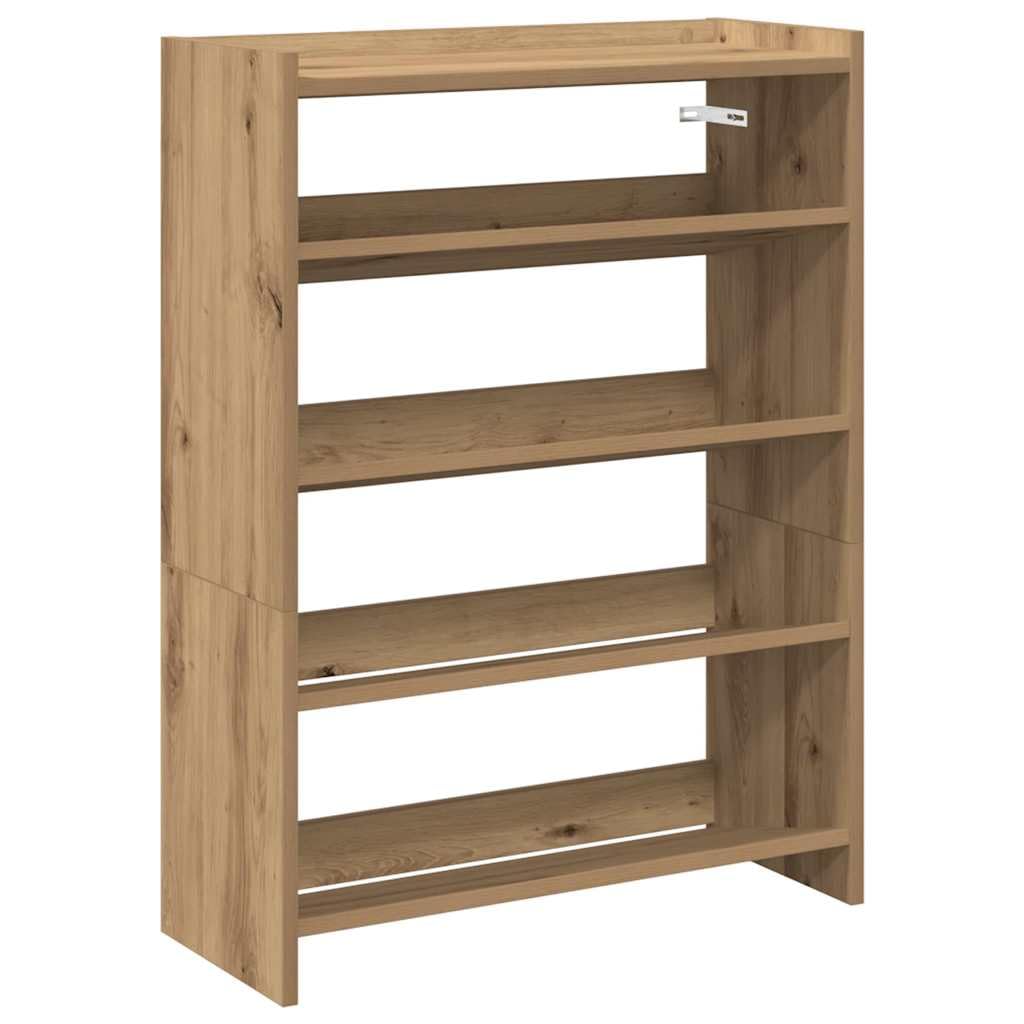
Image 1: Fully assembled vidaXL shoe rack in a craft oak finish, shown in an entryway with various shoes.
Safety Information
WARNING: To prevent tipping, this product must be securely fastened to the wall using the included wall-mounting device. Failure to do so can result in serious injury or death from furniture tip-over. Always ensure the product is stable and properly secured before use.
- Keep all assembly hardware out of reach of children.
- Do not stand or climb on the shoe rack.
- Distribute weight evenly across shelves to maintain stability.
- Regularly check all connections and fasteners to ensure they remain tight.
Package Contents
Before assembly, verify that all components are present and undamaged. If any parts are missing or damaged, please contact vidaXL customer support.
- Shoe rack panels (particle board)
- Shelves
- Assembly hardware (screws, dowels, connectors)
- Wall-mounting device (straps, screws, wall plugs)
- Instruction manual
Setup and Assembly Instructions
Assembly of this shoe rack is required. Please follow the steps below carefully. It is recommended to have two people for assembly.
Tools Required (Not Included):
- Phillips head screwdriver
- Hammer (for dowels)
- Drill (for wall mounting)
- Level
Assembly Steps:
- Unpack Components: Carefully remove all parts from the packaging and lay them out on a clean, soft surface to prevent scratches.
- Identify Parts: Refer to the included parts diagram (if available) to identify each panel and piece of hardware.
- Assemble Frame: Connect the side panels to the top and bottom panels using the provided screws and dowels. Ensure all connections are snug.
- Install Shelves: Slide the shelves into the designated slots or attach them using the appropriate hardware. Ensure shelves are level and secure.
- Attach Back Panel (if applicable): Secure the back panel to the frame using small nails or screws.
- Wall Mounting:
- Position the assembled shoe rack in its desired location against a solid wall.
- Mark the wall through the mounting holes on the back of the shoe rack or using the wall-mounting strap.
- Drill pilot holes in the marked locations on the wall. Insert wall plugs if necessary (for plasterboard or masonry walls).
- Attach the wall-mounting device to the wall and to the shoe rack, ensuring a secure connection.
- Verify that the shoe rack is stable and cannot tip over.

Image 2: Technical diagram illustrating the dimensions of the shoe rack: 60 cm width, 25 cm depth, and 81 cm height.
Operating Instructions
The vidaXL Shoe Rack is designed for organizing and storing footwear. Its multi-tiered shelves provide ample space for various shoe types.
- Shoe Placement: Place shoes neatly on the shelves. Distribute them evenly to prevent overloading any single section.
- Top Surface Use: The sturdy top surface can be used to display decorative items, photo frames, or to hold small items like keys or wallets for easy access. Do not place excessively heavy objects on the top surface.
- Capacity: The maximum load capacity for the entire unit is 60 kg. Avoid exceeding this weight limit.

Image 3: The shoe rack filled with different types of footwear, demonstrating its storage capacity.
Maintenance
Proper maintenance will ensure the longevity and appearance of your shoe rack.
- Cleaning: Wipe the surface with a damp cloth. Avoid using harsh chemicals or abrasive cleaners, as these can damage the finish.
- Spills: Immediately wipe up any liquid spills to prevent moisture damage to the particle board.
- Fasteners: Periodically check all screws and connections to ensure they are tight. Re-tighten if necessary.
- Environment: Keep the shoe rack in a dry environment. Avoid prolonged exposure to direct sunlight or extreme temperature changes.

Image 4: A detailed view of the top shelf, highlighting the smooth, easy-to-clean surface.
Troubleshooting
| Problem | Possible Cause | Solution |
|---|---|---|
| Shoe rack feels unstable or wobbly. |
|
|
| Shelves are sagging. |
|
|
Specifications
| Brand | vidaXL |
| Model Number | 859886 |
| Material | Particle board |
| Overall Dimensions (L x W x H) | 60 x 25 x 81 cm (23.6" x 9.8" x 31.9") |
| Color | Craft Oak |
| Maximum Load Capacity | 60 kg (132 lbs) |
| Assembly Required | Yes |
| Mounting Type | Wall mount (anti-tip device included) |
Warranty and Support
For warranty information or technical support, please refer to the documentation provided with your purchase or visit the official vidaXL website. If you have any questions regarding assembly, missing parts, or product functionality, please contact vidaXL customer service directly.
vidaXL Official Website: www.vidaxl.com