Introduction
This manual provides detailed instructions for the assembly, operation, and maintenance of your Coleshome 71 Inch Executive Desk with USB Ports. Please read this manual thoroughly before assembly and use to ensure proper function and safety. Keep this manual for future reference.
Important Safety Information
- Always assemble the desk on a stable, level surface.
- Ensure the desk is properly anchored to the wall or floor if required, to prevent tipping.
- Do not overload the desk with heavy equipment or items beyond its weight capacity.
- Always follow safety guidelines when using the built-in electrical features.
- For ease and safety, two people are recommended for assembly.
- Check all parts are included and in good condition before starting assembly.
Package Contents
Before assembly, verify that all components are present and undamaged. Refer to the included parts list for identification.
- Desktop Panels (A, B, C)
- Desk Leg Frames (D, E, F, G)
- Support Beams (J, K, I)
- Recessed Power Strip with USB Ports (Part 4)
- Cable Grommets (Part 5)
- Adjustable Feet Pads (Part 6)
- Various Screws and Assembly Tools (Parts 1, 2, 3, 7, 8, 9)
Setup and Assembly
The assembly process typically takes about 30 minutes to 1 hour. It is recommended to have two people for assembly.
This video demonstrates the complete assembly process for the Coleshome Large Office Desk with USB Ports. Follow the visual instructions carefully for each step.
Key Assembly Steps:
Step 1: Attach Feet Pads
Secure the adjustable feet pads (Part 6) to the bottom of the desk leg base components (Parts E).
Step 2: Assemble Leg Frames
Connect parts D and E to parts G and F using the provided #1 screws. Ensure all connections are secure.
Step 3: Connect Support Beams
Attach Part J to Part K. If connection is tight, gently tap them together. Ensure the surface is flat.
Step 4: Attach Assembled Beams to Leg Frames
Connect the assembled J and K beams to Part D using #1 screws. When installing Parts G and F, ensure the flat side of the grid faces outward.
Step 5: Install Crossbars
Attach Part I to the main beam using #1 screws. Ensure both holes face downward.
Step 6: Attach Brackets
Secure Part H using #9 screws to the leg frames.
Step 7: Attach Desktop Panels
Carefully place and attach desktop panels A, B, and C to the frame using #2 screws. Pay attention to the tightness of the screws to avoid damaging the desktop.
Step 8: Install USB Port
Attach the recessed USB port (Part 4) to the designated area on the desktop using #3 screws.
Step 9: Insert Cable Grommets
Place the cable grommets (Part 5) into the desktop openings.
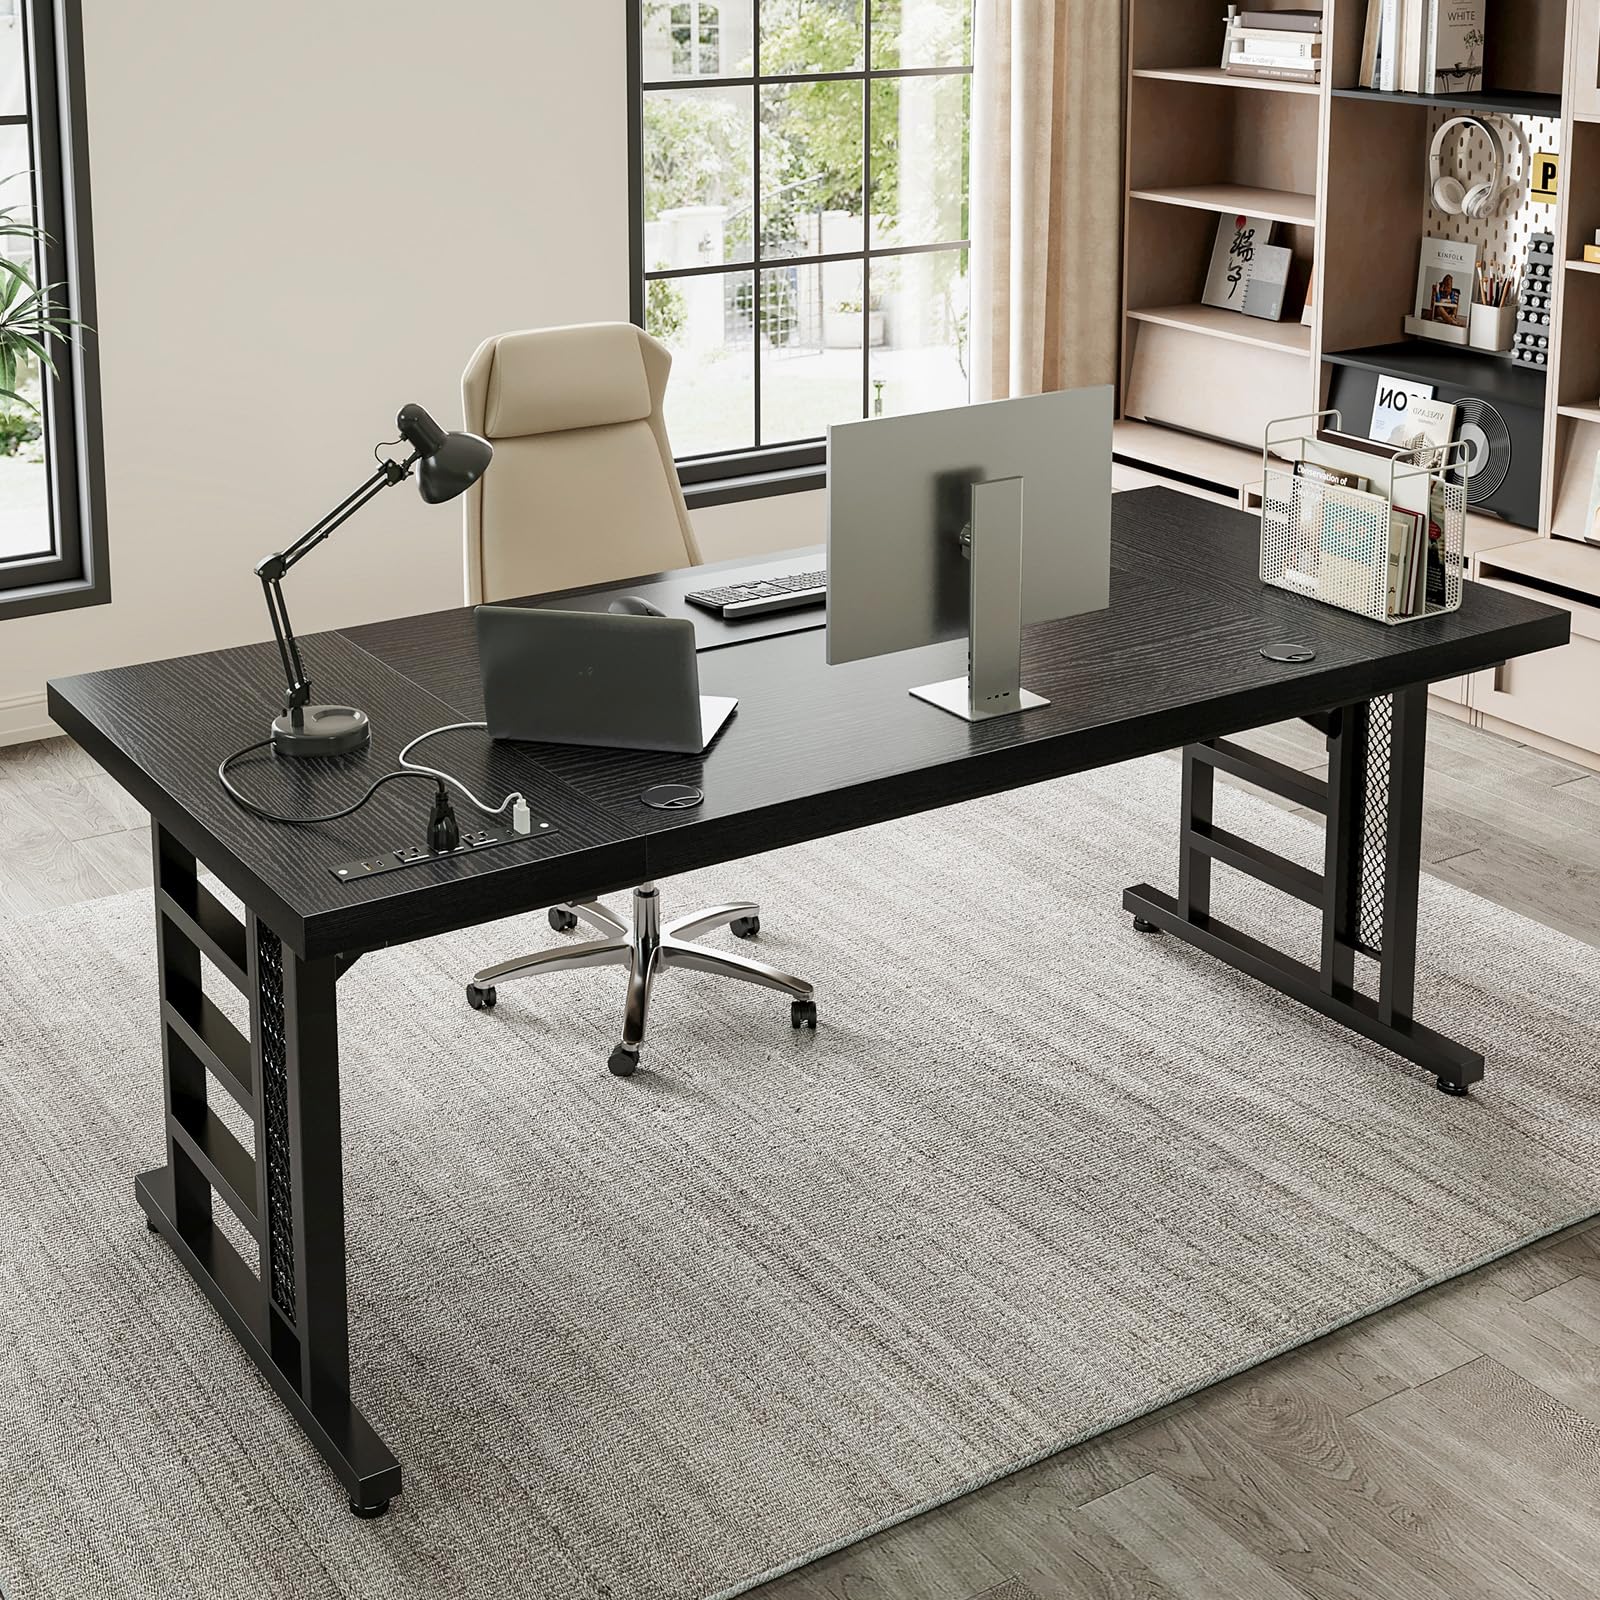
The fully assembled Coleshome 71 Inch Executive Desk.
Operating Instructions
Using the Built-in Power Strip and USB Ports
The Coleshome Executive Desk features a recessed power strip for convenient device charging.

Detailed view of the recessed power strip with various charging options.
The power strip includes:
- 3 AC Outlets (125V/12A)
- 2 USB Charging Ports (5V/2A)
- 2 Type-C Charging Ports (5V/2A)
To use, plug the desk's main power cord into a functional wall outlet. Then, connect your devices to the appropriate ports on the recessed power strip.
Cable Management
Utilize the dual cable ports on the desktop to route and organize your cables, helping to maintain a clutter-free workspace.
Maintenance
- Regularly wipe the desk surface with a soft, damp cloth. Avoid abrasive cleaners or harsh chemicals that could damage the finish.
- For the engineered wood surface, use a mild wood cleaner if necessary, following the product instructions.
- Periodically check all screws and connections to ensure they remain tight. Retighten if loose to maintain stability.
- Keep liquids away from the power strip and USB ports to prevent electrical hazards.
- Avoid placing extremely hot or cold items directly on the desktop without protective coasters to prevent heat or moisture damage.
Troubleshooting
Desk Wobbles
If the desk is unstable or wobbles, check the adjustable leg pads (Part 6). Rotate them to level the desk on uneven floors. Ensure all assembly screws are tightened securely.
Power Ports Not Working
Verify that the desk's main power cord is securely plugged into a functional wall outlet. Check if the power strip itself is properly connected to the desktop (refer to Step 8 in assembly). If issues persist, discontinue use and contact customer support.
Assembly Difficulties
Refer to the assembly video and step-by-step instructions provided. Ensure all parts are correctly oriented as shown in the diagrams. If a part is difficult to connect, gently adjust its position. Do not force components, as this may cause damage.
Specifications
| Feature | Detail |
|---|---|
| Brand | Coleshome |
| Model | 71 Inch Executive Desk |
| Shape | Rectangular |
| Product Dimensions | 27.56"D x 70.87"W x 29.13"H |
| Color | Black |
| Style | Modern |
| Top Material Type | Engineered Wood |
| Base Material | Steel, Feet Pad |
| Special Feature | Built-in Power Outlet (3 AC, 2 USB, 2 Type-C) |
| Tabletop Thickness | 1.37 Inches |
| Required Assembly | Yes |
Warranty and Support
Warranty Information
This product comes with a 1-year warranty. Please retain your proof of purchase for warranty claims.
Customer Support
For any questions, assistance, or warranty claims, please contact Coleshome customer support. 24/7 customer support is available to ensure a worry-free experience.
You can visit the official Coleshome store for more information: Coleshome Store