1. Important Safety Instructions
Please read these instructions carefully before using the appliance and keep them for future reference. Incorrect operation can lead to damage to the appliance and injury to the user.
- Always connect the appliance to a grounded power outlet.
- Do not immerse the appliance, cord, or plug in water or other liquids.
- Keep the appliance out of reach of children.
- Do not operate the appliance if the power cord or plug is damaged. Contact authorized service personnel for repair.
- Avoid contact with hot surfaces. Use handles or knobs.
- Unplug the appliance from the outlet when not in use and before cleaning. Allow it to cool before putting on or taking off parts, and before cleaning the appliance.
- This appliance is intended for household use only.
2. Product Overview and Components
Familiarize yourself with the parts of your Cloer 5258 Filter Coffee Machine.
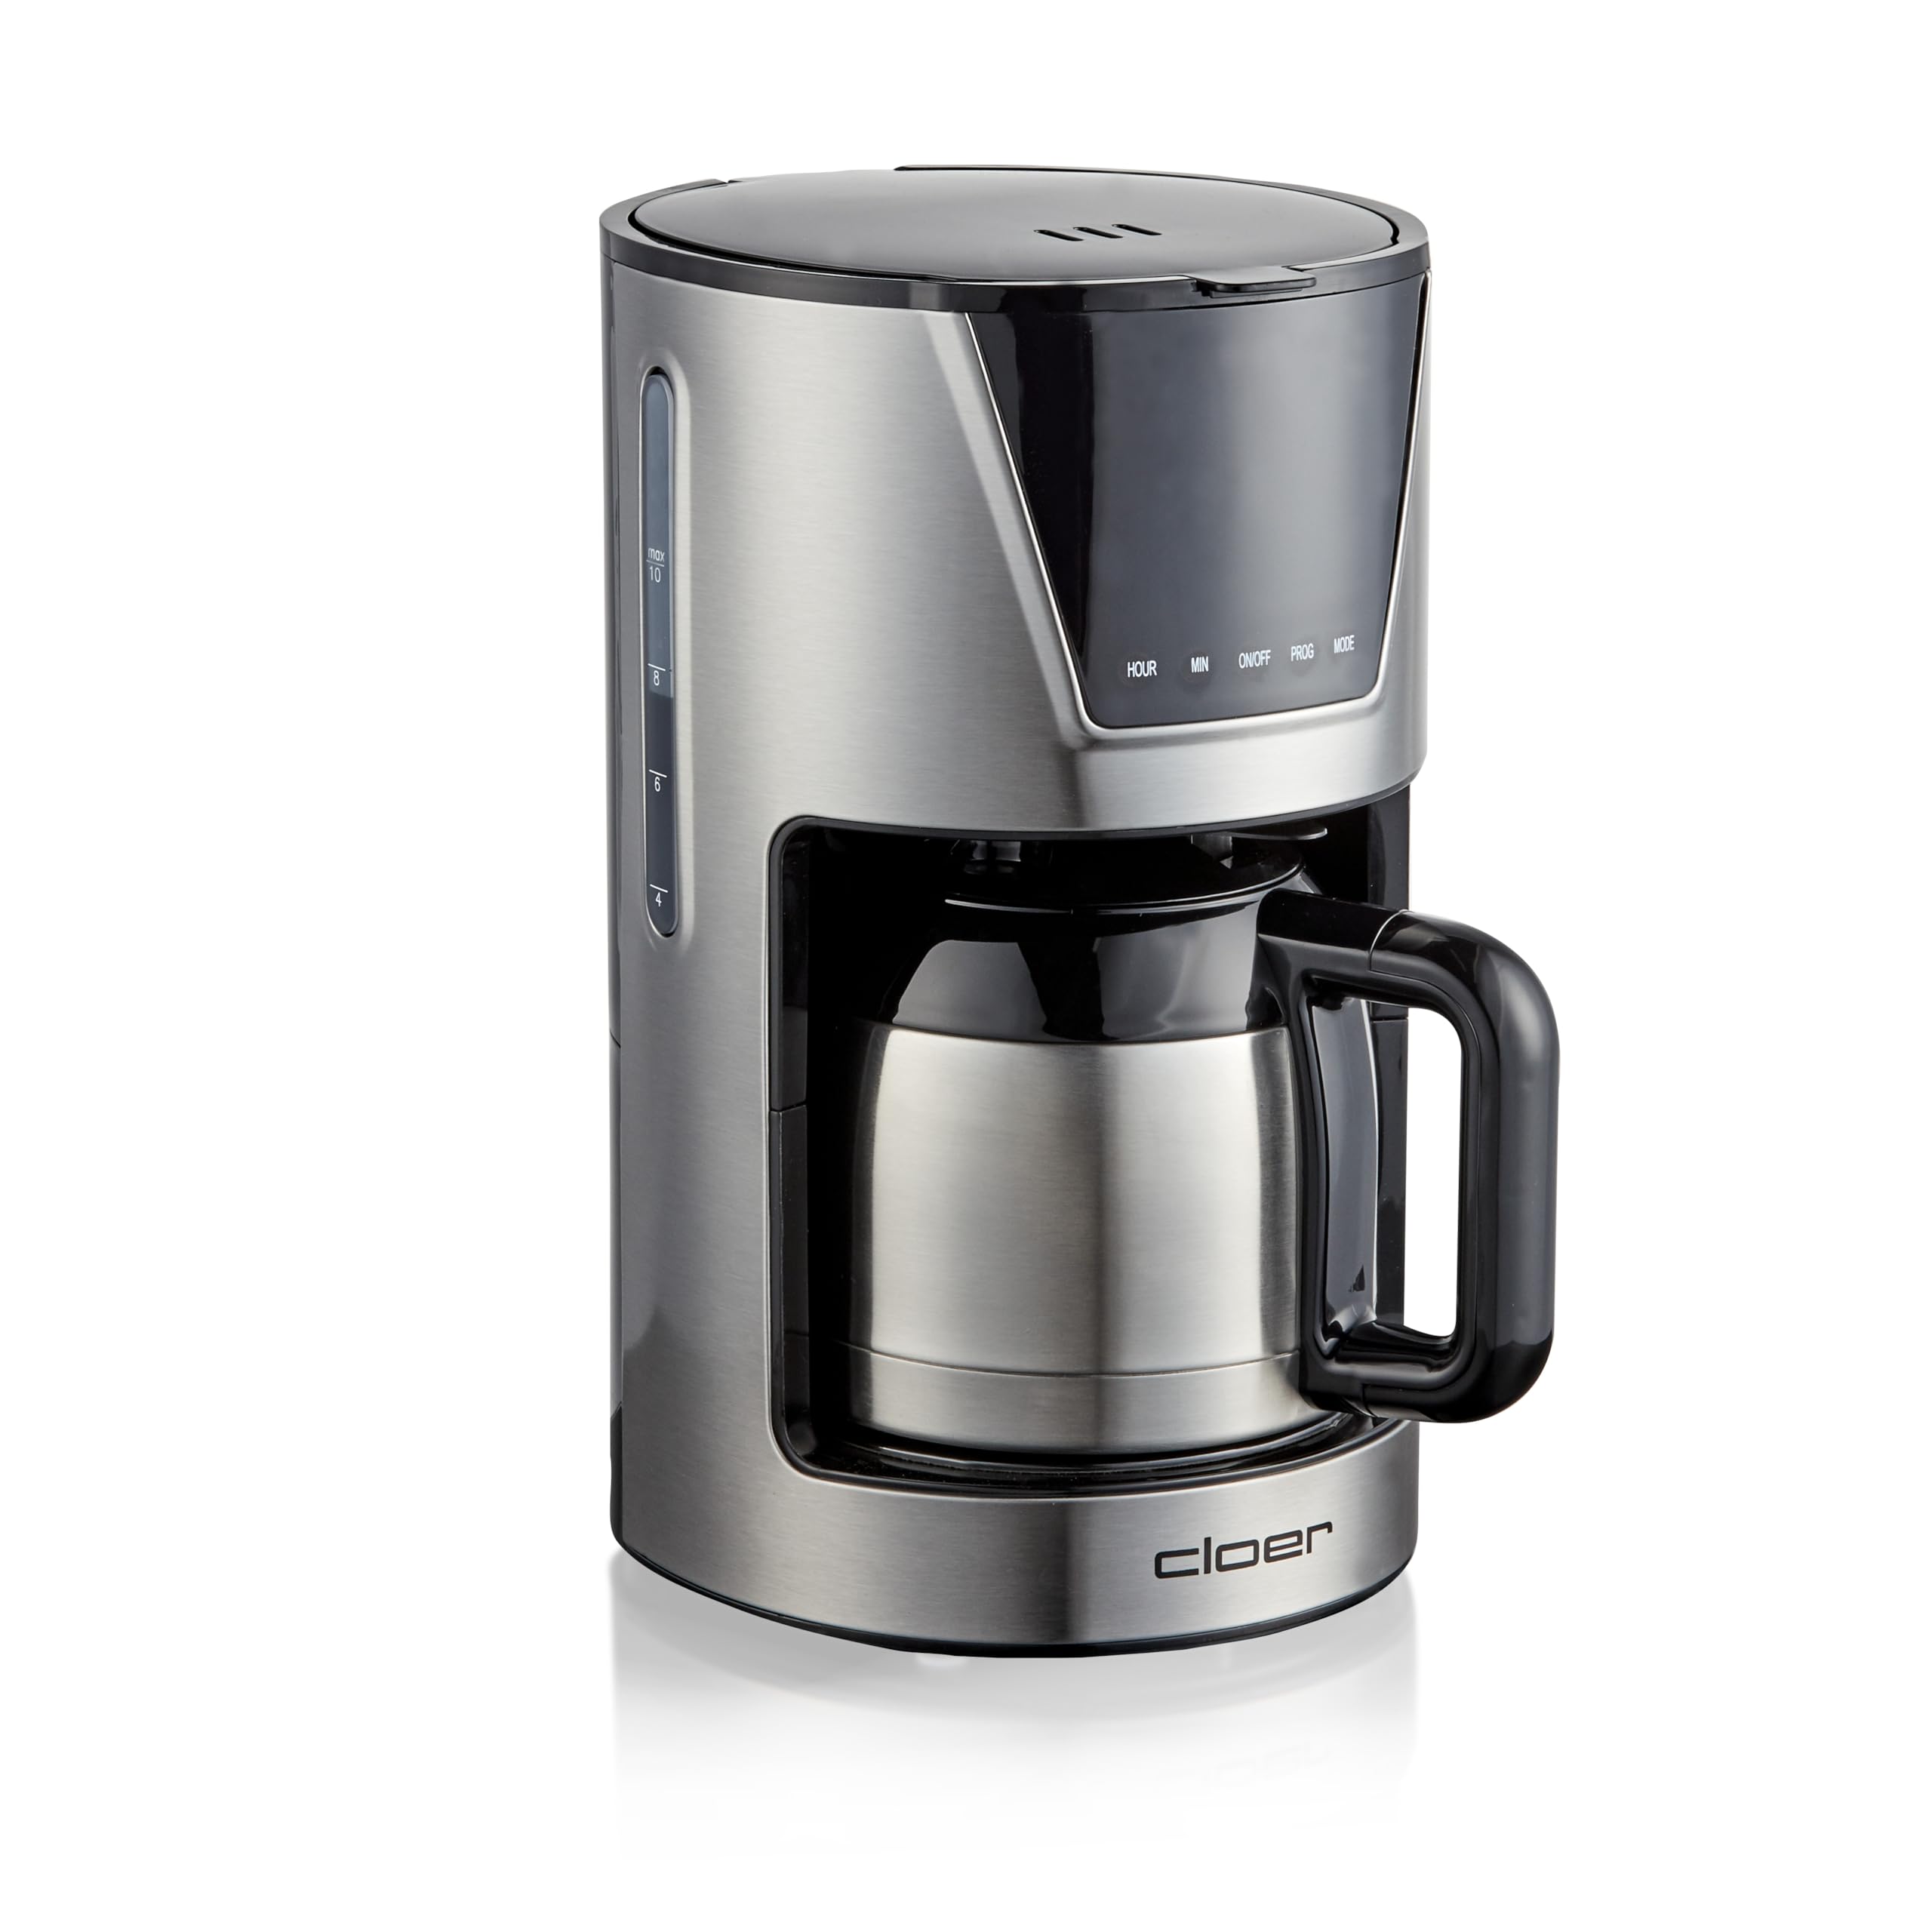
Figure 2.1: Front view of the Cloer 5258 Filter Coffee Machine with the thermal carafe in place. The digital display shows '12:00'.

Figure 2.2: Top view of the coffee machine with the lid open, revealing the water reservoir and filter basket area. The thermal carafe is positioned below.
- Water Reservoir: For filling with fresh water.
- Lid: Covers the water reservoir and filter basket.
- Filter Basket: Holds the paper filter (size 1x4) and coffee grounds.
- Thermal Carafe: Stainless steel carafe with a capacity of 10 cups (1.25 liters) to keep coffee warm.
- LCD Display: Shows time, timer settings, and aroma level.
- Control Buttons: HOUR, MIN, ON/OFF, PROG, MODE for setting time, timer, and aroma.
- Dosing Spoon: Included for accurate coffee measurement.
3. Setup
3.1 Unpacking
- Carefully remove all packaging materials from the coffee machine.
- Check that all parts are present and undamaged.
- Place the coffee machine on a stable, flat, heat-resistant surface, away from water sources.
3.2 First Use Cleaning
Before first use, clean the appliance to remove any manufacturing residues.
- Fill the water reservoir with cold water up to the MAX mark.
- Place a paper filter (size 1x4) into the filter basket. Do not add coffee grounds.
- Place the thermal carafe with its lid on the warming plate.
- Press the ON/OFF button to start a brewing cycle with only water.
- After the cycle is complete, discard the water and rinse the carafe and filter basket.
- Repeat this process 2-3 times to ensure thorough cleaning.
4. Operating Instructions
4.1 Brewing Coffee
- Fill Water Reservoir: Open the lid and fill the water reservoir with fresh, cold water to the desired number of cups. The capacity is 1.25 liters (10 cups).

Figure 4.1: Pouring water into the open water reservoir of the coffee machine.
- Insert Filter and Coffee: Place a paper filter (size 1x4) into the filter basket. Add the desired amount of ground coffee using the included dosing spoon. A general guideline is one spoon per cup, adjusted to personal preference.
- Close Lid and Place Carafe: Close the lid securely. Ensure the thermal carafe with its lid is correctly placed on the warming plate.
- Select Aroma Level (Optional): Use the MODE button to cycle through the available aroma levels (3 levels). This adjusts the brewing process for stronger or milder coffee.
- Start Brewing: Press the ON/OFF button to begin the brewing process. The indicator light will illuminate.

Figure 4.2: A hand pressing the ON/OFF button on the control panel of the coffee machine. A cup of coffee is visible next to the machine.
- Keep Warm Function: The thermal carafe is designed to keep your coffee warm for an extended period after brewing. The machine automatically switches off after brewing is complete.
4.2 Setting the Timer
The timer allows you to program the machine to start brewing at a specific time.
- Set Current Time: With the machine plugged in, use the HOUR and MIN buttons to set the current time on the LCD display.
- Prepare for Brewing: Follow steps 1-3 from '4.1 Brewing Coffee' (fill water, add filter and coffee, place carafe).
- Set Program Time: Press the PROG button. The display will flash. Use the HOUR and MIN buttons to set the desired start time for brewing.
- Activate Timer: Press the PROG button again to confirm the timer setting. The timer indicator light will illuminate, indicating the timer is active.
- The coffee machine will automatically start brewing at the set time.
5. Maintenance and Cleaning
Regular cleaning ensures optimal performance and extends the lifespan of your coffee machine.
5.1 Daily Cleaning
- Always unplug the appliance and allow it to cool completely before cleaning.
- Remove the filter basket and discard the used coffee grounds and paper filter. Rinse the filter basket under running water.
- Wash the thermal carafe and its lid with warm, soapy water. Rinse thoroughly and dry.

Figure 5.1: Close-up view of the thermal carafe, showing its handle and lid mechanism.
- Wipe the exterior of the coffee machine with a damp cloth. Do not use abrasive cleaners or scourers.
5.2 Descaling
Depending on water hardness and frequency of use, descaling should be performed regularly (e.g., every 2-4 months) to prevent mineral buildup.
- Prepare a descaling solution according to the manufacturer's instructions (e.g., white vinegar or a commercial descaling agent).
- Pour the descaling solution into the water reservoir.
- Place an empty paper filter in the filter basket and the thermal carafe on the warming plate.
- Start a brewing cycle. Allow half of the solution to brew through, then switch off the machine and let it stand for 15-20 minutes.
- Switch the machine back on and allow the remaining solution to brew through.
- After the descaling cycle, run 2-3 cycles with fresh, clean water to rinse out any descaling residue.
6. Troubleshooting
If you encounter problems with your coffee machine, refer to the following table before contacting customer service.
| Problem | Possible Cause | Solution |
|---|---|---|
| Coffee does not brew. | Machine not plugged in; ON/OFF button not pressed; water reservoir empty. | Ensure plug is in outlet; press ON/OFF button; fill water reservoir. |
| Coffee is too weak. | Not enough coffee grounds; incorrect aroma setting; filter clogged. | Add more coffee; select a stronger aroma level; replace filter. |
| Coffee overflows from filter. | Too much coffee grounds; filter not correctly placed; machine needs descaling. | Reduce coffee amount; ensure filter is seated correctly; descale the machine. |
| Machine leaks. | Water reservoir overfilled; carafe not correctly placed. | Do not exceed MAX fill line; ensure carafe is properly positioned. |
7. Specifications
- Brand: Cloer
- Model: 5258
- Color: Stainless Steel
- Capacity: 1.25 Liters (10 cups)
- Power: 800W
- Product Dimensions: 19 x 25.5 x 32.5 cm
- Weight: 2.8 kg
- Filter Size: 1 x 4
- Special Features: LCD Display, 3 selectable aroma levels, Timer and Time function, Automatic shut-off.
8. Warranty and Support
For warranty information, please refer to the warranty card included with your purchase or contact Cloer customer support. Keep your proof of purchase for any warranty claims.
If you require further assistance or have questions not covered in this manual, please visit the official Cloer website or contact their customer service department.