1. Introduction
Thank you for choosing the RAIDMAX Cobra RX650AED ATX 3.1 PCIe Gen 5 Power Supply. This unit is designed to provide stable and efficient power for high-performance gaming PCs and workstations, featuring 80 Plus Gold certification and support for the latest PCIe Gen 5 graphics cards. This manual will guide you through the installation, operation, and maintenance of your power supply unit.
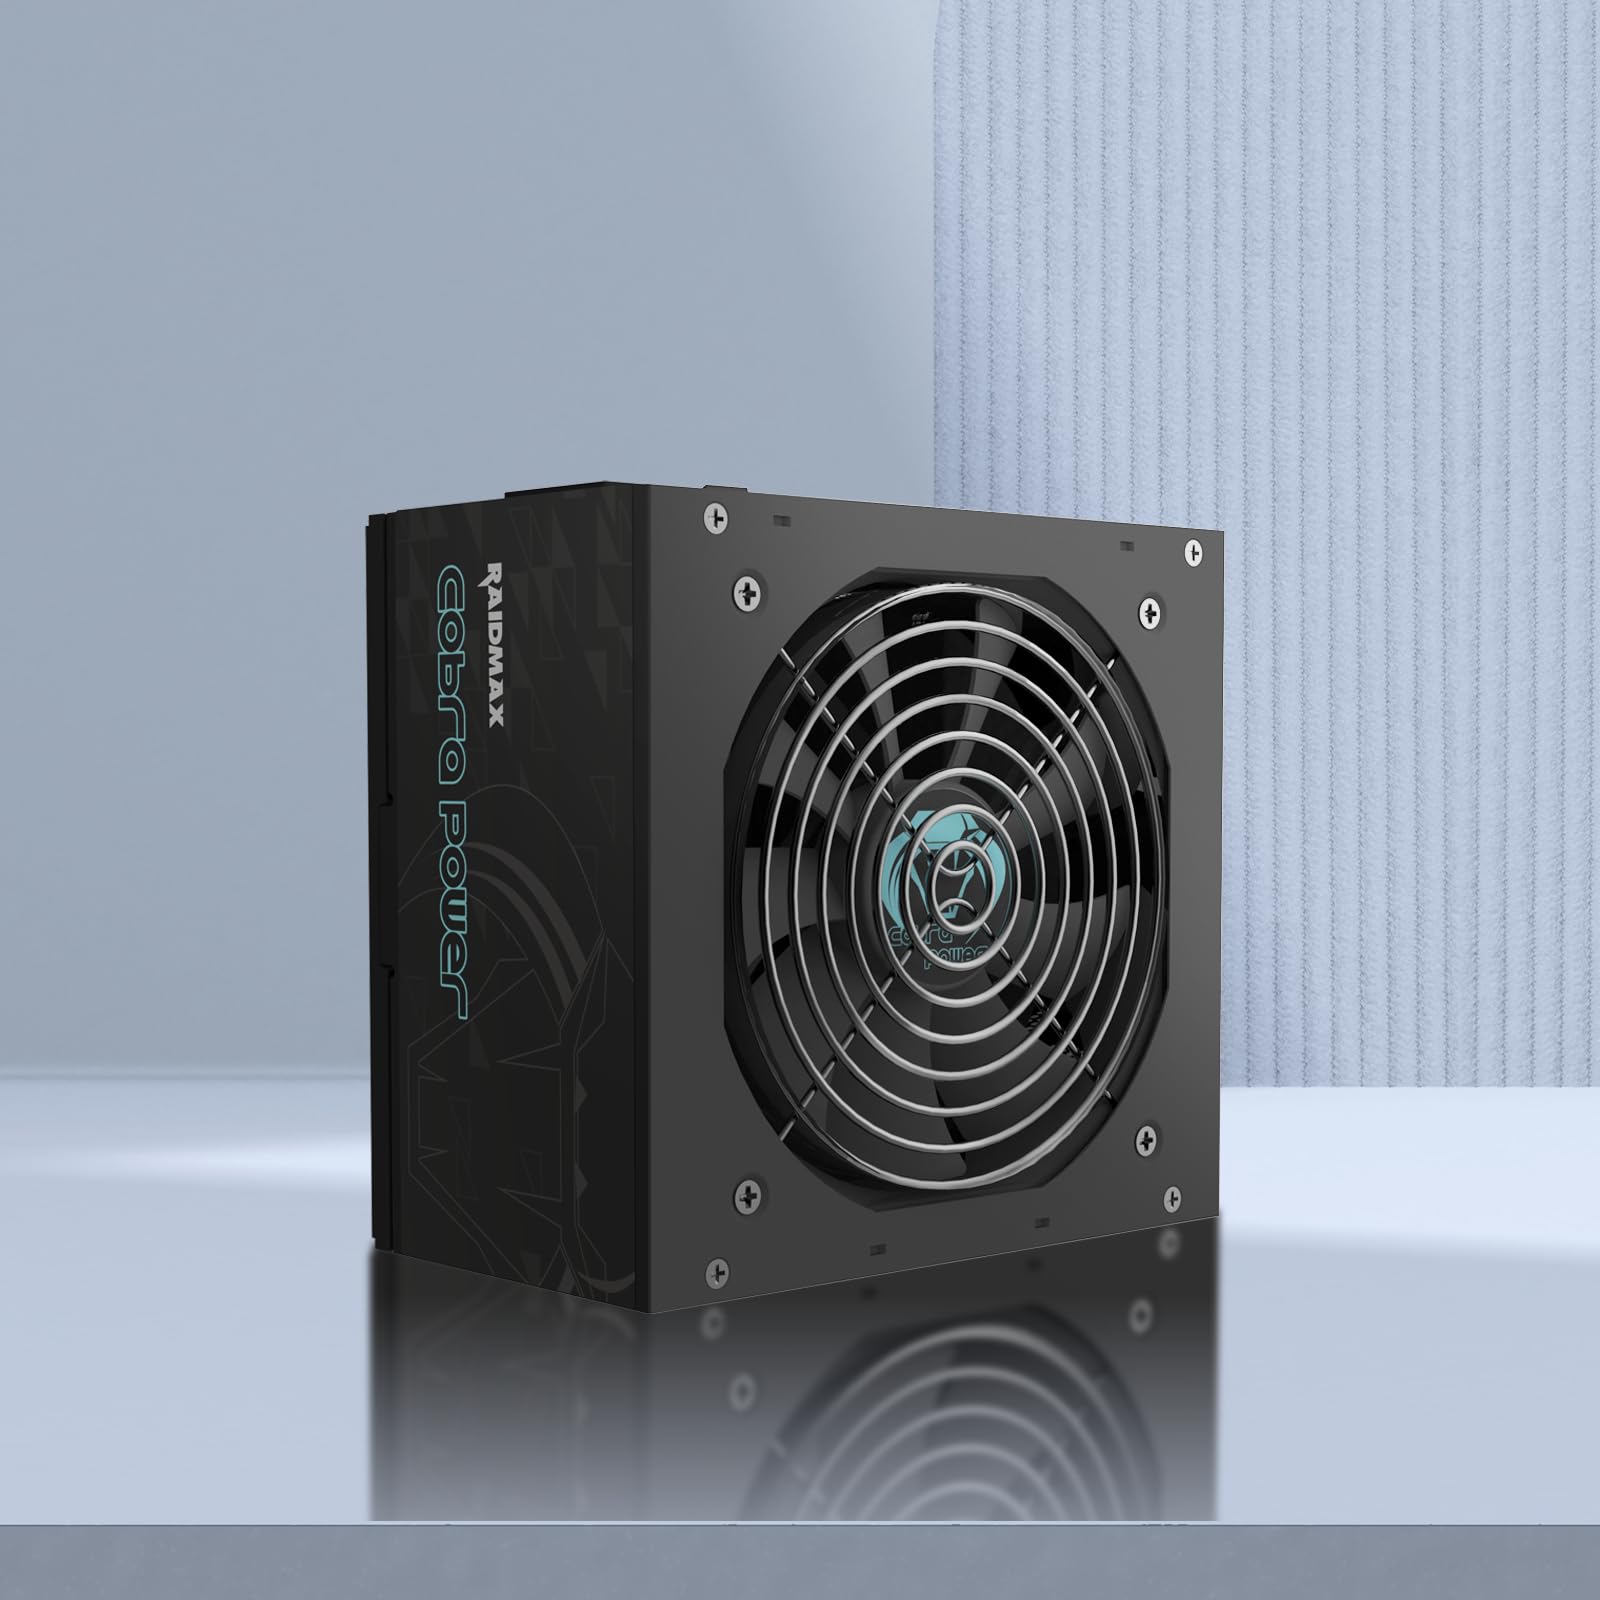
Image 1.1: The RAIDMAX Cobra RX650AED Power Supply unit.
2. Safety Information
Please read and understand all safety warnings before installing or operating this power supply unit. Failure to follow these instructions may result in electric shock, fire, or damage to the product and other components.
- Do not open the power supply unit casing. High voltages are present inside, even when the unit is unplugged.
- Do not insert any objects into the fan grille or ventilation openings.
- Do not expose the power supply to water, moisture, or extreme temperatures.
- Ensure the power supply is installed in a well-ventilated area.
- Use only the cables provided with the power supply unit.
- Before installation or maintenance, always disconnect the AC power cord from the wall outlet.
- This product is designed for use in computer systems only.
3. Setup and Installation
Follow these steps to properly install your RAIDMAX Cobra RX650AED power supply into your computer system.
3.1. Physical Installation
- Ensure your computer is powered off and the AC power cord is disconnected from the wall outlet.
- Open your computer case.
- Carefully place the power supply into the designated PSU mounting area in your computer case. Ensure the fan is oriented correctly for optimal airflow (typically facing downwards or upwards, depending on case design).
- Secure the power supply to the case using the provided screws.

Image 3.1: Top view of the power supply, showing the fan grille. Ensure proper orientation during installation.
3.2. Cable Connections
Connect the necessary cables from the power supply to your motherboard and other components. The RX650AED features flat, non-modular cables for improved cable management and airflow.
- 20+4 Pin Main Power Connector: Connect to the motherboard's main power socket.
- 4+4 Pin CPU Power Connector: Connect to the motherboard's CPU power socket (EPS12V).
- PCIe 6+2 Pin Connectors: Connect to your graphics card(s).
- 12VHPWR PCIe Gen 5 Connector: Connect to compatible PCIe Gen 5 graphics cards.
- SATA Power Connectors: Connect to SATA devices such as SSDs, HDDs, and optical drives.
- Molex 4 Pin Connectors: Connect to older peripherals or case fans.

Image 3.2: Diagram illustrating the various power connectors and their typical usage.

Image 3.3: Table detailing the quantity of each connector type for different wattage models.

Image 3.4: The power supply unit featuring the 12VHPWR PCIe Gen 5 connector.
3.3. Initial Power-On
- After all cables are securely connected, close your computer case.
- Connect the AC power cord to the power supply and then to a wall outlet.
- Flip the power switch on the back of the power supply to the "ON" position (usually marked with "I").
- Power on your computer using the case's power button.
4. Operating Instructions
The RAIDMAX Cobra RX650AED is designed for continuous operation within its specified wattage. It features 80 Plus Gold efficiency, meaning it converts a high percentage of AC power into usable DC power, reducing heat generation and electricity consumption.

Image 4.1: The 80 Plus Gold efficiency curve, demonstrating high efficiency under typical loads.
The integrated 120mm fluid dynamic bearing fan operates quietly and adjusts its speed based on thermal load, ensuring efficient cooling without excessive noise.

Image 4.2: Diagram illustrating the fluid dynamic bearing fan design for optimized cooling and reduced noise.
5. Maintenance
Proper maintenance ensures the longevity and optimal performance of your power supply.
- Cleaning: Periodically clean the exterior of the power supply and its fan grille to prevent dust buildup. Use compressed air to gently clear dust from the fan blades and vents. Always disconnect the AC power cord before cleaning.
- Cable Management: Ensure cables are neatly routed and do not obstruct airflow within the computer case.
- Environment: Operate the power supply in a clean, dry, and well-ventilated environment.
6. Troubleshooting
If you encounter issues with your power supply, refer to the following common troubleshooting steps:
| Problem | Possible Cause | Solution |
|---|---|---|
| Computer does not power on. | AC power cord disconnected, PSU switch off, loose internal connections, faulty components. |
|
| System powers on but is unstable or crashes. | Insufficient power, faulty PSU, overheating, component incompatibility. |
|
| Fan is not spinning or is excessively loud. | Dust buildup, fan obstruction, fan failure. |
|
The power supply includes multiple protection circuits (OVP, UVP, OCP, SCP, OTP) to safeguard your components. If a protection circuit is triggered, the PSU may shut down automatically. Disconnect power, check connections, and restart.
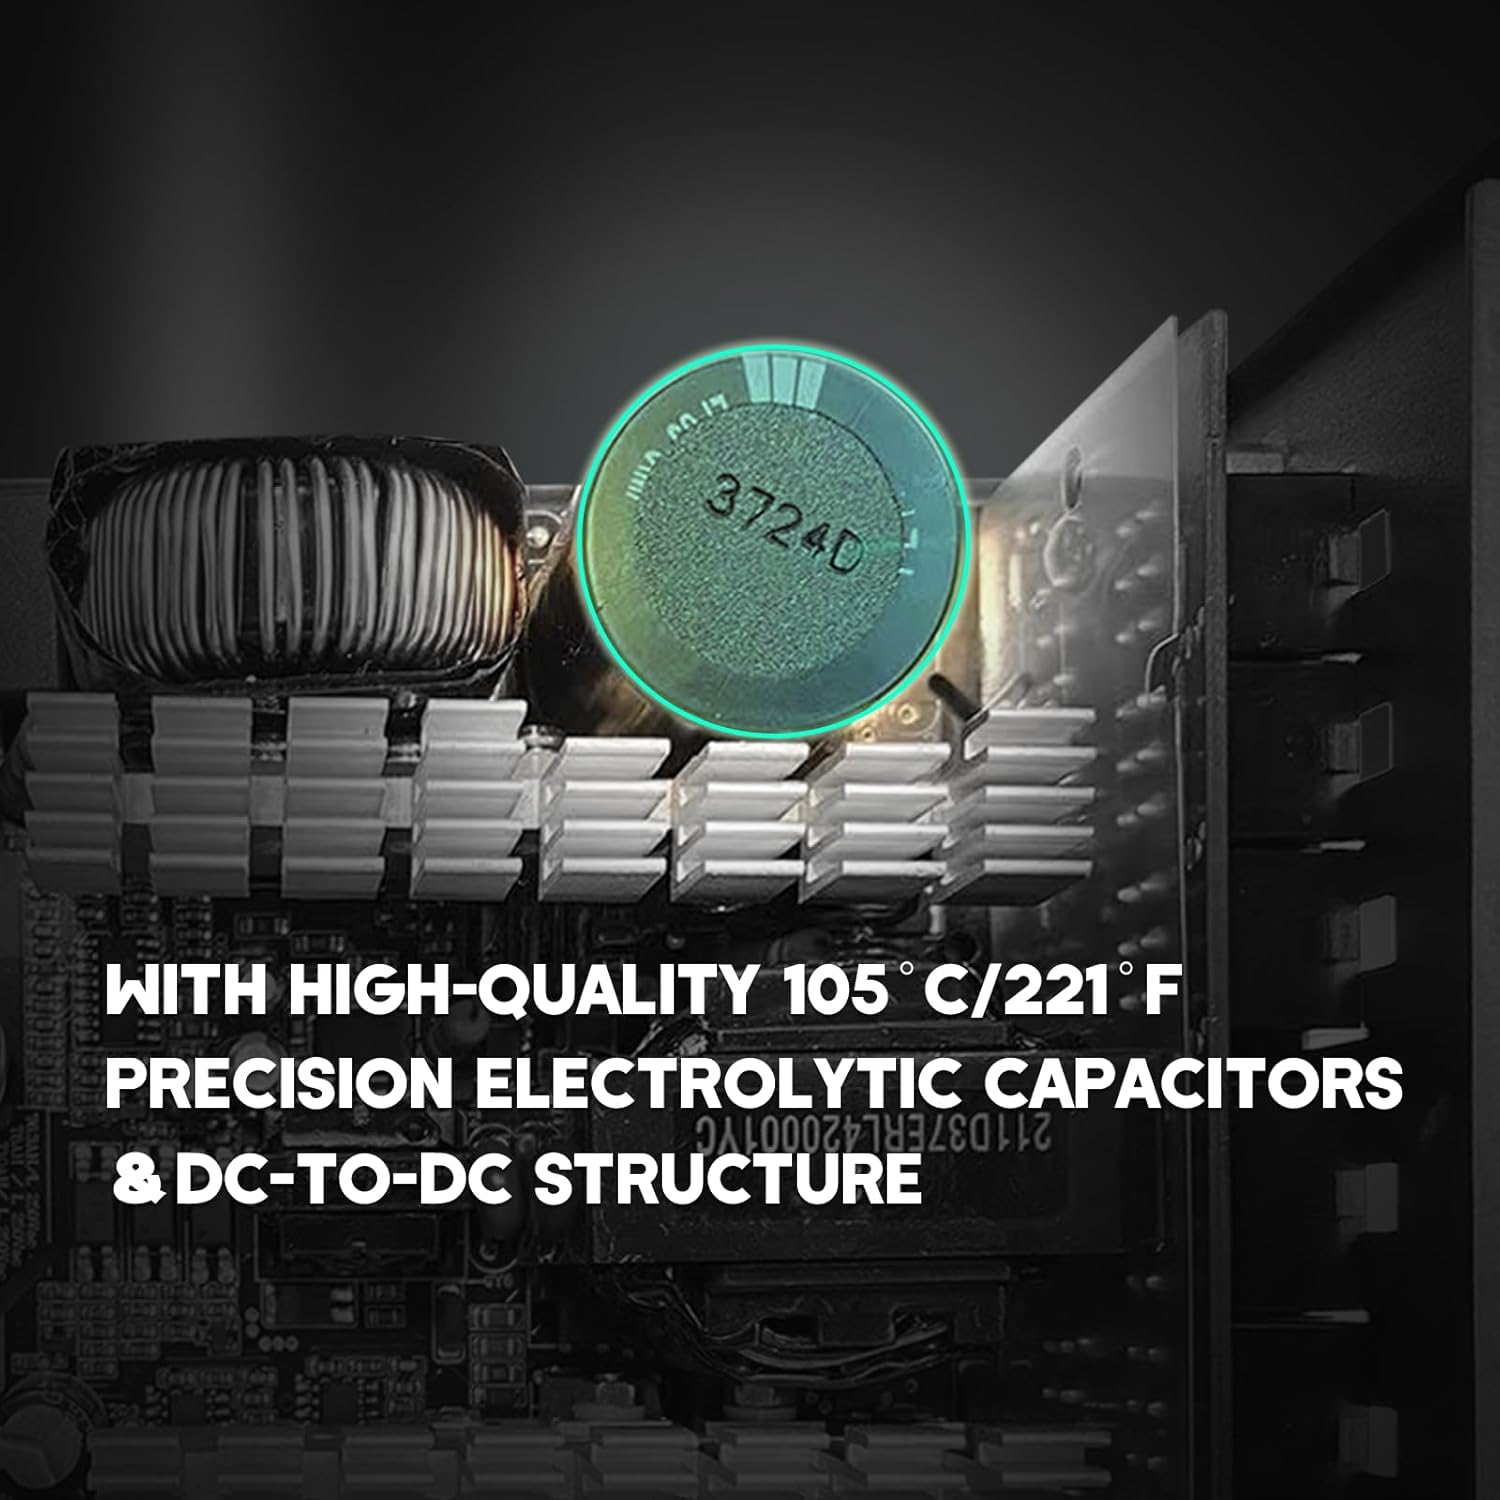
Image 6.1: Internal view highlighting high-quality 105°C electrolytic capacitors, contributing to reliability and protection.
7. Specifications
Detailed technical specifications for the RAIDMAX Cobra RX650AED Power Supply.
| Feature | Description |
|---|---|
| Model Number | RX650AED |
| Output Wattage | 650 Watts |
| Efficiency Certification | 80 PLUS Gold |
| Form Factor | ATX |
| ATX Version | ATX 3.1 |
| PCIe Support | PCIe Gen 5 (with 12VHPWR connector) |
| Cooling Method | Air (120mm Fluid Dynamic Bearing Fan) |
| PFC | Active PFC |
| Cables | Black Flat Cables, Non-Modular |
| Protections | OVP, UVP, OCP, SCP, OTP |
| Product Dimensions (L x W x H) | 5.9 x 3.14 x 5.9 inches (150 x 80 x 150 mm) |
| Item Weight | 3 pounds (1.36 kg) |

Image 7.1: Detailed electrical specifications for the RX650AED, RX750AED, and RX850AED models.
8. Warranty Information
RAIDMAX products are manufactured to the highest quality standards. For specific warranty terms and conditions, please refer to the official RAIDMAX website or the warranty card included with your product. The warranty typically covers defects in materials and workmanship under normal use.
Important: Opening the power supply unit will void the warranty.
9. Technical Support
If you require further assistance or have questions not covered in this manual, please visit the official RAIDMAX website for technical support, FAQs, and contact information.
RAIDMAX Official Website: www.raidmax.com