1. Product Overview
This manual provides instructions for the installation, operation, and maintenance of the LCWPM Hydraulic Leveling Out Replacement Pump Motor. This bi-rotational 12-volt motor is designed as a direct replacement for various hydraulic leveling and slide-out systems, ensuring optimal functionality and durability.
It is manufactured to withstand rigorous use and features a powder coat finish for enhanced longevity.
Product Components and Views

Figure 1: Main view of the hydraulic pump motor, showing the product label with model and voltage information.
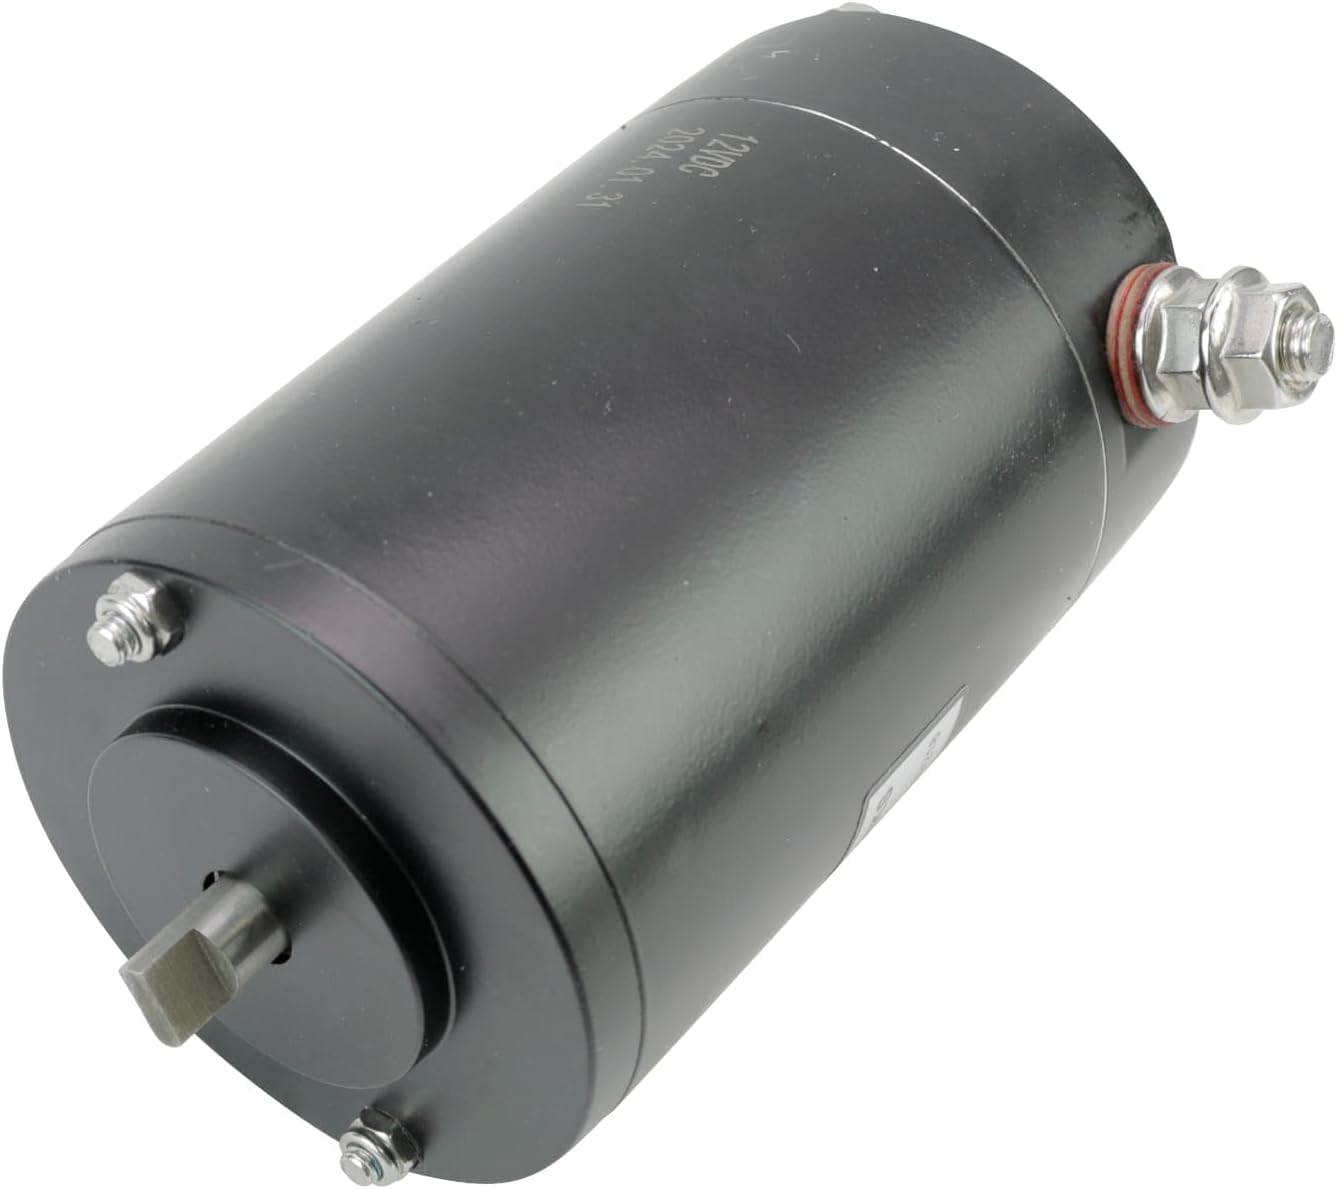
Figure 2: Side view of the motor, highlighting the drive shaft for connection to the hydraulic pump.

Figure 3: End view of the motor, providing a clear look at the shaft connection point.

Figure 4: Opposite end view of the motor, showing the manual drive access point, typically for a 1/4" hex tool.

Figure 5: Side view of the motor, illustrating the electrical terminal connections for power input.
2. Setup and Installation
This section outlines the general steps for installing the replacement pump motor. It is crucial to consult your RV manufacturer's guidelines or your unit's owner's manual for specific instructions and safety precautions related to your particular hydraulic system.
2.1. Compatibility Verification
Before proceeding with installation, verify that this replacement motor is compatible with your existing pump assembly. This motor is compatible with pump assemblies including, but not limited to: 141111, 146374, 146375, 146376, 146377, 146378, 146379, 146380, 146381, 145941, 149083, 149084, 149085, 149086, 149087, 140500, 140499, 149088, 179866, 141663. It replaces motors such as 167576, 045-167567, 414018, 414849, F000MM0809, 650057, F000MM0809.
2.2. Installation Steps
- Safety First: Disconnect all power to the hydraulic system and ensure the vehicle is stable and secured before beginning any work.
- Access the Pump: Locate and access the existing hydraulic pump assembly. This may require removing covers or panels.
- Disconnect Wiring: Carefully disconnect the electrical wiring from the old motor. Note the polarity and connection points for reinstallation.
- Remove Old Motor: Unbolt and remove the old pump motor from the hydraulic pump. Be prepared for potential fluid leaks and have appropriate containment ready.
- Install New Motor: Align the new LCWPM replacement motor with the hydraulic pump. Ensure the drive shaft engages correctly. Secure the motor using the appropriate bolts and fasteners.
- Connect Wiring: Reconnect the electrical wiring to the new motor, ensuring correct polarity (12V DC). Double-check all connections for tightness and security.
- Test System: Once installed, carefully restore power to the system and perform a functional test of the hydraulic leveling or slide-out mechanism. Monitor for proper operation and any unusual noises or leaks.
- Secure Components: Reinstall any covers or panels removed during the process.
If you are unsure about any step, it is recommended to seek assistance from a qualified technician.
3. Operating Instructions
The LCWPM Hydraulic Leveling Out Replacement Pump Motor operates as part of your vehicle's hydraulic system. Its function is to provide the necessary power to extend and retract hydraulic components such as leveling jacks or slide-outs.
3.1. Normal Operation
- Ensure the vehicle's battery is adequately charged to provide the required 12V power to the motor.
- Operate your hydraulic system using the vehicle's standard controls (e.g., control panel for leveling jacks or slide-outs).
- The motor is bi-rotational, meaning it can operate in both directions to facilitate extension and retraction of hydraulic components.
- Listen for smooth operation. Any unusual noises may indicate an issue with the hydraulic system or motor.
3.2. Manual Override (If Applicable)
Some hydraulic systems include a manual override feature, often accessible via a 1/4" hex drive on the motor (refer to Figure 4). Consult your vehicle's owner's manual for instructions on how to use this feature in case of power failure or motor malfunction.
4. Maintenance
Proper maintenance can extend the life and ensure the reliable operation of your hydraulic pump motor. While the motor itself is largely maintenance-free, regular checks of the surrounding system are recommended.
- Keep Clean: Periodically inspect the motor and its connections for dirt, debris, or corrosion. Clean as necessary with a dry cloth.
- Check Electrical Connections: Ensure all electrical connections to the motor remain tight and free of corrosion. Loose connections can lead to poor performance or damage.
- Inspect Hydraulic Fluid: Regularly check the level and condition of the hydraulic fluid in your system. Refer to your vehicle's manual for fluid specifications and replacement intervals.
- Listen for Abnormalities: Pay attention to any changes in motor sound or performance during operation.
Do not attempt to disassemble the motor. Internal repairs should only be performed by qualified service personnel.
5. Troubleshooting
This section provides guidance for common issues you might encounter. For complex problems, consult a professional technician.
| Problem | Possible Cause | Solution |
|---|---|---|
| Motor does not operate. | No power, loose electrical connections, faulty switch, dead battery. | Check battery voltage. Inspect all electrical connections for tightness and corrosion. Test the control switch. Ensure fuses/breakers are not tripped. |
| Motor runs but hydraulic component does not move. | Low hydraulic fluid, air in system, faulty pump, mechanical obstruction. | Check hydraulic fluid level and add if necessary. Bleed air from the system (refer to vehicle manual). Inspect for mechanical obstructions. If problem persists, the hydraulic pump may be faulty. |
| Motor makes unusual noise. | Loose mounting, worn bearings (internal), low fluid, air in system. | Check motor mounting bolts for tightness. Verify hydraulic fluid level. If noise persists, professional inspection is recommended. |
| Motor overheats. | Excessive load, prolonged operation, insufficient ventilation, internal fault. | Allow motor to cool down. Avoid continuous operation under heavy load. Ensure adequate airflow around the motor. If overheating is frequent, seek professional diagnosis. |
6. Specifications
| Attribute | Detail |
|---|---|
| Product Type | Hydraulic Leveling Out Replacement Pump Motor |
| Model Number | Cx12L334 (LCWPM) |
| Voltage | 12V DC |
| Rotation | Bi-rotational |
| Manufacturer | FastREPEIR (Brand: Generic) |
| Part Number | Cx12L334 |
| ASIN | B0DLBFKF27 |
| First Available | October 29, 2024 |
7. Warranty Information
Specific warranty terms for the LCWPM Hydraulic Leveling Out Replacement Pump Motor are provided by the seller or manufacturer at the time of purchase. Please refer to your purchase documentation or contact the seller directly for detailed warranty coverage, duration, and claim procedures.
8. Customer Support
For technical assistance, installation queries, or any other support needs regarding your LCWPM Hydraulic Leveling Out Replacement Pump Motor, please contact the seller or manufacturer directly. Have your product model number (Cx12L334) and purchase details ready when contacting support.