Introduction
This manual provides detailed instructions for the installation, operation, and maintenance of your Carro 44-inch S_White Smart Ceiling Fan. This fan features a 44-inch blade sweep with three white plywood blades, a flush-mounted white motor case, and an integrated dimmable LED light kit. Control options include a remote, mobile app, and voice commands via Amazon Alexa, Google Assistant, and Siri Shortcuts. Please read this manual thoroughly before installation and use to ensure safe and efficient operation.
Safety Information
WARNING: To reduce the risk of fire, electric shock, or personal injury, always follow these basic precautions:
- Read all instructions before installing and using the fan.
- Ensure the installation site can support the fan's weight (minimum 35 lbs / 15.9 kg).
- All wiring must be in accordance with national and local electrical codes. Consult a qualified electrician if you are unfamiliar with wiring.
- Disconnect power at the circuit breaker or fuse box before beginning installation or performing maintenance.
- Do not operate the fan with a damaged power cord or plug.
- Avoid placing objects in the path of the fan blades.
- Do not use the fan near water or in excessively damp environments.
- This appliance is not intended for use by persons (including children) with reduced physical, sensory or mental capabilities, or lack of experience and knowledge, unless they have been given supervision or instruction concerning use of the appliance by a person responsible for their safety.
Package Contents
Verify that all components are present before beginning installation. If any parts are missing or damaged, contact Carro customer support.
- Ceiling Fan Motor Assembly (Flush Mount)
- Fan Blades (3x White Plywood)
- LED Light Kit
- Remote Control with Wall Mount
- Mounting Bracket
- Hardware Pack (screws, wire nuts, washers)
- User Manual
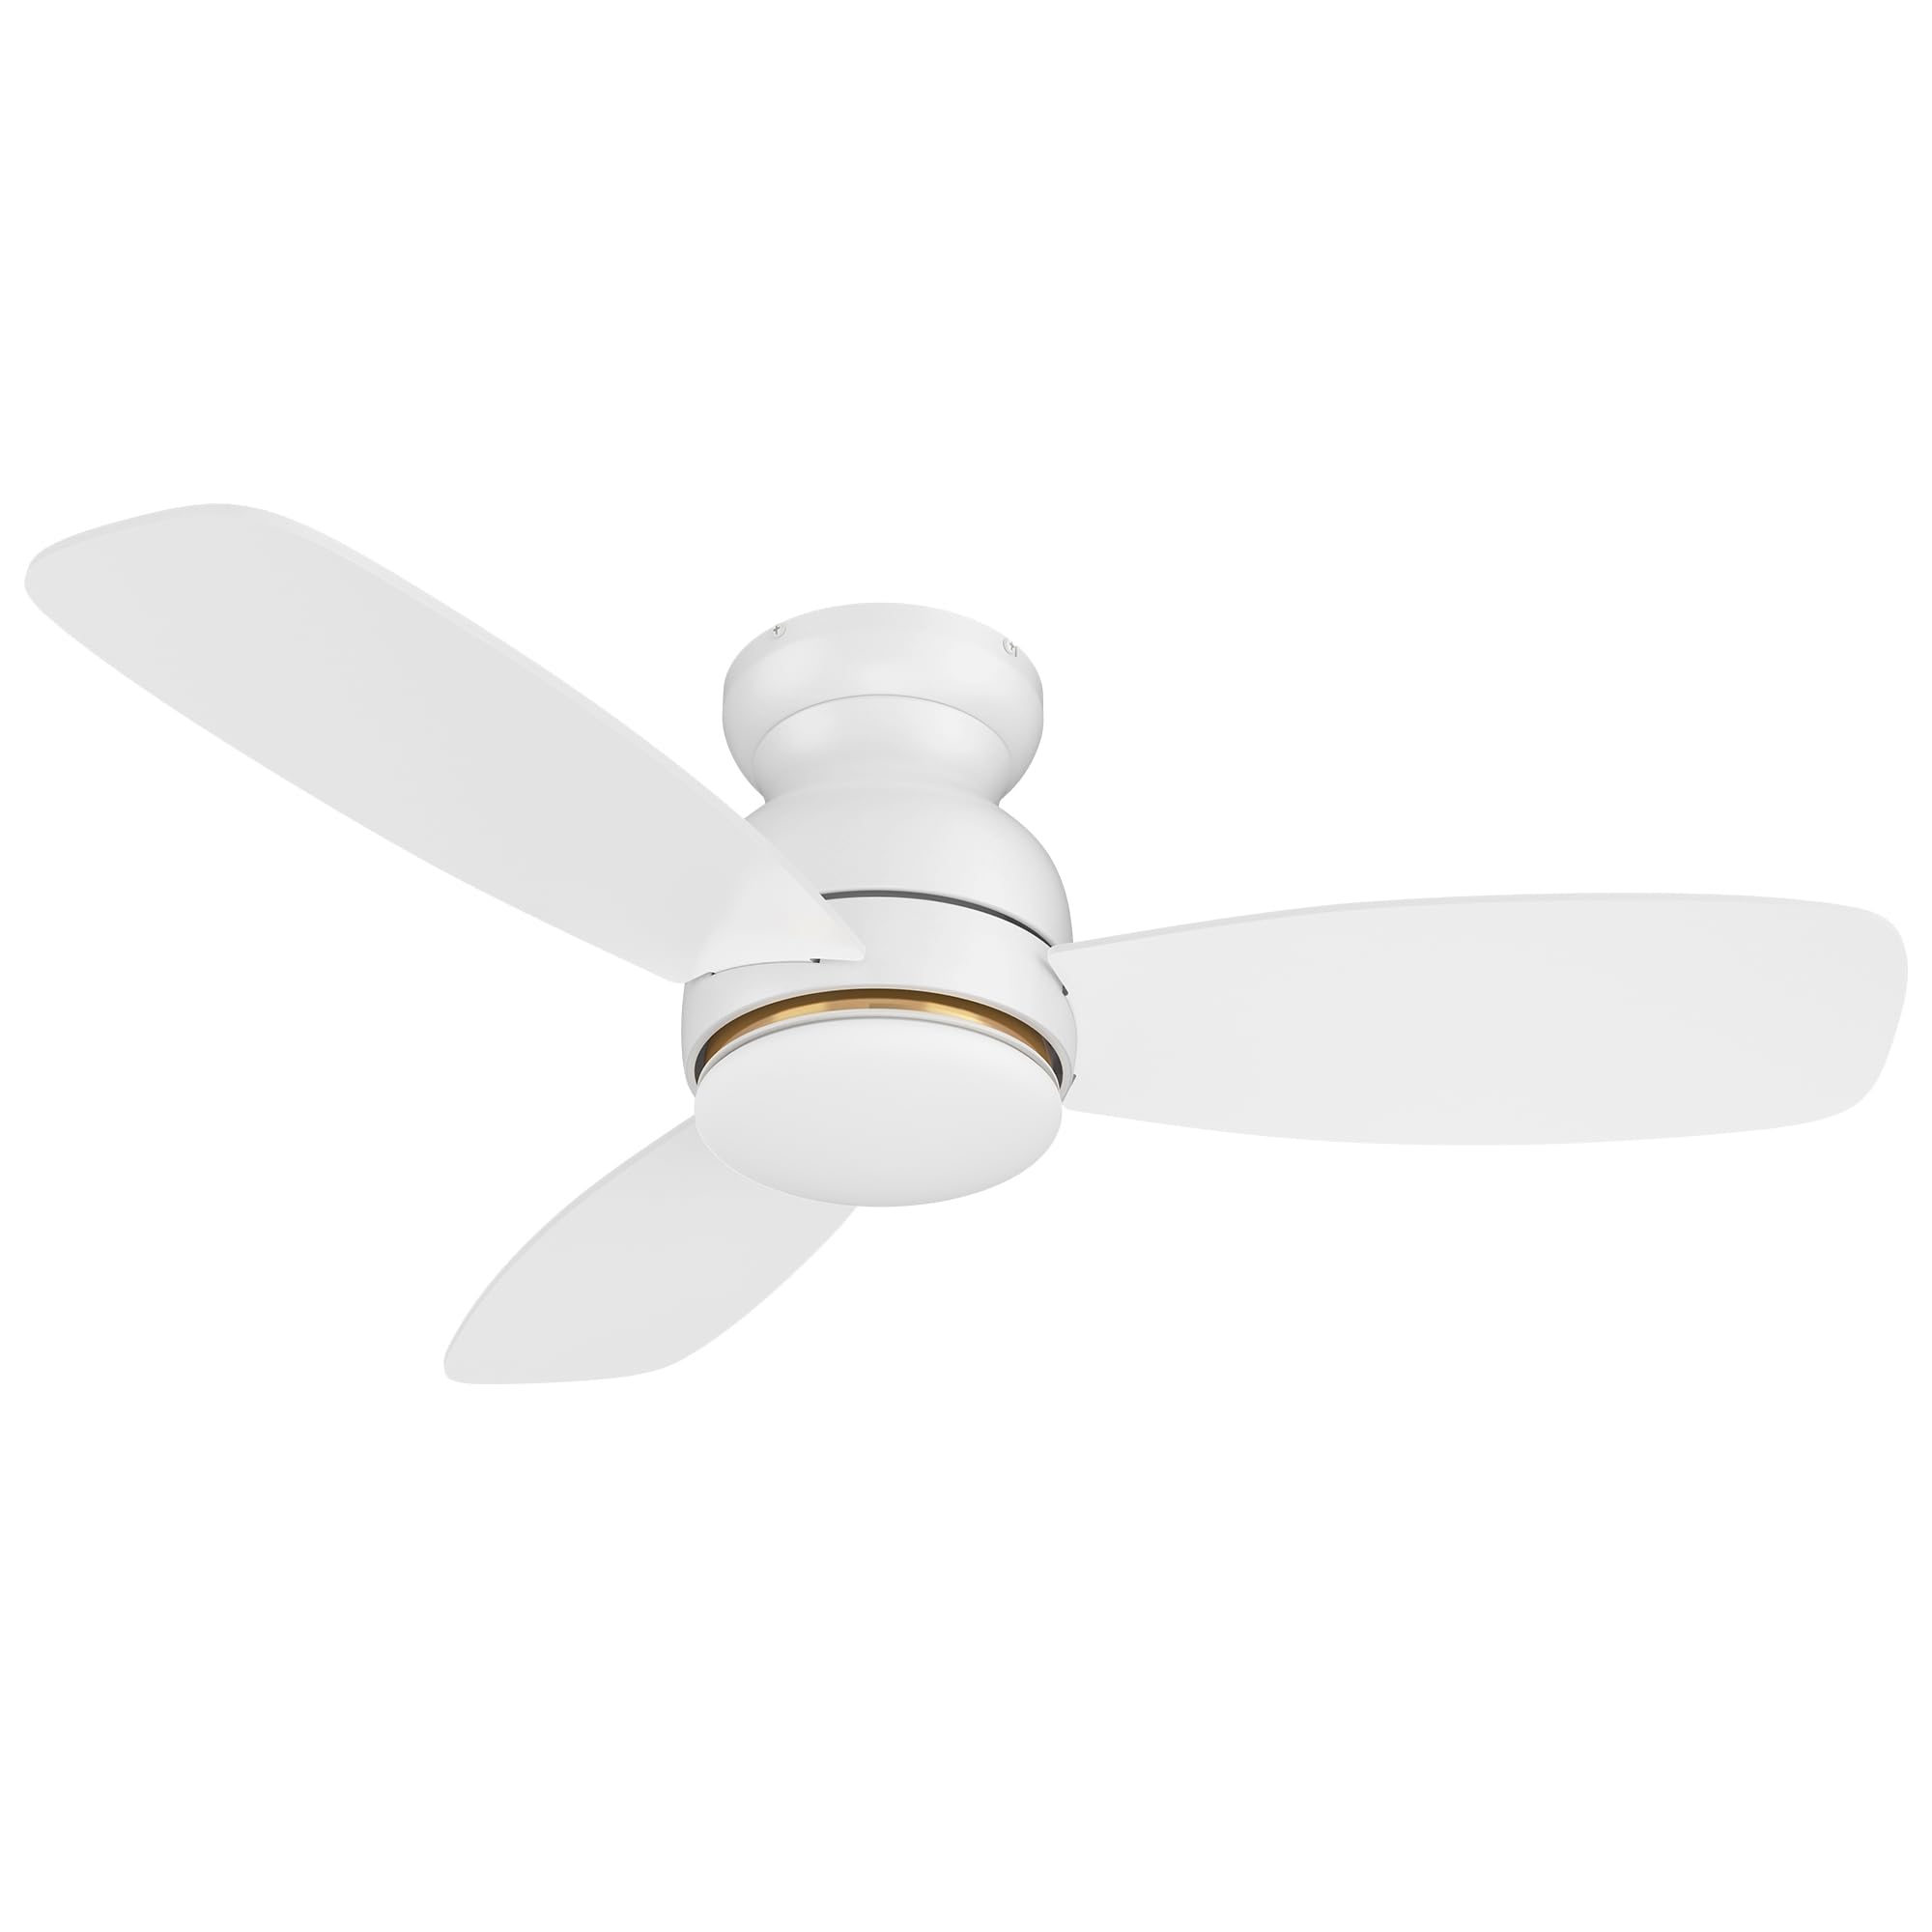
Image: Main components of the Carro 44-inch S_White Smart Ceiling Fan.
Setup and Installation
Important: Before starting, ensure the power supply is turned off at the circuit breaker.
- Mounting Bracket Installation: Secure the mounting bracket to the ceiling junction box. Ensure the junction box is rated for ceiling fan support (at least 35 lbs).
- Wiring: Connect the fan's electrical wires to the household wiring according to local electrical codes. Typically, this involves connecting live, neutral, and ground wires. Use the provided wire nuts.
- Fan Assembly: Carefully lift the fan motor assembly and attach it to the mounting bracket. Secure all screws.
- Blade Attachment: Attach the three fan blades to the motor housing using the provided screws. Ensure they are securely fastened.
- Light Kit Installation: Connect the LED light kit wires and attach the light kit to the bottom of the fan motor assembly. Secure the light diffuser.
- Power On: Restore power at the circuit breaker.
For detailed visual instructions, refer to the installation guide included in your package or visit the Carro support website.
Operating Instructions
Control Methods
Your Carro Smart Ceiling Fan offers multiple control options:
- Remote Control: Use the included remote to power on/off, adjust fan speed, change light settings, and reverse fan direction.
- Mobile App: Download the Carro Home app (or compatible smart home app) to control the fan from your smartphone. This allows for advanced settings like scheduling and grouping.
- Voice Control: Integrate with Amazon Alexa, Google Assistant, or Siri Shortcuts for hands-free operation.
Fan Operation
- Power On/Off: Press the power button on the remote or use the app/voice command.
- Fan Speed: The fan features 10 adjustable speeds. Use the speed buttons on the remote or slider in the app to select your desired airflow.

Image: Illustration of the fan operating at different wind speeds.
- Reverse Airflow (Summer/Winter Mode): Change the direction of the fan blades to optimize air circulation for different seasons.
- Summer Mode: Downward airflow creates a cooling breeze.
- Winter Mode: Upward airflow circulates warm air trapped near the ceiling.

Image: Visual representation of summer and winter fan modes.
Light Operation
- Light On/Off: Control the integrated LED light independently from the fan.
- Dimmable Light: Adjust the light brightness from 1% to 100% using the remote or app.
- Color Temperature Adjustment: Cycle through different color temperatures:
- Cool Light (4000K): Bright white light.
- Warm Light (2700K): Soft, yellowish light.
- Natural Light (3000K): A balanced combination.

Image: Different color temperature settings for the LED light.
Smart Features
- App Control: The mobile app allows for comprehensive control, even when WiFi signal is lost for basic functions.

Image: Remote control and smartphone app for fan operation.
- Voice Control Integration: Connect your fan to Amazon Alexa, Google Assistant, or Siri Shortcuts for voice commands. Example: "Alexa, set the white ceiling fan in bedroom to speed 6, set yellow light to 75%, set white light to 65%."

Image: Voice control compatibility with smart home assistants.
- Timers and Schedules: Use the app to set automatic on/off times and create custom schedules for different rooms.

Image: Example of scheduling functions within the mobile application.
Maintenance
Regular maintenance ensures optimal performance and extends the lifespan of your ceiling fan.
- Cleaning: Dust the fan blades and motor housing periodically with a soft, damp cloth. Do not use abrasive cleaners or solvents. Ensure power is off before cleaning.
- Blade Balance: If the fan wobbles, check that all blade screws are tight and that blades are not bent or damaged. A balancing kit (not included) may be used if necessary.
- Light Kit: The LED light source is designed for long life and is not user-replaceable. If the light fails, contact customer support.
- Tighten Fasteners: Periodically check and tighten all screws and fasteners on the fan and mounting hardware.
Troubleshooting
| Problem | Possible Cause | Solution |
|---|---|---|
| Fan does not start. | No power to the fan; loose wire connections; remote control battery low. | Check circuit breaker/fuse. Ensure all wire connections are secure. Replace remote control batteries. |
| Fan wobbles. | Loose blade screws; unbalanced blades; improper mounting. | Tighten all blade screws. Check for bent blades. Ensure mounting bracket is securely installed. |
| Light does not work. | Loose wire connection; LED light kit failure. | Check light kit wiring. If problem persists, contact customer support. |
| Remote control not working. | Low battery; remote not paired with fan. | Replace remote batteries. Refer to pairing instructions (usually in a separate remote manual or app guide). |
| App/Voice control not responding. | No Wi-Fi connection; incorrect app settings; device not linked. | Check Wi-Fi router and internet connection. Verify fan is properly linked in the app and smart home assistant. Restart app/fan. |
Specifications
| Brand | Carro |
| Model | 44-inch S_White Smart Ceiling Fan |
| Product Dimensions | 44"D x 44"W x 11.7"H |
| Number of Blades | 3 |
| Blade Material | Engineered Wood |
| Motor Type | DC Motor |
| Light Type | Dimmable LED (4000K Cool, 3000K Natural, 2700K Warm) |
| Control Methods | Remote Control, Mobile App, Voice Control (Alexa, Google Home, Siri) |
| Number of Speeds | 10 |
| Power Source | AC/DC |
| Voltage | 120 Volts |
| Wattage | 65 watts |
| Air Flow Capacity | 2800 Cubic Feet Per Minute |
| Mounting Type | Flush Mount |
| Indoor/Outdoor Usage | Indoor |
| Certification | ETL |
Warranty and Support
For warranty information, please refer to the documentation included with your purchase or visit the official Carro website. If you encounter any issues or require assistance, please contact Carro customer support. Keep your purchase receipt for warranty claims.
Customer Support: For technical assistance or service inquiries, please visit Carro Store on Amazon or refer to the contact information provided in your product packaging.