1. Introduction
This manual provides essential information for the safe and effective use of the Generic Koreakacon K08-371 Push Button. This industrial-grade push button is designed for various control applications, featuring a green actuator and operating at DC24V. Please read this manual thoroughly before installation and operation to ensure proper function and safety.
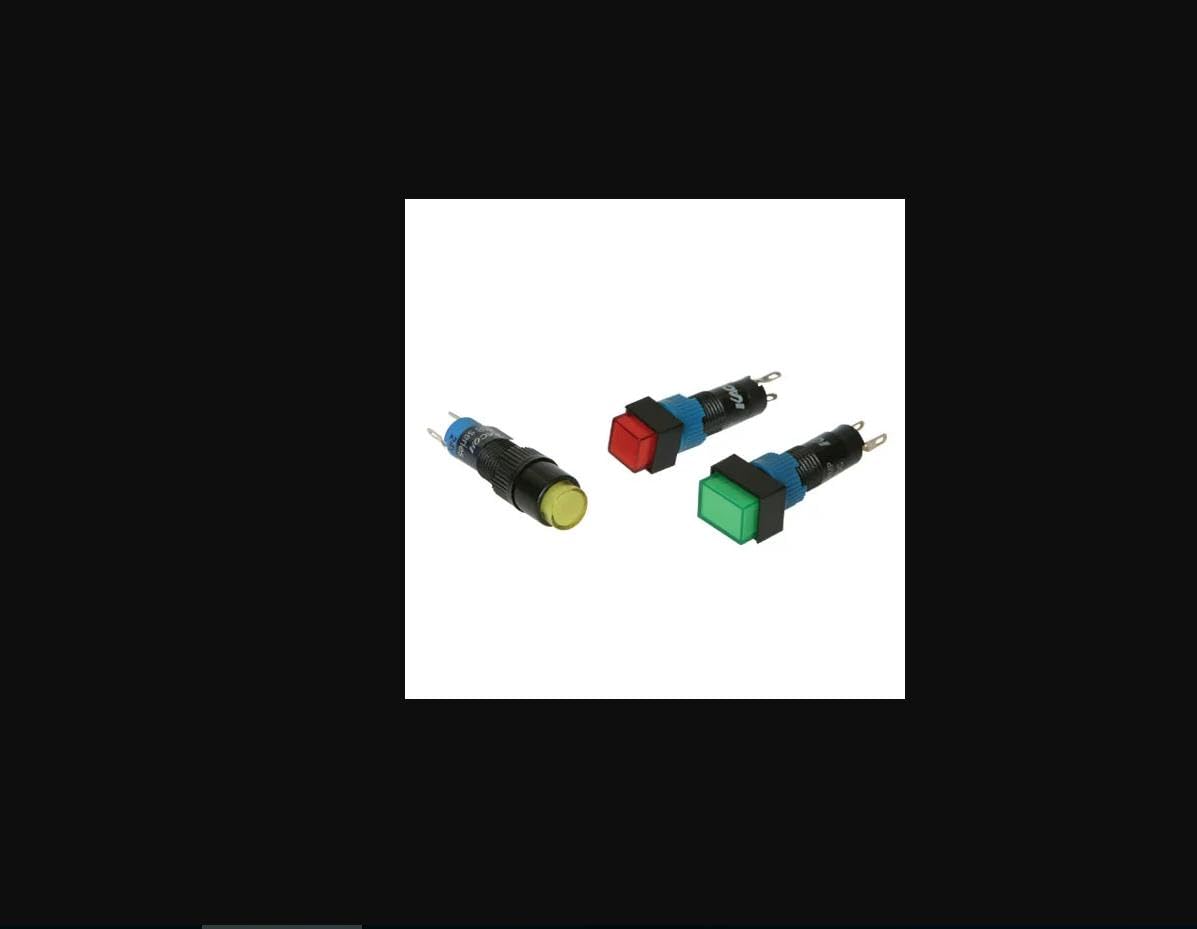
Figure 1: Generic Koreakacon K08-371 Green Push Button
2. Safety Information
Always adhere to the following safety guidelines to prevent injury or damage to the product and associated equipment:
- Electrical Safety: Ensure all power is disconnected before installation, wiring, or maintenance. Work should only be performed by qualified personnel.
- Voltage Compatibility: Verify that the power supply voltage matches the button's specified voltage (DC24V). Incorrect voltage can cause damage or malfunction.
- Proper Wiring: Follow all wiring diagrams and local electrical codes. Secure all connections to prevent short circuits or loose contacts.
- Environmental Conditions: Do not expose the button to excessive moisture, dust, or extreme temperatures beyond its specified operating range.
- Intended Use: Use this product only for its intended purpose as a control switch. Do not modify the button or use it for applications outside its design specifications.
3. Package Contents
The package typically includes the following items:
- 10 x Koreakacon K08-371 Push Buttons (Green, DC24V)
- Mounting Nut (pre-installed or separate)
- Washer (pre-installed or separate)
4. Specifications
| Feature | Specification |
|---|---|
| Model Number | K08-371 |
| Brand | Generic |
| Color | Green |
| Voltage | DC24V |
| Type | Push Button Switch |
| Part Number | PHS-344FB33B6CAFB60ECF35782553F5DD56 |
| First Available Date | Oct. 29 2024 |
5. Setup
Follow these steps for proper installation of the K08-371 Push Button:
- Prepare Mounting Hole: Drill or cut a circular hole of the appropriate diameter in your control panel or enclosure. Refer to the product's technical drawing for exact dimensions.
- Insert Button: Insert the push button assembly through the mounting hole from the front of the panel.
- Secure with Nut: Place the washer and then thread the mounting nut onto the button's body from the rear of the panel. Tighten securely by hand, then use a wrench for a final snug fit, being careful not to overtighten.
- Wiring: Connect the appropriate wires to the terminals on the back of the button. Ensure correct polarity for DC connections if applicable. Refer to your system's wiring diagram.
- Test: After installation and wiring are complete, carefully restore power and test the button's functionality.
6. Operating Instructions
The Koreakacon K08-371 is a simple push-button switch. Its operation is straightforward:
- Momentary Action: This button typically features momentary action. This means the switch contacts change state only while the button is being pressed. Once released, the contacts return to their original state.
- Activation: To activate the switch, firmly press the green button actuator.
- Deactivation: Release the button to return it to its inactive state.
The specific function of the button (e.g., starting a motor, activating a light) depends on the circuit it is integrated into.
7. Maintenance
Regular maintenance helps ensure the longevity and reliable operation of your push button:
- Cleaning: Periodically clean the surface of the button with a soft, dry cloth. Avoid using abrasive cleaners or solvents that could damage the plastic.
- Inspection: Regularly inspect the button for any signs of physical damage, loose connections, or excessive wear.
- Environmental Protection: Ensure that the button's environment remains within its specified operating conditions to prevent premature failure.
8. Troubleshooting
If you encounter issues with your K08-371 Push Button, consider the following:
- Button Not Responding:
- Check all wiring connections for looseness or corrosion.
- Verify that the power supply is active and providing the correct DC24V.
- Inspect the button for any physical obstructions preventing full depression or release.
- Intermittent Operation:
- Ensure wiring is secure and not subject to vibration.
- Check for internal damage if the button has been subjected to impact.
- Indicator Light (if applicable) Not Working:
- Verify the indicator light's power connection.
- Confirm the correct voltage is supplied to the light circuit.
If problems persist after troubleshooting, contact customer support or a qualified electrician.
9. Warranty and Support
This product is sold by Generic. For specific warranty information, please refer to the terms and conditions provided at the time of purchase or contact the seller directly. For technical support or inquiries, please reach out to the retailer or manufacturer's customer service channels.


