1. Important Safety Information
Read and understand all safety instructions and usage recommendations in this manual before operating the MilleLoom Pyramid Patio Heater. Failure to follow these instructions may result in fire, explosion, property damage, personal injury, or death.
- Outdoor Use Only: This heater is designed for outdoor use only. Do not operate indoors or in enclosed spaces.
- Clearance: Maintain a safe distance of at least a few feet (approximately 3 feet or 1 meter) from combustible materials, walls, and ceilings.
- Flammable Materials: Keep flammable liquids, gases, and other materials away from the heater.
- Assembly Safety: Some parts may have sharp edges. Wear protective gloves during assembly to prevent injury.
- Triple Protection System: This heater is equipped with an anti-tilt mechanism, flame-out protection, and hypoxia protection for enhanced safety.
- Stability: Securely anchor the heater to the ground using the provided ground spikes to prevent tipping.
- Children and Pets: Keep children and pets away from the heater during operation and while it is cooling down.

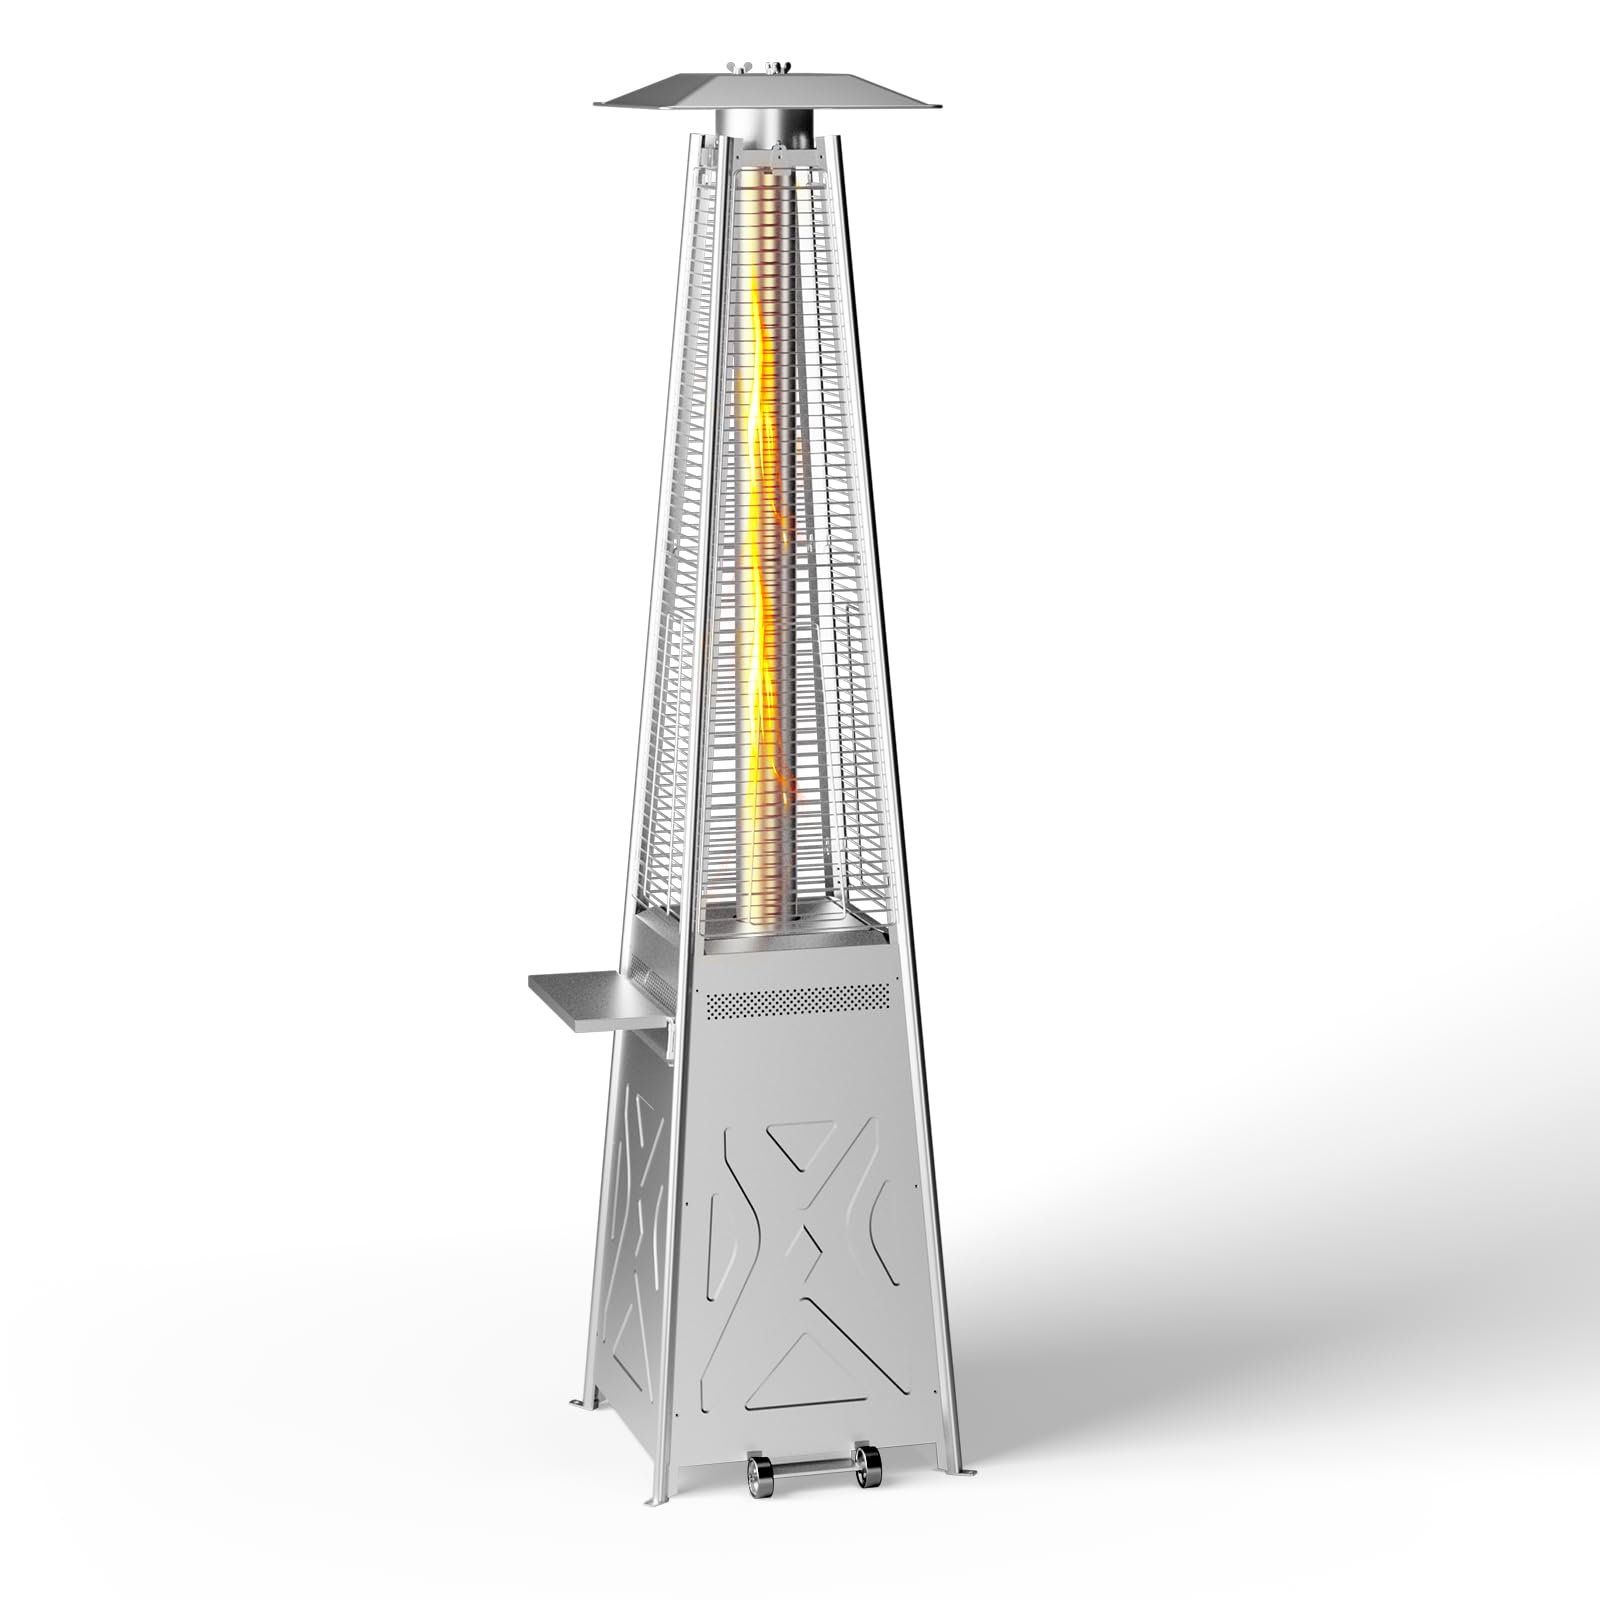
2. Product Overview and Components
Familiarize yourself with the components of your MilleLoom Pyramid Patio Heater before assembly and operation.

3. Setup and Assembly
Follow these steps to assemble your patio heater. It is recommended to have two people for assembly.
- Unpack Components: Carefully remove all parts from the packaging. Refer to Figure 2 for a complete list of components.
- Remove Protective Layers: Many stainless steel parts come with a protective film. Use a hair dryer to gently warm the film, which can make removal easier. This process may still take some time.
- Assemble Base: Attach the Wheel Assembly and Bottom Plate to the Lower Support structure.
- Install Side Panels: Secure Side Panel B and Side Panel B to the base structure.
- Mount Control Box: Install the Control Box Assembly.
- Insert Glass Tube: Carefully place the Glass Tube into its designated position. Ensure the Black Silicone Ring is properly seated.
- Attach Upper Supports and Protective Guards: Secure the Upper Supports and Protective Guards around the glass tube.
- Install Flame Screen and Reflector: Place the Flame Screen and then the Reflector on top of the unit.
- Secure with Ground Fixtures: Once assembled and positioned, use the four ground spikes to securely anchor the heater to the ground for stability.
- Propane Tank Installation: Open the built-in door (Figure 3) and place a standard propane tank inside the base. Connect the gas line according to the instructions provided with your propane tank and the heater's gas connection.
4. Operating Instructions
Follow these steps for safe and effective operation of your MilleLoom Pyramid Patio Heater.
- Gas Supply: Ensure the propane tank valve is fully open.
- Ignition: Press and hold the control knob, then rotate it to the 'IGNITE' position. You should hear a clicking sound from the fast pulse ignition system. Continue to hold the knob for 10-15 seconds after ignition to allow the thermocouple to heat up.
- Adjust Heat: Once ignited, release the control knob. You can then adjust the heat output from low to high by rotating the control knob to your desired setting. The heater provides up to 42,000 BTU/hour of heat.
- Monitoring: Observe the flame through the clear glass tube. Ensure it is burning steadily.
- Shut Down: To turn off the heater, rotate the control knob to the 'OFF' position and close the valve on the propane tank.

5. Maintenance
Regular maintenance ensures the longevity and safe operation of your patio heater.
- Cleaning: Allow the heater to cool completely before cleaning. Wipe exterior surfaces with a soft, damp cloth. Do not use abrasive cleaners or solvents.
- Burner and Pilot Light: Periodically inspect the burner and pilot light area for debris, dust, or insect nests. Clean gently with a soft brush if necessary.
- Gas Line Inspection: Before each use, check the gas hose and connections for any signs of wear, cuts, or leaks. Perform a leak test with soapy water if a leak is suspected.
- Storage: When not in use for extended periods, disconnect the propane tank and store the heater in a dry, protected area.
6. Troubleshooting
If you encounter issues with your patio heater, refer to the following common troubleshooting steps.
| Problem | Possible Cause | Solution |
|---|---|---|
| Heater will not ignite | Propane tank empty or valve closed Igniter not sparking Gas line obstruction | Check propane level and open tank valve Check igniter electrode and wiring Inspect gas line for kinks or blockages |
| Low flame or inconsistent flame | Low propane pressure Burner ports clogged Regulator issue | Ensure tank is not low; reset regulator by closing tank valve, disconnecting, waiting 5 min, reconnecting, and slowly opening valve Clean burner ports Contact customer support if regulator is suspected |
| Heater shuts off unexpectedly | Anti-tilt mechanism activated Flame-out protection activated (e.g., strong wind) Low oxygen (hypoxia protection) | Ensure heater is on a level surface and not disturbed Relight heater; consider wind protection Ensure adequate ventilation |
If problems persist after attempting these solutions, contact MilleLoom customer support.
7. Specifications
- Brand: MilleLoom
- Model Number: Outdoor Gas Patio Heater
- Material: Stainless Steel
- Dimensions (Overall): 19.29 inches (D) x 19.29 inches (W) x 90.55 inches (H)
- Item Weight: 68.7 Pounds
- Heat Output: 42,000 BTU/hour
- Special Features: Tip-Over Protection, Flame-Out Protection, Hypoxia Protection, Wheels, Coffee Rack
- Coffee Rack Size: 12.99 inches x 6.69 inches
- Coffee Rack Load Capacity: 13.23 Lbs
- Power Source: Propane Gas
- UPC: 198723535708
- ASIN: B0DL9GHJCX
8. Warranty and Support
For warranty information, technical support, or to order replacement parts, please contact MilleLoom customer service. Refer to your purchase documentation or the MilleLoom official website for contact details.