1. Introduction
Thank you for choosing the Patiowell 8 x 6 FT Plastic Outdoor Storage Shed. This manual provides essential information for the safe assembly, operation, and maintenance of your new storage shed. Please read these instructions carefully before beginning assembly and retain them for future reference.
This durable plastic shed is designed to provide a secure and spacious storage solution for your garden tools, lawn equipment, and other outdoor items. Its robust construction and thoughtful features ensure long-lasting performance.

Image 1.1: Patiowell 8x6 FT Plastic Outdoor Storage Shed in a backyard setting, showcasing its design and size.
Important Safety Notes:
- Always check your local Homeowners Association (HOA) policies or local building codes to ensure compliance before constructing the shed.
- Assembly typically requires two people for safety and efficiency.
- The shed will be delivered in multiple packages (typically 4). These packages may arrive at different times. Ensure all packages have arrived before starting assembly.
- Wear appropriate safety gear, such as gloves, during assembly.
2. Package Contents
Before beginning assembly, verify that all components listed below are present and undamaged. If any parts are missing or damaged, please contact customer support.
- 1 x Storage Shed (components for walls, roof, floor, doors)
- 1 x Magnetic Induction Light
- 1 x Pair of Tool Gloves
- Product Instruction Manual (this document)
- Hardware Set (screws, bolts, etc.)
3. Setup & Assembly
3.1 Pre-Assembly Checklist
- Site Preparation: Choose a level, stable surface for the shed. Ensure adequate clearance around the shed for assembly and future access.
- Tools Required (not included): A screwdriver (Phillips head recommended), a rubber mallet, and a measuring tape may be useful.
- Unpack Components: Carefully unpack all boxes and lay out components. Refer to the parts list in the separate hardware set instructions to identify each piece.
3.2 Assembly Instructions
The Patiowell shed features a simplified assembly process, reducing the number of screws needed by approximately 35% compared to traditional sheds. Follow the detailed step-by-step instructions provided in the separate hardware set manual for precise assembly.
- Base Installation: Begin by assembling the plastic floor base on your prepared level surface. This base provides stability and protection against moisture.
- Wall Panel Assembly: Connect the wall panels according to the instructions. Note that the window panel can be adjusted to your preferred position during this stage.
- Roof Structure: Assemble the roof frame and attach the roof panels. Ensure all connections are secure to maintain the waterproof integrity.
- Door Installation: Install the double hinged doors, ensuring they open and close smoothly.
- Final Checks: Verify all screws are tightened and components are securely fastened.
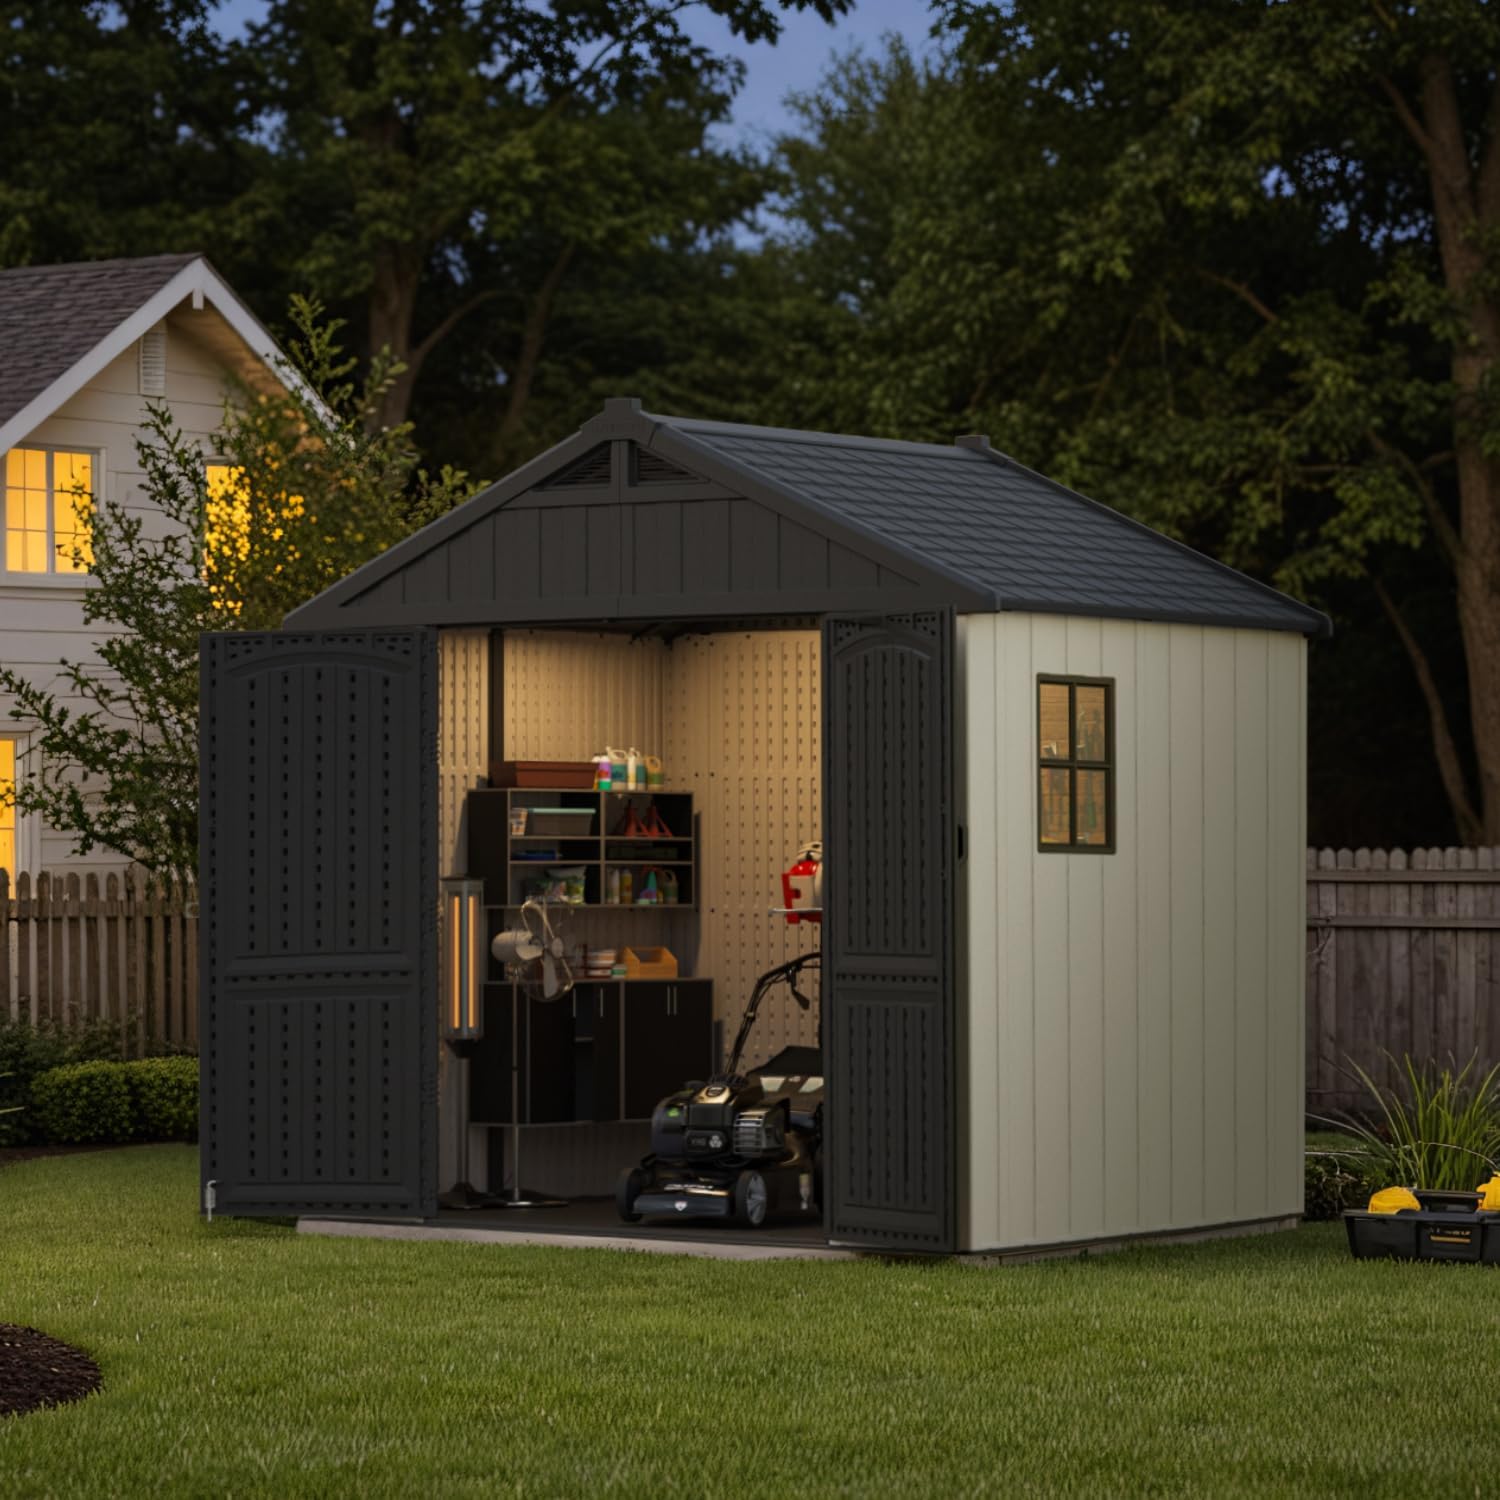
Image 3.1: Interior view of the Patiowell storage shed, demonstrating its spacious design for various items.

Image 3.2: Diagram illustrating how the window panel can be adjusted to different positions on the shed walls during assembly.
4. Operating Instructions
4.1 Doors and Locking Mechanism
The shed features double hinged doors for wide access. The doors are designed to be lockable, providing enhanced security for your stored items. Use a padlock (not included) with the integrated locking mechanism.
4.2 Magnetic Induction Light
The included magnetic induction light provides convenient illumination inside the shed. It features a powerful magnetic base and a motion sensor for hands-free operation.
- Installation: Remove the protective film from the adhesive strip on the magnetic base. Paste the base in your desired position inside the shed. Attach the light to the magnet.
- Operation: The light has a motion sensor with a 5-8 meter sensing range. It offers three different lighting modes (e.g., always on, motion-activated, dim). Select the desired mode using the switch on the light.

Image 4.1: Step-by-step visual guide for installing the magnetic induction light.
4.3 Ventilation
The shed incorporates built-in ventilation to help reduce condensation and maintain air circulation, keeping your stored items fresh.

Image 4.2: Detailed view highlighting the shed's vent design, waterproof roof construction, and lockable door mechanism.
5. Maintenance
Regular maintenance will extend the life and appearance of your Patiowell storage shed.
- Cleaning: Clean the shed periodically with mild soap and water. Avoid abrasive cleaners or harsh chemicals, as these can damage the plastic material. Rinse thoroughly with clean water.
- Inspection: Annually inspect the shed for any loose screws, damaged panels, or signs of wear. Tighten any loose fasteners.
- Drainage: Ensure the area around the shed is clear of debris to allow for proper water drainage from the roof and base.
6. Troubleshooting
This section addresses common issues you might encounter with your storage shed.
- Issue: Doors do not close or align properly.
Solution: Check that the shed is assembled on a perfectly level surface. Uneven ground can cause the frame to twist, affecting door alignment. Re-check all frame connections and ensure they are securely fastened. - Issue: Water leakage inside the shed.
Solution: Inspect the roof panels and their connections for any gaps or improper sealing. Ensure the roof is correctly installed according to the assembly instructions. Check for any cracks or damage to the panels. - Issue: Magnetic Induction Light not working.
Solution: Check the batteries in the light. Ensure the light is securely attached to its magnetic base. Verify the selected lighting mode is appropriate for your needs (e.g., motion sensor mode requires movement). - Issue: Missing or damaged parts upon delivery.
Solution: If you receive packages with missing or damaged components, please contact Patiowell customer support immediately with your purchase details and a description of the issue.
7. Specifications
| Feature | Detail |
|---|---|
| Brand | Patiowell |
| Model Number | 404A-86-D1 |
| Product Dimensions (D x W x H) | 66.1" x 91.3" x 94.5" |
| Material | Plastic, Resin |
| Color | Beige |
| Item Weight | 304.5 Pounds |
| Weight Capacity | 880 Pounds |
| Door Style | Double Hinged, Lockable |
| Door Width | 55.1 Inches |
| Door Height | 70.9 Inches |
| Water Resistance Level | Water Resistant |
| Assembly Required | Yes |

Image 7.1: Technical diagram illustrating the key dimensions of the Patiowell 8x6 FT storage shed.
8. Warranty & Support
Patiowell products are manufactured to high-quality standards. While specific warranty details are typically provided with your purchase documentation, general support is available for product-related inquiries.
If you encounter any quality problems, require replacement parts, or have questions regarding your Patiowell 8 x 6 FT Plastic Outdoor Storage Shed, please contact the seller or Patiowell customer service directly. When contacting support, please have your purchase information and model number (404A-86-D1) readily available.
Note: As mentioned previously, the shed components are shipped in multiple packages. If you have only received a partial shipment, please allow additional time for all packages to arrive before contacting support regarding missing parts.