1. Introduction
Thank you for choosing the TROPOW 25L Scientific Incubator. This versatile device is designed for precise temperature control, offering both heating and cooling capabilities for a wide range of applications, including laboratory use, seed germination, yeast cultivation, and reptile incubation. Its compact and portable design, coupled with dual AC/DC power options, makes it suitable for both home and automotive environments.
This manual provides essential information for the safe and efficient operation, setup, maintenance, and troubleshooting of your incubator. Please read it thoroughly before use and retain it for future reference.
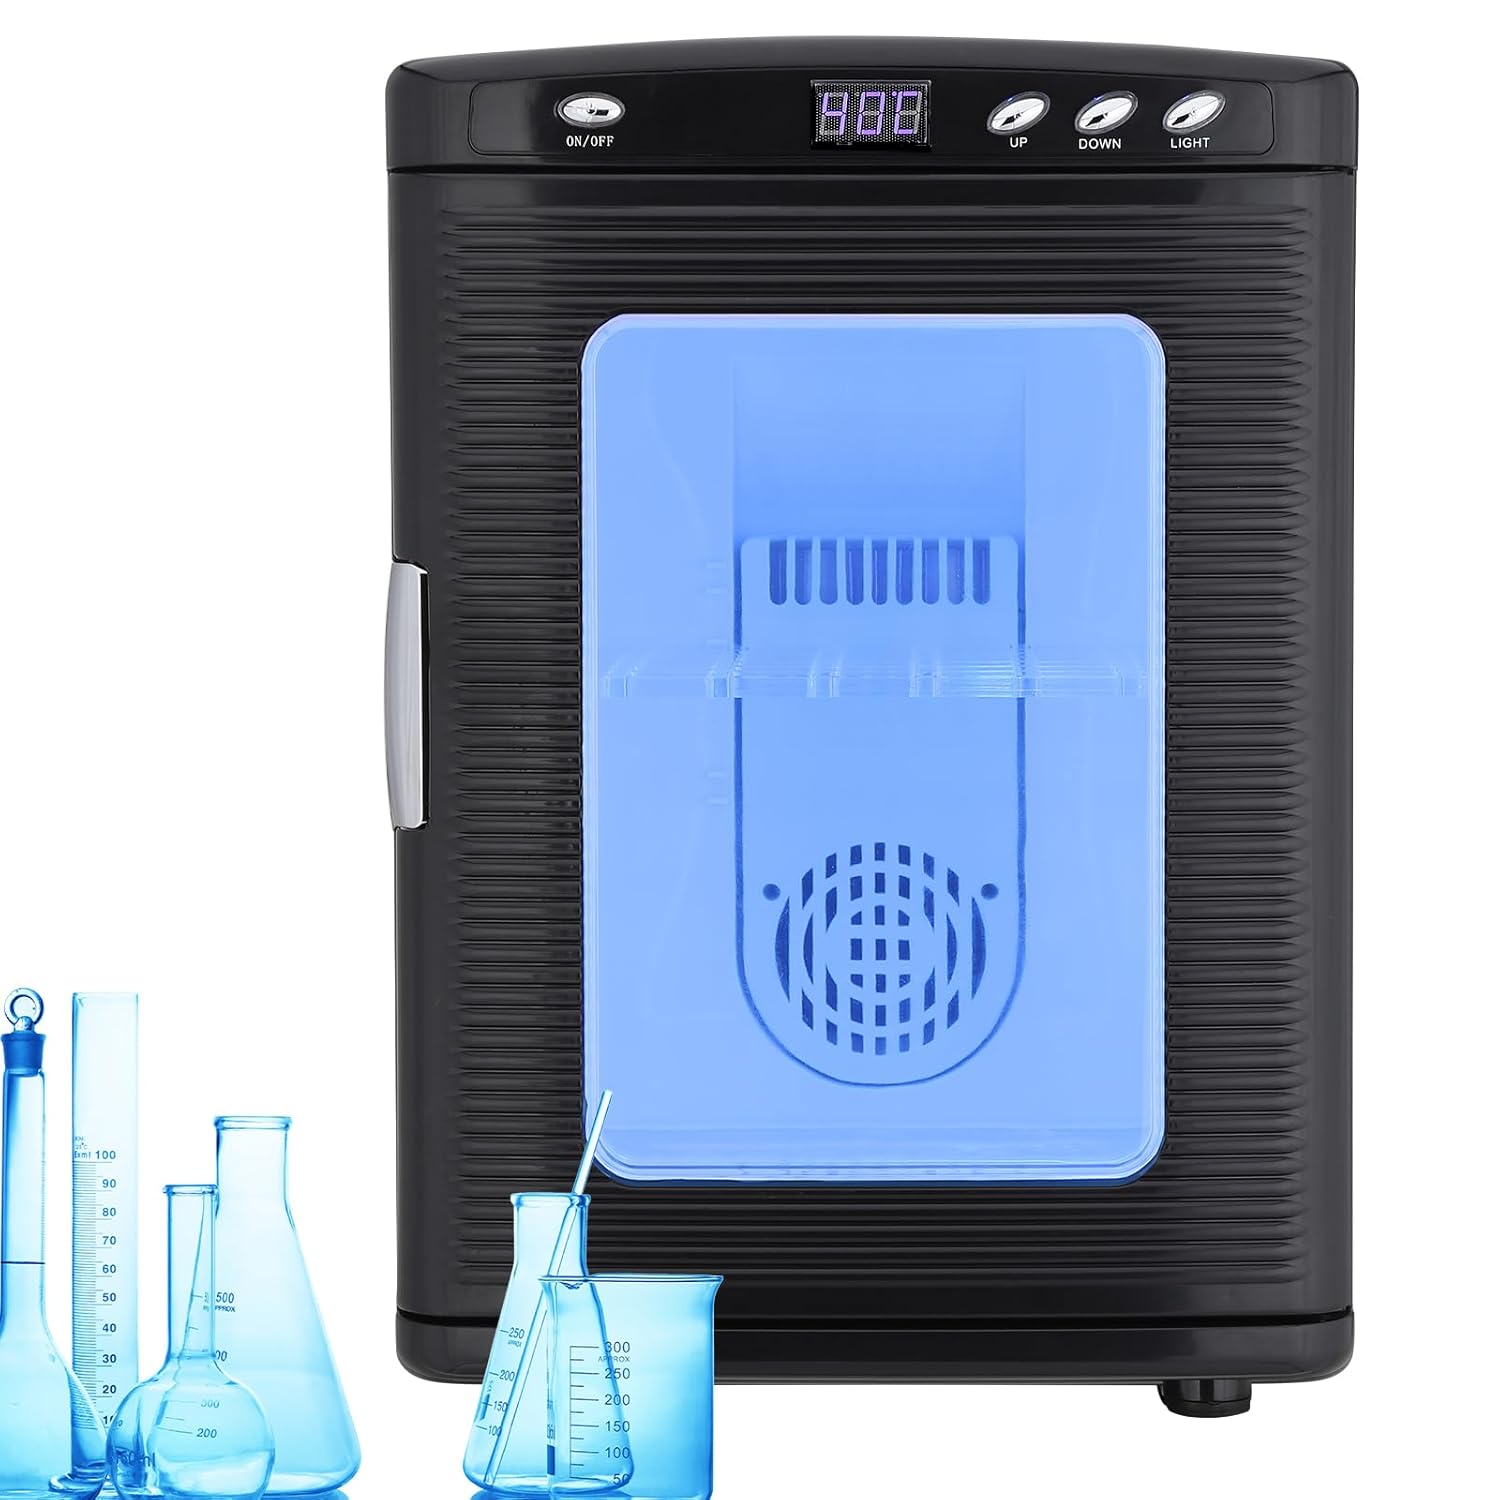
Figure 1.1: Front view of the TROPOW 25L Scientific Incubator, showcasing its sleek black exterior and illuminated interior.
2. Safety Precautions
To ensure safe operation and prevent damage to the unit or injury, please observe the following safety guidelines:
- Always connect the incubator to a power source that matches the voltage specified on the unit's rating label.
- Do not block the air intake or outlet vents. Ensure adequate ventilation around the unit.
- Keep the incubator away from direct sunlight, heat sources, and moisture.
- Do not immerse the unit in water or other liquids.
- Unplug the incubator before cleaning or performing any maintenance.
- Do not attempt to repair or modify the unit yourself. Contact qualified service personnel for assistance.
- Keep out of reach of children and pets.
3. Product Components
The TROPOW 25L Scientific Incubator comes with the following components:
- TROPOW 25L Scientific Incubator Unit
- AC Power Cord (for 110V AC household outlets)
- DC Power Cord (for 12V DC car cigarette lighter sockets)
- Adjustable Internal Shelves
- Water Pan
Key features of the incubator include:
- Digital LED Display: Shows current internal temperature.
- Control Buttons: ON/OFF, UP, DOWN, LIGHT for easy operation.
- Transparent PVC Door: Allows for clear observation of contents without opening.
- Portable Handle: Integrated top handle for easy transport.
- Dual Power Sockets: Separate inputs for AC and DC power.

Figure 3.1: Internal components of the incubator, including the adjustable shelves and water pan for humidity control.

Figure 3.2: The portable handle and transparent PVC door, highlighting the user-friendly design for portability and observation.
4. Setup
4.1 Placement
Place the incubator on a stable, flat surface. Ensure there is sufficient space around the unit (at least 10 cm or 4 inches) for proper air circulation, especially around the air intake and outlet vents located at the rear.
4.2 Power Connection
The incubator supports both AC and DC power. Choose the appropriate power source based on your needs:
- For Home/Lab Use (AC Power): Connect the AC power cord to the 110V AC socket on the back of the incubator, then plug the other end into a standard household electrical outlet.
- For Automotive/Portable Use (DC Power): Connect the DC power cord to the 12V DC socket on the back of the incubator, then plug the other end into your vehicle's cigarette lighter socket.
Important: Do not connect both AC and DC power simultaneously. The unit features automatic switching, but it is best practice to use only one power source at a time.

Figure 4.1: Illustration of dual power options: 12V DC for automotive use and 110V AC for standard wall outlets.

Figure 4.2: Rear view detailing the air circulation components and the distinct AC and DC power input sockets.
4.3 Initial Preparation
Before first use, wipe the interior and shelves with a damp cloth and mild detergent. Ensure the unit is completely dry before plugging it in. If using for humidity-sensitive applications, fill the water pan with distilled water and place it at the bottom of the incubator.
5. Operating Instructions
5.1 Powering On/Off
Press the ON/OFF button located on the top panel to turn the incubator on or off. The LED display will illuminate when the unit is powered on.
5.2 Setting Temperature
The incubator features precise digital temperature control with a range of 10°C to 60°C (72°F to 140°F). To set the desired temperature:
- With the unit powered on, the LED display shows the current internal temperature.
- Press the UP or DOWN buttons to adjust the target temperature. Each press will change the temperature by 1°C.
- The display will flash the set temperature for a few seconds, then revert to showing the current internal temperature. The unit will automatically begin heating or cooling to reach the set temperature.
Note: Due to external ambient temperatures, the internal temperature may fluctuate by 0.5-1°C from the set point. This is normal and helps maintain a stable environment.

Figure 5.1: The digital LED display and control buttons (ON/OFF, UP, DOWN, LIGHT) for precise temperature management.
5.3 Using the Internal Light
Press the LIGHT button to turn the internal LED light on or off. This allows for better visibility of the contents, especially through the transparent PVC door, without disturbing the internal environment.
5.4 Loading Items
Arrange items inside the incubator, utilizing the adjustable shelves as needed. Ensure items do not block the internal fan or vents to allow for even temperature distribution. Avoid overloading the incubator to maintain optimal performance.
6. Maintenance
6.1 Cleaning
Regular cleaning helps maintain the incubator's performance and hygiene:
- Always unplug the incubator from the power source before cleaning.
- Wipe the exterior with a soft, damp cloth. For stubborn stains, use a mild, non-abrasive cleaner.
- Remove the shelves and water pan for separate cleaning. Wash them with warm, soapy water, rinse thoroughly, and dry completely before returning them to the unit.
- Clean the interior with a damp cloth. For disinfection, a diluted solution of bleach or a laboratory-grade disinfectant can be used, followed by wiping with clean water and thorough drying.
- Ensure no water enters the control panel or power sockets.
6.2 Storage
When not in use for extended periods, clean the incubator thoroughly, ensure it is completely dry, and store it in a cool, dry place away from direct sunlight and extreme temperatures. Keep the door slightly ajar to prevent odors and mildew buildup.
7. Troubleshooting
If you encounter issues with your TROPOW 25L Scientific Incubator, please refer to the following common problems and solutions:
| Problem | Possible Cause | Solution |
|---|---|---|
| Incubator does not power on. | No power supply; loose connection; faulty power cord/outlet. | Check if the power cord is securely plugged into both the unit and the power source. Try a different outlet or power source. Ensure the ON/OFF button is pressed. |
| Temperature not reaching set point. | Blocked vents; ambient temperature too extreme; door not sealed properly; overloaded. | Ensure vents are clear. Operate in a room with moderate ambient temperature. Check door seal. Reduce contents if overloaded. Allow sufficient time for temperature stabilization. |
| Excessive noise from fan. | Fan obstruction; unit not level. | Check for any obstructions near the fan. Ensure the incubator is placed on a stable, level surface. |
| Internal light not working. | Light button not pressed; LED malfunction. | Press the LIGHT button. If it still doesn't work, contact customer support. |
If the problem persists after attempting these solutions, please contact TROPOW customer support for further assistance.
8. Specifications
| Feature | Detail |
|---|---|
| Model | B0DL6BB9TC |
| Capacity | 25 Liters |
| Temperature Control Range | 10°C to 60°C (72°F to 140°F) |
| Rated Voltage (AC) | 100-125V / 60Hz |
| Rated Voltage (DC) | 12V |
| Cooling Power | 38-68W (DC/AC) |
| Heating Power | 30-55W (DC/AC) |
| External Dimensions (W x D x H) | 13.3 x 16.52 x 19 inches (33.9 x 41.9 x 48 cm) |
| Internal Dimensions (W x D x H) | 11 x 9.8 x 14 inches (28 x 25 x 36 cm) |
| Weight | 7.3 Pounds (approx. 3.3 kg) |

Figure 8.1: Detailed dimensions of the TROPOW 25L Scientific Incubator, including internal capacity.
9. Warranty and Support
TROPOW stands behind the quality of its products. For information regarding warranty coverage, please refer to the warranty card included with your purchase or visit the official TROPOW website. Keep your purchase receipt as proof of purchase for warranty claims.
For technical support, troubleshooting assistance, or inquiries about replacement parts, please contact TROPOW customer service. You can typically find contact information on the product packaging, the brand's official website, or through your retailer.
Online Support: Visit the TROPOW Store on Amazon for product information and support resources.
10. Official Product Videos
No official product videos from the seller were found for this model at the time of manual creation.