1. Introduction
This user manual provides comprehensive instructions for the operation, maintenance, and troubleshooting of your HUNKSTAR Mini Projector. Please read this manual thoroughly before using the product to ensure proper functionality and to maximize your viewing experience.

The HUNKSTAR Mini Projector, showcasing its compact design, included remote control, and a vibrant projected image.
2. Package Contents
Verify that all items listed below are included in your package:
- Projector x 1
- Projector Lens Cover x 1
- Power Cord x 1
- Remote Control x 1
- User Manual x 1

All components included in the HUNKSTAR Mini Projector retail package.
3. Product Overview
3.1 Dimensions and Basic Parameters
The projector features a compact design suitable for various environments.

Detailed dimensions and basic parameters of the HUNKSTAR Mini Projector.
3.2 Connectivity Ports
The projector is equipped with multiple ports for wide compatibility with various devices.

Overview of the projector's multiple ports, including AV, USB, HDMI, and Audio, supporting various devices.
4. Setup
4.1 Placement
Place the projector on a stable, flat surface. Ensure there is adequate ventilation around the unit. For optimal viewing, position the projector directly in front of the projection surface (screen or wall).
4.2 Power Connection
- Connect the power cord to the projector's power input port.
- Plug the other end of the power cord into a standard electrical outlet.
- Press the power button on the projector or the remote control to turn on the device.
4.3 Adjusting Projection Angle
The projector features a hidden bracket that allows for adjustment of the elevation angle from 0-20 degrees to achieve your desired projection height.

The hidden bracket allows for easy adjustment of the projector's elevation angle.
5. Operating Instructions
5.1 Power On/Off
Press the power button on the projector or the remote control to turn the unit on or off.
5.2 Navigation
Use the directional buttons and OK/Enter button on the remote control to navigate through the projector's on-screen menu and select options.
5.3 Auto Focus and Keystone Correction
The projector features screen adaptive technology with auto-focus and 6D keystone correction for convenient image adjustment. This allows for quick setup and clear projection without manual fine-tuning.
The auto-focus feature ensures a sharp image automatically.

Intelligent auto screen adaptation includes auto-focus, 6D keystone correction, and digital zoom for optimal image display.
6. Connectivity
6.1 Wi-Fi Connection (Wi-Fi 6)
The projector utilizes the latest Wi-Fi 6 technology, compatible with both 2.4G and 5G networks, providing faster and more stable wireless transmission for streaming content.
- Navigate to the Wi-Fi settings in the projector's menu.
- Select your desired Wi-Fi network from the list.
- Enter the network password if prompted.
- Confirm the connection.
6.2 Bluetooth Connection (Bluetooth 5.2)
With upgraded Bluetooth 5.2 technology, you can connect external speakers or headphones for enhanced audio output.
- Ensure your Bluetooth audio device is in pairing mode.
- On the projector, navigate to the Bluetooth settings.
- Select your device from the list of available devices to pair.
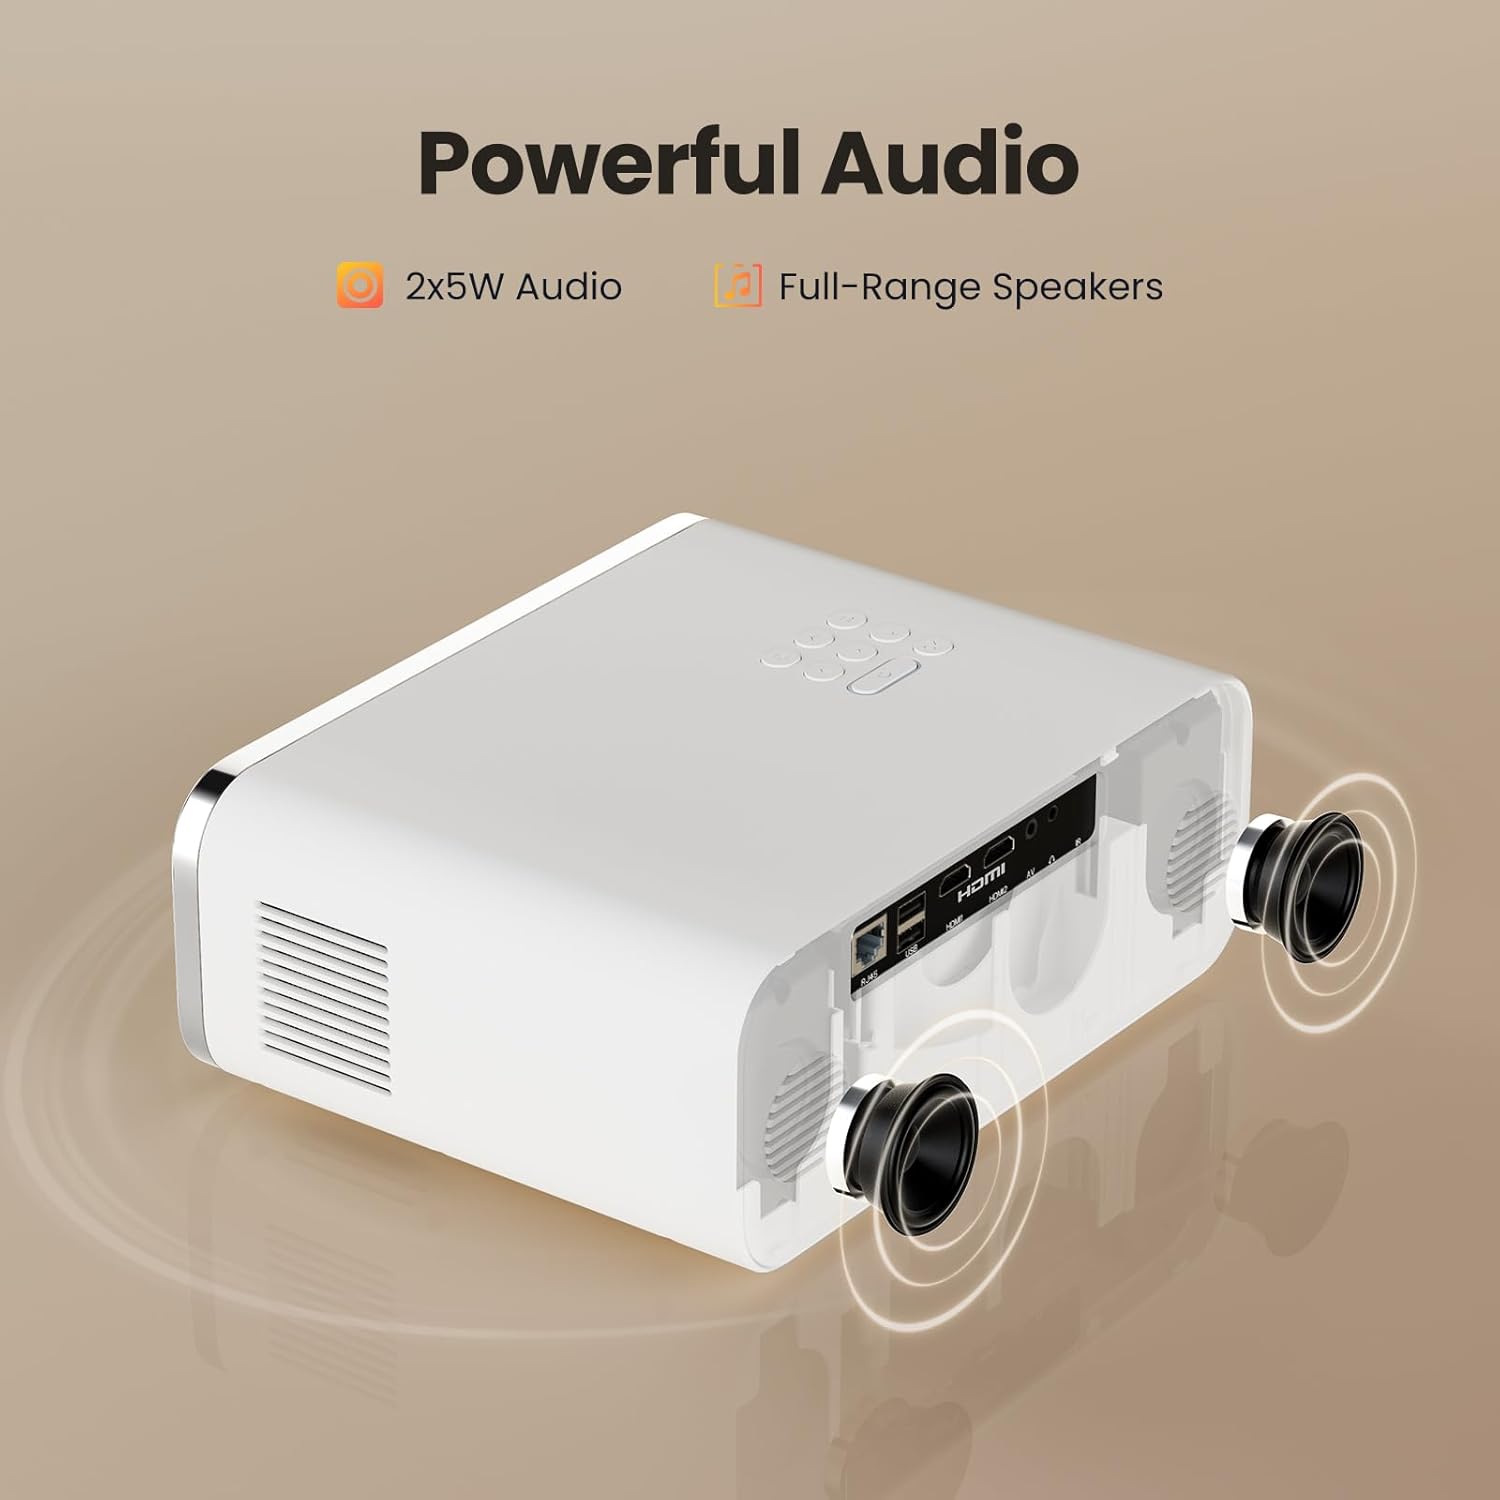
The projector features powerful 2x5W full-range speakers for immersive audio, with Bluetooth connectivity for external audio devices.
6.3 Wired Connections
The projector supports various wired connections for different devices:
- HDMI: Connect gaming consoles (PS4, PS5, Switch), laptops, or TV sticks via the HDMI ports.
- USB: Connect USB drives for direct media playback.
- AV: Connect older devices using the AV port.
- Audio Out: Use the 3.5mm audio jack to connect external speakers or headphones.
7. Usage Scenarios
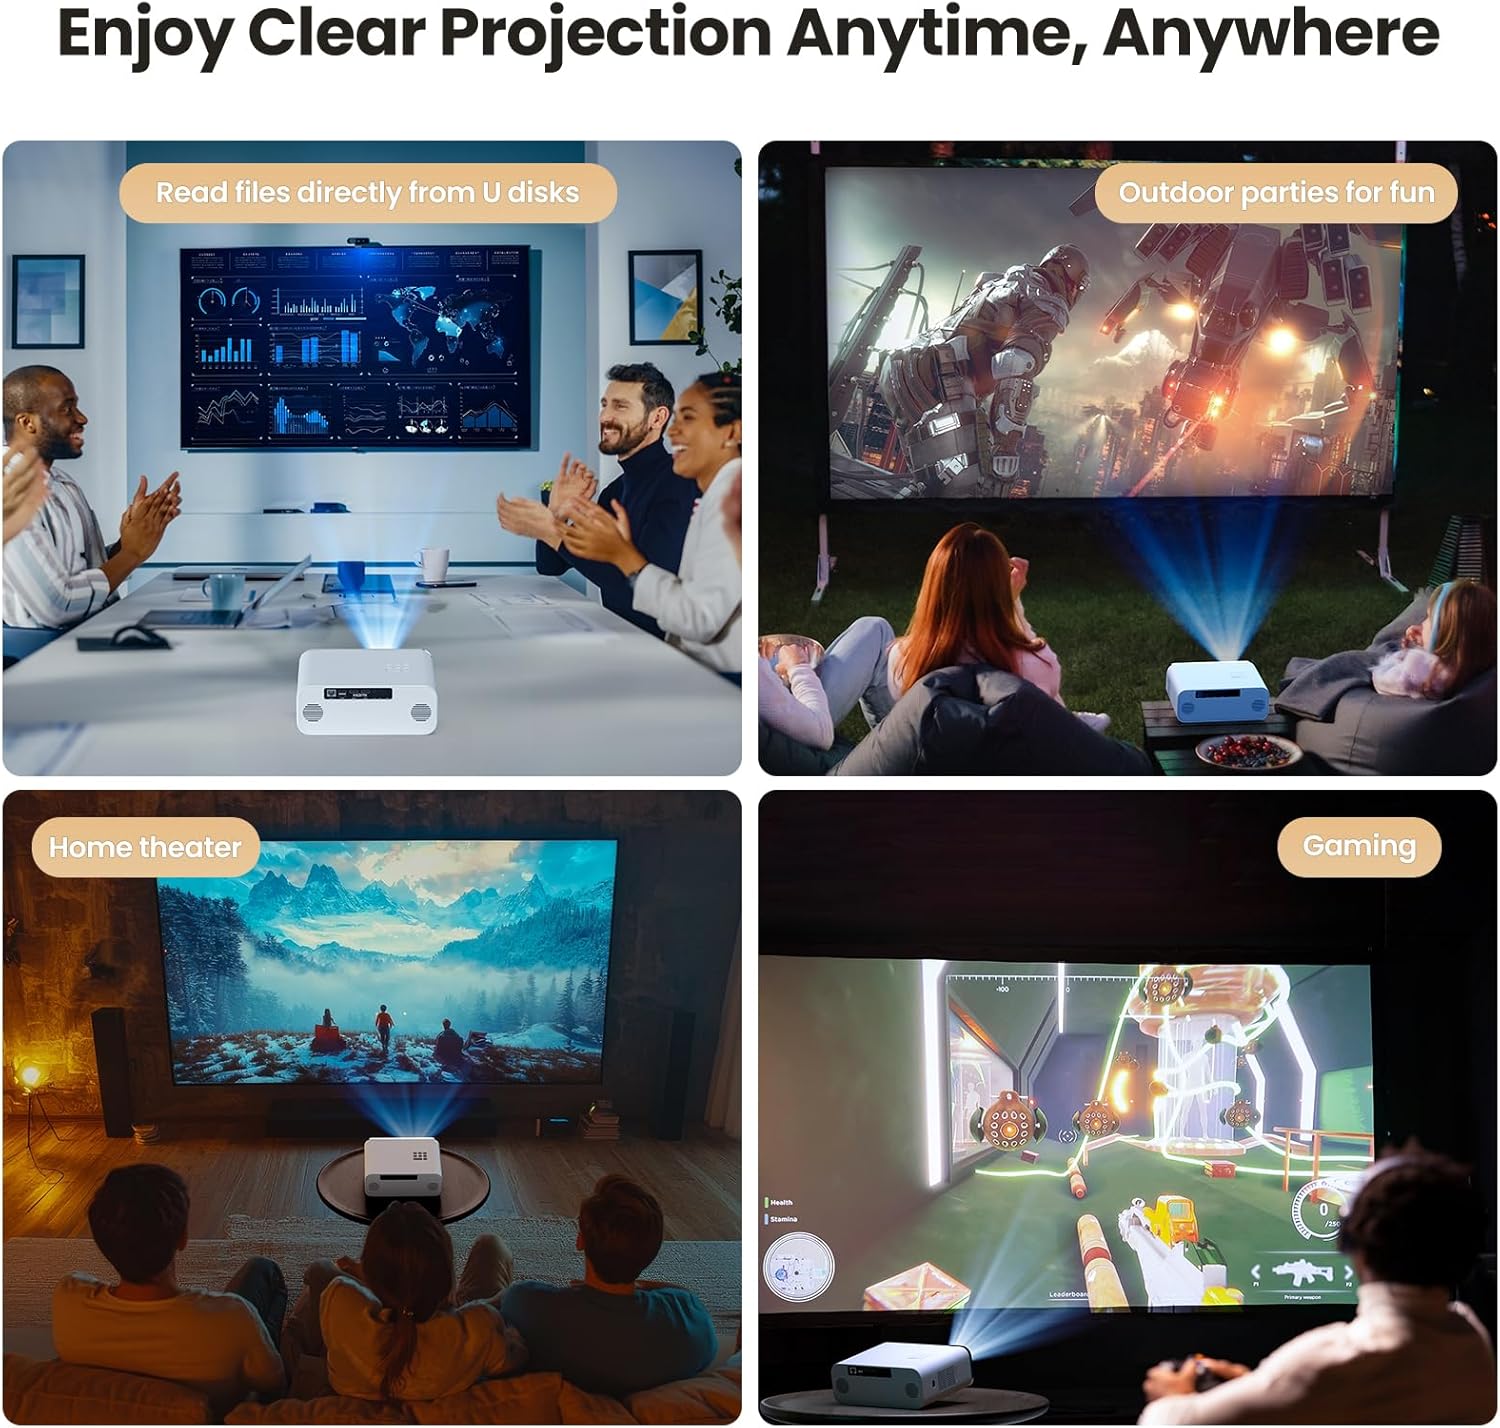
The HUNKSTAR Mini Projector is versatile and suitable for a variety of applications:
- Home Theater: Enjoy movies and TV shows on a large screen.
- Gaming: Connect your gaming console for an immersive gaming experience.
- Outdoor Parties: Perfect for backyard movie nights or events.
- Presentations: Display content from U disks for business or educational purposes.

The projector can be used for various activities, including home theater, outdoor entertainment, gaming, and presentations.
8. Specifications
| Feature | Specification |
|---|---|
| Brand | HUNKSTAR |
| Model Number | HUNKSTAR |
| Display Resolution | 1920 x 1080 (Full HD) |
| Brightness | 1000 ANSI Lumens |
| Connectivity Technology | HDMI, USB, AV, Bluetooth 5.2, Wi-Fi 6 |
| Special Features | Auto Focus, Built-In Wi-Fi, 6D Keystone Correction |
| Recommended Uses | Home Cinema, Business |
| Item Weight | 3.52 pounds |
| Package Dimensions | 14.25 x 10.2 x 5.75 inches |
| Color | White |
9. Troubleshooting
If you encounter issues with your projector, refer to the following common problems and solutions:
- No Power:
- Ensure the power cord is securely connected to both the projector and the power outlet.
- Check if the power outlet is functioning correctly.
- Press the power button firmly.
- No Image/Signal:
- Verify that the correct input source (HDMI, USB, AV) is selected on the projector.
- Check the connection cables between the projector and the source device.
- Ensure the source device is powered on and outputting a signal.
- Blurry Image:
- Allow the auto-focus feature to adjust. If needed, slightly move the projector to trigger re-focusing.
- Ensure the projection surface is flat and the projector is positioned correctly.
- Check for any obstructions in front of the lens.
- No Sound:
- Increase the volume on both the projector and the source device.
- If using external speakers, ensure they are properly connected via Bluetooth or the audio jack.
- Check if the audio output setting on your source device is configured correctly.
- Remote Control Not Working:
- Replace the batteries in the remote control.
- Ensure there are no obstructions between the remote and the projector's IR receiver.
10. Maintenance
- Cleaning the Lens: Use a soft, lint-free cloth specifically designed for optical lenses. Do not use abrasive cleaners or cloths.
- Cleaning the Projector Body: Wipe the exterior with a soft, dry cloth. For stubborn dirt, use a slightly damp cloth and then dry thoroughly.
- Ventilation: Ensure the ventilation vents are clear of dust and debris to prevent overheating. Do not block the vents during operation.
- Storage: When not in use for extended periods, store the projector in a cool, dry place, ideally in its original packaging or a protective case.
11. Warranty and Support
For warranty information and customer support, please refer to the documentation provided with your purchase or contact HUNKSTAR customer service directly. Protection plans are available for extended coverage.