1. Introduction
This manual provides detailed instructions for the setup, operation, and maintenance of your GOLOZA Digital Calendar and Projection Clock. Please read this manual thoroughly before using the device to ensure proper functionality and to maximize your user experience. This clock combines a digital calendar display with a red projection alarm clock, offering multiple features for timekeeping, alarms, and reminders.
2. Package Contents
Please check the package for the following items:
- GOLOZA Digital Calendar and Projection Clock Unit
- Power Adapter
- Remote Control (for Digital Calendar Display)
- User Manual (this document)
3. Product Overview
Familiarize yourself with the main components of your GOLOZA clock.
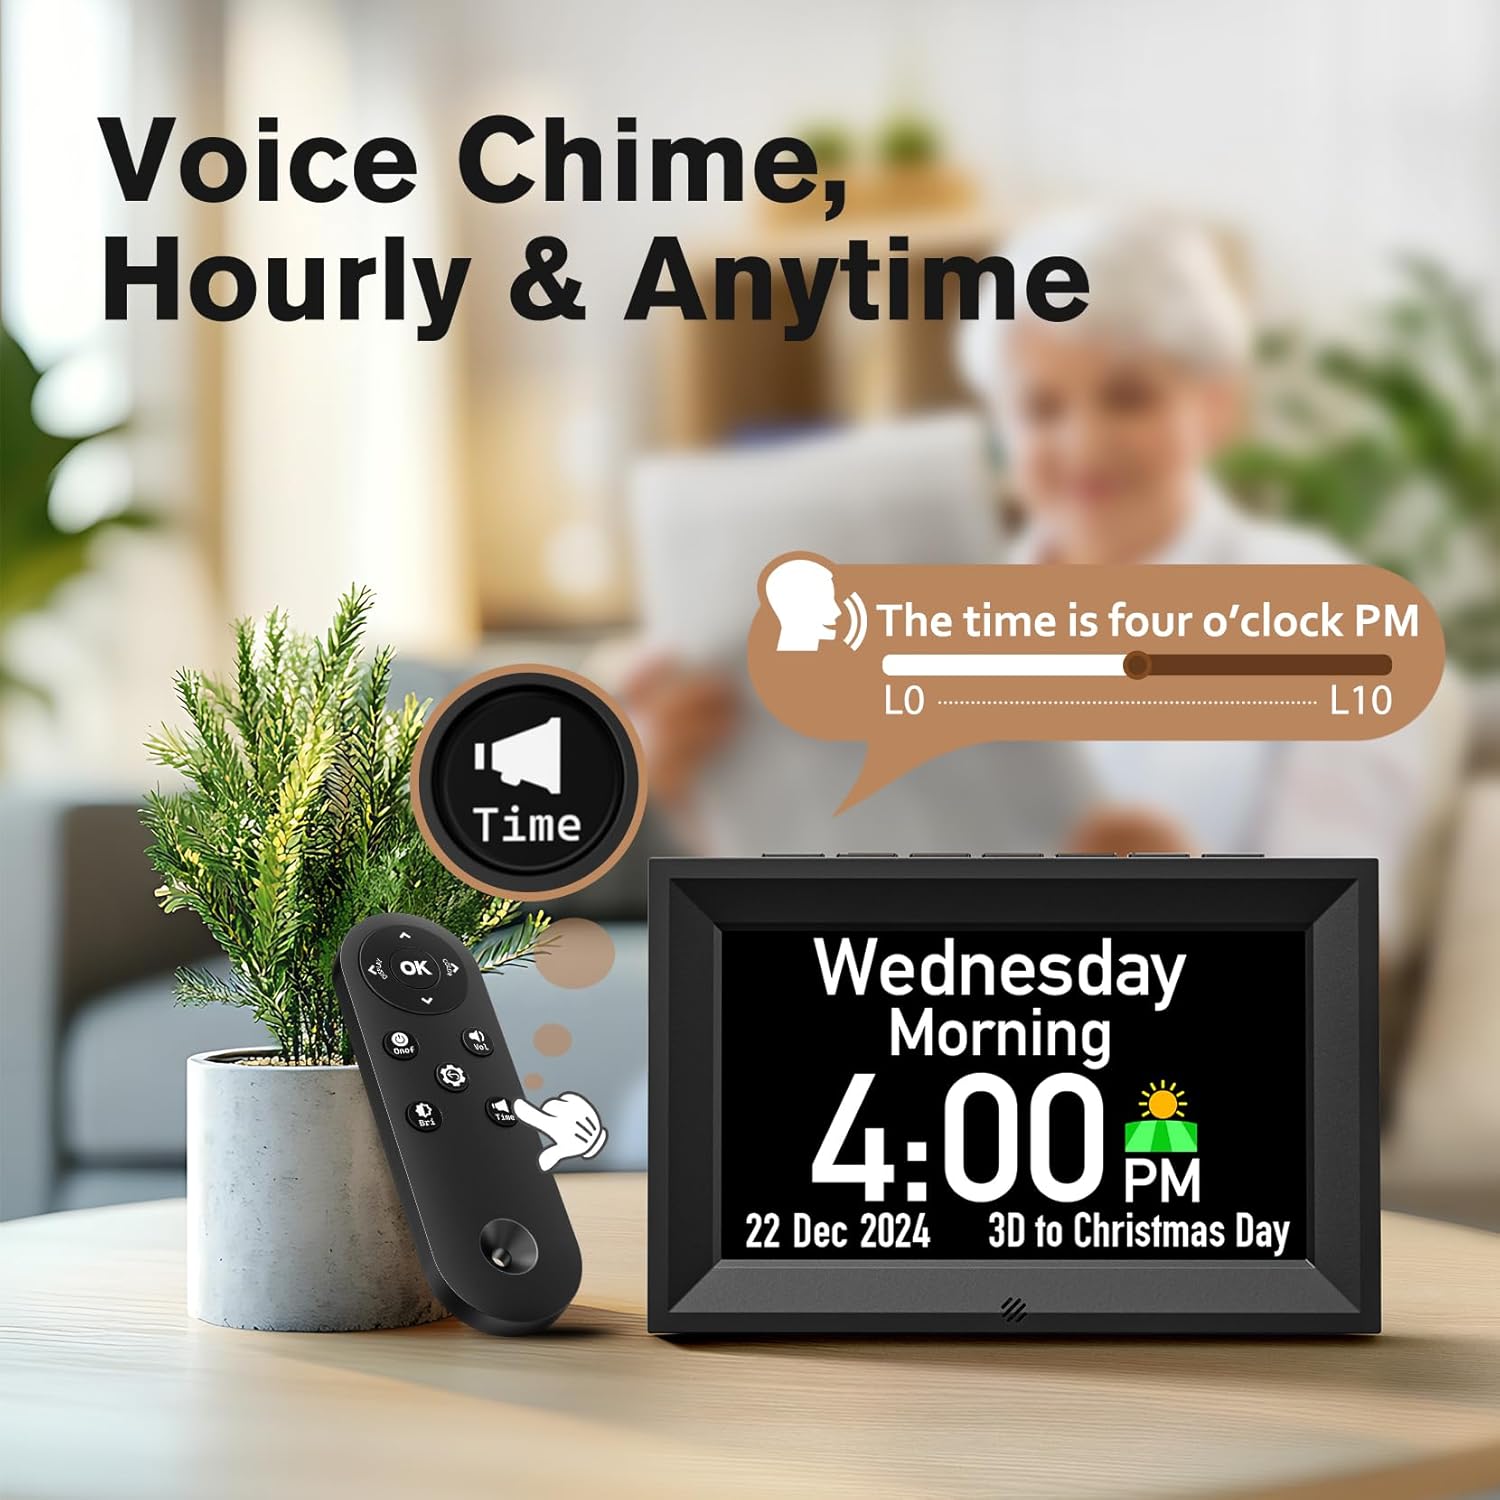
Figure 3.1: Digital Calendar Clock Display with Remote Control. This image shows the main digital calendar display, which presents the day, date, time, and includes a voice chime feature. A remote control is also visible, used for operating the digital calendar functions.

Figure 3.2: Red Projection Alarm Clock. This image highlights the compact design and dimensions of the projection alarm clock component, featuring a large LED curved screen that displays time in red digits.

Figure 3.3: USB Charging Port. This image illustrates the integrated USB charging port (5V/1.2A) located on the side of the projection clock, allowing users to charge external devices.
4. Setup
- Unpacking: Carefully remove all components from the packaging. Retain packaging for future transport or storage.
- Power Connection: Connect the provided power adapter to the DC input port on the back of the clock. Plug the adapter into a standard electrical outlet. The clock will power on automatically.
- Initial Settings: Upon first power-on, the clock may prompt you to set the time, date, and other preferences. Use the buttons on the clock or the remote control (for the digital calendar display) to navigate and adjust settings. Refer to Section 5 for detailed operating instructions.
- Placement: Place the clock on a stable, flat surface. Ensure the projection lens (if using the projection feature) is aimed at a suitable surface (wall or ceiling) for optimal visibility.
5. Operating Instructions
5.1 Setting Time and Date (Digital Calendar Display)
Use the remote control or buttons on the clock to access the settings menu. Navigate to "Time Settings" and "Date Settings" to adjust the current time, date, year, and time format (12/24-hour).
5.2 Alarm Functions
The clock supports multiple alarms and dedicated medicine reminders.
- Setting Alarms: Access the "Alarm Settings" menu. You can set multiple daily alarms with customizable texts.
- Medicine Reminders: The clock features three dedicated medicine reminders. Configure these through the "Medicine Reminder" menu, setting specific times and custom text messages (e.g., "Take 2 Red Tablets").

Figure 5.2: Alarm and Medicine Reminder Settings. This image demonstrates the clock's capability to set unlimited alarms and up to three customizable medicine reminders, displaying examples like "Take 2 Red Tablets" and "Exercise".
5.3 Projection Feature (Red Projection Alarm Clock)
The projection clock displays the time onto a wall or ceiling in red digits. Locate the projection lens and adjust its angle for optimal viewing. Some models may allow for focus adjustment.
- Projection On/Off: Use the dedicated button on the projection clock or remote (if applicable) to toggle the projection feature.
- Projection Brightness: The red projection display typically offers 3 levels of brightness adjustment. Refer to the controls on the projection clock unit.

Figure 5.3: Red Projection Brightness Levels. This image illustrates the three adjustable brightness levels (0%, 30%, 60%, 100%) for the red projection display, allowing users to customize visibility in different lighting conditions.
5.4 Display Brightness (Digital Calendar Display)
The digital calendar display features an auto-dimmer function and 10 levels of manual brightness adjustment.
- Auto Dimmer: The clock can automatically adjust its display brightness based on ambient light. Default settings are often brighter during the day (e.g., 7:00 AM - 7:00 PM) and dimmer at night (e.g., 7:00 PM - 7:00 AM).
- Manual Brightness: Use the remote control or dedicated buttons to manually select one of the 10 brightness levels for the digital calendar display.

Figure 5.4: Digital Calendar Display Brightness. This image shows the digital calendar clock's auto-dimmer functionality and its 10-level brightness adjustment, adapting to day and night conditions.
5.5 Voice Chime
The digital calendar display offers a voice chime feature that can announce the time hourly or on demand.
- Hourly Chime: Enable or disable the hourly voice announcement through the settings menu.
- Anytime Chime: Press the designated "Time" button on the remote control to hear the current time announced.
5.6 USB Charging Port
The projection clock unit includes a USB output port (5V/1.2A) for charging compatible electronic devices.
- Usage: Connect your device's USB charging cable to the port on the clock. Ensure the clock is powered on.
- Note: This port is for charging only and does not support data transfer.
5.7 Birthday and Holiday Reminders
The digital calendar display can be configured to remind you of birthdays and holidays with a 3-day countdown.
- Setting Reminders: Access the "Birthday/Holiday Reminder" menu. Input specific dates and names for birthdays. The clock will provide a countdown and play a "Happy Birthday" tune for birthdays.
- Exiting Reminders: Press any key on the clock or remote to exit a reminder notification.
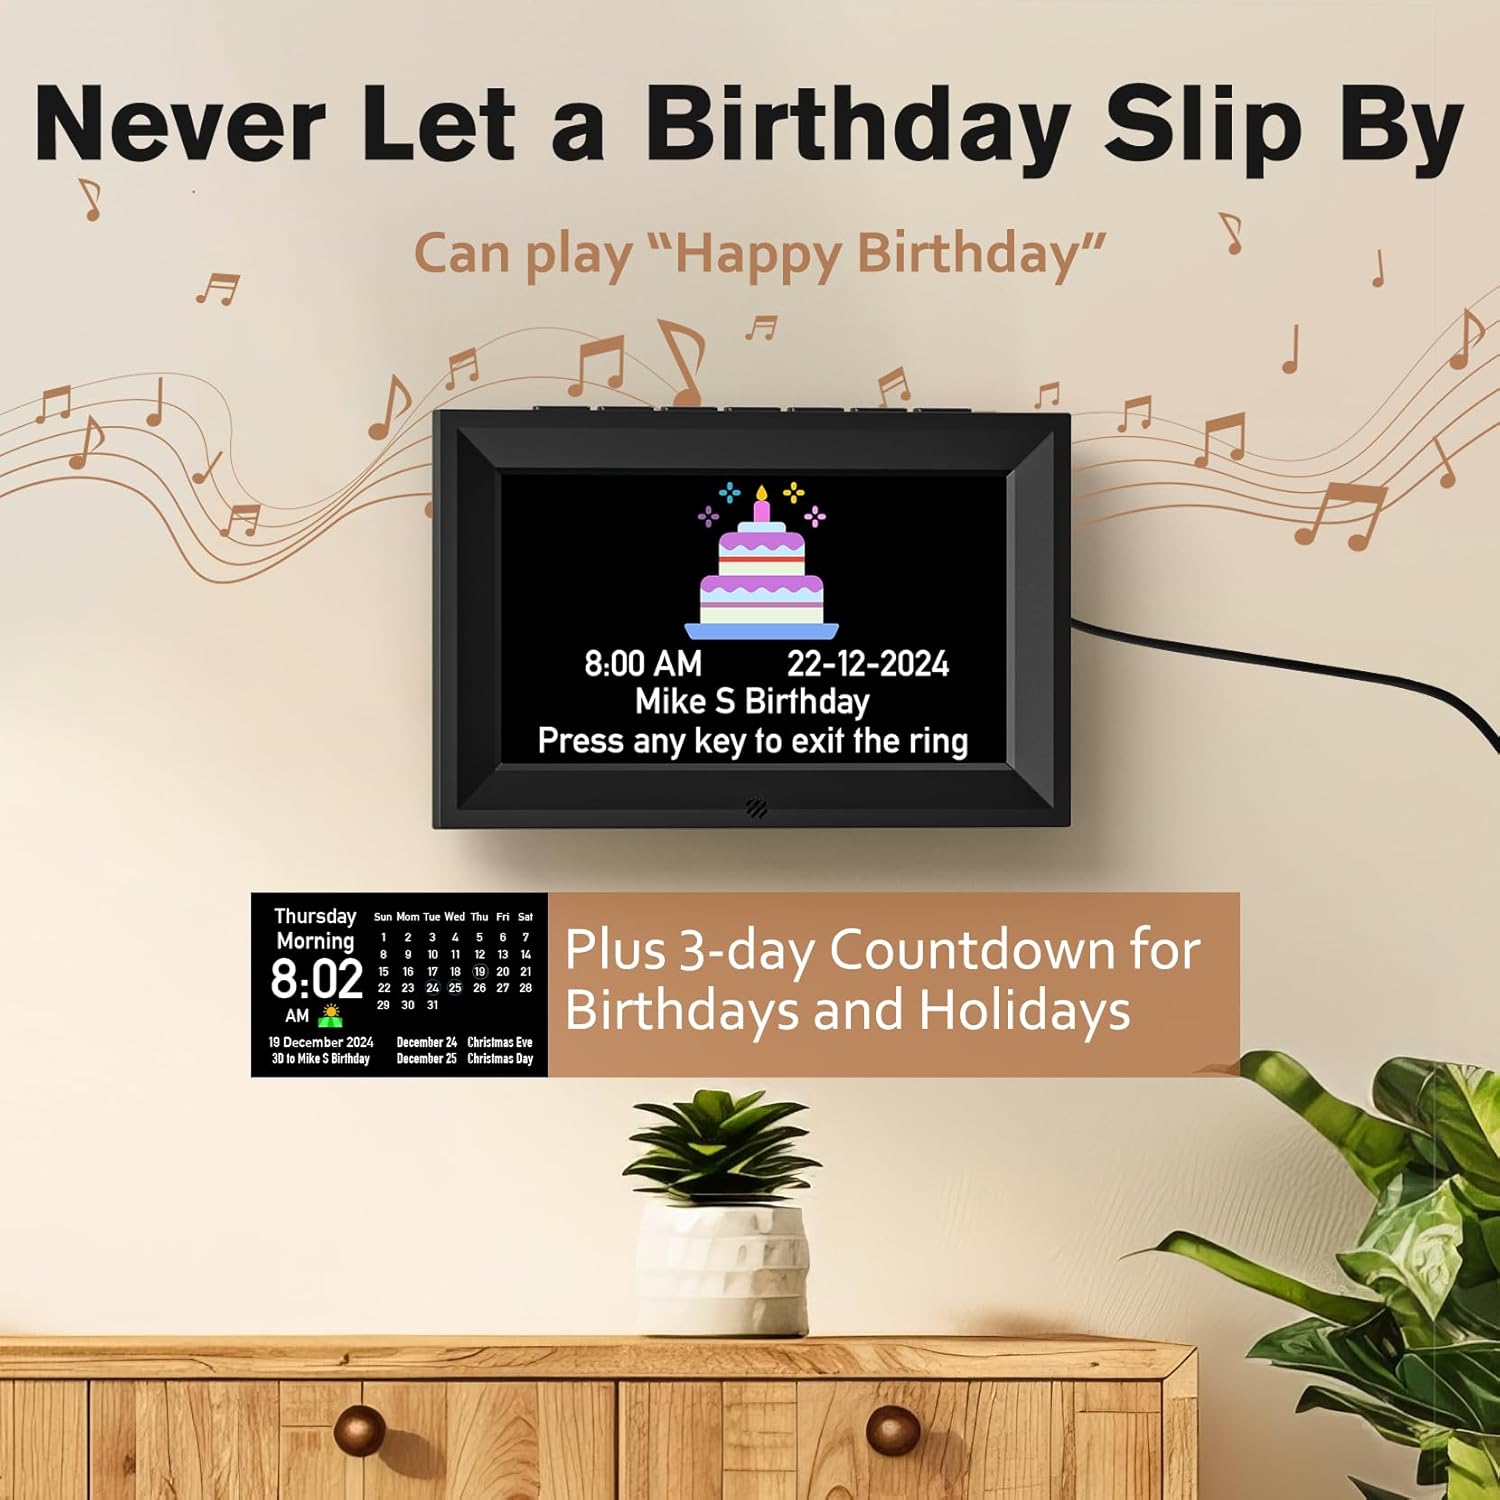
Figure 5.7: Birthday and Holiday Countdown. This image illustrates the digital calendar clock's feature to display birthday reminders with a countdown, including a "Happy Birthday" song playback, and a 3-day countdown for holidays.
6. Maintenance
- Cleaning: Use a soft, dry cloth to clean the clock's surface. Do not use abrasive cleaners, waxes, or solvents as they may damage the finish.
- Dust Removal: Gently wipe the projection lens and display screens to remove dust.
- Power Disconnection: Disconnect the power adapter from the wall outlet before cleaning or if the clock will not be used for an extended period.
- Environment: Avoid placing the clock in direct sunlight, extreme temperatures, or high humidity.
7. Troubleshooting
| Problem | Possible Cause | Solution |
|---|---|---|
| Clock does not power on. | Power adapter not connected or faulty. | Ensure the power adapter is securely connected to the clock and a working electrical outlet. Try a different outlet. |
| Projection is dim or unclear. | Incorrect brightness setting; lens out of focus; ambient light too bright. | Adjust projection brightness levels. Ensure the projection lens is clean. Adjust the focus (if available). Reduce ambient light in the room. |
| Digital display is too bright/dim. | Brightness setting needs adjustment; auto-dimmer active. | Manually adjust the display brightness using the remote or buttons. Check auto-dimmer settings. |
| Alarms do not sound. | Alarm not set correctly; volume too low; alarm disabled. | Verify alarm times and ensure alarms are enabled in the settings. Check the volume level. |
| Remote control not working. | Batteries depleted; obstruction; remote out of range. | Replace remote control batteries. Ensure no obstructions between remote and clock. Operate within effective range. |
8. Specifications
| Feature | Detail |
|---|---|
| Brand | GOLOZA |
| Display Type | Digital |
| Style | Digital Calendar Clock & Red Projection Clock |
| Special Feature | Alarm, Voice Chime, Projection, USB Charging, Birthday/Holiday Reminders |
| Shape | Square (Digital Calendar), Rectangular/Curved (Projection Clock) |
| Indoor/Outdoor Usage | Indoor |
| Frame Material | Plastic |
| Mounting Type | Tabletop |
| Alarm Clock | Yes |
| Operation Mode | Electrical |
| Clock Form | Multi Display |
| USB Output | 5V/1.2A |
9. Warranty and Support
GOLOZA products are manufactured with quality and reliability in mind. For specific warranty information, please refer to the warranty card included with your purchase or contact GOLOZA customer support.
If you encounter any issues or have questions regarding your GOLOZA Digital Calendar and Projection Clock, please contact our customer support team for assistance. Contact details can typically be found on the product packaging or the official GOLOZA website.