JUN-ELECTRON JUN-7LP-FBA
JUN-ELECTRON 7-inch HDMI IPS Display (Model: JUN-7LP-FBA) User Manual
Model: JUN-7LP-FBA | Brand: JUN-ELECTRON
1. Introduction
This manual provides essential instructions for the setup, operation, and maintenance of your JUN-ELECTRON 7-inch HDMI IPS Display. This non-touch monitor features a 1024x600 resolution and a wide 178-degree viewing angle, designed for various applications including Raspberry Pi projects, laptops, PCs, and gaming consoles.
The display is engineered for ease of use, offering plug-and-play functionality without the need for additional driver installations for most compatible devices. It includes a convenient power switch to conserve energy.

Image 1.1: The JUN-ELECTRON 7-inch HDMI IPS Display.
2. Package Contents
Please verify that all items are present in the package:
- JUN-ELECTRON 7-inch HDMI IPS Display
- HDMI Cable
- USB Power Cable (Y-cable for power)
- Micro HDMI Adapter (for devices like Raspberry Pi 4/5)
- User Manual (this document)
3. Product Features
- Display Size: 7-inch IPS screen
- Resolution: 1024x600 pixels
- Viewing Angle: 178 degrees
- Brightness: Adjustable, up to 500 cd/m²
- Interface: HDMI for video input, Micro USB for power
- Compatibility: Raspberry Pi, Laptops, PCs, PS3/4, XBOX, etc.
- Functionality: Non-touch display, plug-and-play, integrated power switch.
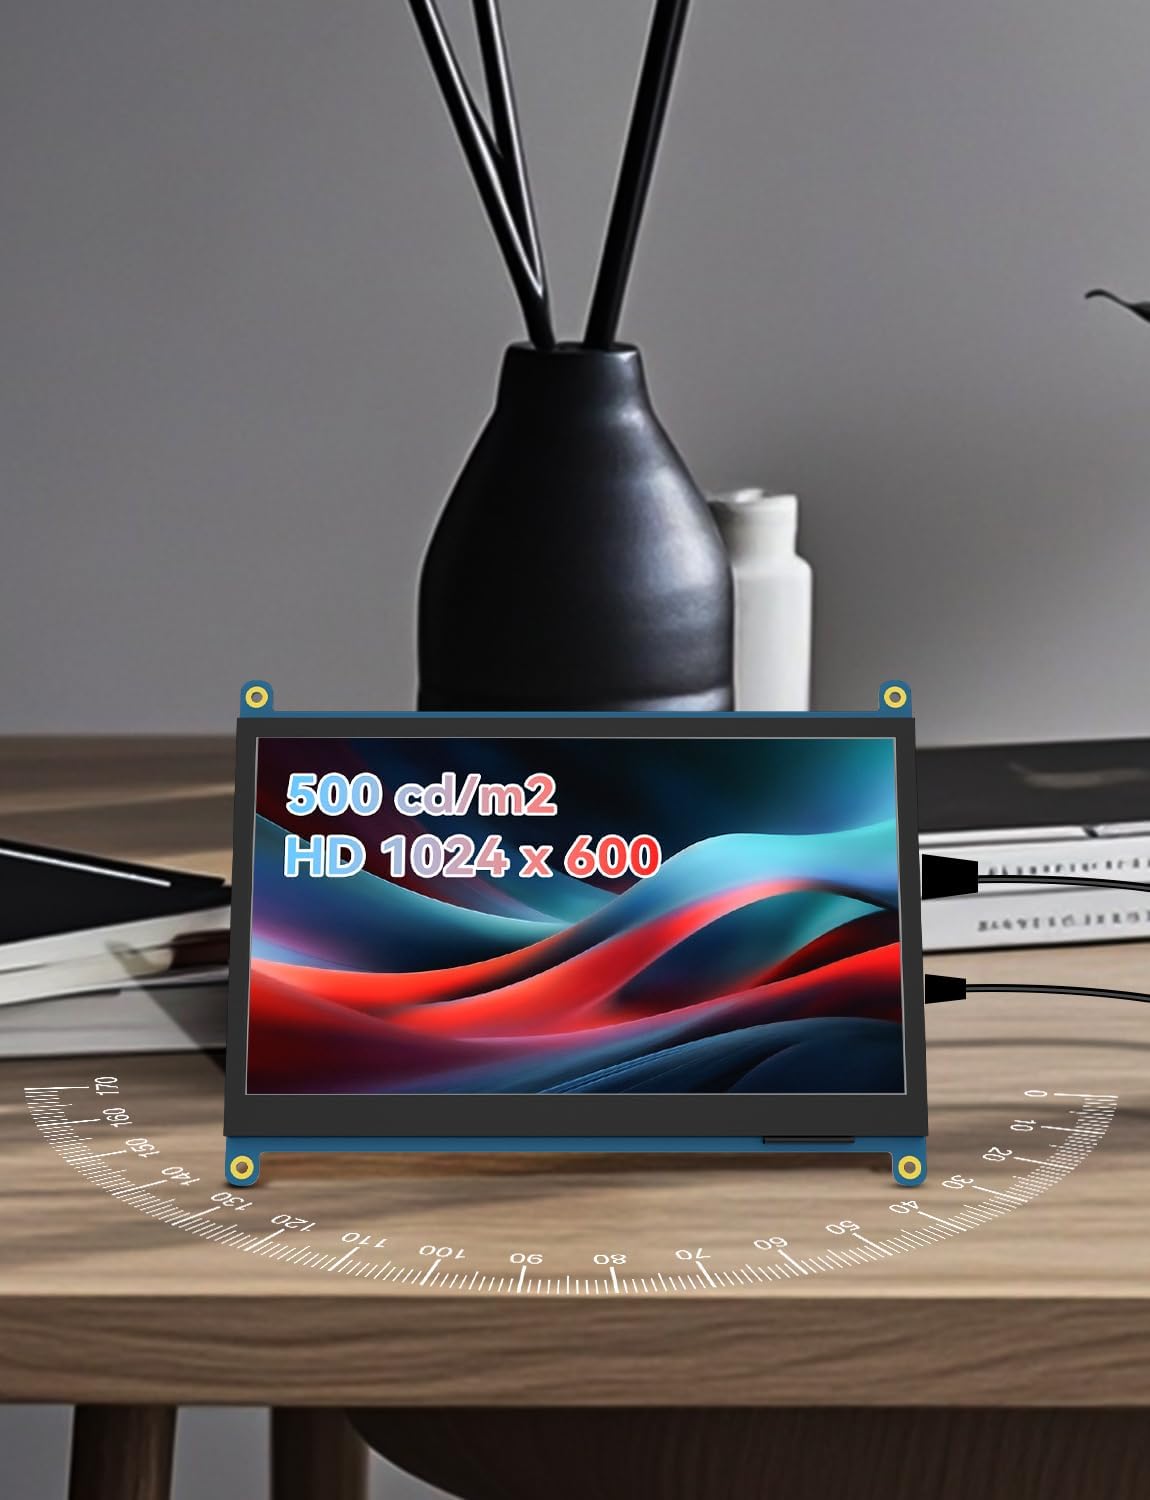
Image 3.1: Display specifications highlighting brightness and resolution.
4. Setup Instructions
Follow these steps to set up your JUN-ELECTRON 7-inch HDMI IPS Display:
- Identify Ports: Locate the HDMI input port and the Micro USB power input port on the display. Refer to Image 4.1 for port locations.
- Connect Video Input:
- For devices with a standard HDMI output (e.g., PC, laptop, gaming console), use the provided HDMI cable to connect the device to the display's HDMI port.
- For devices with a Micro HDMI output (e.g., Raspberry Pi 4/5), use the provided Micro HDMI adapter with the HDMI cable to connect to the display.
- Connect Power: Connect the provided USB power cable to the display's Micro USB port. Plug the other end of the USB cable into a compatible 5V power source (e.g., a USB port on your computer, a USB wall adapter, or a Raspberry Pi's USB port). Ensure the power source can supply sufficient current (at least 2A is recommended for stable operation).
- Power On: Locate the power switch on the display and slide it to the "ON" position. The display should power on and show the input from your connected device.
- Adjust Settings (Optional): Use the physical buttons on the display (if available, typically for brightness) to adjust the display settings to your preference.

Image 4.1: Front and back view of the display with port and control labels.
Note: For Raspberry Pi users, while the display is generally plug-and-play, some configurations might require adjustments to the config.txt file for optimal resolution or display orientation. Consult Raspberry Pi documentation for specific settings if needed.
5. Operating Instructions
Once set up, operating the display is straightforward:
- Power On/Off: Use the dedicated switch on the display to turn it on or off. This helps in saving power when the display is not in use.
- Brightness Adjustment: The display features buttons for brightness control.
- Press the "Brightness Enhancement" button to increase brightness.
- Press the "Reduced Brightness" button to decrease brightness.
- The "Backlight on/off" button can completely toggle the backlight.
- Input Source: The display automatically detects the HDMI input. No manual input switching is typically required.

Image 5.1: Display in use with a desktop computer.
6. Maintenance
To ensure the longevity and optimal performance of your display, follow these maintenance guidelines:
- Cleaning:
- Gently wipe the screen with a soft, lint-free cloth.
- For stubborn smudges, lightly dampen the cloth with water or a screen-cleaning solution. Do not spray liquid directly onto the screen.
- Avoid using harsh chemicals, abrasive cleaners, or alcohol-based solutions, as these can damage the screen surface.
- Storage: When not in use for extended periods, store the display in a cool, dry place, away from direct sunlight and extreme temperatures.
- Handling: Handle the display by its edges. Avoid applying pressure to the screen surface.
- Power: Always disconnect the power cable before cleaning or moving the display.
7. Troubleshooting
If you encounter issues with your display, refer to the following troubleshooting tips:
| Problem | Possible Cause | Solution |
|---|---|---|
| No image on screen |
|
|
| Flickering or unstable image |
|
|
| Display is too dim or too bright | Brightness settings are incorrect | Use the "Brightness Enhancement" and "Reduced Brightness" buttons on the display to adjust. |
| "No Signal" message |
|
|
8. Specifications
| Feature | Detail |
|---|---|
| Model Number | JUN-7LP-FBA |
| Brand | JUN-ELECTRON |
| Screen Size | 7 Inches |
| Display Type | IPS |
| Resolution | 1024 x 600 Pixels |
| Aspect Ratio | 16:9 |
| Viewing Angle | 178 Degrees |
| Touch Function | No |
| Screen Surface | Matte |
| Video Input | HDMI |
| Power Input | Micro USB (5V) |
| Product Dimensions | 8 x 1.5 x 5 inches |
| Item Weight | 12 ounces |
| Manufacturer | JUN-ELECTRON |
9. Warranty and Support
Warranty Information: Please refer to the product packaging or the official JUN-ELECTRON website for detailed warranty terms and conditions. Typically, products come with a limited manufacturer's warranty covering defects in materials and workmanship.
Customer Support: For technical assistance, troubleshooting not covered in this manual, or warranty claims, please contact JUN-ELECTRON customer support through their official channels. Contact information can usually be found on the product packaging or the brand's official website.
Disclaimer: Specifications and product appearance are subject to change without prior notice. This manual is for informational purposes only.
Related Documents - JUN-7LP-FBA
 |
Amazon FBA Fulfilmentkosten en Services Gids Een uitgebreide gids voor Amazon Fulfilment by Amazon (FBA) kosten, inclusief fulfilmentkosten, opslagkosten, optionele services, verwijzingsvergoedingen en veelgestelde vragen voor verkopers. |
 |
Night Owl WNVRC20 Series User Manual - Security System Guide Comprehensive user manual for the Night Owl WNVRC20 Series wireless NVR security camera system, covering setup, installation, operation, troubleshooting, and specifications for enhanced home or business surveillance. |
 |
Amazon FBA Fulfillment and Storage Fee Schedule - Europe This document provides a comprehensive overview of Fulfillment by Amazon (FBA) fees for European markets, including fulfillment costs, storage fees, optional services, and referral fees. It details pricing structures based on product size, weight, and category, effective December 15, 2025. |
 |
Flatsons FBA-10 Electric Guitar Amplifier Instruction Manual This instruction manual for the Flatsons FBA-10 Electric Guitar Amplifier provides details on its features, operation, safety guidelines, and warranty information, designed for guitarists seeking a versatile and portable amplification solution. |
 |
Referenčná príručka inštalatéra pre klimatizačné zariadenia Daikin Split Komplexná referenčná príručka pre inštalatérov od spoločnosti Daikin, ktorá poskytuje podrobné pokyny pre inštaláciu, bezpečnosť a údržbu klimatizačných zariadení systému Split. Obsahuje technické údaje a riešenie problémov. |
 |
Amazon FBA and MCF Fee Schedule This document outlines the fee schedule for Amazon's Fulfilment by Amazon (FBA) and Multichannel Fulfilment (MCF) services, detailing various charges for storage, shipping, and additional services across different European countries. It includes breakdowns by product size, weight, and service type, with specific rates for standard and expedited shipping, as well as programs like Pan-European FBA and European Fulfilment Network (EFN). |