
1. Introduction
Thank you for choosing the Yinleader BC-200 PRO Smart Battery Charger. This intelligent charger is designed for a wide range of 12V and 24V lead-acid batteries (STD, AGM, GEL, SLA, VRLA) and 12V LiFePO4 batteries. It features multi-stage charging, an intuitive LCD display, and multiple protection functions to ensure safe and efficient battery charging. Please read this manual thoroughly before use to ensure proper operation and to prevent damage to the charger or battery.
2. Safety Information
Always observe the following safety precautions when operating the charger:
- Read all instructions before using the charger.
- Use the charger in a well-ventilated area.
- Wear eye protection and protective clothing when working with batteries.
- Do not smoke or allow sparks or flames near the battery or charger.
- Ensure the charger is disconnected from the AC power supply before connecting or disconnecting the battery clamps.
- Avoid short-circuiting the battery clamps.
- Keep the charger out of reach of children.
- Do not charge frozen batteries.
- Do not expose the charger to rain or excessive moisture.
3. Product Features
- High-Efficiency Charging: Provides 12V/20A and 24V/10A fast charging, significantly quicker than standard 12V 15A chargers.
- Smart Multi-Stage Charging: Features multi-stage charging processes including soft start, bulk charge, absorption, battery test, recondition, and float charge to protect and extend battery life.
- Intelligent LED Display: A large LED screen displays ambient temperature, voltage, current, and remaining battery capacity, allowing for easy monitoring of the charging status.
- Comprehensive Safety Protections: Includes short-circuit protection, overcurrent protection, cooling system, and reverse polarity protection.
- Battery Repair Function: Activates and reconditions batteries that have been unused for extended periods, old batteries, or those that cannot be charged normally.
- Dual Battery Mode Compatibility: Supports 12V/24V lead-acid batteries (4Ah to 200Ah, including STD, AGM, GEL, SLA, VRLA) and 12V LiFePO4 batteries (not for 24V LiFePO4).
- Automatic Charging Adjustment: The intelligent charger automatically adjusts the charging current based on the battery's charge stage and power level to optimize battery longevity. It will automatically shut off when fully charged and resume charging if the battery level drops below a certain threshold.
4. Product Overview
Familiarize yourself with the components of your Yinleader BC-200 PRO charger.

Image 4.1: Overview of the Yinleader BC-200 PRO Smart Battery Charger, showing its LCD display, control buttons, power cord, and battery clamps. Labels indicate the power cord, Start/Stop button, current selection, battery selection, repair mode, positive clamp, negative clamp, and the handle.

Image 4.2: Detailed diagram illustrating the charger's LCD display and control panel. The display shows current (A), voltage (V), battery capacity, and text modes (LiFe, GEL, AGM, STD, VOL, REPAIR). Below the display are buttons for Start/Stop, Current Selection, Battery Selection, and Repair Mode. The rear of the unit shows the power switch and cooling fan.

Image 4.3: The large, serrated alligator clips are designed to securely grip various battery terminals, ensuring a stable connection during charging.
5. Setup
Follow these steps to set up your battery charger:
- Prepare the Battery: Ensure the battery terminals are clean and free of corrosion. If charging a lead-acid battery, check the electrolyte level and add distilled water if necessary (for serviceable batteries).
- Connect Battery Clamps:
- Connect the RED (+) positive clamp to the positive battery terminal.
- Connect the BLACK (-) negative clamp to the negative battery terminal.
Ensure a secure connection. Do not connect the charger to the AC power outlet before connecting the battery.
- Connect to Power: Plug the charger's AC power cord into a standard 220V AC electrical outlet.
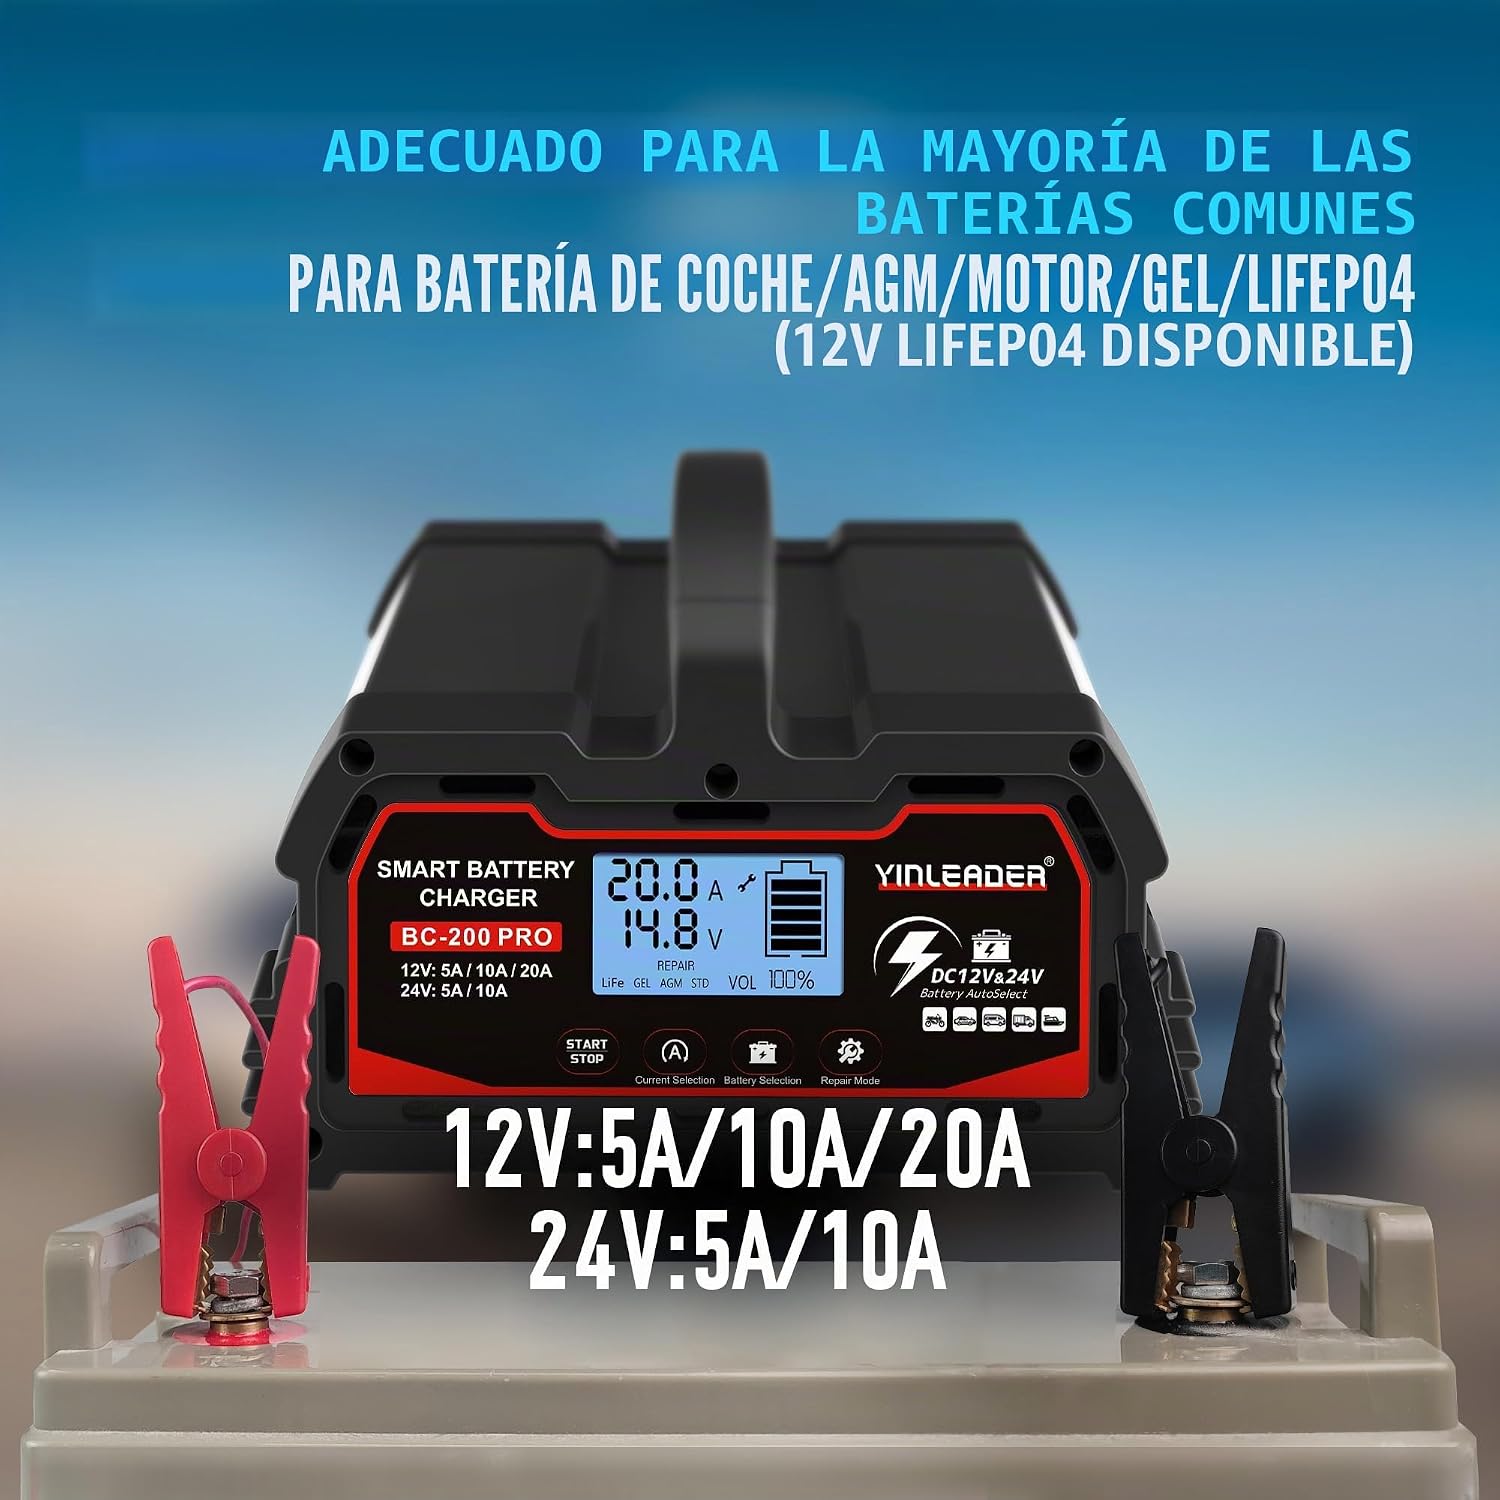
Image 5.1: The Yinleader BC-200 PRO charger with its red and black clamps correctly connected to a car battery, ready for charging.

Image 5.2: The charger positioned near a vehicle's engine bay, with its clamps connected to the vehicle's battery, demonstrating a typical setup for charging.
6. Operating Instructions
Once connected, the charger will automatically detect the battery voltage (12V or 24V).
- Power On: Turn on the power switch located at the back of the charger. The LCD display will illuminate.
- Select Battery Type: Press the 'Battery Selection' button to cycle through the available battery types (LiFePO4, GEL, AGM, STD). Select the type that matches your battery.
- Select Charging Current: Press the 'Current Selection' button to choose the desired charging current (e.g., 5A, 10A, 20A for 12V; 5A, 10A for 24V). The maximum current displayed (e.g., 20A) is the peak current. The actual charging current will fluctuate based on the battery's state of charge and the multi-stage charging process.
- Start Charging: Press the 'Start/Stop' button to begin the charging process. The display will show real-time charging information.
- Monitor Charging: The LCD display provides information on voltage, current, temperature, and battery capacity.
- Repair Mode (Optional): If your battery is old, deeply discharged, or unable to charge, press the 'Repair Mode' button. This function attempts to recondition the battery.
- Charging Completion: The charger will automatically stop charging when the battery is fully charged. The display will indicate 100% capacity.
- Disconnect: First, unplug the charger from the AC power outlet. Then, disconnect the BLACK (-) negative clamp, followed by the RED (+) positive clamp.
Multi-Stage Charging Process
The charger employs a sophisticated multi-stage charging algorithm to optimize battery health and charging efficiency:

Image 6.1: Diagram showing the six stages of the charging process: 1. Soft Start (low current for 15 min), 2. Bulk Charge, 3. Absorption, 4. Battery Test, 5. Recondition, and 6. Float. This process optimizes charging for battery longevity.

Image 6.2: This image illustrates the conditions under which charging begins for different battery types: 12V Lead-Acid batteries start charging below 12.8V, 24V Lead-Acid batteries start below 25.6V, and 12V LiFePO4 batteries start below 13.2V. The float charge function keeps your battery ready for use at all times.
7. Maintenance
Proper maintenance ensures the longevity and performance of your charger:
- Cleaning: Disconnect the charger from all power sources before cleaning. Wipe the casing with a dry, soft cloth. Do not use abrasive cleaners or solvents.
- Cable Inspection: Regularly inspect the power cord and battery cables for any signs of damage, cuts, or fraying. Replace damaged cables immediately.
- Storage: Store the charger in a cool, dry place away from direct sunlight, moisture, and corrosive materials. Ensure the cables are neatly coiled and not under tension.
8. Troubleshooting
If you encounter issues, refer to the following common problems and solutions:
| Problem | Possible Cause | Solution |
|---|---|---|
| Charger does not turn on. | No AC power; Power switch off; Blown fuse. | Check AC power connection; Turn on power switch; Check and replace fuse if necessary. |
| Battery not charging. | Incorrect battery type selected; Poor clamp connection; Battery is severely damaged or frozen. | Select correct battery type; Ensure clamps are securely connected; Attempt Repair Mode or consult a professional if battery is damaged. Do not charge frozen batteries. |
| Display shows error message. | Reverse polarity; Short circuit; Overheating. | Disconnect and reconnect clamps correctly; Check for short circuits; Allow charger to cool down in a well-ventilated area. |
| Charging current fluctuates. | Normal operation during multi-stage charging. | This is normal behavior as the charger intelligently adjusts current based on battery state. For example, current may decrease significantly when the battery is over 80% charged. |
9. Specifications
Technical specifications for the Yinleader BC-200 PRO Smart Battery Charger:
| Feature | Specification |
|---|---|
| Model Number | BC-200 PRO |
| Input Voltage | 220 Volts (AC) |
| Output Voltage | 12 Volts (DC) / 24 Volts (DC) |
| Rated Current | 20 Amperes (12V) / 10 Amperes (24V) |
| Compatible Battery Types | 12V/24V Lead-Acid (STD, AGM, GEL, SLA, VRLA), 12V LiFePO4 |
| Compatible Battery Capacity | 4 Ah to 200 Ah |
| Compatible Devices | Cars, Trucks, Motorcycles, Lawnmowers, Boats, Electric Vehicles |
| Number of Ports | 1 |
| Product Dimensions (L x W x H) | 19 x 17 x 12 cm (7.48 x 6.69 x 4.72 inches) |
| Product Weight | 1.71 Kilograms (3.77 lbs) |
| Certifications | CE |

Image 9.1: Diagram illustrating the physical dimensions of the Yinleader BC-200 PRO charger, showing its length (195mm), width (174mm), and height (120mm).
10. Warranty and Support
The Yinleader BC-200 PRO Smart Battery Charger comes with a 2-year warranty.
For technical support, warranty claims, or any questions regarding the product, please contact Yinleader customer service through your purchase platform or the official Yinleader website. Please have your model number (BC-200 PRO) and proof of purchase ready when contacting support.