1. Introduction
The LIDER motion sensor dimmer switch offers an easy way to control your lighting. The sensor switch can automatically turn a load on (or manually be turned on) and stay on as long as the sensor detects occupancy. Use the rocker to adjust the light level for any activity, or set the preset level to ensure lights always turn on to your desired light level. The sensor will automatically shut off the load at the end of the selected time delay. This switch is designed for three-way applications only.
2. Safety Information
- WARNING: Always turn off power at the circuit breaker before installation, wiring, or servicing this device. Failure to do so may result in serious injury or death.
- Installation should be performed by a qualified electrician if you are unsure about electrical wiring procedures.
- For indoor use only.
- This device is compatible with 3-way applications, 600W Incandescent/Halogen, and 150W electronic self-ballast (LED) loads only. Do not exceed specified wattage.
- Ensure all wiring connections are secure and comply with local electrical codes.
- The product is UL Listed, ensuring safety and quality standards.
3. Package Contents
Verify that all components are present before beginning installation:
- LIDER Motion Sensor Dimmer Switch
- Matching Wall Plate
- Wiring Instructions (included in packaging)
4. Product Features
The LIDER Motion Sensor Dimmer Switch offers advanced functionality for convenient lighting control:
- Hands-Free Operation: Automatically turns lights on when motion is detected, ideal for when your hands are full.
- Memory Feature: Remembers the last brightness setting, ensuring lights turn on to your preferred level.
- 3-Way Lighting Control: Designed for use in 3-way applications, allowing control from two locations.
- Adjustable Ambient Light Sensor: Customize the light level at which the sensor activates.
- Adjustable Time Delay: Set how long the lights remain on after motion is no longer detected.
- Passive Infrared (PIR) Sensor: Detects motion for reliable automatic operation.
- Adjustable Range: Fine-tune the detection area of the motion sensor.
- ON/OFF Button: Large, user-friendly button for manual control.
- Dimmer Level Buttons: Separate UP (brighter) and DOWN (dimmer) arrows for precise brightness adjustment.

Figure 4.1: Hands-Free Operation. The switch automatically turns lights on when motion is detected, useful when hands are occupied.

Figure 4.2: Memory Feature. The dimmer switch retains the last brightness setting for convenience.

Figure 4.3: 3-Way Lighting Control. The switch can be integrated into a 3-way circuit for control from multiple locations.

Figure 4.4: Product Features Diagram. This diagram highlights the adjustable ambient light sensor, adjustable time delay, passive infrared sensor, adjustable range, ON/OFF button, and dimmer level buttons.
5. Installation
Follow these general steps for installation. Refer to the detailed wiring instructions included in your package for specific diagrams.
- Turn Off Power: Locate the circuit breaker controlling the light switch you intend to replace and turn off the power. Verify power is off using a voltage tester.
- Remove Old Switch: Carefully remove the existing wall plate and switch from the electrical box. Disconnect the wires.
- Wire the New Switch: The LIDER motion sensor dimmer switch features easy-to-install terminals and does not require a neutral or ground wire for operation. Connect the wires according to the provided wiring diagram for 3-way applications. Ensure all connections are tight and secure.
- Mount the Switch: The shallow body design allows it to fit standard junction boxes. Secure the switch into the electrical box with screws.
- Attach Wall Plate: Install the included wall plate over the switch.
- Restore Power: Turn the power back on at the circuit breaker.
- Warm-Up Period: Allow 1-2 minutes for the device to warm up after installation before full functionality is available.
6. Operating Instructions
Once installed, operate your LIDER Motion Sensor Dimmer Switch as follows:
- Manual ON/OFF: Press the large ON/OFF button to manually turn the lights on or off.
- Adjusting Brightness: Use the UP arrow button to increase brightness and the DOWN arrow button to decrease brightness. Press and hold continuously for smooth dimming.
- Motion Sensor Operation: When set to automatic mode, the sensor will detect occupancy and turn the lights on. The lights will remain on as long as motion is detected within the sensor's range.
- Automatic Shut-Off: After no motion is detected for the set time delay, the lights will automatically turn off.
- Adjusting Sensor Settings: Refer to the product features diagram (Figure 4.4) for the location of adjustment dials. These typically include settings for ambient light sensitivity, time delay, and detection range. Use a small screwdriver to carefully adjust these dials to your preference.
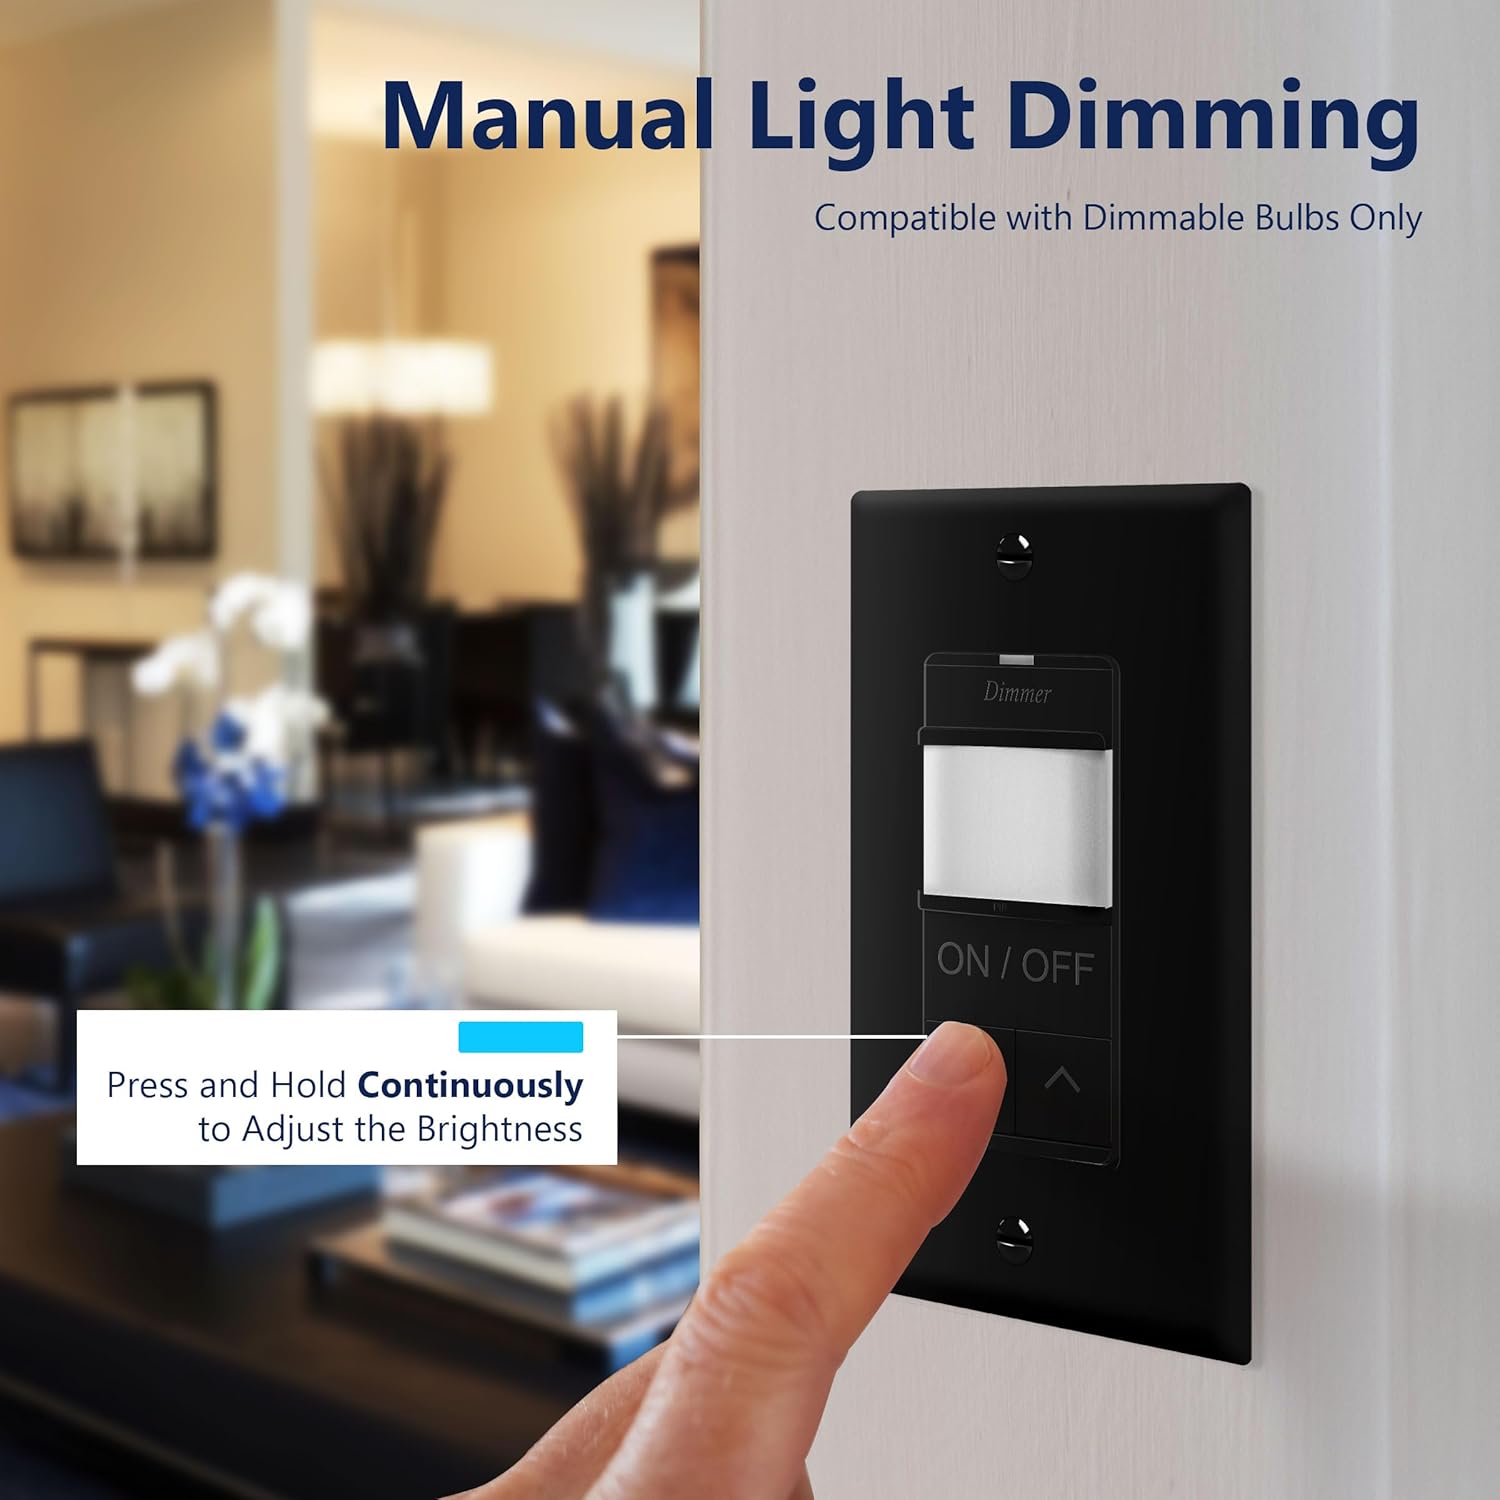
Figure 6.1: Manual Light Dimming. Press and hold the UP/DOWN arrows to adjust brightness.
7. Specifications
| Specification | Value |
|---|---|
| Brand | LIDER |
| Model Number | LPDS-3W-BKWP |
| Operation Mode | ON-OFF-ON |
| Operating Voltage | 120 Volts (AC) |
| Contact Type | Normally Open |
| Connector Type | Screw Terminals |
| Switch Type | Rocker Switch, Motion Sensor |
| Terminal | Quick-connect |
| Material | Polycarbonate Thermoplastic |
| Circuit Type | 3-way |
| Mounting Type | Wall Mount |
| Number of Positions | 3 |
| Control Method | Sensor |
| Wattage | 600 watts (Incandescent/Halogen), 150 watts (LED) |
| Control Type | Manual, Dimmer |
| Compatible Devices | 3-way applications, 600W Incandescent/Halogen, 150W electronic self-ballast (LED) |
| Color | Black |
| Specification Met | UL |
8. Troubleshooting
If you encounter issues with your LIDER Motion Sensor Dimmer Switch, refer to the following common problems and solutions:
- Lights blink intermittently or flicker:
- Ensure the connected bulbs are dimmable LED/CFL or incandescent/halogen. Non-dimmable bulbs may flicker.
- Verify the total wattage of the connected load does not exceed the switch's maximum rating (150W for LED/CFL, 600W for Incandescent/Halogen).
- Check for loose wiring connections at the switch and light fixture.
- Sensor not detecting motion or delayed response:
- Adjust the sensor's sensitivity and range settings (refer to Figure 4.4).
- Ensure there are no obstructions blocking the sensor's view.
- Verify the ambient light setting is appropriate for the room's conditions. If set too high, the sensor may not activate in bright environments.
- Confirm the device has completed its 1-2 minute warm-up period after power restoration.
- Light buzzes when dimmed:
- Some LED/CFL bulbs may produce a slight hum with certain dimmers. Try different brands or types of dimmable bulbs.
- Ensure the bulbs are specifically rated as dimmable.
- Does not work correctly as a 3-way switch:
- Double-check the 3-way wiring connections against the diagram provided in your package. Incorrect wiring is a common cause for 3-way switch issues.
- Ensure the other switch in the 3-way circuit is a standard 3-way switch and not another dimmer or smart switch, unless specifically designed for such a configuration.
- Switch is unresponsive:
- Turn off power at the circuit breaker for 30 seconds, then restore power to reset the switch.
- Verify all wiring connections are secure.
9. Maintenance
The LIDER Motion Sensor Dimmer Switch requires minimal maintenance:
- Cleaning: To clean the switch and wall plate, wipe with a soft, damp cloth. Do not use abrasive cleaners, solvents, or harsh chemicals, as these can damage the finish or internal components.
- No User-Serviceable Parts: There are no user-serviceable parts inside the switch. Do not attempt to open or repair the device.
10. Warranty and Support
The LIDER Motion Sensor Dimmer Switch comes with a 3-year warranty from the date of purchase, covering defects in materials and workmanship under normal use. For warranty claims or technical support, please contact LIDER customer service. Refer to the contact information provided in your product packaging or visit the official LIDER website for assistance.

