Introduction
Thank you for choosing the Giantex Garden Arch Trellis with Planters. This manual provides essential information for the safe assembly, operation, and maintenance of your new garden arch. Please read these instructions carefully before assembly and retain them for future reference.
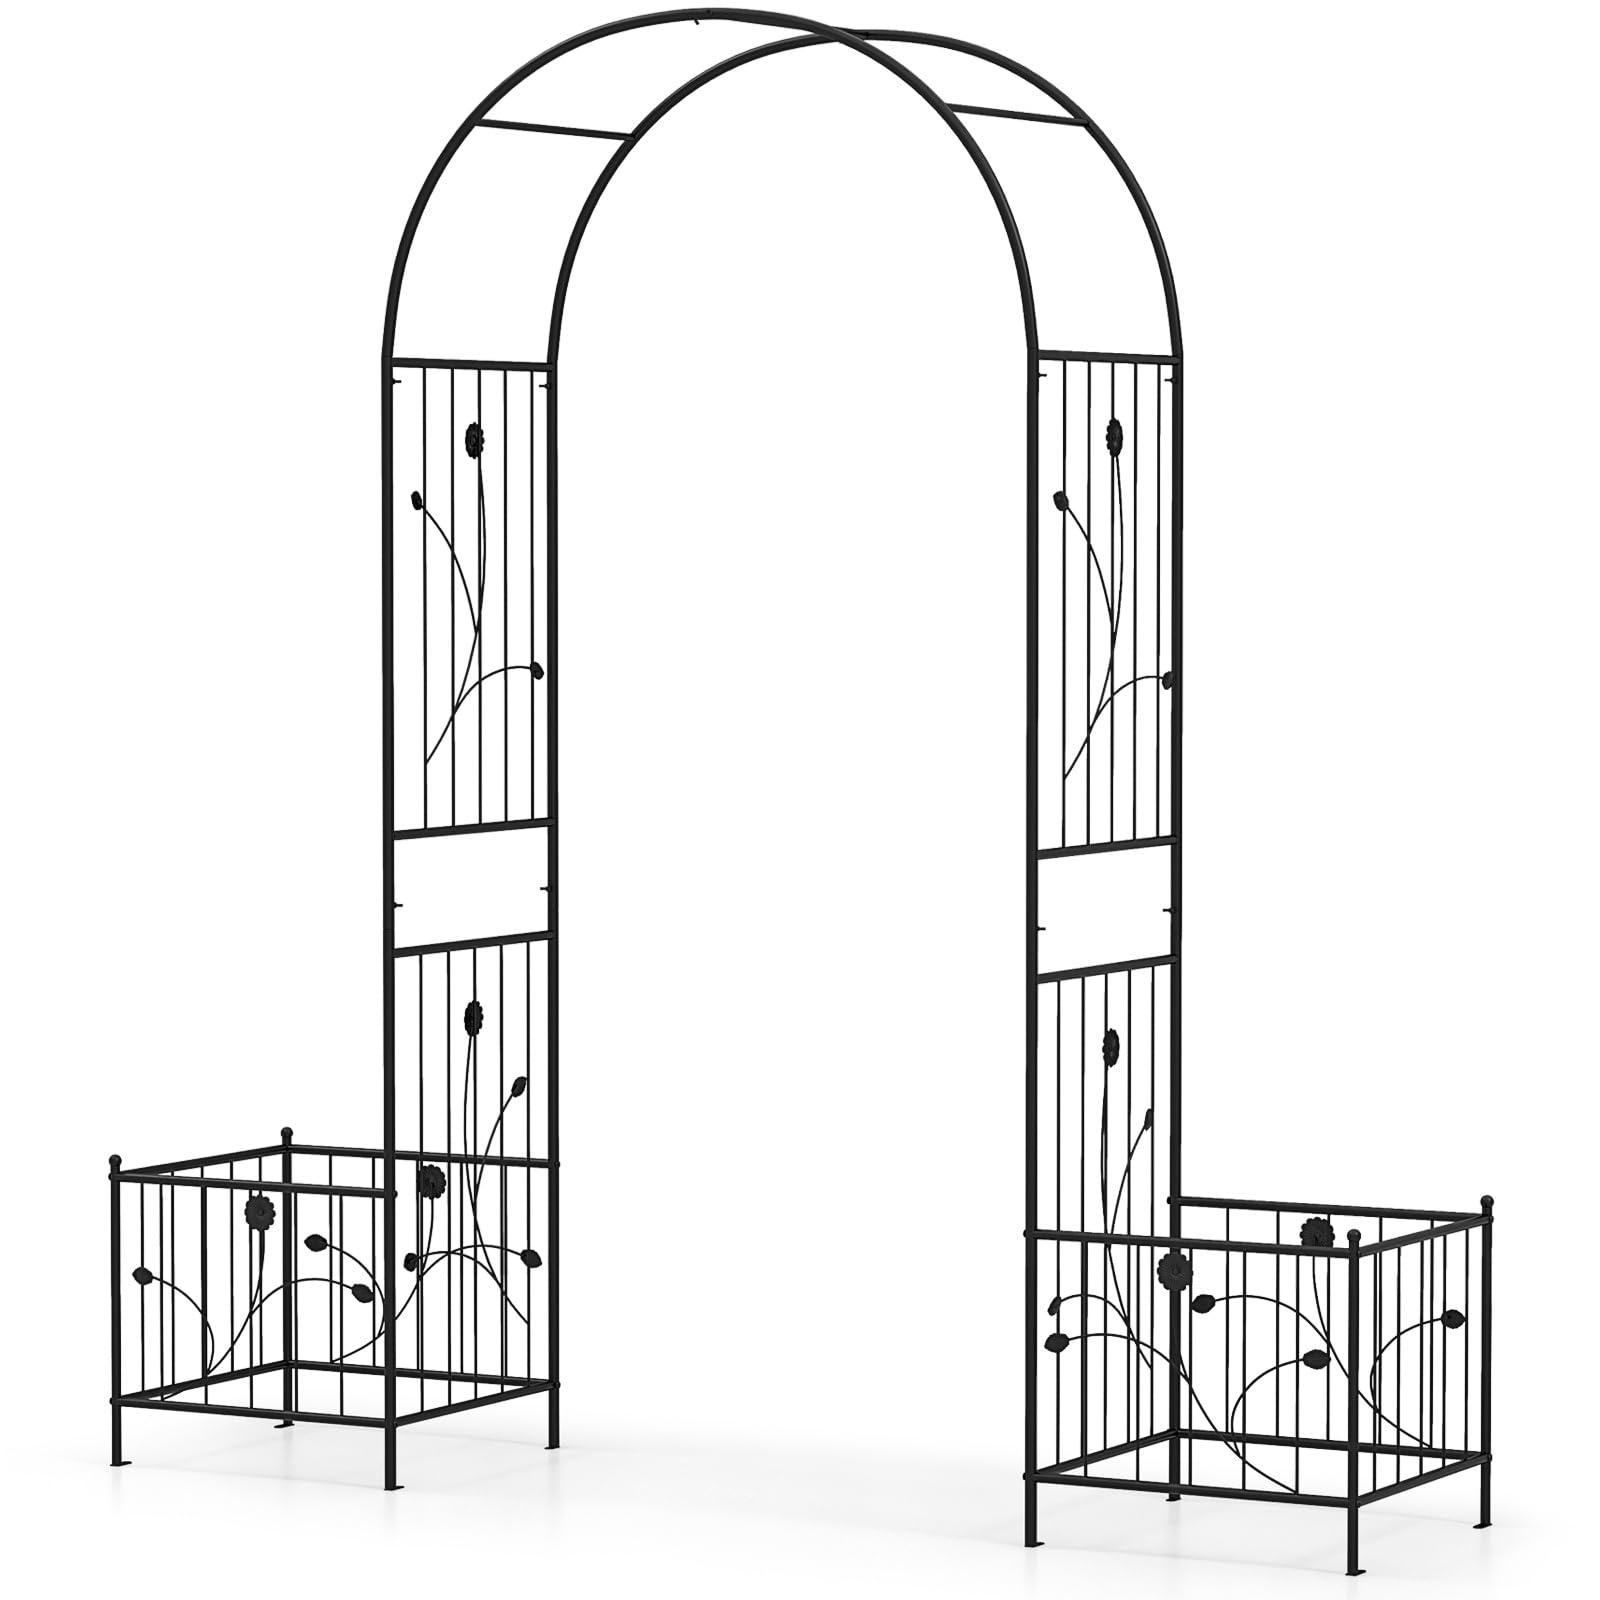
Image: The Giantex Garden Arch Trellis with Planters, showcasing its elegant design and integrated planter boxes.
Safety Information
Warning: This product has sharp edges. Exercise caution when handling and installing components. Always supervise children and pets around the trellis. Climbing plants may grow and obscure the structure, potentially creating tripping hazards. Ensure proper installation of ground stakes to maintain stability. Do not use this product in high winds or heavy rain to prevent damage or injury.
Package Contents
Before beginning assembly, verify that all parts listed below are present and undamaged. If any parts are missing or damaged, please contact Giantex customer service.
- Garden Arch Components (various metal pipes and decorative panels)
- 2 x Planter Boxes
- 8 x Ground Stakes
- 8 x Anchor Plates
- Assembly Hardware (screws, nuts, washers)
- Instruction Manual
Setup and Assembly
Assembly of the Giantex Garden Arch Trellis is designed to be straightforward. Follow the included instruction manual for detailed, step-by-step guidance. Ensure you have adequate space and any necessary tools (e.g., screwdriver, wrench) before starting.
- Unpack Components: Carefully remove all parts from the packaging and lay them out on a clean, flat surface. Refer to the parts list to ensure everything is present.
- Assemble Arch Sections: Connect the various metal pipe sections and decorative panels to form the main arch structure. Secure all connections using the provided screws and hardware. Ensure all screws are tightened firmly for stability.
- Attach Planter Boxes: Secure the two planter boxes to the base of the arch structure. These boxes provide additional stability and a place for plants.
- Position the Arch: Once the main structure is assembled, carefully move it to your desired outdoor location.
- Secure with Ground Stakes: For enhanced stability, especially in outdoor conditions, utilize the 8 anchor plates and 8 ground stakes. Insert the anchor plates at the base of the arch and drive the ground stakes through them into the soil. This prevents the arch from shifting or tipping.

Image: Close-up view of the heavy-duty frame, illustrating the galvanized metal tubes with rustproof powder coating, anchor plates, and ground stakes for secure installation.

Image: A detailed diagram outlining the overall dimensions of the assembled garden arch trellis, including height, width, and planter box measurements.
Operating and Usage
The Giantex Garden Arch Trellis with Planters is designed to enhance your outdoor space by providing support for climbing plants and a decorative element for various occasions.
- Plant Support: The arch and side trellises offer optimal support for climbing plants such as roses, ivy, clematis, and other vines. Guide the plant tendrils gently through the trellis structure as they grow.
- Integrated Planters: The two open-ended planter boxes are suitable for growing flowers, vegetables, or displaying potted plants. The open-ended design promotes healthy plant growth.
- Decorative Applications: The arch can be adorned with decorative lights, tulle, balloons, or additional floral arrangements to suit specific events like weddings, parties, or seasonal decorations.
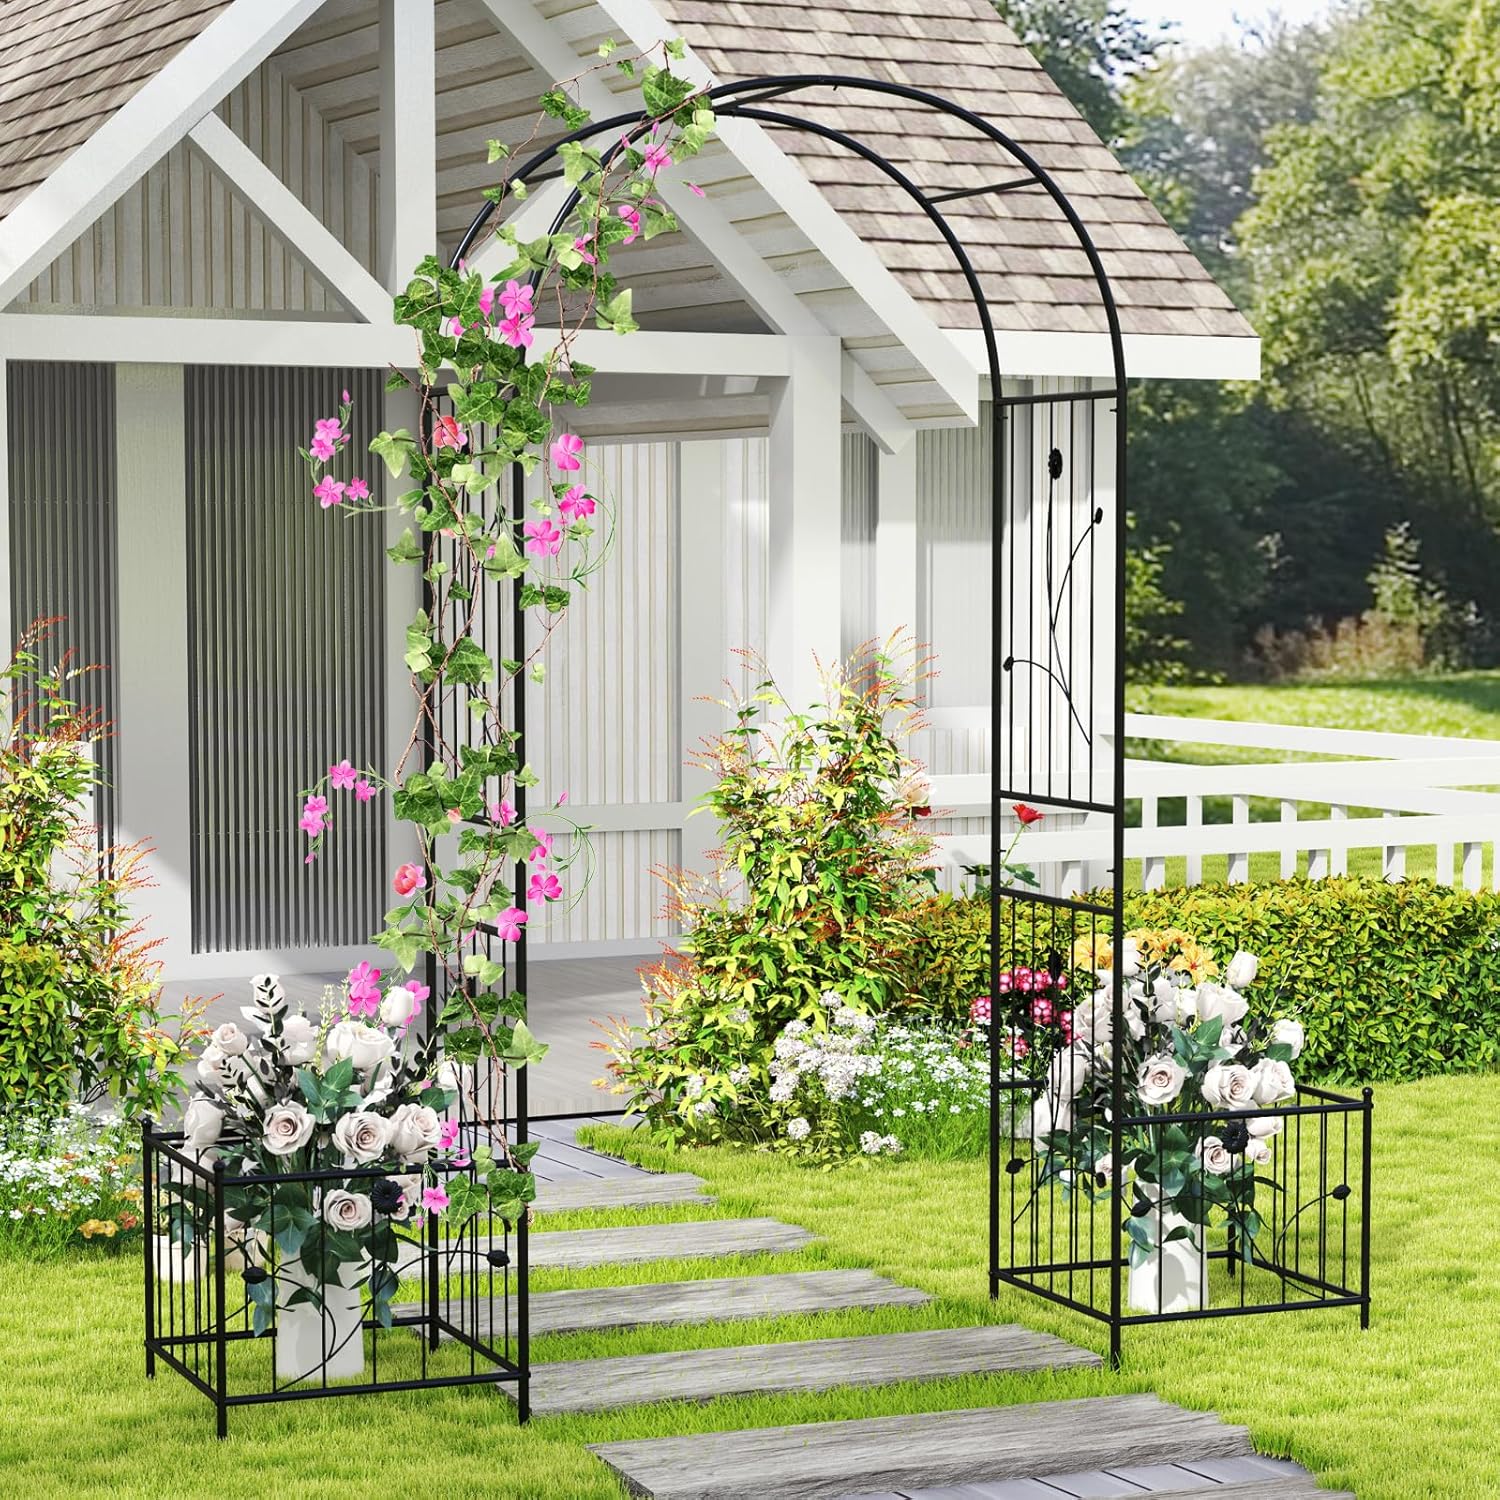
Image: The garden arch trellis supporting vibrant pink climbing flowers and featuring white roses in the integrated planter boxes, creating a welcoming pathway.

Image: The garden arch trellis beautifully decorated with extensive floral arrangements, serving as a focal point for a wedding ceremony by a lake.

Image: The garden arch trellis integrated into a patio setting, adorned with climbing greenery and flowers, complementing outdoor furniture.

Image: Visual examples demonstrating various ways to decorate the garden arch, including string lights, climbing plants, fabric drapes (tulles), and balloons.
Maintenance
Proper maintenance will extend the lifespan and appearance of your garden arch trellis.
- Cleaning: Regularly wipe down the metal frame with a damp cloth to remove dirt, dust, and plant debris. Avoid abrasive cleaners that could damage the powder coating.
- Rust Prevention: The galvanized metal pipes feature a rustproof powder coating. While designed for rust resistance, it is not entirely rust-proof. Inspect the frame periodically for any signs of rust, especially in areas where the coating might be scratched or chipped. Touch up any damaged areas with rust-inhibiting paint if necessary.
- Structural Integrity: Periodically check all screw connections to ensure they remain tight. Re-tighten any loose fasteners to maintain the arch's stability.
- Winter Care: In regions with harsh winters, consider disassembling and storing the arch indoors or covering it to protect it from extreme weather conditions.
Troubleshooting
If you encounter any issues with your Giantex Garden Arch Trellis, refer to the following common solutions:
- Arch is Unstable/Wobbly:
- Ensure all assembly screws are fully tightened.
- Verify that the 8 ground stakes are properly inserted into the soil through the anchor plates.
- Check if the ground surface is level. If not, adjust the placement or level the ground as much as possible.
- Parts Do Not Fit Together:
- Double-check the instruction manual to ensure you are using the correct parts for each step.
- Ensure parts are oriented correctly. Sometimes a slight rotation can make a difference.
- Do not force parts together, as this can cause damage.
- Rust Appears:
- Clean the affected area thoroughly.
- Apply a rust-inhibiting primer and paint to the rusted spots to prevent further corrosion.
Specifications
| Attribute | Detail |
|---|---|
| Brand | Giantex |
| Model Number | GX4252DK-TG |
| Material | Metal (Galvanized, Powder Coated) |
| Color | Black |
| Overall Dimensions (L x W x H) | 80'' x 20'' x 86'' |
| Net Weight | 24 lbs |
| Assembly Required | Yes |
Warranty and Support
For warranty information or technical support, please contact Giantex customer service directly. Details regarding specific warranty periods and claims procedures can typically be found on the official Giantex website or by contacting their support team using the contact information provided with your purchase documentation.
When contacting support, please have your model number (GX4252DK-TG) and purchase date available.