BAIMOQI L19
BAIMOQI L19 1080P Body Camera User Manual
Model: L19
1. Introduction
The BAIMOQI L19 Body Camera is a compact and versatile recording device designed for various applications, including security, outdoor activities, and personal documentation. It features a 1080P/2K resolution camera with a 180° rotatable lens, a 140° wide-angle view, and night viewing capabilities. Equipped with a magnetic clip and a 1000mAh battery, it offers reliable performance for extended periods.
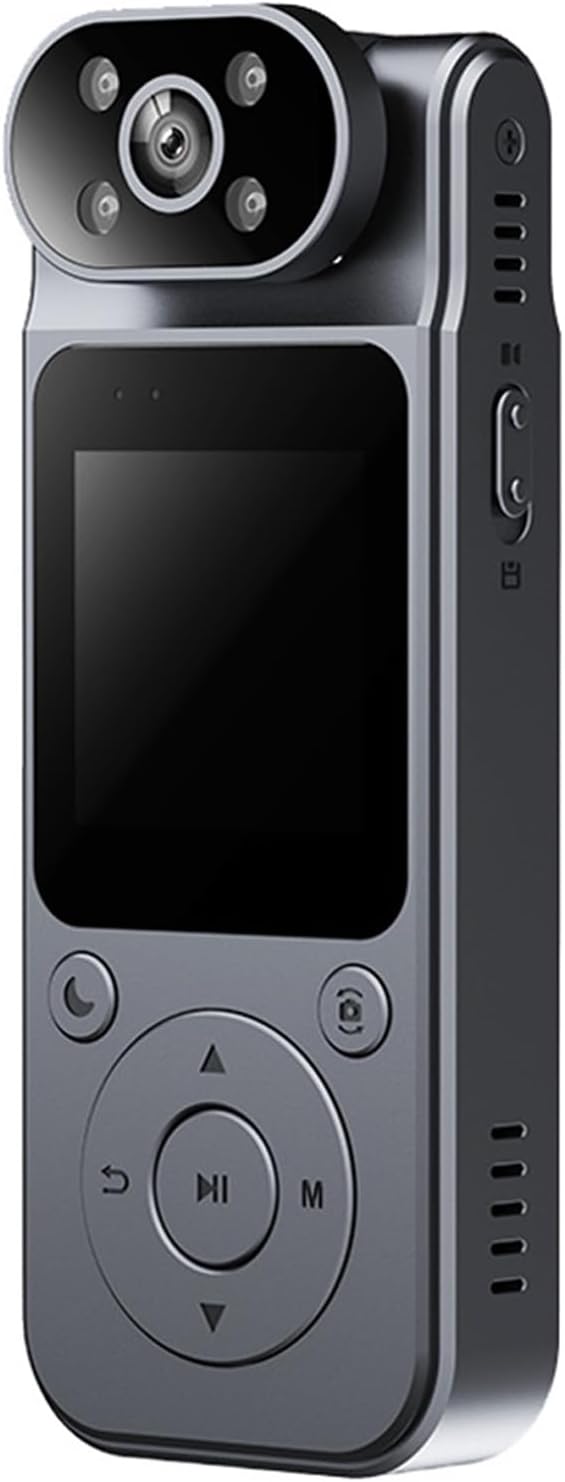
Image 1.1: Front view of the BAIMOQI L19 Body Camera, showcasing its compact design and screen.
2. Package Contents
Please verify that all items are present in your package:
- 1 x L19 Body Camera
- 1 x USB Type-C Charging Cable
- 1 x User Manual (this document)
3. Product Overview
Familiarize yourself with the camera's components and controls.

Image 3.1: Various views of the L19 Body Camera, highlighting ports, buttons, and the magnetic clip.
- Adjustable Lens: 180° rotatable lens for flexible recording angles.
- Display Screen: 1.5-inch screen for live view and playback.
- Control Buttons: Power, Record, Mode, Navigation, and Menu buttons.
- Magnetic Clip: Detachable clip for secure attachment to clothing or surfaces.
- USB Type-C Port: For charging and data transfer.
- MicroSD Card Slot: For storage (card not included).
- Reset Button: Small pinhole for device reset.
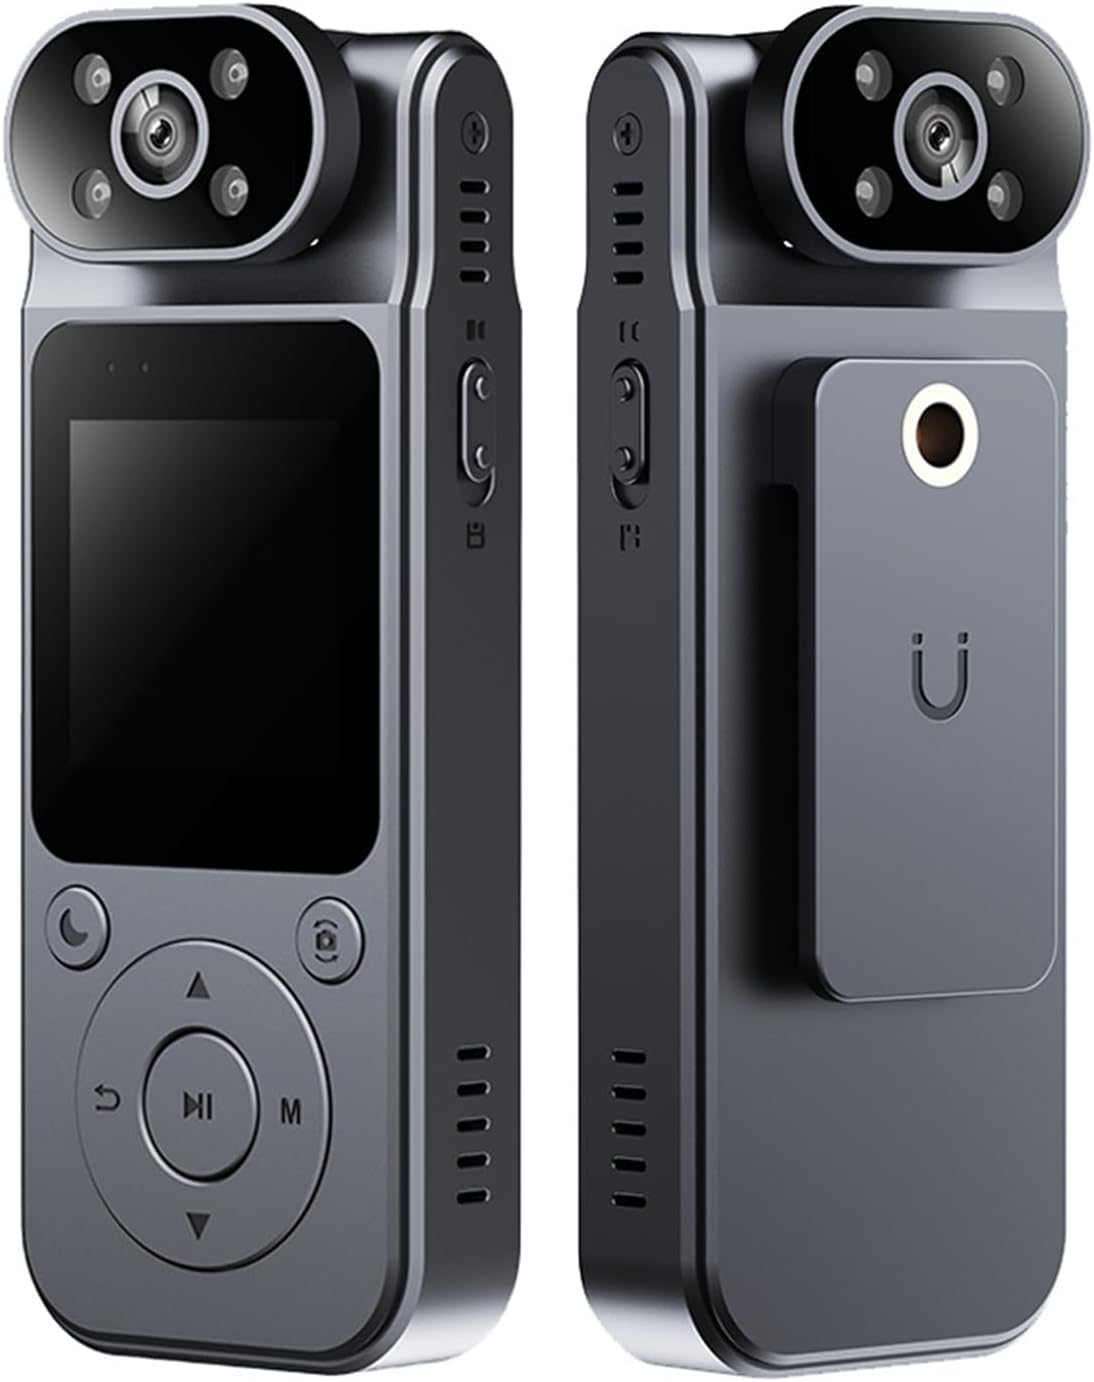
Image 3.2: Front and back view of the L19 Body Camera, showing the magnetic clip attachment.
4. Setup
4.1. Charging the Battery
- Connect the provided USB Type-C cable to the camera's charging port.
- Connect the other end of the cable to a USB power adapter (not included) or a computer's USB port.
- The charging indicator will illuminate. A full charge takes approximately 2 hours.
- Once fully charged, the indicator light will change or turn off.
4.2. Inserting a MicroSD Card
A MicroSD card (not included) is required to store recordings and photos. The camera supports cards up to a certain capacity (refer to specifications for details).
- Locate the MicroSD card slot on the side of the camera.
- Gently insert the MicroSD card with the gold contacts facing down until it clicks into place.
- To remove, push the card in again until it springs out.
4.3. Powering On/Off
- To Power On: Press and hold the Power button for a few seconds until the screen illuminates.
- To Power Off: Press and hold the Power button until the screen turns off.
5. Operating Instructions
5.1. Basic Operation
- Mode Button: Press to switch between Video Recording, Photo Mode, and Playback Mode.
- Record Button: In Video Mode, press to start/stop recording. In Photo Mode, press to take a picture.
- Navigation Buttons: Use Up/Down arrows to navigate menus or browse files in Playback Mode.
- Menu Button: Access settings for the current mode.
5.2. Video Recording
- Power on the camera.
- Press the Mode button until the video recording icon appears on the screen.
- Press the Record button to begin recording. A red indicator or timer will appear.
- Press the Record button again to stop recording. The video file will be saved to the MicroSD card.
5.3. Taking Photos
- Power on the camera.
- Press the Mode button until the photo icon appears on the screen.
- Frame your shot using the display screen.
- Press the Record button to capture a photo. The image will be saved to the MicroSD card.
5.4. Lens Rotation and Wide Angle
The camera features a 180° rotatable lens, allowing you to adjust the recording angle without repositioning the entire device. The 140° wide-angle lens captures a broad field of view.
5.5. Night Viewing Capabilities
The L19 camera is equipped with night viewing capabilities to ensure clear recordings in low-light conditions. This feature activates automatically or can be toggled in the settings menu.

Image 5.1: The L19 Body Camera depicted in various usage scenarios, such as outdoor sports, security, and delivery.
6. Connecting to a Computer
To transfer files or access settings, connect the camera to a computer:
- Ensure the camera is powered off.
- Connect the camera to your computer using the USB Type-C cable.
- The camera will appear as a removable disk drive on your computer.
- You can now access and transfer your video and photo files.
- Safely eject the device from your computer before disconnecting the cable.
7. Maintenance
- Keep the camera clean by wiping it with a soft, dry cloth.
- Avoid exposing the camera to extreme temperatures, direct sunlight, or moisture.
- Do not attempt to disassemble the camera, as this will void the warranty.
- Regularly back up your important files from the MicroSD card to prevent data loss.
- Format the MicroSD card periodically (after backing up data) to maintain optimal performance.
8. Troubleshooting
- Camera not turning on: Ensure the battery is charged. If the issue persists, try resetting the device using a pin in the reset hole.
- Cannot record: Check if a MicroSD card is inserted and if it has sufficient free space. Format the card if necessary (after backing up data).
- Poor video/photo quality: Ensure the lens is clean and free from obstructions. Check lighting conditions.
- Computer not recognizing camera: Try a different USB port or cable. Ensure the camera is powered off before connecting.
9. Specifications
| Feature | Specification |
|---|---|
| Model | L19 |
| Brand | BAIMOQI |
| Lens Rotation | 180° |
| Wide-angled lens | 140° |
| Display | 1.5 inch |
| Resolution | 2K/1080P |
| Video Format | AVI (Assumed, not specified in input) |
| Photo Format | JPG |
| Ratio | 16:9 |
| Battery Capacity | 1000mAh |
| Charging Interface | Type-C |
| Charging Time | 2 hours |
| Working Time | 8 hours |
| Product Material | ABS |
| Product Weight | Approx. 60g |
10. Warranty and Support
For warranty information and technical support, please refer to the documentation provided at the time of purchase or contact BAIMOQI customer service. Keep your purchase receipt as proof of purchase.
Ask a question about this manual
Ask about setup, troubleshooting, compatibility, parts, safety, or missing instructions. Manuals+ will review the question and use this page’s manual context to help answer it.