1. Introduction
This manual provides comprehensive instructions for the setup, operation, and maintenance of your HY6 4K Smart DLP Android 9 Mini Video Projector. Please read this guide thoroughly before use to ensure optimal performance and longevity of your device. This projector is designed for versatile use, including home cinema, business presentations, and gaming, offering a portable and immersive viewing experience.
2. Product Overview
The HY6 Mini Projector is a compact and powerful device featuring 4K resolution support and DLP technology for crisp, vibrant images. It runs on Android 9, providing access to a wide range of streaming applications and media. Key features include 200 lumens brightness, built-in Wi-Fi for wireless screen mirroring, and an integrated speaker for convenient audio playback.

Figure 1: The HY6 Mini Projector, showcasing its compact design and integrated handle.
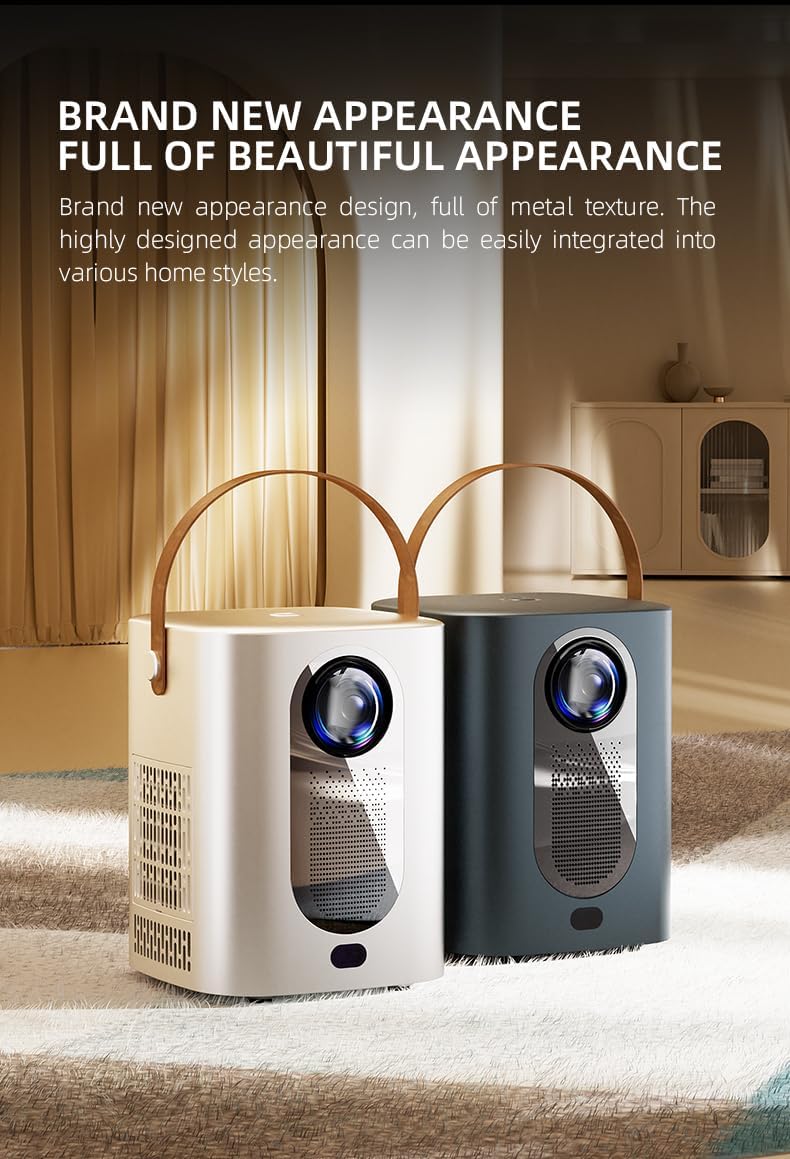
Figure 2: Available color variations of the HY6 Mini Projector, emphasizing its modern aesthetic.

Figure 3: Detailed view of the projector's customized lens, designed for improved image quality.

Figure 4: The projector's electric focus feature, allowing for quick and clear image adjustment.
3. Setup
- Unpacking: Carefully remove the projector and all accessories from the packaging. Ensure all components are present.
- Placement: Position the projector on a stable, flat surface. For optimal viewing, place it directly in front of your projection surface. Ensure adequate ventilation around the device to prevent overheating.
- Power Connection: Connect the provided power adapter to the projector's DC input port. Then, plug the power adapter into a suitable electrical outlet.
- Initial Power On: Press and hold the power button on the projector or the remote control to turn on the device.
- Focus Adjustment: Once powered on, the projector will display the Android 9 interface. Adjust the image focus using the manual lens ring or the electric focus function via the remote control until the image appears sharp and clear.
- Network Connection: Navigate to the 'Settings' menu on the projector's interface. Select 'Wi-Fi' and connect to your preferred wireless network by entering the password. A stable internet connection is required for streaming and app downloads.
4. Operating Instructions
- Navigating the Android 9 OS: Use the directional buttons and 'OK' button on the remote control to navigate through the projector's Android 9 operating system. Access applications, settings, and media content.
- Streaming Content: Open pre-installed streaming applications such as Netflix or YouTube, or download new ones from the integrated app store. Ensure a stable internet connection for smooth playback.
- Wireless Screen Mirroring: To mirror content from your smartphone, tablet, or laptop, select the 'Screen Mirroring' or 'Cast' option from the projector's main menu. Follow the on-screen instructions to connect your device. Ensure both devices are connected to the same Wi-Fi network.
- Audio Output: The projector features a built-in speaker for audio playback. Adjust the volume using the volume buttons on the remote control.
- Power Off: To turn off the projector, press and hold the power button on the projector or remote control until the power-off prompt appears, then confirm.
5. Maintenance
- Lens Cleaning: Use a soft, lint-free cloth specifically designed for optical lenses to gently wipe the projector lens. Avoid using abrasive materials, paper towels, or harsh chemical cleaners, as these can scratch or damage the lens coating.
- Ventilation: Regularly check that the projector's ventilation vents are clear of dust and obstructions. Proper airflow is crucial to prevent overheating and ensure the longevity of the device. Do not block the air inlets or outlets during operation.
- Storage: When not in use for extended periods, store the projector in a cool, dry place, away from direct sunlight, excessive humidity, and extreme temperatures. It is recommended to use the original packaging or a protective case to prevent dust accumulation and physical damage.
6. Troubleshooting
- No Power:
- Ensure the power cable is securely connected to both the projector and a working electrical outlet.
- Verify the power outlet is functional by testing it with another device.
- Press the power button firmly on the projector or remote control.
- No Image / Blurry Image:
- Check if the lens cap has been removed.
- Adjust the focus using the manual lens ring or the electric focus function via the remote control.
- Ensure the projector is positioned within the recommended projection distance (up to 3 meters).
- Verify the correct input source is selected if connecting external devices.
- No Sound:
- Increase the volume on both the projector and the source device.
- If using external audio devices, ensure they are properly connected and selected as the audio output.
- Connectivity Issues (Wi-Fi/Screen Mirroring):
- Restart the projector and your Wi-Fi router.
- Ensure the projector and the device you are mirroring from are connected to the same Wi-Fi network.
- Re-enter the Wi-Fi password to confirm it is correct.
- Ensure devices are within reasonable range of the Wi-Fi router.
7. Specifications
| Feature | Description |
|---|---|
| Brand | Generic |
| Manufacturer | MIRHA |
| Form Factor | Portable |
| Screen Resolution | 1280 x 720 |
| Resolution (Supported) | 3840 x 2160 (4K) |
| Operating System | Android 9 |
| Brightness | 200 Lumens |
| Connectivity Technology | Wi-Fi |
| Recommended Uses | Business, Education, Gaming, Home Cinema |
| Special Features | 3D-Ready, Auto Focus, Auto Obstacle Avoidance, Auto Screen Alignment, Built-In 3D, Built-In Cooling System, Built-In Media Player, Built-In Speaker, Built-In Wi-Fi, Built-In Handle, Digital Keystone Correction, Dust-Proof, Fold Down Arm, Lightweight, Portable |
8. Warranty and Support
Warranty Information: This product may be covered by an extended warranty. Please refer to your purchase documentation or contact your retailer for specific details regarding 1-Year or 2-Year Extended Warranty options.
Customer Support: For technical assistance, troubleshooting beyond the scope of this guide, or warranty claims, please contact the seller or manufacturer directly. Refer to your purchase receipt or product packaging for contact information.
Note: No official product videos were available for inclusion in this manual.