Xixi Vision Uhale-10.1
Uhale Digital Picture Frame 10.1 Inch User Manual
Model: Uhale-10.1 | Brand: Xixi Vision
Introduction
This manual provides detailed instructions for setting up, operating, maintaining, and troubleshooting your Uhale 10.1 Inch Smart WiFi Digital Picture Frame. Please read this manual thoroughly before using the device to ensure proper functionality and longevity.

Figure 1: Uhale Digital Picture Frame and Uhale App Interface
The Uhale Digital Picture Frame allows you to display photos and videos with ease, offering smart features like Wi-Fi connectivity, app-based sharing, and auto-rotation. Its 10.1-inch IPS HD touch screen provides a clear and vibrant viewing experience.
Setup Guide
1. Package Contents
Before you begin, verify that all items are present in the package:
- 1 x Digital Picture Frame
- 1 x AC Adapter
- 1 x User Manual
- 1 x Frame Stand

Figure 2: Package List
Ensure all components are accounted for before proceeding with the setup.
2. Initial Power On and Wi-Fi Connection
- Connect the AC adapter to the frame and plug it into a power outlet.
- The frame will power on automatically. Follow the on-screen prompts to select your language and time zone.
- Connect the frame to your Wi-Fi network. Select your network from the list and enter the password. A stable Wi-Fi connection is required for app-based sharing and cloud features.
3. Uhale App Setup
The "Uhale" app allows for easy photo and video sharing from your smartphone.
- Download the "Uhale" app from the App Store (iOS) or Google Play Store (Android).
- Open the app and create an account or log in.
- On the frame, locate the unique frame code or QR code (usually found in settings under "Device Management" or "Add Friend").
- In the Uhale app, select "Add Frame" and enter the frame code or scan the QR code to link your device.
- Once linked, you can begin sharing photos and videos directly from your phone to the frame.
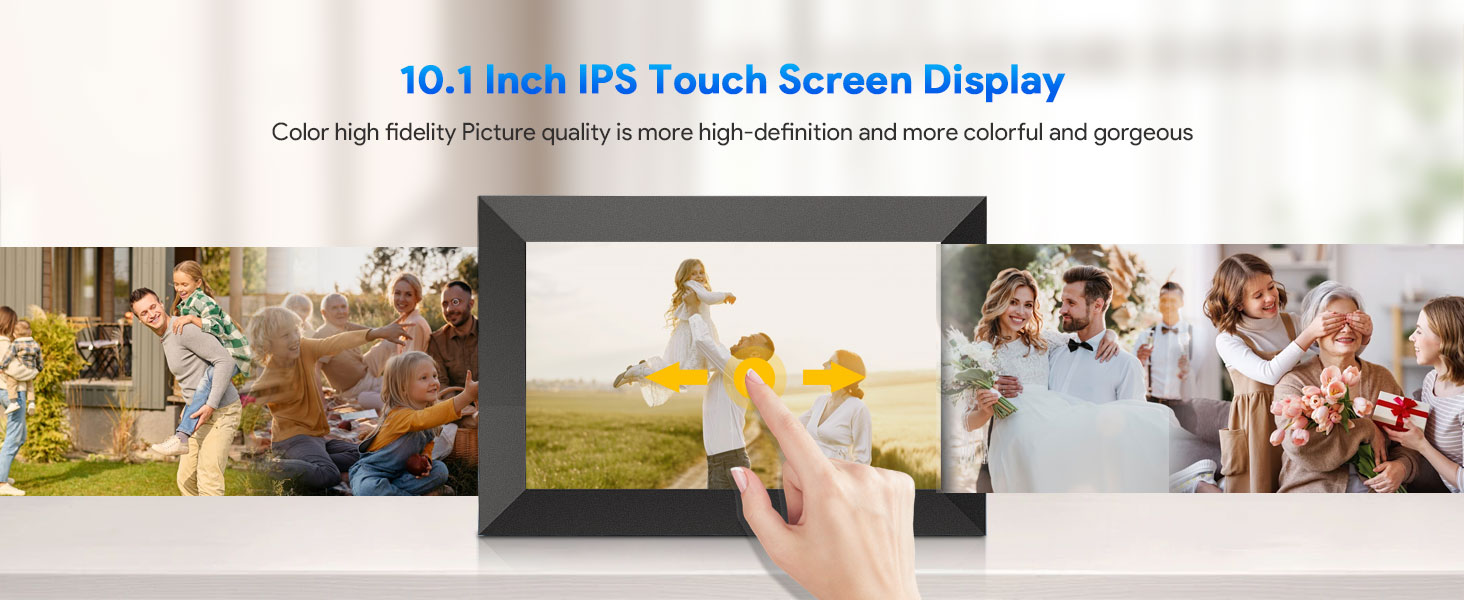
Figure 3: Instantly and Securely Sharing Photos and Videos Via Uhale APP
The Uhale app provides a secure and convenient way to share your memories with the frame.
4. Uhale Web Upload
You can also upload photos from your computer using the Uhale web interface.
- Open a web browser on your computer and navigate to the Uhale web URL (refer to your frame's settings or the app for the exact address).
- Log in using your Uhale account credentials.
- Select the frame you wish to upload to.
- Choose photos from your computer to upload. You can upload up to 500 photos at a time.
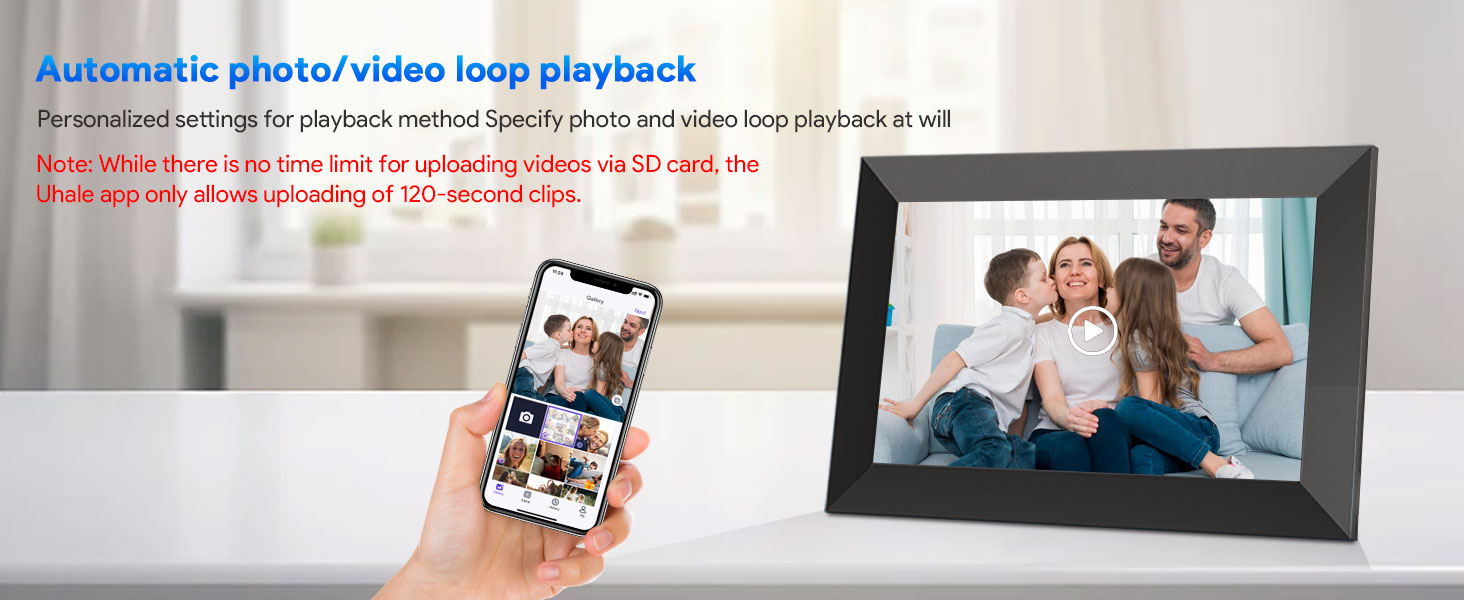
Figure 4: Share Photos Instantly and Securely via Uhale Web
The web interface offers a convenient way to transfer multiple photos from your computer.
Operating Instructions
1. Basic Navigation and Touch Screen
The Uhale Digital Picture Frame features an intuitive touch screen for easy navigation. Swipe left or right to browse photos, tap to view options, and pinch to zoom (if supported by the software version).
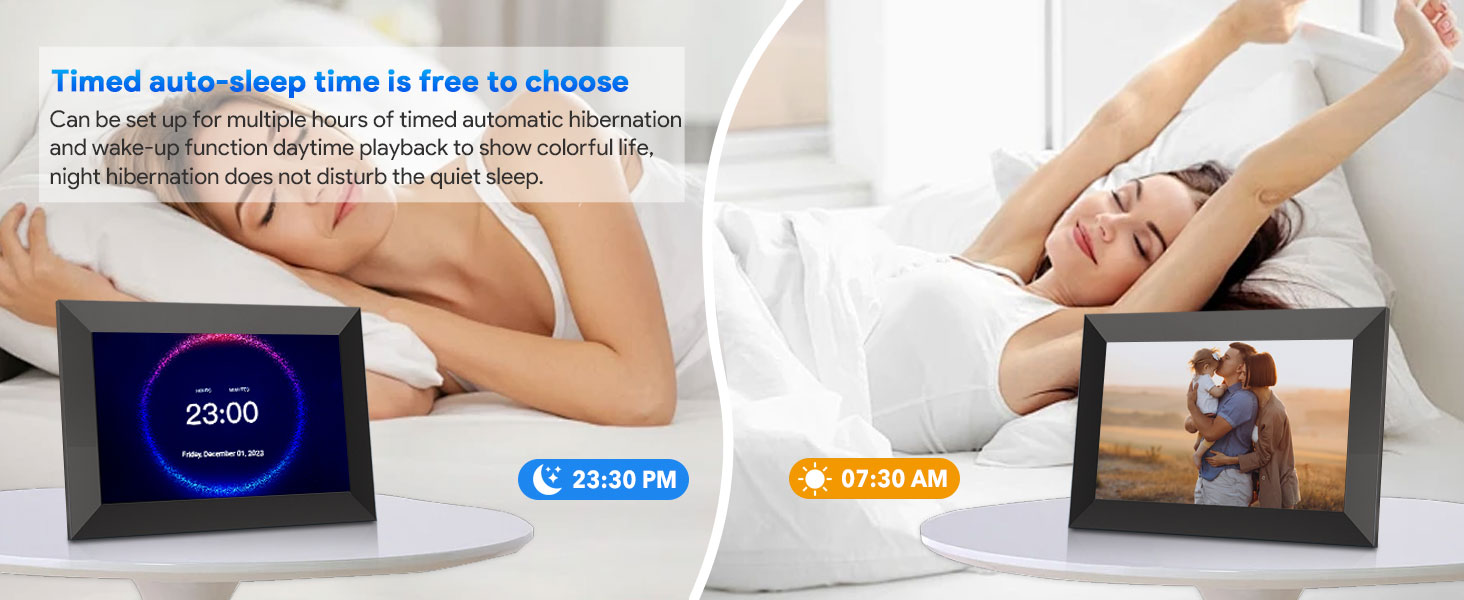
Figure 5: 10.1 Inch IPS Touch Screen Display
The touch screen allows for direct and simple interaction with the frame's features.
2. Uploading Photos and Videos
Content can be added via the Uhale app, Uhale web, or directly using a Micro SD card.
- Uhale App: As described in the Setup section, use the app to send photos and videos (up to 2 minutes in length) from your smartphone.
- Uhale Web: Upload photos from your computer via the web interface.
- Micro SD Card: Insert a Micro SD card (up to 32GB, not included) into the designated slot. You can directly play photos and videos from the card or import them to the frame's internal memory. There is no time limit for videos uploaded via Micro SD card.
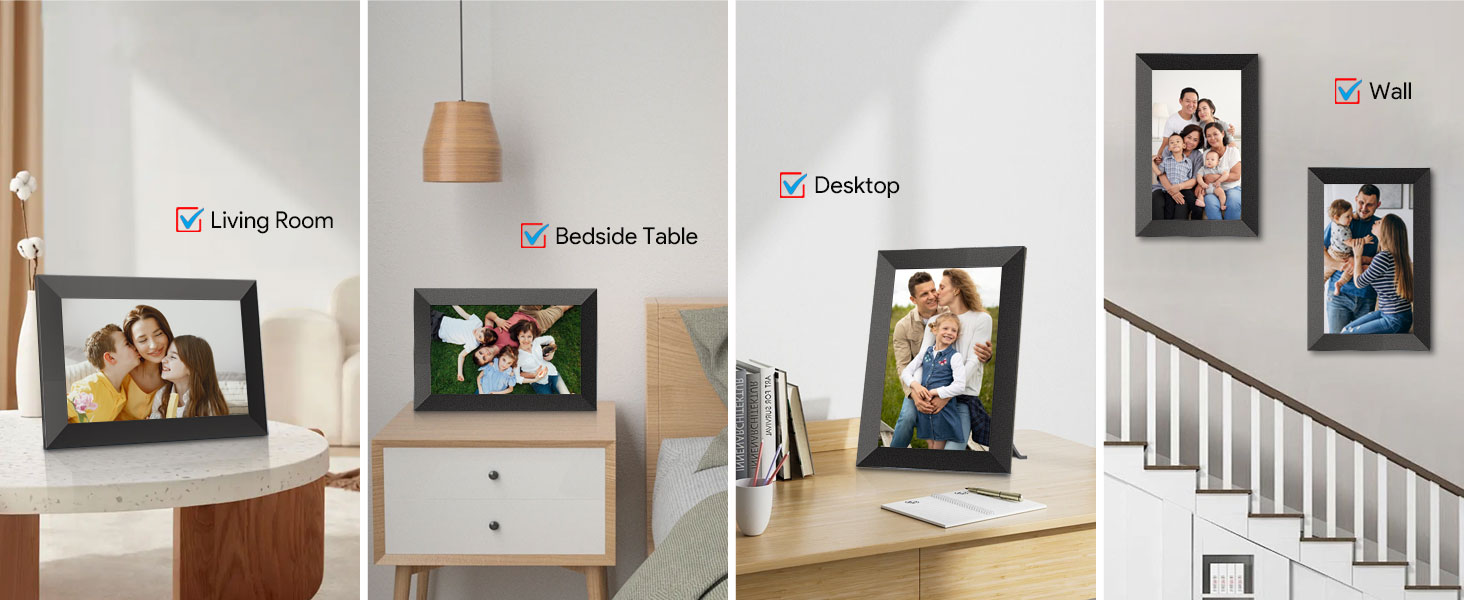
Figure 6: Built-in 16GB Memory and SD Card Expansion
The frame offers flexible options for storing and displaying your media.
3. Auto-Rotation and Placement
The frame automatically adjusts the display orientation (portrait or landscape) based on its physical position. It can be placed on a desktop using the stand or mounted on a wall.

Figure 7: Auto-Rotate & Wall Mounted
The auto-rotation feature ensures your photos are always displayed correctly, regardless of the frame's orientation.
4. Display Settings
- Brightness Adjustment: Swipe up or down on the left side of the screen to quickly adjust display brightness.
- Volume Adjustment: Swipe up or down on the right side of the screen to quickly adjust the volume for videos.
- Fill/Fit Photo Frame: In settings, choose between 'Fill' (photo fills the screen, may crop edges) or 'Fit' (entire photo displayed, may have black bars).
- Slideshow Mode: Select various slideshow transition effects and intervals from the settings menu.
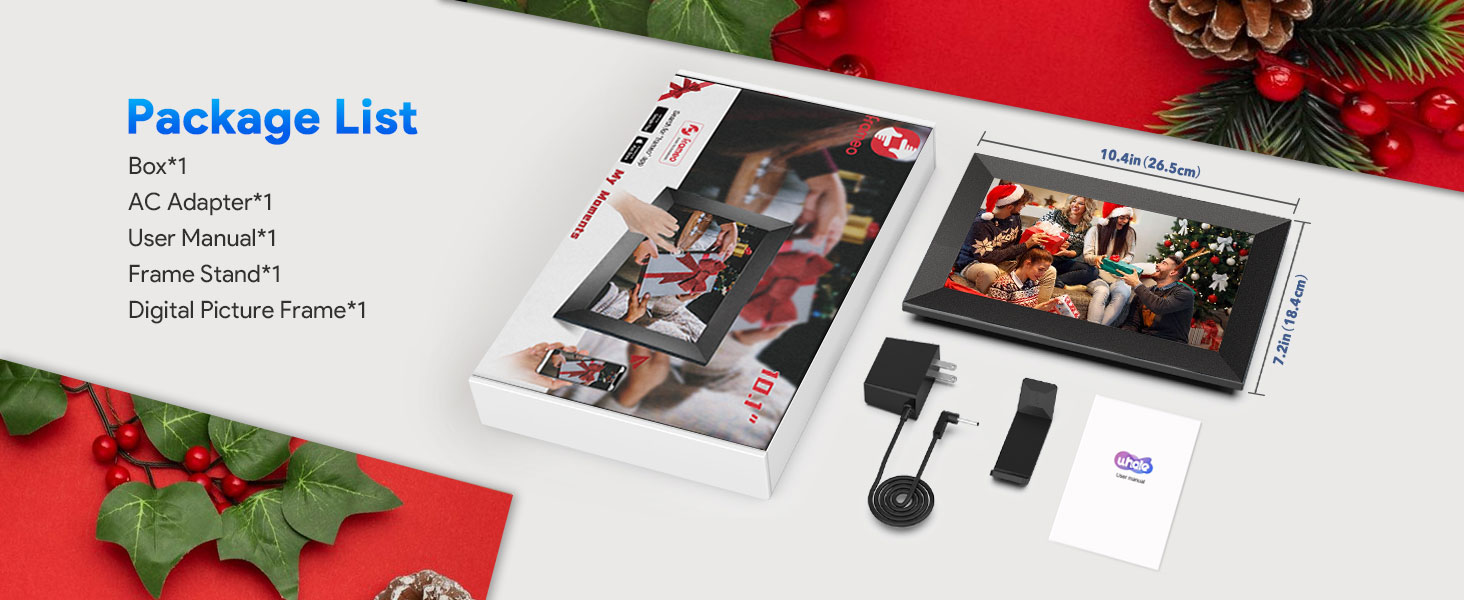
Figure 8: Adjustable Volume & Brightness
Customize your viewing experience by adjusting brightness and volume directly on the screen.
5. Sleep Mode Setting
You can set a timed auto-sleep period for the frame to conserve energy and ensure quiet sleep during specific hours. The frame will automatically turn off the display and wake up at the set times.
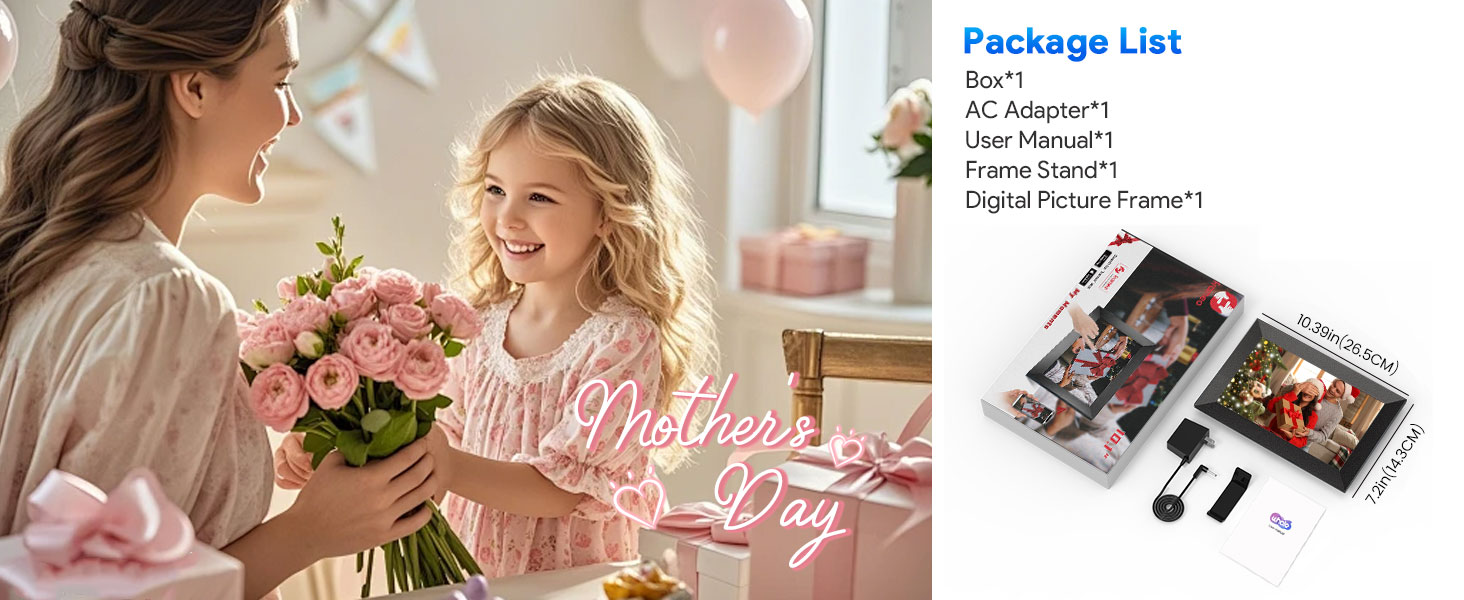
Figure 9: Timed Auto-Sleep Feature
Configure the frame to automatically enter and exit sleep mode for convenience.
6. Multi-User Sharing
The Uhale frame supports multiple users, allowing friends and family to share photos and videos to your frame from anywhere in the world via the Uhale app.
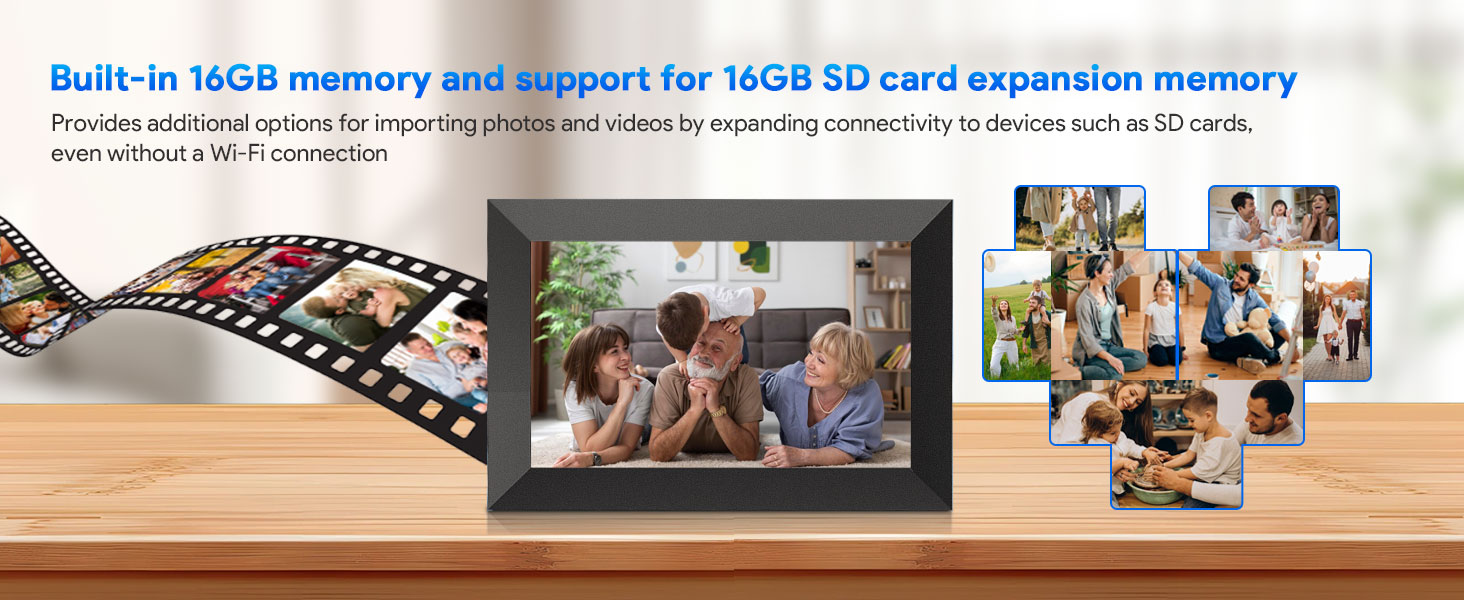
Figure 10: Supports Multiple Users
Invite others to share their cherished moments directly to your frame.
Maintenance
1. Cleaning the Frame
To clean the screen, gently wipe it with a soft, lint-free cloth. For stubborn smudges, slightly dampen the cloth with water or a screen-safe cleaning solution. Avoid using harsh chemicals or abrasive materials.
Clean the frame's body with a dry, soft cloth. Do not allow liquids to enter the frame's openings.
2. Storage Management
The frame has 16GB of built-in memory. If you encounter a "memory full" message, consider the following:
- Delete Unwanted Content: Access the frame's gallery or file manager to delete photos and videos you no longer wish to display.
- Utilize SD Card: If you have a Micro SD card inserted, you can move content from the internal memory to the SD card to free up space.
- Backup Content: Regularly back up important photos and videos to a computer or cloud storage before deleting them from the frame.
Troubleshooting
| Problem | Possible Cause | Solution |
|---|---|---|
| Frame does not power on. | Power adapter not connected or faulty outlet. | Ensure the AC adapter is securely connected to the frame and a working power outlet. Try a different outlet. |
| "Network connection failed" message. | Incorrect Wi-Fi password, weak signal, or router issue. | Verify Wi-Fi password. Move the frame closer to the router. Restart your Wi-Fi router. Reconnect to the Wi-Fi network in the frame's settings. |
| "Memory full" message. | Internal storage is full. | Delete unwanted photos/videos. Transfer content to an SD card. |
| Cannot upload photos via Uhale app/web. | No internet connection, incorrect frame code, or app/web issue. | Check frame's Wi-Fi connection. Verify the frame code. Ensure the app/web interface is updated or try restarting the app/browser. |
| SD card not recognized. | SD card not inserted correctly, incompatible format, or faulty card. | Reinsert the SD card. Ensure it is formatted to FAT32 or exFAT. Try a different SD card. |
Factory Reset
If you experience persistent issues, a factory reset may resolve them. Warning: A factory reset will erase all data and settings on the frame. Back up any important content before proceeding.
- Go to the frame's settings menu.
- Navigate to "System" or "About Device".
- Select "Factory Reset" or "Erase all data".
- Confirm your choice. The frame will restart and return to its initial setup state.
Specifications
| Feature | Detail |
|---|---|
| Screen Size | 10.1 Inches |
| Display Type | IPS HD Touch Screen |
| Resolution | 1280x800 HD |
| Internal Memory | 16GB |
| External Storage | Supports Micro SD card (up to 32GB) |
| Connectivity | Wi-Fi |
| App Compatibility | Uhale App (iOS & Android) |
| Auto-Rotation | Yes |
| Product Dimensions | 10.85 x 7.5 x 0.99 inches |
| Item Weight | 1 pound |
| Manufacturer | Xixi Vision |
Warranty and Support
For warranty information and technical support, please refer to the contact details provided on the product packaging or the official Xixi Vision website. Keep your purchase receipt as proof of purchase for warranty claims.
For the latest updates, FAQs, and additional support resources, please visit the official Uhale product support page or contact customer service directly.
Ask a question about this manual
Ask about setup, troubleshooting, compatibility, parts, safety, or missing instructions. Manuals+ will review the question and use this page’s manual context to help answer it.