1. Introduction
This manual provides essential information for the installation and care of your XvuaTeIw Inner LCD Display Screen with Backlight repair part. This component is designed to replace a damaged or non-functional internal LCD screen in compatible Sony digital cameras, restoring full display functionality. Please read these instructions carefully before attempting any repair.
2. Product Overview
The XvuaTeIw Inner LCD Display Screen is a direct replacement part for the internal display unit of specified Sony digital cameras. It includes the LCD panel and its integrated backlight, crucial for image visibility. This part is intended for professional installation or by individuals with advanced technical repair skills.
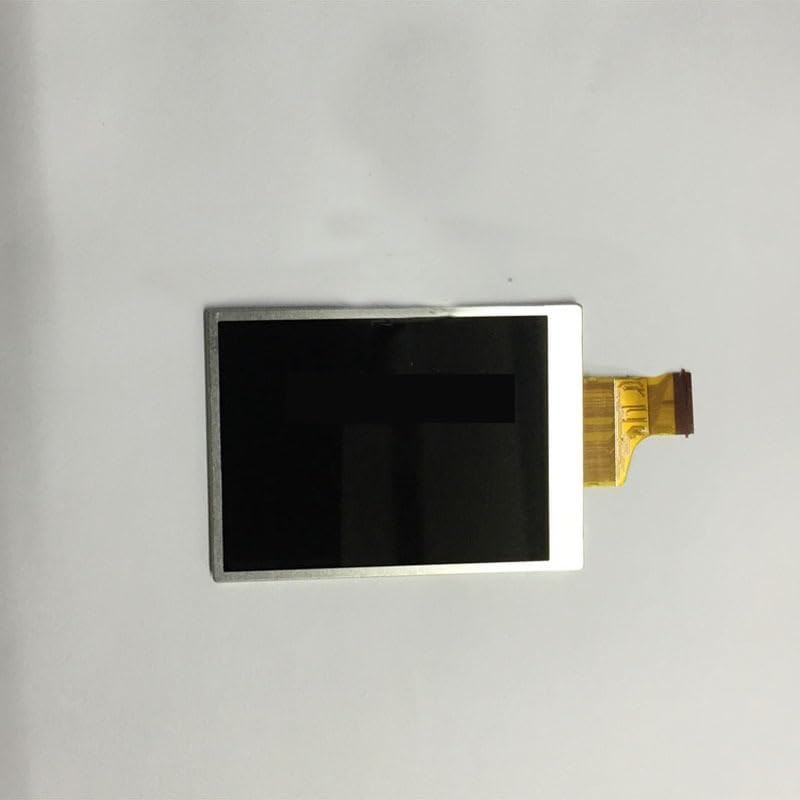
Figure 2.1: XvuaTeIw Inner LCD Display Screen with Backlight. This image shows the front view of the replacement LCD screen, highlighting its compact design and connector ribbon. The screen is designed to fit precisely into the camera's internal housing.
3. Compatibility
This LCD display screen is compatible with the following Sony digital camera models:
- Sony DSC-H100
- Sony H100
- Sony H200
- Sony H300
- Sony H400
Ensure your camera model matches one of the listed compatible models before proceeding with installation.
4. Setup and Installation
Important: Replacing an internal LCD screen requires specialized tools and technical expertise. Incorrect installation can cause further damage to your camera. If you are not confident in your ability to perform this repair, it is highly recommended to seek assistance from a qualified camera repair technician.
4.1 Required Tools (Not Included)
- Precision screwdriver set (Phillips, Torx)
- Plastic prying tools (spudgers)
- Anti-static wrist strap
- Tweezers
- Clean, lint-free cloth
- Magnifying glass (optional, for small components)
4.2 General Installation Steps (Consult a Service Manual for Your Specific Camera Model)
- Power Off and Remove Battery: Ensure the camera is completely powered off and remove the battery and any memory cards.
- Disassembly: Carefully disassemble the camera casing to access the internal LCD screen. This typically involves removing screws and gently prying open plastic panels. Document screw locations and cable connections.
- Disconnect Old LCD: Locate the ribbon cable connecting the old LCD screen to the camera's main board. Gently disconnect the ribbon cable, often by flipping a small latch.
- Remove Old LCD: Carefully remove the old LCD screen from its housing.
- Install New LCD: Position the new XvuaTeIw LCD screen into the camera's housing.
- Connect New LCD: Reconnect the ribbon cable of the new LCD screen to the main board, ensuring it is seated correctly and the latch (if present) is secured.
- Reassembly: Carefully reassemble the camera, ensuring all components are correctly seated and all screws are returned to their original positions. Do not force any parts.
Caution: Static electricity can damage electronic components. Always use an anti-static wrist strap during the repair process. Handle the LCD screen by its edges to avoid touching the display surface or flex cables.
5. Post-Installation Testing
After reassembling the camera, perform the following tests:
- Power On: Insert the battery and power on the camera. Verify that the new LCD screen displays images correctly.
- Image Display: Take a few test photos and review them on the LCD to check for dead pixels, discoloration, or other display anomalies.
- Menu Navigation: Navigate through the camera's menu system to ensure all text and graphics are clear and legible.
- Backlight Functionality: Confirm that the backlight is working properly and provides adequate illumination.
If any issues are observed, power off the camera, remove the battery, and recheck all connections, especially the LCD ribbon cable.
6. Maintenance
Once installed, the LCD screen requires minimal maintenance:
- Cleaning: Use a soft, lint-free microfiber cloth specifically designed for electronics to gently wipe the screen surface. Do not use harsh chemicals or abrasive materials.
- Protection: Avoid direct impact or excessive pressure on the screen. Consider using a screen protector if the camera's design allows for it.
- Storage: Store the camera in a protective case when not in use to prevent dust and scratches.
7. Troubleshooting
If you encounter issues after installation, consider the following:
- No Display/Blank Screen:
- Ensure the LCD ribbon cable is fully and correctly seated in its connector.
- Check for any visible damage to the ribbon cable or connector.
- Verify the battery is charged and properly inserted.
- Flickering/Intermittent Display:
- Recheck the ribbon cable connection for looseness.
- Ensure no other internal cables are pinched or damaged during reassembly.
- Discoloration/Dead Pixels:
- If present immediately after installation, this may indicate a defective screen. Contact your vendor for support.
For persistent issues, it is advisable to consult a professional camera repair service.
8. Specifications
| Product Type | Inner LCD Display Screen with Backlight |
| Brand | XvuaTeIw |
| Compatibility | Sony DSC-H100, H100, H200, H300, H400 Digital Cameras |
| Item Weight | 1.76 ounces (approx. 50 grams) |
| Package Dimensions | 1.18 x 0.79 x 0.39 inches (approx. 3 x 2 x 1 cm) |
| ASIN | B0DKNF7YRY |
9. Warranty and Support
For warranty information or technical support regarding your XvuaTeIw Inner LCD Display Screen, please refer to the seller or manufacturer's official channels. Keep your purchase receipt as proof of purchase.
For camera-specific repair guides or service manuals, please consult Sony's official support resources or reputable third-party repair communities.