1. Introduction
Thank you for choosing the Waver WP-140 Digital Piano. This instrument is designed to provide a rich musical experience for both beginners and experienced musicians. Featuring 88 sensitive, graded hammer-action keys, a wide range of sounds, automatic rhythms, and versatile connectivity options, the WP-140 allows for diverse musical exploration and skill development. Please read this manual thoroughly to understand the piano's functions and ensure proper use and maintenance.
2. Safety Information
- Power Supply: Use only the provided USB-C power adapter. Ensure the voltage matches the requirements specified on the adapter.
- Water and Moisture: Do not expose the piano to water or excessive moisture. Avoid placing liquids near the instrument.
- Heat Sources: Keep the piano away from direct sunlight, radiators, or other heat sources.
- Ventilation: Ensure adequate ventilation around the instrument to prevent overheating.
- Cleaning: Disconnect the power before cleaning. Use a soft, dry cloth. Do not use liquid cleaners or aerosols.
- Handling: Handle the piano with care. Avoid dropping or subjecting it to strong impacts.
- Servicing: Do not attempt to repair the instrument yourself. Refer all servicing to qualified personnel.
3. Package Contents
Verify that all the following items are included in your package:
- 1 x Waver WP-140 Digital Piano
- 1 x Note Auxiliary Sticker
- 1 x USB-C Power Adapter
- 1 x User Manual (this document)
4. Product Overview
The Waver WP-140 is an 88-key digital piano crafted from wood, offering a realistic playing experience with its sensitive, graded hammer-action keys. It features a comprehensive sound library, automatic rhythms, and various connectivity options for enhanced musical versatility.
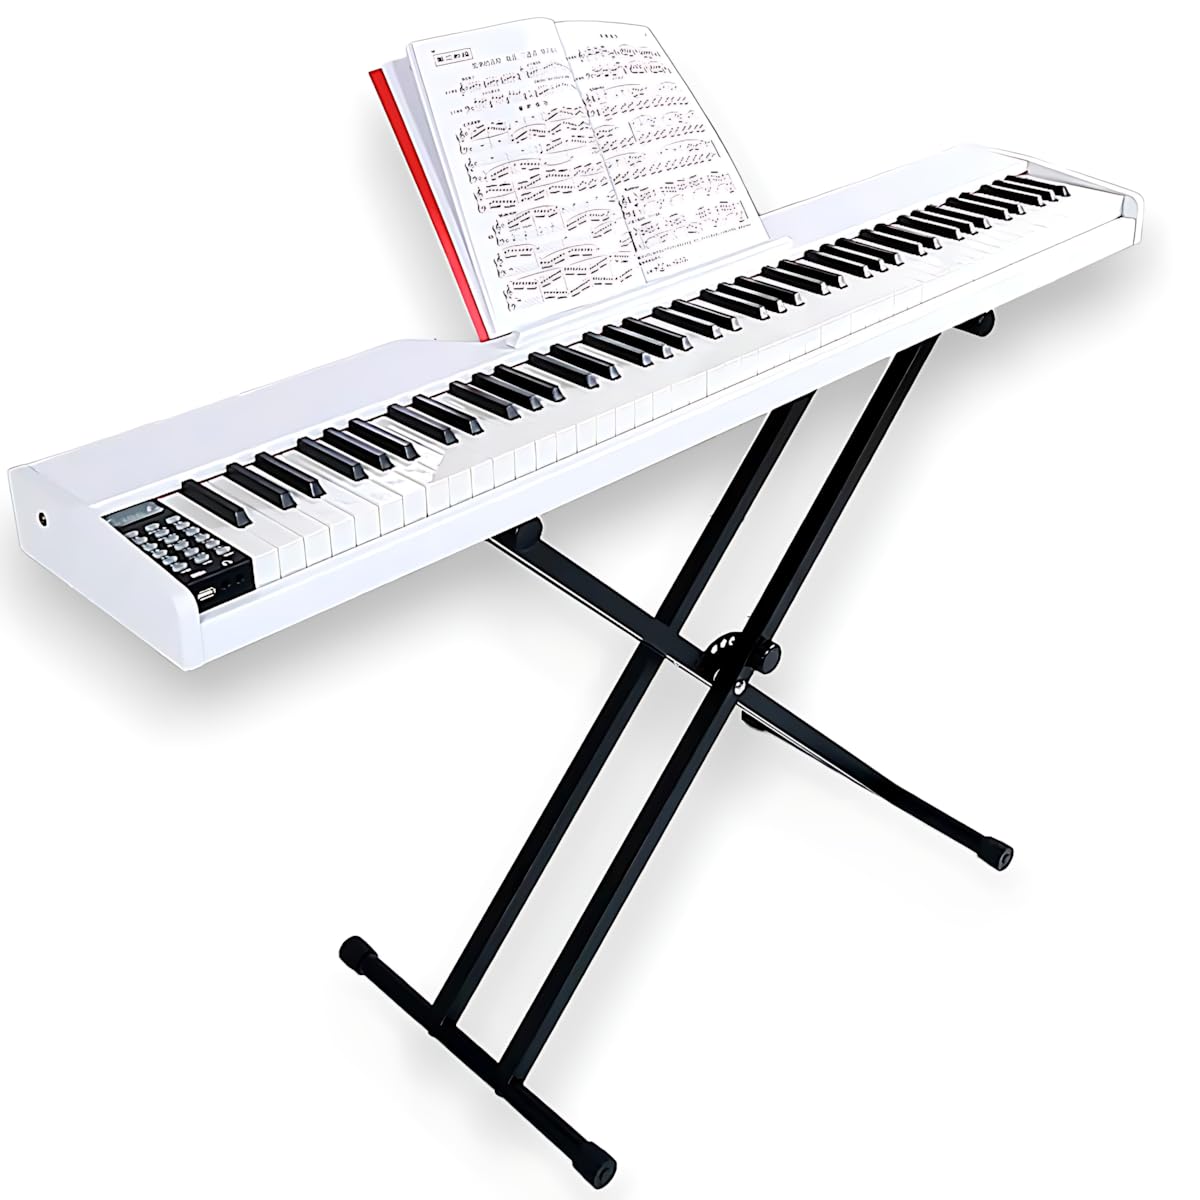
Figure 4.1: Waver WP-140 Digital Piano (stand not included).
4.1 Key Features
- 88 Sensitive Keys: Graded hammer-action keys provide an authentic acoustic piano feel.
- Extensive Sound Library: Explore a wide range of high-quality sounds including pianos, organs, strings, and percussion.
- Automatic Rhythms: Play along with various pre-defined rhythms covering multiple musical genres.
- Bluetooth Connectivity: Wirelessly connect to smartphones, tablets, or computers for audio playback or learning applications.
- USB-C Power Input: Modern and convenient power connection.
- Multiple Connections: Includes USB, MIDI, Pedal, Sustain Pedal, Microphone, and two Headphone outputs.
- Built-in Speaker: Integrated speakers for immediate sound output.

Figure 4.2: Overview of available rhythms, tones, and demo songs.
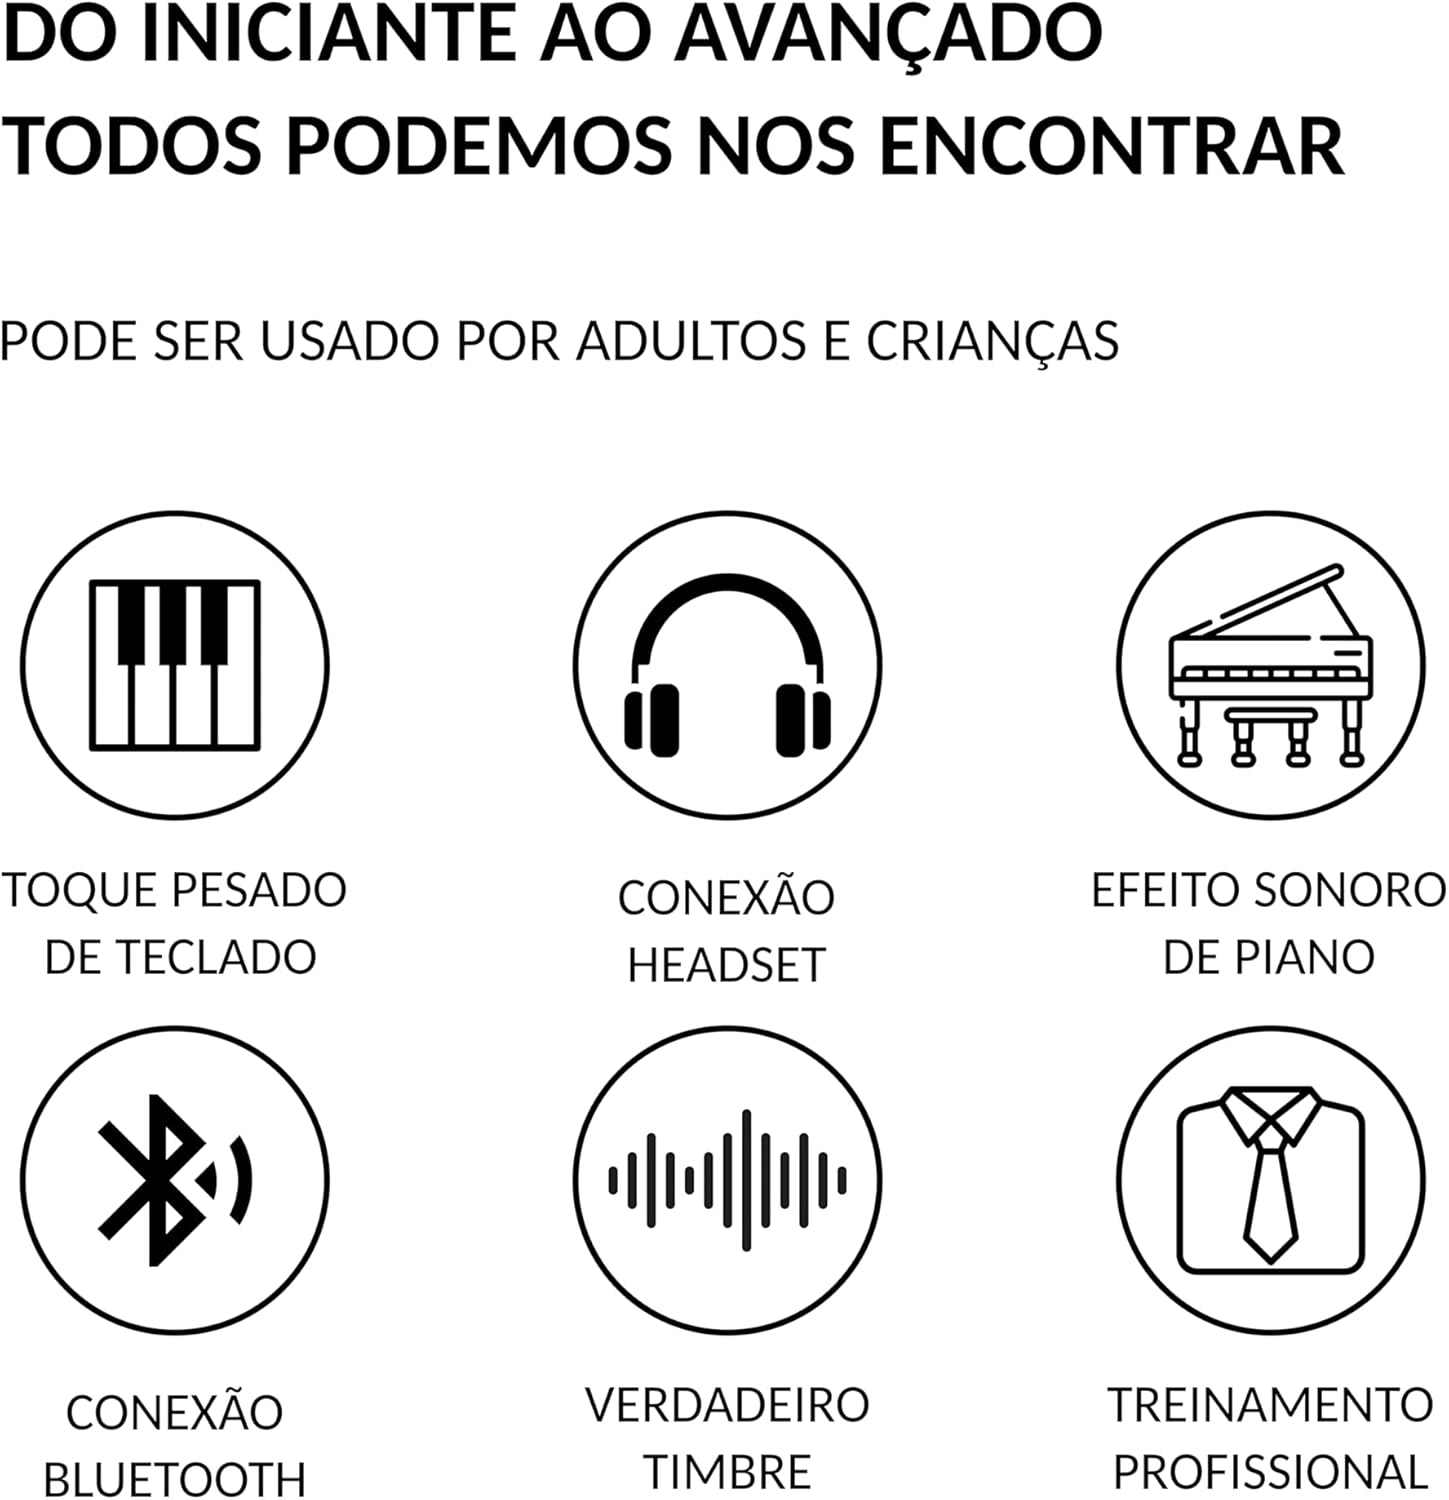
Figure 4.3: Additional key features of the WP-140 Digital Piano.
4.2 Control Panel
The control panel is located on the top left of the piano, providing access to all primary functions. It includes buttons for power, volume, tone selection, rhythm control, recording, and more.

Figure 4.4: Main control panel layout.
4.3 Connections
The rear panel of the piano features various ports for external devices, including power, pedals, MIDI, USB, microphone, and headphones.

Figure 4.5: Rear panel connections.
5. Setup
5.1 Unpacking
- Carefully remove the piano and all accessories from the packaging.
- Place the piano on a stable, flat surface. Ensure there is enough space for comfortable playing.
- Retain the packaging for future transport or storage.
5.2 Power Connection
- Connect the provided USB-C power adapter to the 'ENERGY' (USB-C) port on the rear panel of the piano.
- Plug the adapter into a standard electrical outlet.
5.3 Connecting Accessories
- Pedals: Connect a sustain pedal to the 'PEDAL SUSTAIN' port and an expression pedal (if applicable) to the 'PEDAL' port.
- Headphones: For private practice, connect headphones to either of the two headphone jacks on the rear panel.
- Microphone: Connect a microphone to the 'MICROPHONE' input for vocal accompaniment.
- USB/MIDI: Use the USB or MIDI ports to connect to a computer or other MIDI devices for recording or advanced control.
6. Operating Instructions
6.1 Power On/Off
Press the POWER button on the control panel to turn the piano on or off. The digital display will illuminate when the piano is on.
6.2 Adjusting Volume
Use the VOLUME +/- buttons to increase or decrease the overall sound output.
6.3 Selecting Tones
- Press the TONE button. The display will show the current tone number.
- Use the CHOOSE +/- buttons to scroll through the available tones.
- Press TONE again or wait a few seconds for the selection to be confirmed.
6.4 Using Rhythms
- Press the RHYTHM button.
- Use the CHOOSE +/- buttons to select a rhythm.
- Press START/STOP to begin or end the rhythm playback.
- Use FILL-IN/SYNC for rhythm variations or synchronization.
6.5 Demo Songs
Press the DEMO button to play through the built-in demonstration songs. Press it again to stop.
6.6 Recording and Playback
- Press the RECORD button to start recording your performance.
- Play your desired piece.
- Press RECORD again to stop recording.
- Press the PLAY button to listen to your recorded performance.
6.7 Metronome
Press the METRONOME button to activate the metronome. Press it again to turn it off.
6.8 Bluetooth Connectivity
- Press the BLUETOOTH/MP3 MODE button to activate Bluetooth pairing mode.
- On your external device (smartphone, tablet), search for available Bluetooth devices and select "Waver WP-140".
- Once paired, you can stream audio from your device through the piano's speakers or use musical learning applications.
7. Maintenance
7.1 Cleaning
- Always disconnect the power adapter before cleaning.
- Use a soft, dry, lint-free cloth to wipe the surface of the piano.
- For stubborn dirt, slightly dampen the cloth with water, then wipe dry immediately.
- Do not use abrasive cleaners, waxes, or solvents, as these can damage the finish.
7.2 Storage
- When not in use for extended periods, store the piano in a cool, dry place, away from direct sunlight and extreme temperatures.
- Cover the piano with a dust cover to protect it from dust and dirt.
8. Troubleshooting
| Problem | Possible Cause | Solution |
|---|---|---|
| No power | Power adapter not connected or faulty outlet. | Ensure the power adapter is securely connected to the piano and a working electrical outlet. |
| No sound | Volume too low; headphones connected; external speakers not connected or off. | Increase volume. Disconnect headphones. Check external speaker connections and power. |
| Keys not responding | Instrument may be in a specific mode (e.g., demo mode). | Restart the piano. Ensure no specific mode is active. |
| Bluetooth connection issues | Device too far; piano not in pairing mode; interference. | Ensure devices are close. Activate Bluetooth pairing mode on piano. Restart both devices. |
| Difficulty selecting specific tones | Scrolling through many tones with CHOOSE +/- buttons can be time-consuming. | While there is no rotary knob, familiarize yourself with frequently used tone numbers for quicker selection using the CHOOSE +/- buttons. |
9. Specifications
| Feature | Detail |
|---|---|
| Model Number | WP-140 |
| Brand | Waver |
| Number of Keys | 88 |
| Key Action Type | Graded Hammer Action |
| Polyphony | 64 |
| Material Type | Wood |
| Color | White |
| Product Dimensions (D x W x H) | 35 cm x 140 cm x 13 cm |
| Product Weight | 9.3 Kilograms |
| Finish Type | Painted |
| Connectivity Technology | USB, Bluetooth |
| Connector Type | USB Type A, USB Type C, MIDI, Pedal, Microphone, Headphone (x2) |
| Power Source | Wired Electric (USB-C) |
| Special Features | Built-in speaker, Sound boost |
10. Warranty and Support
10.1 Warranty Information
The Waver WP-140 Digital Piano comes with a 6-month warranty covering manufacturing defects from the date of purchase. This warranty does not cover damage resulting from misuse, accidents, unauthorized modifications, or normal wear and tear. Please retain your proof of purchase for warranty claims.
10.2 Customer Support
For technical assistance, warranty claims, or any questions regarding your Waver WP-140 Digital Piano, please contact Waver customer support through the retailer where you purchased the product or visit the official Waver website for contact information.