
1. Introduction
This manual provides detailed instructions for the installation, operation, and maintenance of your DWMM Wireless Apple CarPlay Single DIN Car Radio, Model 6180W. Please read this manual thoroughly before using the product to ensure proper function and safety. Keep this manual for future reference.
The DWMM 6180W is a versatile car stereo featuring a 5.9-inch IPS touchscreen, wireless Apple CarPlay and Android Auto, Bluetooth 5.2, FM radio, and support for a backup camera. It is designed to enhance your in-car entertainment and connectivity experience.
2. Safety Information
- Professional Installation Recommended: Due to the complexity of car electrical systems, professional installation is highly recommended to prevent damage to the unit or your vehicle.
- Power Supply: Ensure the unit is connected to a 12V DC power supply with negative grounding.
- Wiring: Incorrect wiring can cause damage. Refer to the wiring diagram carefully.
- Driving Safety: Do not operate the unit in a way that distracts you from driving. Always prioritize road safety.
- Temperature: Avoid exposing the unit to extreme temperatures or direct sunlight for prolonged periods.
- Moisture: Keep the unit away from water and excessive moisture.
3. What's in the Box
Verify that all components are present before beginning installation:
- Single DIN Main unit
- External microphone
- Remote control
- Steering wheel controller
- Power cable and audio cable
- Reversing camera
- Installation and user manual (this document)

Image: The DWMM 6180W car radio unit displayed with its included accessories: a backup camera, external microphone, steering wheel remote, and cables.
4. Setup and Installation
4.1 Product Dimensions and Compatibility
Before installation, confirm that the dimensions of your vehicle's dashboard opening are compatible with the unit. The standard installation size for this single DIN car stereo is 188mm (W) x 58mm (H).
- Product Dimensions: 178mm (W) x 100mm (H) (7.01 inches x 3.94 inches)
- With Frame: 187mm (W) x 115mm (H) (7.36 inches x 4.53 inches)
Important Notice:
If the product does not fit your dashboard, it is recommended to purchase a compatible mounting frame. You can search for an appropriate frame using your vehicle's make, model, and year (e.g., "Brand + Model + Year Dashboard"). This ensures a proper fit and installation experience.

Image: Visual guide demonstrating the car radio's dimensions and how it appears before and after installation in a vehicle dashboard.
4.2 Wiring Diagram
Carefully follow the wiring diagram below for correct connections. Incorrect wiring can damage the unit or vehicle electrical system.

Image: Detailed diagram showing the rear interface connections and the ISO wiring harness for power, speakers, and other functions.
ISO Wiring Harness Diagram Key:
- Red: ACC (Ignition Switch +12V)
- Black: GND (Ground wire B-)
- Blue: ANT (Radio Antenna)
- Orange: ILLUMINATION (Illuminate)
- Brown: KEY1 (Steering wheel control)
- Yellow: BATTERY (Power Supply +12V)
- Pink: REVERSE (Reverse Camera)
- Orange+Black: KEY2 (Steering wheel control)
Speaker Connections:
- White / White+Black: Front Left Speaker
- Gray / Gray+Black: Front Right Speaker
- Green / Green+Black: Rear Left Speaker
- Purple / Purple+Black: Rear Right Speaker
Note: In some cases, additional adapter connectors may be required for proper installation. Consult a professional if unsure.
4.3 Backup Camera Connection
Connect the included backup camera to the unit for enhanced parking visibility.
- Connect the camera's video output to the "CAMIN" (Reverse Video Input) RCA port on the unit.
- Connect the camera's power wire (red) to the vehicle's reverse light power source.
- Connect the camera's ground wire (black) to a suitable vehicle ground point.
- Connect the "REVERSE" wire (pink) from the unit's wiring harness to the vehicle's reverse light signal wire. This tells the unit to switch to the camera view when reverse gear is engaged.
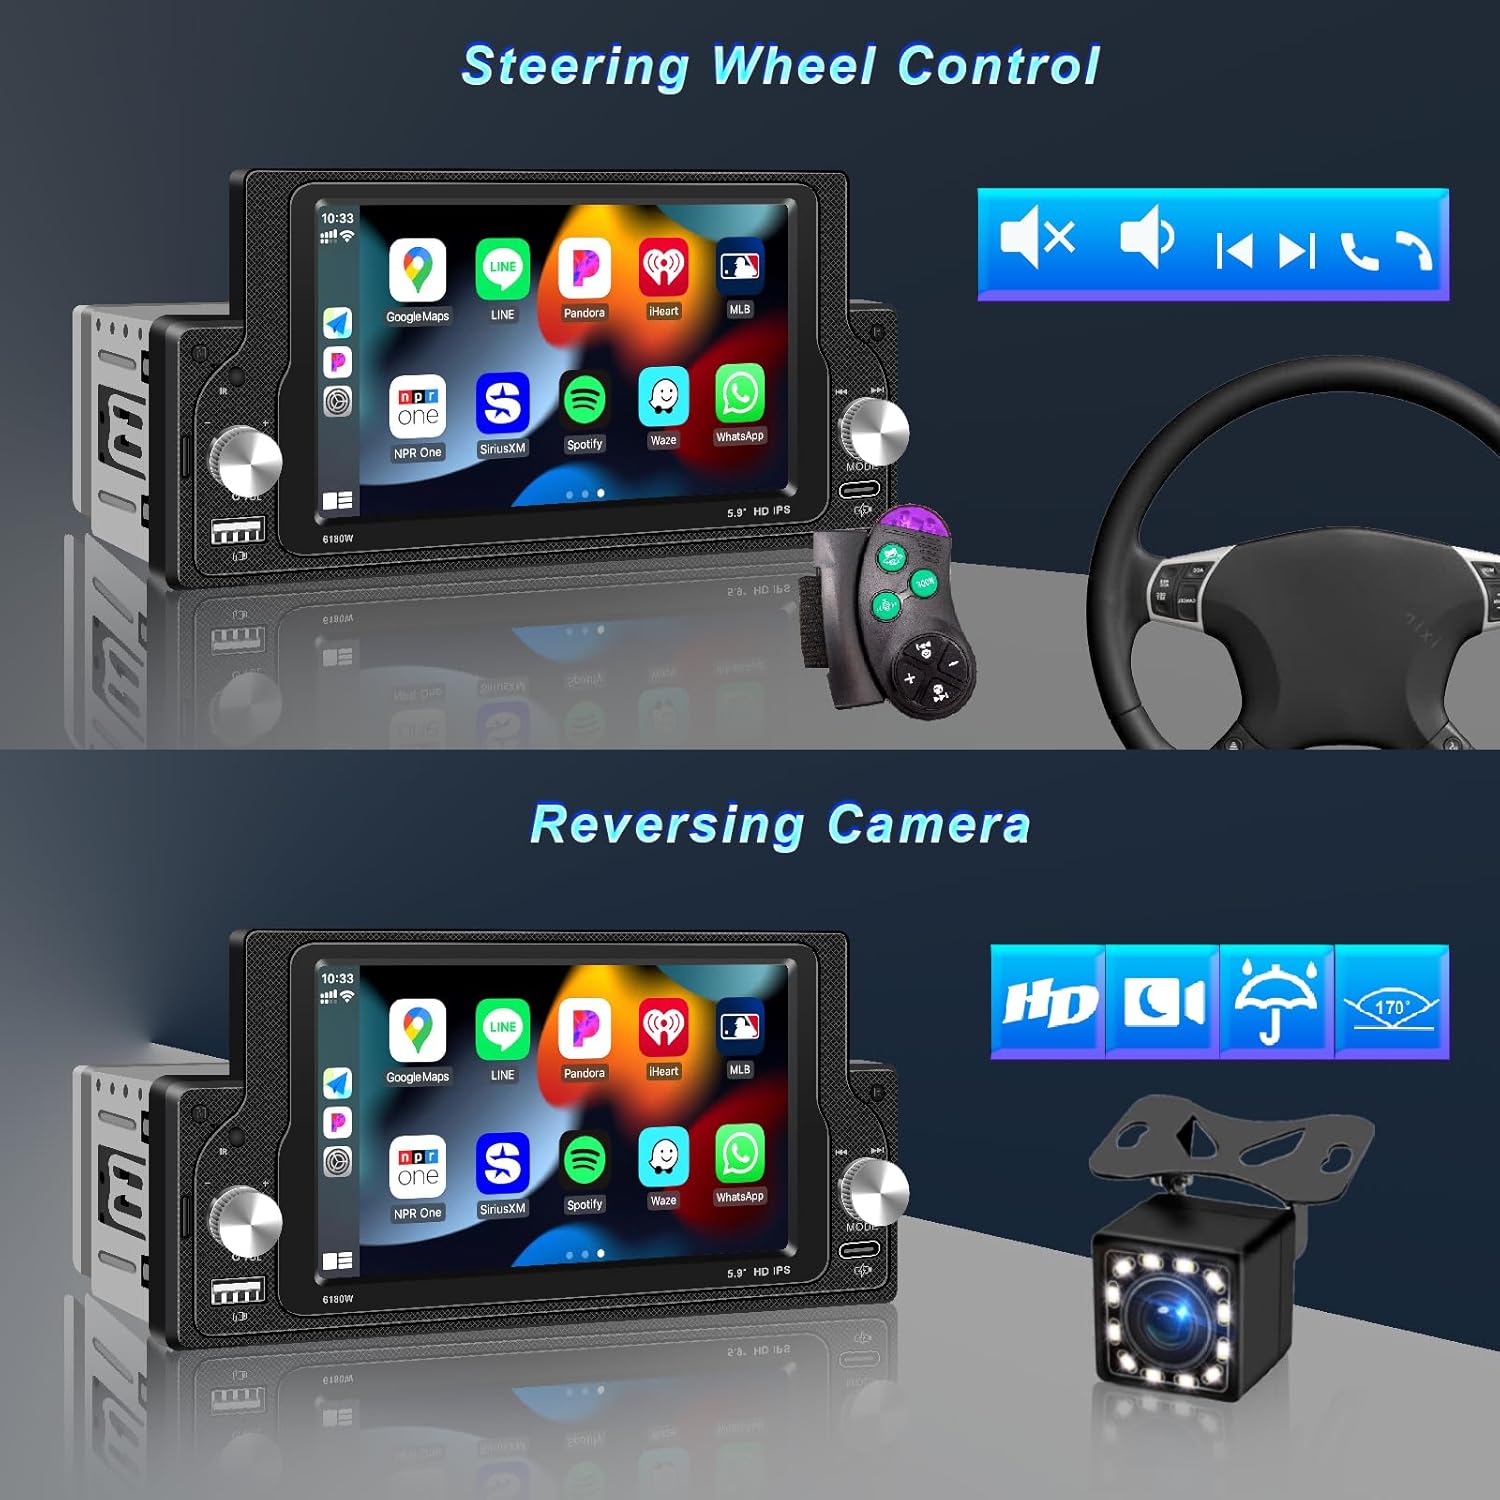
Image: Illustration of the steering wheel control remote and the included reversing camera, highlighting their functions.
5. Operating Instructions
5.1 Power On/Off
Press the power button (usually a knob on the left side) to turn the unit on or off. A short press typically mutes/unmutes, while a long press powers off.
5.2 Touchscreen Operation
The unit features a 5.9-inch HD IPS capacitive touchscreen. Navigate menus, select options, and control functions by touching the screen. Swipe gestures may be supported for certain functions.

Image: Demonstrates the visual quality of the 5.9-inch IPS HD screen, highlighting color richness and exposure correction.
5.3 Wireless Apple CarPlay & Android Auto
Connect your smartphone wirelessly to access navigation, music, calls, and messages directly on the car radio's screen.
- Ensure Bluetooth is enabled on your smartphone and the car radio.
- Pair your phone with the car radio via Bluetooth.
- Once paired, the unit should automatically prompt to start Apple CarPlay or Android Auto. Follow on-screen instructions to complete the setup.
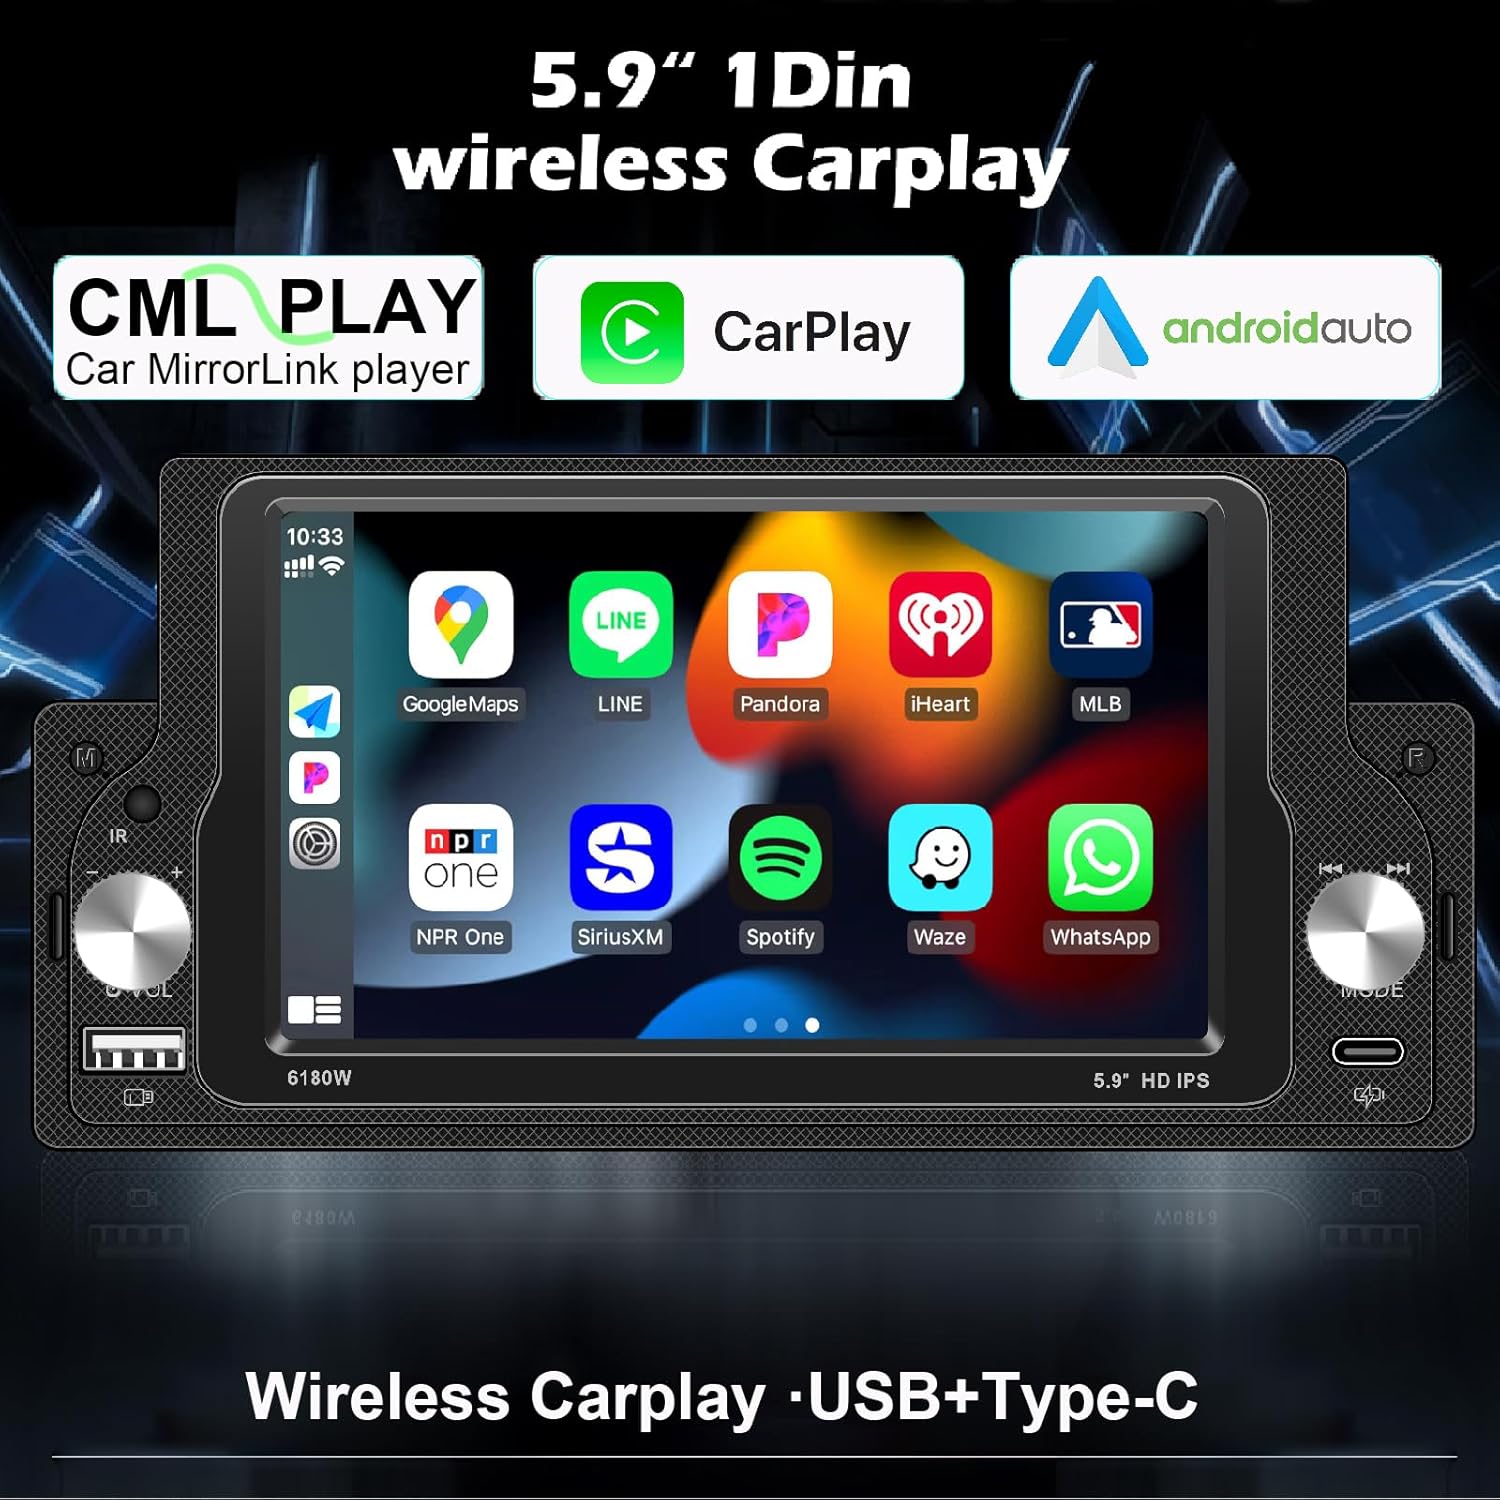
Image: The car radio display showing the user interface for wireless Apple CarPlay and Android Auto.
5.4 Bluetooth 5.2 for Calls & Music
The unit supports Bluetooth 5.2 for stable wireless connections.
- Pairing: Go to the Bluetooth menu on the unit and your phone. Search for available devices and select "DWMM 6180W" (or similar name) to pair.
- Hands-free Calling: Once paired, you can make and receive calls directly through the unit. Use the external microphone for clear voice transmission.
- Audio Streaming: Stream music from your phone to the car stereo wirelessly.
- Voice Control: Utilize voice assistants like "Hey Google" or "Hey Siri" through the unit for hands-free commands.
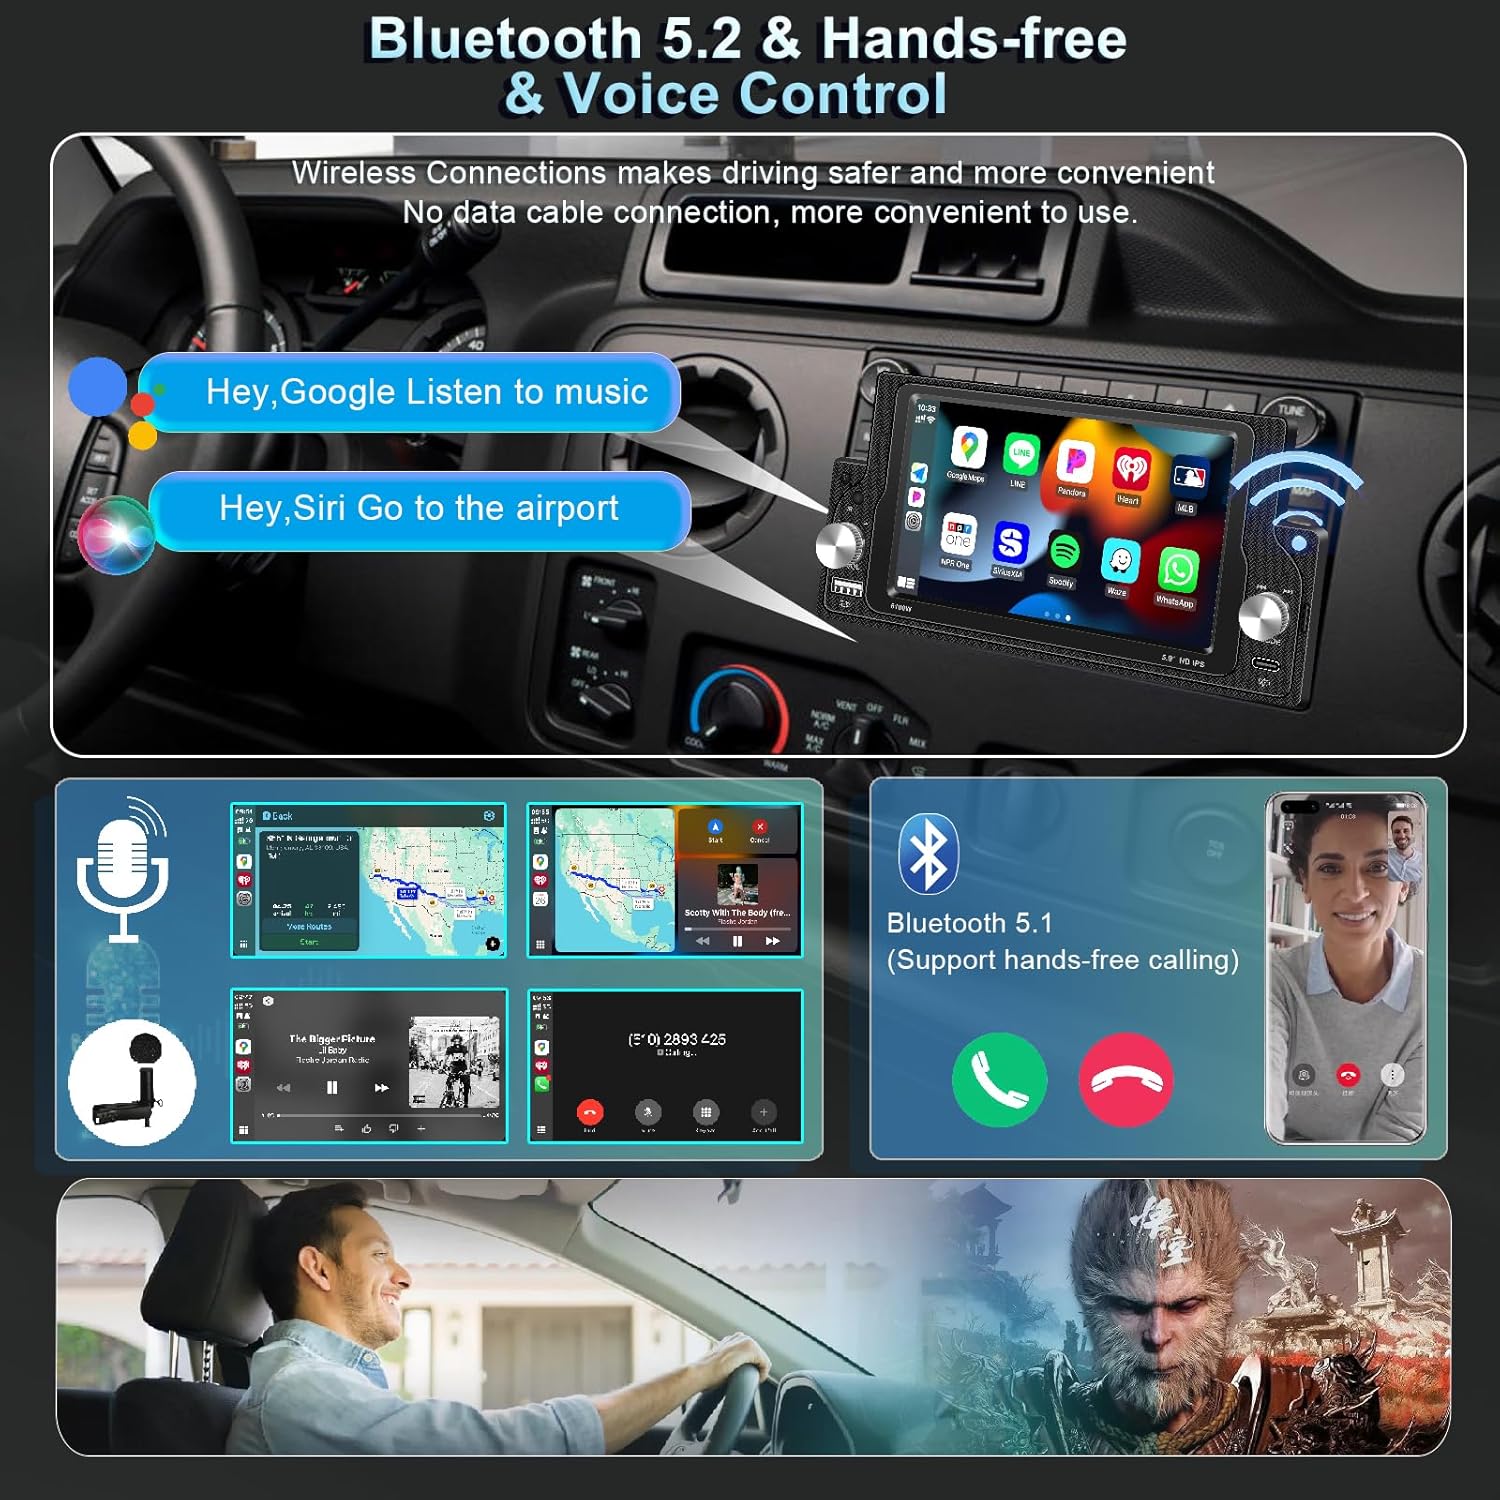
Image: Illustrates the Bluetooth 5.2 connectivity for hands-free calls, music streaming, and voice control integration with smartphone assistants.
5.5 FM Radio
Access the FM radio function to tune into your favorite stations. The unit supports frequencies from 87.5–108 MHz.
- Select the "Radio" icon from the main menu.
- Use the scan function to automatically find and save available stations, or manually tune using the on-screen controls.
5.6 DSP Audio Tuning
Customize your audio experience with the built-in Digital Signal Processor (DSP) and 10-band equalizer.
- Navigate to the "Sound Settings" or "EQ" menu.
- Adjust the 10-band equalizer to fine-tune bass, treble, and mid-range frequencies.
- Explore preset sound modes or create custom profiles.
5.7 USB & Type-C Charging and Media Playback
The unit features dual USB ports and a front-facing Type-C fast-charging port.
- Charging: Connect your devices to the USB or Type-C ports for charging (supports 5V 2A current).
- Media Playback: Insert a USB flash drive into a USB port to play audio or video files. The unit supports various video encoding formats including MPEG-1, MPEG-2, MPEG-4, H.264, H.263, VC1, RV, RMVB, DivX, Sorenson Spark, VP8, and AVS Stream.
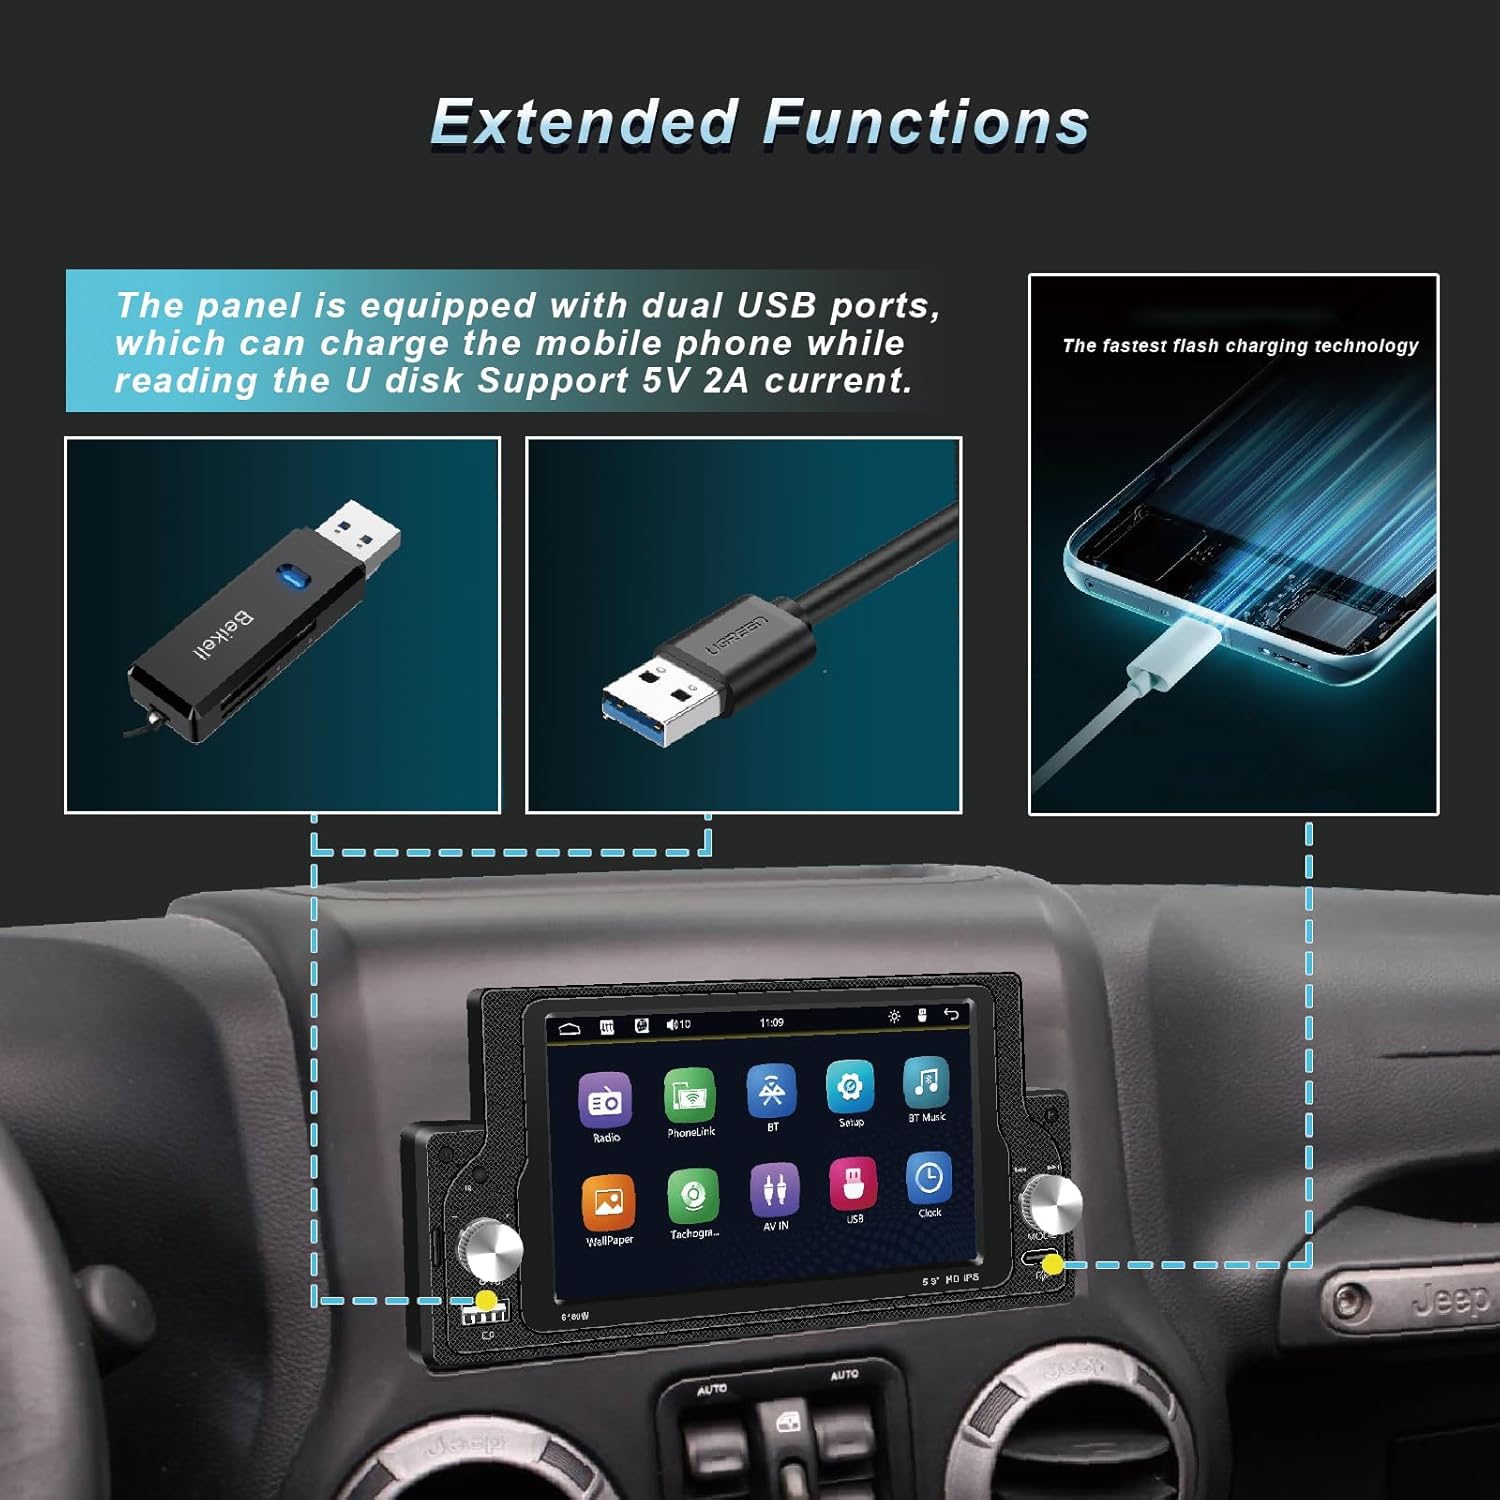
Image: Depicts the dual USB ports and front-facing Type-C port, highlighting their use for charging and media playback.
5.8 Steering Wheel Control (SWC)
If your vehicle supports steering wheel controls, you can configure them to operate the car radio.
- Ensure the KEY1 and KEY2 wires from the unit are correctly connected to your vehicle's SWC wires (refer to section 4.2).
- Access the "Steering Wheel Control" settings in the unit's menu.
- Follow the on-screen instructions to program each button on your steering wheel to the desired function (e.g., volume up/down, track skip).
5.9 Backup Camera Functionality
When the vehicle is shifted into reverse gear, the unit will automatically display the view from the connected backup camera, providing enhanced visibility for parking and maneuvering.
The included camera offers HD resolution and a wide 170-degree viewing angle.
6. Maintenance
- Cleaning the Screen: Use a soft, lint-free cloth to gently wipe the touchscreen. For stubborn smudges, slightly dampen the cloth with water or a screen cleaner designed for electronics. Avoid harsh chemicals.
- General Cleaning: Keep the unit free from dust and debris. Use a soft brush or compressed air to clean vents and buttons.
- Firmware Updates: Periodically check the manufacturer's website for any available firmware updates to ensure optimal performance and new features.
7. Troubleshooting
| Problem | Possible Cause | Solution |
|---|---|---|
| Unit does not power on. | Incorrect power wiring; Blown fuse; Loose connection. | Check power (Yellow, Red) and ground (Black) connections. Verify vehicle fuse and unit's fuse. Ensure all connections are secure. |
| No sound from speakers. | Incorrect speaker wiring; Volume too low; Mute function active; Faulty speakers. | Check speaker wiring (refer to diagram). Increase volume. Disable mute. Test with known good speakers. |
| Wireless CarPlay/Android Auto not connecting. | Bluetooth not enabled/paired; Phone software issue; Interference. | Ensure Bluetooth is on and paired. Restart phone and unit. Try connecting via USB first to establish initial connection. Check for phone OS updates. |
| Backup camera not displaying. | Incorrect camera wiring; Reverse trigger wire not connected; Faulty camera. | Verify camera video input (CAMIN) and reverse trigger (Pink wire) connections. Ensure camera has power and ground. |
| Steering Wheel Controls not working. | Incorrect KEY wire connection; SWC not programmed. | Check KEY1/KEY2 wiring. Access SWC settings in the unit and perform programming steps. |
| Unit gets very hot. | Poor ventilation; Overloaded speakers; Internal fault. | Ensure adequate ventilation around the unit. Check speaker impedance. If problem persists, contact support. |
8. Specifications
| Model Number | 6180W |
| Screen Size | 5.9 inch IPS Touch Screen |
| Display Resolution | 1280 x 720 |
| Bluetooth Version | 5.2 |
| Power Output | 180 Watts (Max) |
| FM Radio Frequency | 87.5 - 108 MHz |
| USB Ports | Dual USB, 1x Type-C (Fast Charging) |
| Audio Output Mode | Stereo, 4-channel surround sound |
| Video Encoding Support | MPEG-1, MPEG-2, MPEG-4, H.264, H.263, VC1, RV, RMVB, DivX, Sorenson Spark, VP8, AVS Stream |
| Product Dimensions | 4.72 x 4.65 x 8.31 inches (120 x 118 x 211 mm) |
| Item Weight | 1.67 pounds (0.76 kg) |
9. Warranty and Support
For warranty information and technical support, please refer to the warranty card included with your product or visit the official DWMM website. Keep your purchase receipt as proof of purchase for any warranty claims.
If you encounter issues not covered in this manual, please contact DWMM customer service for assistance.