ORICO e3500
ORICO e3500 M.2 NVMe SSD User Manual
Model: e3500
1. Introduction
This manual provides comprehensive instructions for the installation, operation, and maintenance of your ORICO e3500 M.2 NVMe SSD. Please read this manual carefully before use to ensure optimal performance and longevity of your device.
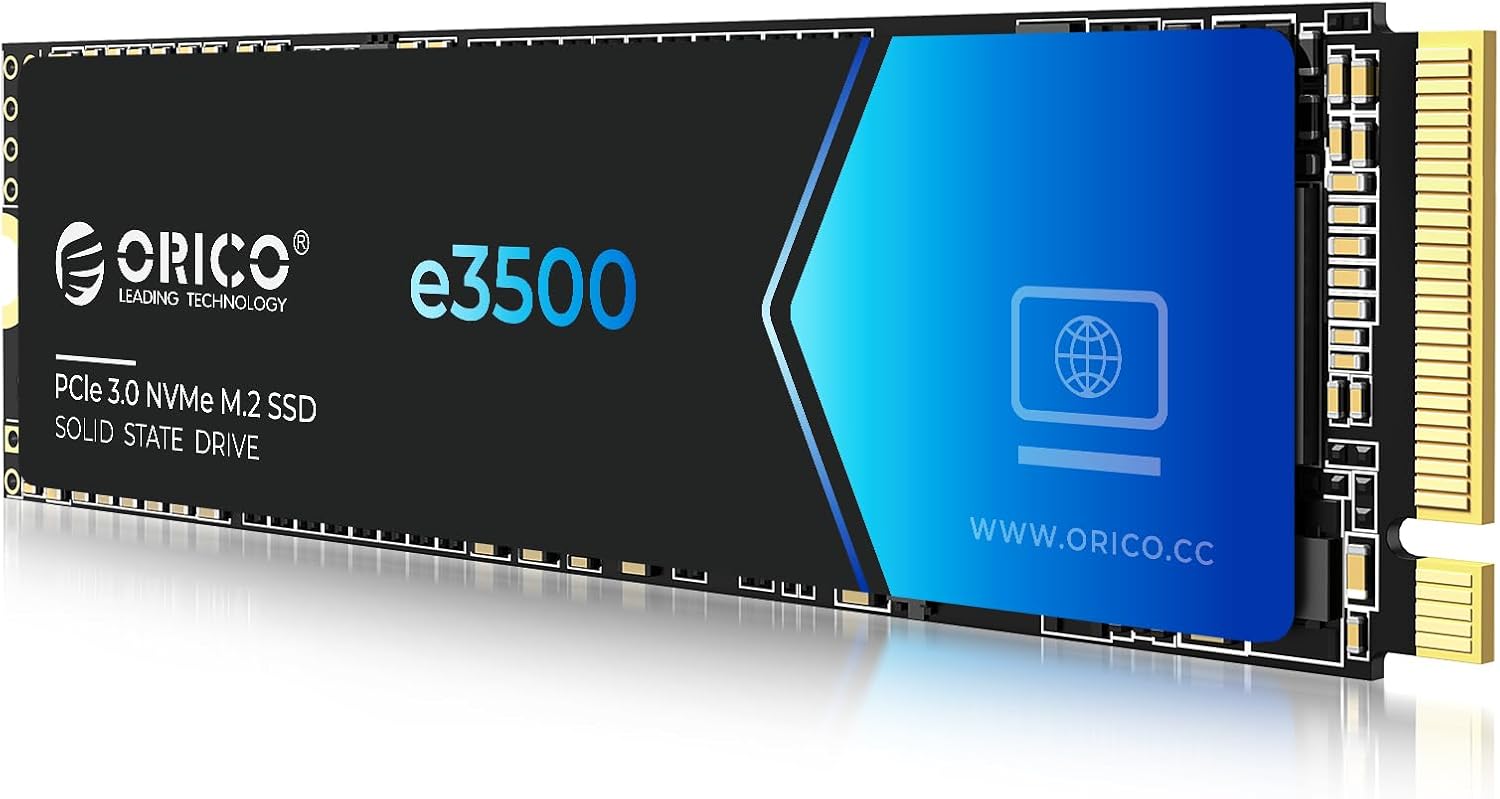
Figure 1: ORICO e3500 M.2 NVMe SSD. This image shows the physical appearance of the ORICO e3500 M.2 NVMe Solid State Drive, highlighting its compact form factor and branding.
2. Package Contents
Verify that all items are present in the package:
- ORICO e3500 M.2 NVMe SSD
- Packing Box
- Mounting Screw
- Screwdriver
- User Manual

Figure 2: Included items in the ORICO e3500 SSD package. This image visually represents the contents of the product package, including the SSD, packing box, screw, user manual, and screwdriver.
3. Specifications
| Feature | Description |
|---|---|
| Model | e3500 |
| Interface | PCIe Gen3x4 NVMe M.2 2280 |
| Capacity | 512GB (available in up to 4TB variants) |
| Read Speed (Max) | Up to 2800MB/s |
| Write Speed (Max) | Up to 1300MB/s |
| Flash Type | 3D NAND QLC Flash |
| Cooling | Graphene Heat Spreader |
| Compatibility | Desktops, Laptops, Gaming Consoles (NVMe 1.4 standard) |
| Operating Temperature | 0°C to 70°C |
| Storage Temperature | -40°C to 85°C |
| Dimensions | 22mm x 80mm (M.2 2280) |
| Weight | Approximately 1 ounce (28 grams) |
Note: Actual read and write speeds may vary depending on the capacity and host device configuration.
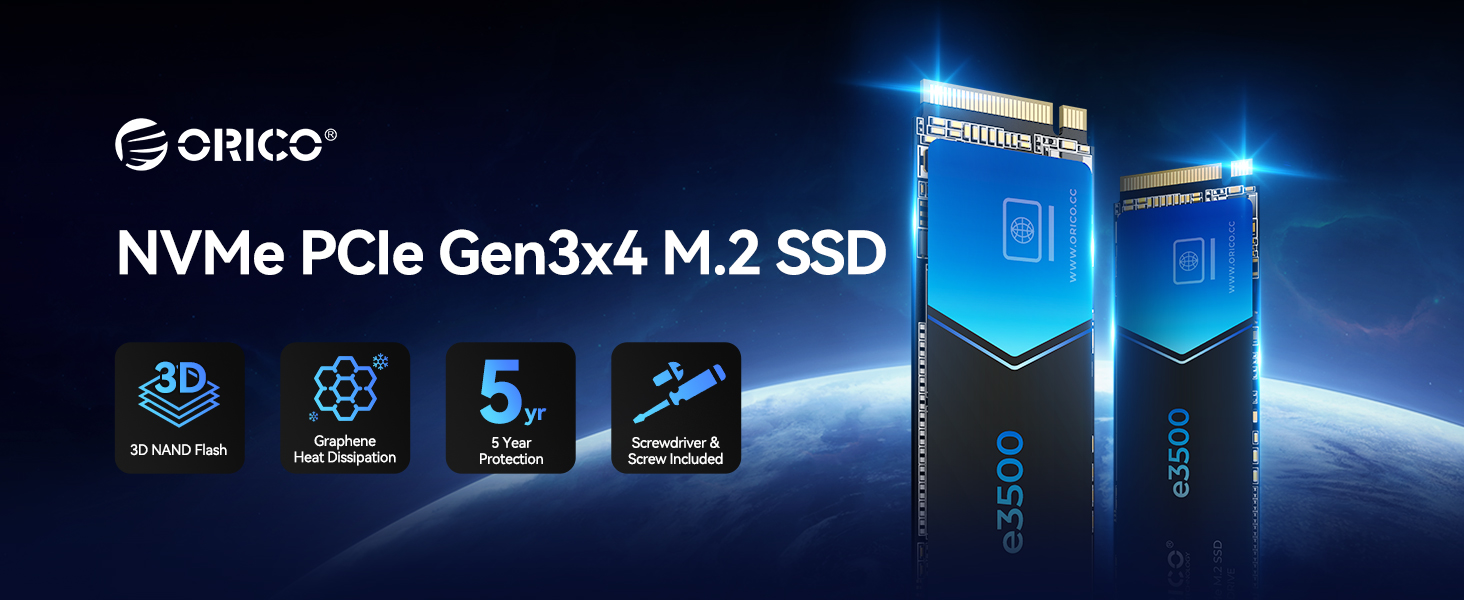
Figure 3: Detailed product parameters for the ORICO e3500 series. This table provides specific technical data including capacities, read/write speeds, and endurance ratings (TBW) for different models within the e3500 series.
4. Installation and Initial Setup
4.1 Physical Installation
- Prepare your system: Ensure your computer is powered off and unplugged. Open the computer case or laptop access panel.
- Locate the M.2 slot: Identify an available M.2 NVMe slot on your motherboard.
- Insert the SSD: Gently insert the ORICO e3500 SSD into the M.2 slot at a 30-degree angle.
- Secure the SSD: Push the SSD down until it is parallel with the motherboard and secure it with the provided mounting screw and screwdriver.
- Close the system: Reassemble your computer or laptop.

Figure 4: ORICO e3500 SSD demonstrating wide compatibility with various devices. This image illustrates the SSD's compatibility with desktops, laptops, and All-in-One (AIO) PCs, indicating its versatility for different computing environments.
4.2 Initializing and Formatting the SSD
After physical installation, the new SSD needs to be initialized and formatted before it can be used. This process creates a partition that your operating system can recognize and use for storage.
For Windows Systems:
- Right-click on "This PC" (or "My Computer") and select "Manage".
- In the Computer Management window, navigate to "Disk Management" under "Storage".
- You may be prompted to initialize the disk. Select the new SSD (usually labeled as "Disk 1" or "Disk 2" and showing as "Unallocated") and choose "GPT (GUID Partition Table)" for modern systems, then click "OK".
- Right-click on the "Unallocated" space of the new SSD and select "New Simple Volume...".
- Follow the New Simple Volume Wizard. Click "Next" through the prompts, assign a drive letter, and choose "NTFS" as the file system. You can also give the volume a label (e.g., "New Volume").
- Complete the wizard by clicking "Finish". The new volume will now appear in "This PC".
For Mac OS Systems:
- Click "Go" in the Finder menu bar, then select "Utilities".
- Open "Disk Utility".
- In Disk Utility, select the external ORICO SSD from the sidebar. It might appear as "External" or "Untitled".
- Click the "Erase" button in the toolbar.
- In the dialog box, provide a name for the drive (e.g., "ORICO SSD"). For "Format", select "ExFat" if you intend to use the drive with both Mac and Windows systems. If exclusively for Mac, you can choose "APFS". For "Scheme", select "GUID Partition Map".
- Click "Erase" to confirm. Once the process is complete, click "Done". The external disk will now appear on your desktop.
Video 1: Guide to Formatting a New SSD. This video demonstrates the step-by-step process of initializing and formatting a new SSD on both Windows and Mac operating systems, which is crucial for the system to recognize and utilize the drive.
5. Operation and Performance
5.1 Blazing-Fast Speeds
The ORICO e3500 SSD leverages the PCIe Gen3x4 interface to deliver exceptional performance. With sequential read speeds of up to 2800MB/s and write speeds of up to 1300MB/s, it significantly outperforms traditional SATA drives, offering up to 6 times faster load times and data transfers. This speed enhancement is beneficial for demanding applications such as data crunching, video editing, and high-performance gaming.

Figure 5: Visual representation of ORICO e3500 SSD's read and write speeds. This image highlights the impressive sequential read speeds of up to 2800MB/s and write speeds of up to 1300MB/s, showcasing the drive's high-speed data transfer capabilities.

Figure 6: Comparison of ORICO e3500 SSD speed versus traditional SATA drives. This graphic illustrates that the e3500 SSD offers up to 6 times faster load times compared to older SATA-based storage solutions, emphasizing its performance advantage.
5.2 Efficient Cooling
To maintain consistent performance during intensive operations, the ORICO e3500 M.2 2280 SSD incorporates a graphene material heat spreader. This advanced cooling solution covers both the controller and memory chips, effectively dissipating heat and preventing thermal throttling. This ensures the SSD maintains its high performance even during prolonged use.

Figure 7: Diagram illustrating the graphene heat spreader technology in the ORICO e3500 SSD. This image shows how the graphene coating helps in efficient heat dissipation, crucial for maintaining stable performance and extending the lifespan of the SSD.
6. Maintenance and Reliability
The ORICO e3500 SSD is engineered for durability and reliability, featuring several built-in data protection mechanisms:
- Bad Block Management: Automatically identifies and isolates defective memory blocks to prevent data loss.
- S.M.A.R.T. Monitoring: Self-Monitoring, Analysis, and Reporting Technology continuously monitors the drive's health and performance, providing early warnings of potential issues.
- ECC Error Correction: Error-Correcting Code technology detects and corrects data corruption, ensuring data integrity.
- TRIM Support: Optimizes performance by allowing the operating system to inform the SSD which data blocks are no longer in use and can be wiped.
- PLP Technology: Power Loss Protection helps protect data in transit during unexpected power outages.

Figure 8: Key reliability features of the ORICO e3500 SSD. This graphic highlights the technologies integrated into the SSD, such as TRIM, ECC, PLP, and S.M.A.R.T., which contribute to its durability and data integrity.
7. Troubleshooting
7.1 Drive Not Recognized
If your computer does not recognize the newly installed ORICO e3500 SSD, consider the following steps:
- Check Physical Connection: Ensure the SSD is correctly seated in the M.2 slot and the mounting screw is secure.
- Initialize and Format: New SSDs must be initialized and formatted before they appear in "This PC" (Windows) or on the desktop (Mac). Refer to Section 4.2 for detailed instructions.
- BIOS/UEFI Settings: Enter your computer's BIOS/UEFI settings to ensure the M.2 slot is enabled and configured correctly (e.g., NVMe mode).
- Driver Installation: While most modern operating systems have built-in NVMe drivers, ensure your system drivers are up to date. Check your motherboard manufacturer's website for the latest chipset and NVMe drivers.
- Compatibility: Verify that your motherboard or laptop supports NVMe PCIe Gen3x4 M.2 2280 SSDs.
For a visual guide on initializing and formatting, please refer to Video 1 in Section 4.2.
7.2 Performance Issues
If you experience slower than expected speeds:
- Check PCIe Lane Configuration: Ensure the M.2 slot is operating at its full PCIe Gen3x4 speed. Some motherboards may share lanes with other components, reducing available bandwidth.
- TRIM Enabled: Verify that TRIM is enabled in your operating system. TRIM helps maintain SSD performance over time.
- Firmware Update: Check the ORICO website for any available firmware updates for your e3500 SSD.
- System Load: High CPU usage or background processes can impact SSD performance.
- Thermal Throttling: While the graphene heat spreader is effective, ensure adequate airflow within your system to prevent excessive heat buildup, which can lead to performance reduction.
8. Warranty and Support
The ORICO e3500 M.2 NVMe SSD comes with a 5-year manufacturer's warranty, ensuring long-term reliability and peace of mind. For technical support, warranty claims, or further assistance, please contact ORICO customer service through their official website or the retailer where you purchased the product.
For more information and support resources, visit: www.orico.cc
Ask a question about this manual
Ask about setup, troubleshooting, compatibility, parts, safety, or missing instructions. Manuals+ will review the question and use this page’s manual context to help answer it.