1. Product Overview
The Thermaltake TH240 V2 Ultra EX ARGB Sync Snow Edition is an all-in-one (AIO) liquid CPU cooler designed for high-performance cooling of both Intel and AMD processors. This model features a 2.1-inch IPS LCD screen on the pump, allowing real-time display of system information and custom images. Its white aesthetic complements snow-themed PC builds.
Key features include:
- Equipped with a 2.1-inch IPS LCD screen for real-time system information and custom image display.
- MagForce 2.0 magnetic daisy chain design for simplified fan connectivity and improved cable management.
- 27mm thick slim radiator and 460mm extension tubes for excellent cooling efficiency and broad chassis compatibility.
- Second-generation hydraulic bearings for quiet operation, extended lifespan, and stable performance.
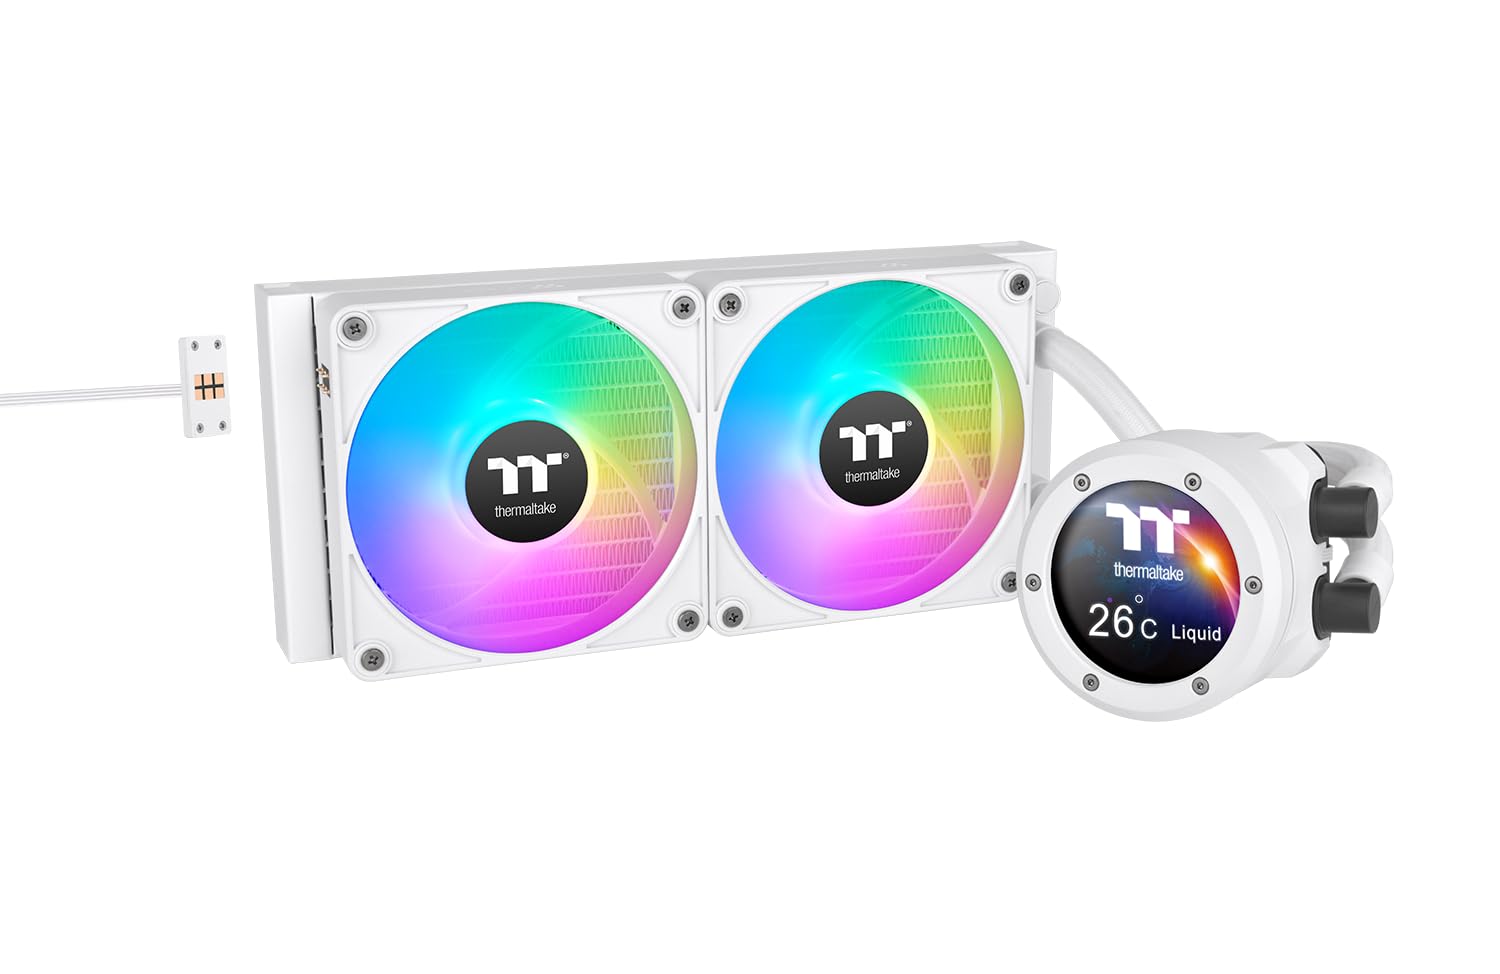
Figure 1.1: The Thermaltake TH240 V2 Ultra EX ARGB Sync Snow Edition AIO liquid cooler, showcasing its dual ARGB fans and the integrated IPS display on the pump block.
2. What's in the Box
Verify that all components are present before beginning installation:
- Thermaltake TH240 V2 Ultra EX ARGB Sync Snow Edition AIO Cooler (Radiator, Pump/CPU Block, and two 120mm CT120EX ARGB Fans pre-attached)
- Mounting hardware for Intel (LGA 2066/2011-3/2011/1851/1700/1200/1156/1155/1151/1150) sockets
- Mounting hardware for AMD (AM5/AM4/AM3+/AM3/AM2+/AM2/FM2/FM1) sockets
- Fan screws and radiator mounting screws
- Thermal paste applicator
- USB cable for IPS display and software control
- Instruction manual

Figure 2.1: All included accessories and mounting hardware for the cooler.
3. Setup and Installation
Before installation, ensure your system is powered off and unplugged. Refer to your motherboard manual for specific CPU socket information.
3.1. Prepare the CPU and Motherboard
- Install your CPU onto the motherboard socket.
- For Intel sockets, install the appropriate backplate behind the motherboard. For AMD sockets, use the stock AMD backplate.
- Apply a small amount of thermal paste (pea-sized dot) to the center of the CPU's integrated heat spreader (IHS).
3.2. Install the Radiator and Fans
- Determine the optimal mounting location for the 240mm radiator in your PC case (e.g., top, front).
- Secure the radiator to the case using the provided long screws, ensuring the fans are oriented for desired airflow (intake or exhaust).
- Connect the fan cables. The MagForce 2.0 design allows for daisy-chaining the fans for simplified cable management.

Figure 3.1: Example installation of the cooler within a PC chassis.
3.3. Mount the Pump/CPU Block
- Attach the correct mounting brackets for your CPU socket (Intel or AMD) to the pump block.
- Carefully align the pump block with the mounting holes around the CPU socket.
- Secure the pump block using the provided thumb screws or nuts, tightening them in a diagonal pattern until snug. Do not overtighten.

Figure 3.2: The pump block, which houses the IPS display and makes contact with the CPU.
3.4. Connect Cables
- Connect the 4-pin PWM pump cable to the CPU_FAN or AIO_PUMP header on your motherboard.
- Connect the 3-pin ARGB cable from the pump to a compatible 5V ARGB header on your motherboard or a dedicated ARGB controller.
- Connect the USB cable from the pump to an available internal USB 2.0 header on your motherboard. This is required for the IPS display and software control.
- Connect the daisy-chained fan cables to the appropriate fan headers on your motherboard or a fan controller.
4. Operating Instructions
Once installed and powered on, the Thermaltake TH240 V2 Ultra EX ARGB Sync Snow Edition cooler will begin operating automatically.
4.1. Software Control and IPS Display
To fully utilize the IPS display and customize ARGB lighting, download and install the Thermaltake TT RGB Plus software from the official Thermaltake website.
- The software allows you to monitor CPU temperature, pump speed, and fan speed in real-time.
- Customize the content displayed on the 2.1-inch IPS screen, including system metrics, custom images, or GIFs.
- Control and synchronize the ARGB lighting effects of the fans and pump with other compatible Thermaltake components.
- Adjust fan curves and pump speed for optimal cooling performance and noise levels.
5. Maintenance
Regular maintenance ensures optimal performance and longevity of your AIO cooler.
- Dust Cleaning: Periodically clean dust from the radiator fins and fan blades using compressed air or a soft brush. Ensure fans are not spinning during cleaning.
- Cable Management: Check that all cables are securely connected and not interfering with fan blades or other components.
- Coolant Check: As a closed-loop system, the AIO cooler does not require coolant refills. However, inspect the tubes for any signs of leaks or damage.
- Software Updates: Keep the TT RGB Plus software updated to the latest version for new features, bug fixes, and compatibility improvements.

Figure 5.1: The radiator, which requires periodic dust cleaning for efficient heat dissipation.
6. Troubleshooting
If you encounter issues with your cooler, refer to the following common troubleshooting steps:
- High CPU Temperatures:
- Ensure the pump is securely mounted and making good contact with the CPU.
- Verify that the pump cable is connected to the correct motherboard header (CPU_FAN or AIO_PUMP) and receiving power.
- Check fan orientation and ensure they are spinning. Clean any dust from the radiator fins.
- Confirm thermal paste application was sufficient and even.
- Fans Not Spinning or ARGB Not Lighting Up:
- Check all fan and ARGB cable connections to the motherboard or controller.
- Ensure the 5V ARGB header on your motherboard is enabled in the BIOS/UEFI.
- Verify that the TT RGB Plus software is installed and running, and that lighting effects are configured correctly.
- IPS Display Not Working:
- Ensure the internal USB 2.0 cable from the pump is securely connected to both the pump and the motherboard header.
- Verify that the TT RGB Plus software is installed and running.
- Try restarting the software or your computer.
- Unusual Noise:
- Check for any cables or obstructions hitting the fan blades.
- Ensure fans are securely mounted and not vibrating against the case.
- A gurgling sound immediately after installation is normal as air bubbles settle. If it persists, gently tilt your PC case to help move air bubbles to the radiator.
7. Specifications
| Feature | Specification |
|---|---|
| Model Number | CL-W425-PL12SW-A |
| Radiator Dimensions | 276 x 120 x 27 mm (10.8 x 4.7 x 1.1 inches) |
| Tube Length | 460 mm (18.1 inches) |
| Compatible Intel Sockets | LGA 2066/2011-3/2011/1851/1700/1200/1156/1155/1151/1150 |
| Compatible AMD Sockets | AM5/AM4/AM3+/AM3/AM2+/AM2/FM2/FM1 |
| Fan Size / Quantity | 120 x 120 x 25 mm (CT120EX ARGB); 2 pieces |
| Fan Speed | 500 - 2000 rpm |
| Fan Air Flow | 68 CFM |
| Fan Air Pressure | 2.95 mm-H2O |
| Fan Noise Level | Max 28.5 dBA |
| Pump Power Consumption | Max 5.16 W + 1.15 W |
| Fan Power Consumption | Max 2.28 W + 1.6 W |
| Voltage | Fan and pump: 12V / RGB: 5V |
| Connectors | 4-pin PWM (pump/fan), 3-pin RGB (pump) |
| Cooling Method | Water |
| Compatible Devices | Desktop, Laptop |
8. Warranty and Support
Thermaltake products are designed and manufactured to the highest quality standards. For warranty information, technical support, or service inquiries, please visit the official Thermaltake website or contact their customer support directly.
Please retain your proof of purchase for warranty claims.