1. Introduction
The AeroCool Link 3-Pack provides a set of three 120mm ARGB fans designed for PC cases. These fans feature a daisy chain design for simplified cable management, silent operation, and addressable RGB lighting. This manual provides essential instructions for the proper installation, operation, and maintenance of your AeroCool Link 3-Pack fans.
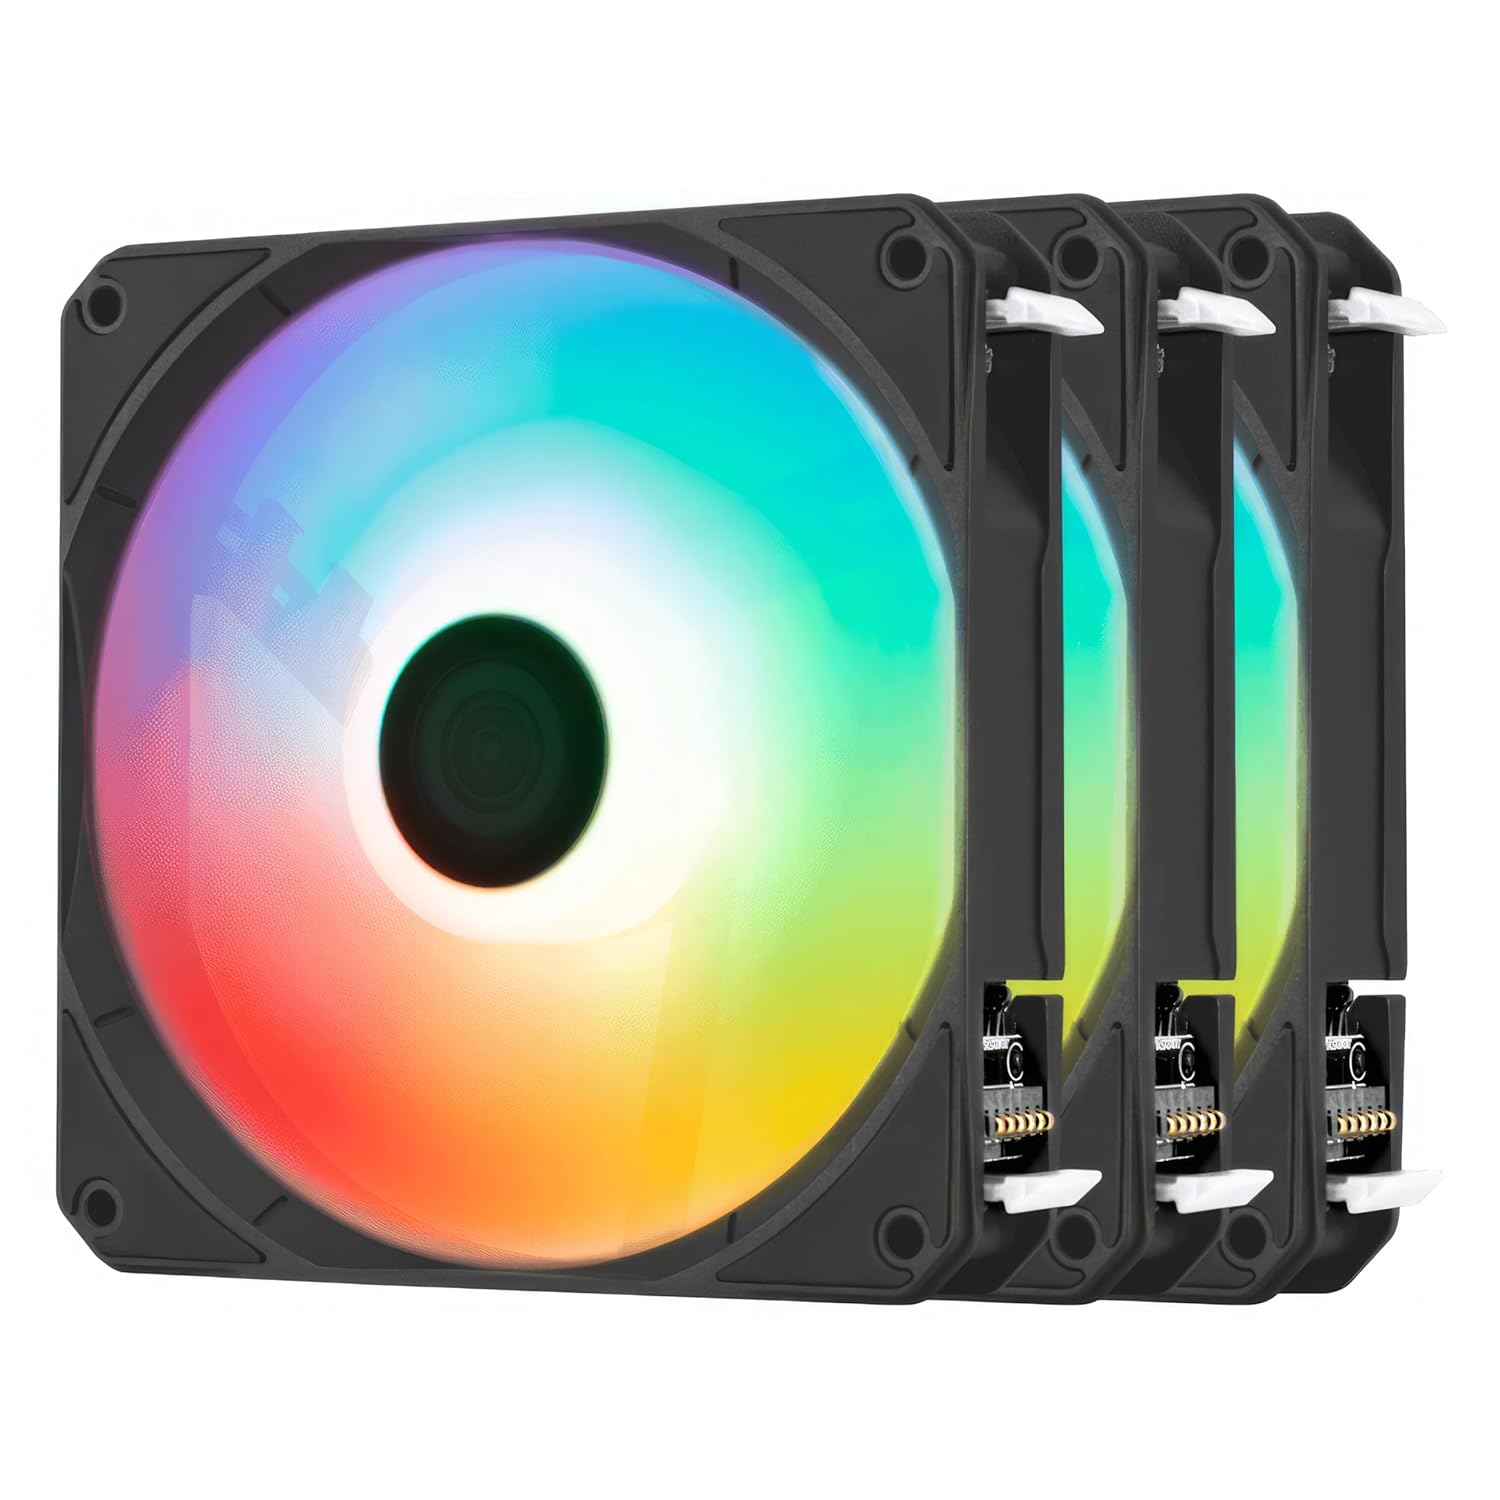
Image: Three AeroCool Link 120mm ARGB fans, showcasing their vibrant, customizable lighting.
2. What's in the Box
- 3 x AeroCool Link 120mm ARGB Fans
- Mounting Screws (quantity sufficient for 3 fans)
3. Key Features
- Effortless Assembly and Disassembly: Snap connectors facilitate easy fan installation and removal, simplifying the setup process.
- Streamlined Cable Management: The daisy chain mechanism allows connecting all three fans to the motherboard with a single cable, reducing cable clutter.
- Silent Operation and Superior Cooling: An enhanced blade design provides powerful airflow and air pressure while maintaining low noise levels, with a maximum of 25.3 dB(A).
- Dazzling ARGB Lighting: Translucent blades feature addressable RGB lighting, offering customizable visual effects. Compatibility with ARGB motherboards is ensured via a 4-pin PWM connector.
- Vibration-Free Performance: Eight shock-absorbing pads are integrated to reduce resonance, contributing to a smoother and quieter operation when mounted.
4. Setup and Installation
4.1 Fan Mounting
- Identify the desired mounting locations within your PC case. Ensure adequate clearance for airflow.
- Align the fan with the screw holes on your PC case. The fans include eight shock-absorbing pads to minimize vibration.
- Secure each fan using the provided mounting screws. Do not overtighten.

Image: A close-up view of an AeroCool Link fan corner, highlighting the integrated shock-absorbing pad for vibration reduction.
4.2 Connecting Fans (Daisy Chain)
The AeroCool Link fans feature a daisy chain design for simplified wiring.
- Connect the first fan to the second fan using the integrated snap connectors.
- Connect the second fan to the third fan in the same manner.
- Ensure all snap connectors are securely fastened. This creates a single chain of fans.

Image: A detailed view of the snap connectors on an AeroCool Link fan, illustrating the easy daisy chain connection mechanism.

Image: Three AeroCool Link fans arranged in a daisy chain, demonstrating the streamlined cable management.
4.3 Motherboard Connection
The daisy-chained fans connect to your motherboard via a single 4-pin PWM connector for fan speed control and ARGB lighting control.
- Locate an available 4-pin PWM fan header on your motherboard. Consult your motherboard manual for header locations.
- Connect the 4-pin PWM cable from the last fan in the daisy chain to the motherboard header.
- Ensure the connector is properly aligned and seated.

Image: A close-up of the 4-pin PWM connector, illustrating its design for motherboard connection.
5. Operating Instructions
5.1 Fan Speed Control (PWM)
The AeroCool Link fans utilize Pulse Width Modulation (PWM) for dynamic speed control. Once connected to a 4-pin PWM header on your motherboard, fan speed can be managed through your motherboard's BIOS/UEFI settings or dedicated software utilities provided by your motherboard manufacturer.
- Access your motherboard's BIOS/UEFI during system startup (typically by pressing DEL or F2).
- Navigate to the fan control section to adjust fan curves based on temperature or set a fixed speed.
- Alternatively, use software like ASUS AI Suite, MSI Dragon Center, or Gigabyte SIV for in-OS control.
5.2 ARGB Lighting Control
The Addressable RGB (ARGB) lighting on the AeroCool Link fans is controlled via your motherboard's ARGB software. Ensure your motherboard has a compatible 5V 3-pin ARGB header (often integrated with the 4-pin PWM connector or a separate header).
- Install the ARGB control software provided by your motherboard manufacturer (e.g., ASUS Aura Sync, MSI Mystic Light Sync, Gigabyte RGB Fusion, ASRock Polychrome Sync).
- Launch the software and select the connected fans.
- Customize lighting effects, colors, and patterns according to your preference.
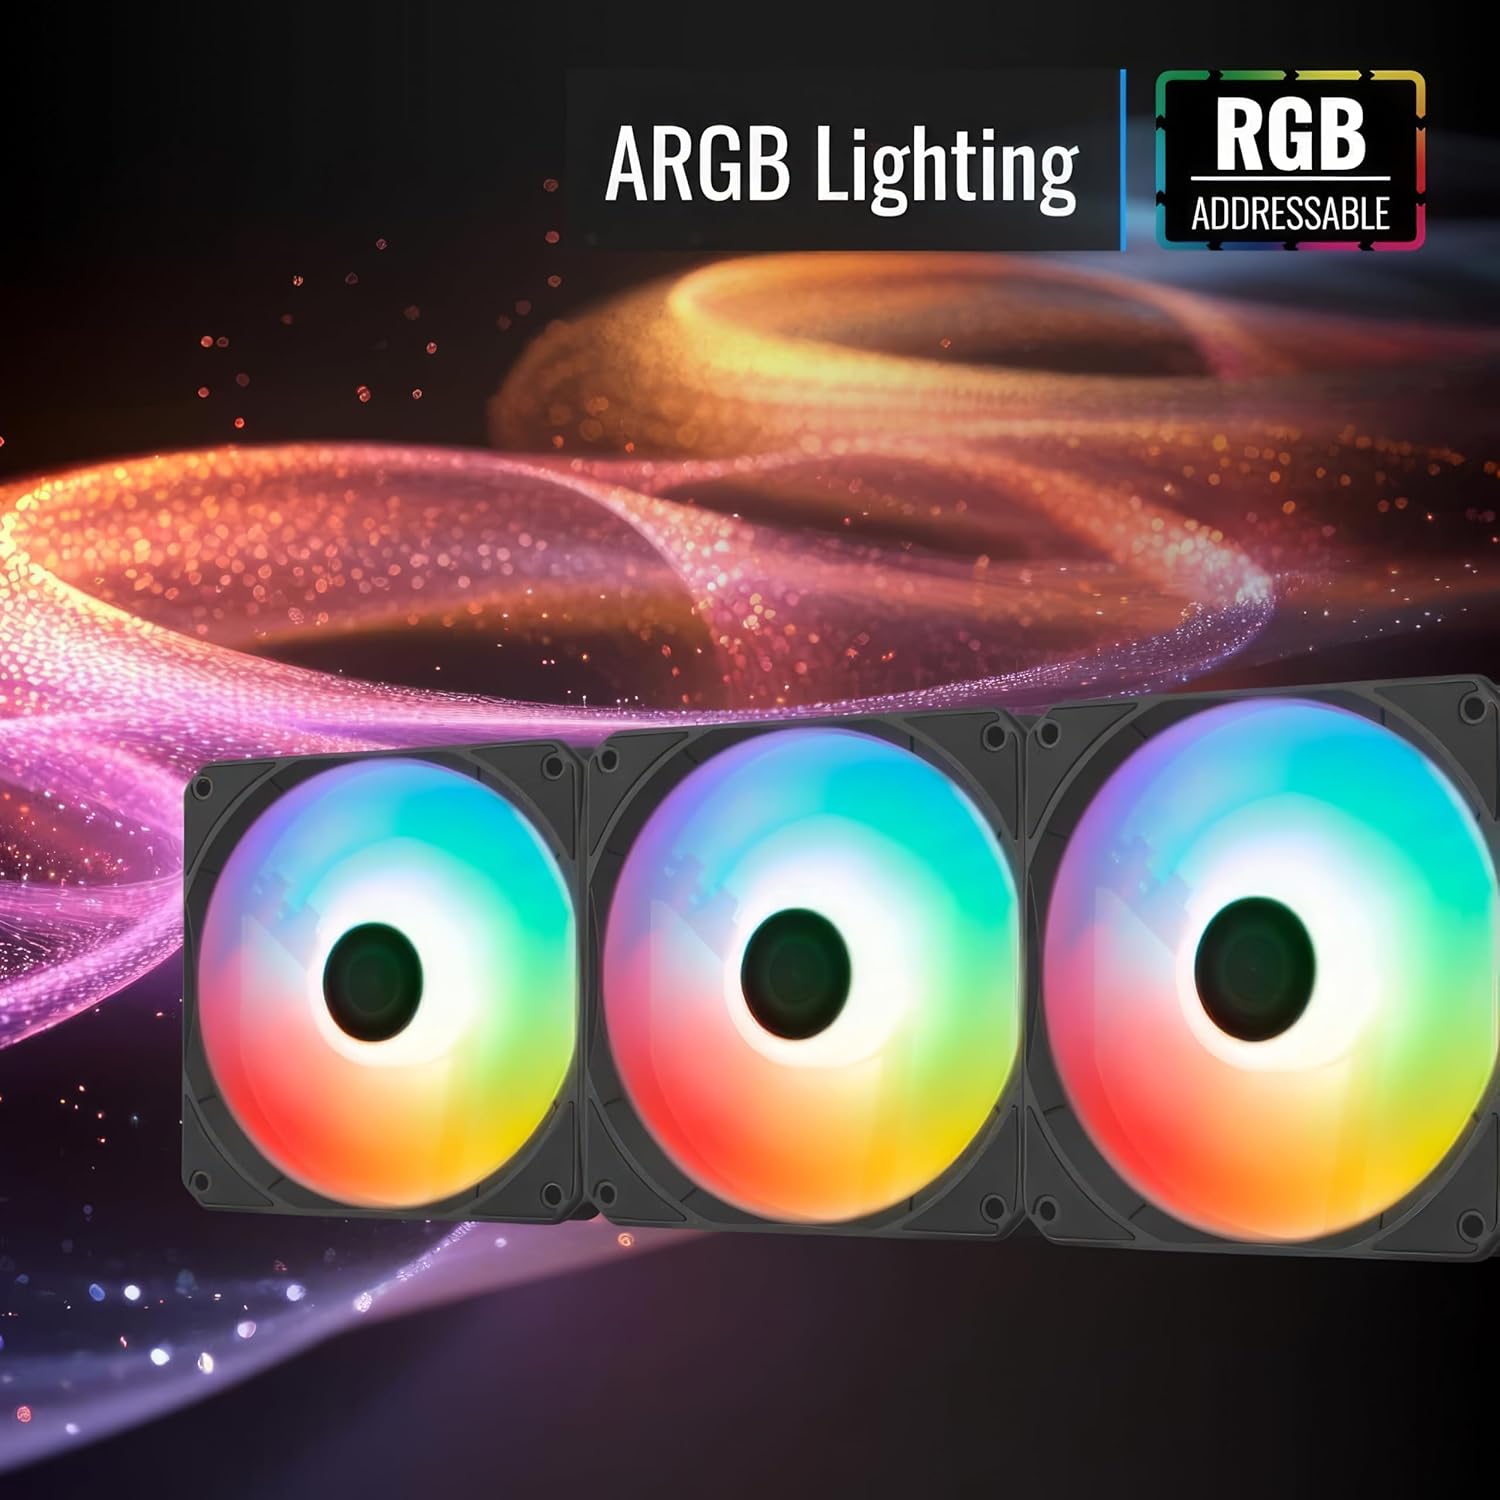
Image: Three AeroCool Link ARGB fans illuminated with a spectrum of colors, demonstrating their customizable lighting capabilities.
6. Maintenance
Regular maintenance ensures optimal performance and longevity of your AeroCool Link fans.
6.1 Cleaning
- Frequency: Clean your fans every 3-6 months, or more frequently in dusty environments.
- Procedure:
- Power off your PC and disconnect it from the power source.
- Carefully open your PC case.
- Use compressed air to blow dust off the fan blades and frame. Hold the fan blades gently to prevent them from spinning rapidly during cleaning, which can damage the bearing.
- For stubborn dust, use a soft, dry cloth or a cotton swab.
- Ensure no moisture or cleaning agents come into contact with the fan's electrical components.
6.2 Bearing Maintenance
The AeroCool Link fans utilize hydraulic bearings, which are generally sealed and require no user maintenance or lubrication. Attempting to open or lubricate the bearing may void your warranty and damage the fan.
7. Troubleshooting
If you encounter issues with your AeroCool Link fans, refer to the following troubleshooting steps:
| Problem | Possible Cause | Solution |
|---|---|---|
| Fans not spinning |
|
|
| ARGB lighting not working |
|
|
| Excessive noise or vibration |
|
|
8. Specifications
| Brand | AeroCool |
| Model | Link 3-Pack |
| Fan Size | 120mm |
| Rotational Speed | 300-1500 RPM |
| Noise Level | 25.3 Decibels (Max) |
| Power Connector Type | 4-Pin PWM |
| Voltage | 12 Volts |
| Wattage | 11.8 watts |
| Cooling Method | Air |
| Bearing Type | Hydraulic Bearing |
| Compatible Devices | Desktop |
| Number of Items | 3 |
9. Warranty and Support
9.1 Warranty Information
The AeroCool Link 3-Pack fans come with a Limited Warranty. Please refer to the warranty card included with your product or visit the official AeroCool website for detailed terms and conditions regarding warranty coverage, duration, and claim procedures.
9.2 Technical Support
For technical assistance, troubleshooting beyond this manual, or warranty inquiries, please contact AeroCool customer support. Contact information can typically be found on the official AeroCool website or on the product packaging.
Official AeroCool Website: www.aerocool.io