
1. Product Overview
The KELUOLY 2-Layer Crystal Glass Chandelier, Model XY-LW1017-45J, is a lighting fixture designed for indoor use. It features a brushed brass gold metal frame and two layers of textured glass shades. This chandelier is suitable for various rooms including dining rooms, bedrooms, living rooms, foyers, and kitchen islands. It requires four E12 base candle bulbs (not included) and supports dimmable functionality with compatible bulbs and switches.

2. Safety Instructions
Please read and understand all instructions before beginning installation and use. Failure to follow these instructions may result in electric shock, fire, or other hazards.
- Always turn off the main power supply at the circuit breaker before installing, cleaning, or performing any maintenance on the fixture.
- Consult a qualified electrician if you are not familiar with electrical wiring.
- Ensure all electrical connections comply with local codes and ordinances.
- Handle glass components with care to prevent breakage and injury.
- Do not exceed the maximum wattage specified for the bulbs (40W per E12 bulb).
- Ensure the fixture is securely mounted to a structural element of the ceiling.
- Keep flammable materials away from the light fixture.
3. Package Contents
Carefully unpack the box and ensure all components are present and undamaged. If any parts are missing or broken, please contact customer support.
- Chandelier Frame (Metal Lamp Body)
- Glass Shades (Leaf Texture)
- Adjustable Chain
- Mounting Hardware (Canopy, Screws, Wire Nuts, etc.)

4. Product Specifications
| Feature | Specification |
|---|---|
| Brand | KELUOLY |
| Model Name | XY-LW1017-45J |
| Color | Gold |
| Material | Aluminum, Glass, Metal |
| Style | Modern |
| Light Fixture Form | Chandelier |
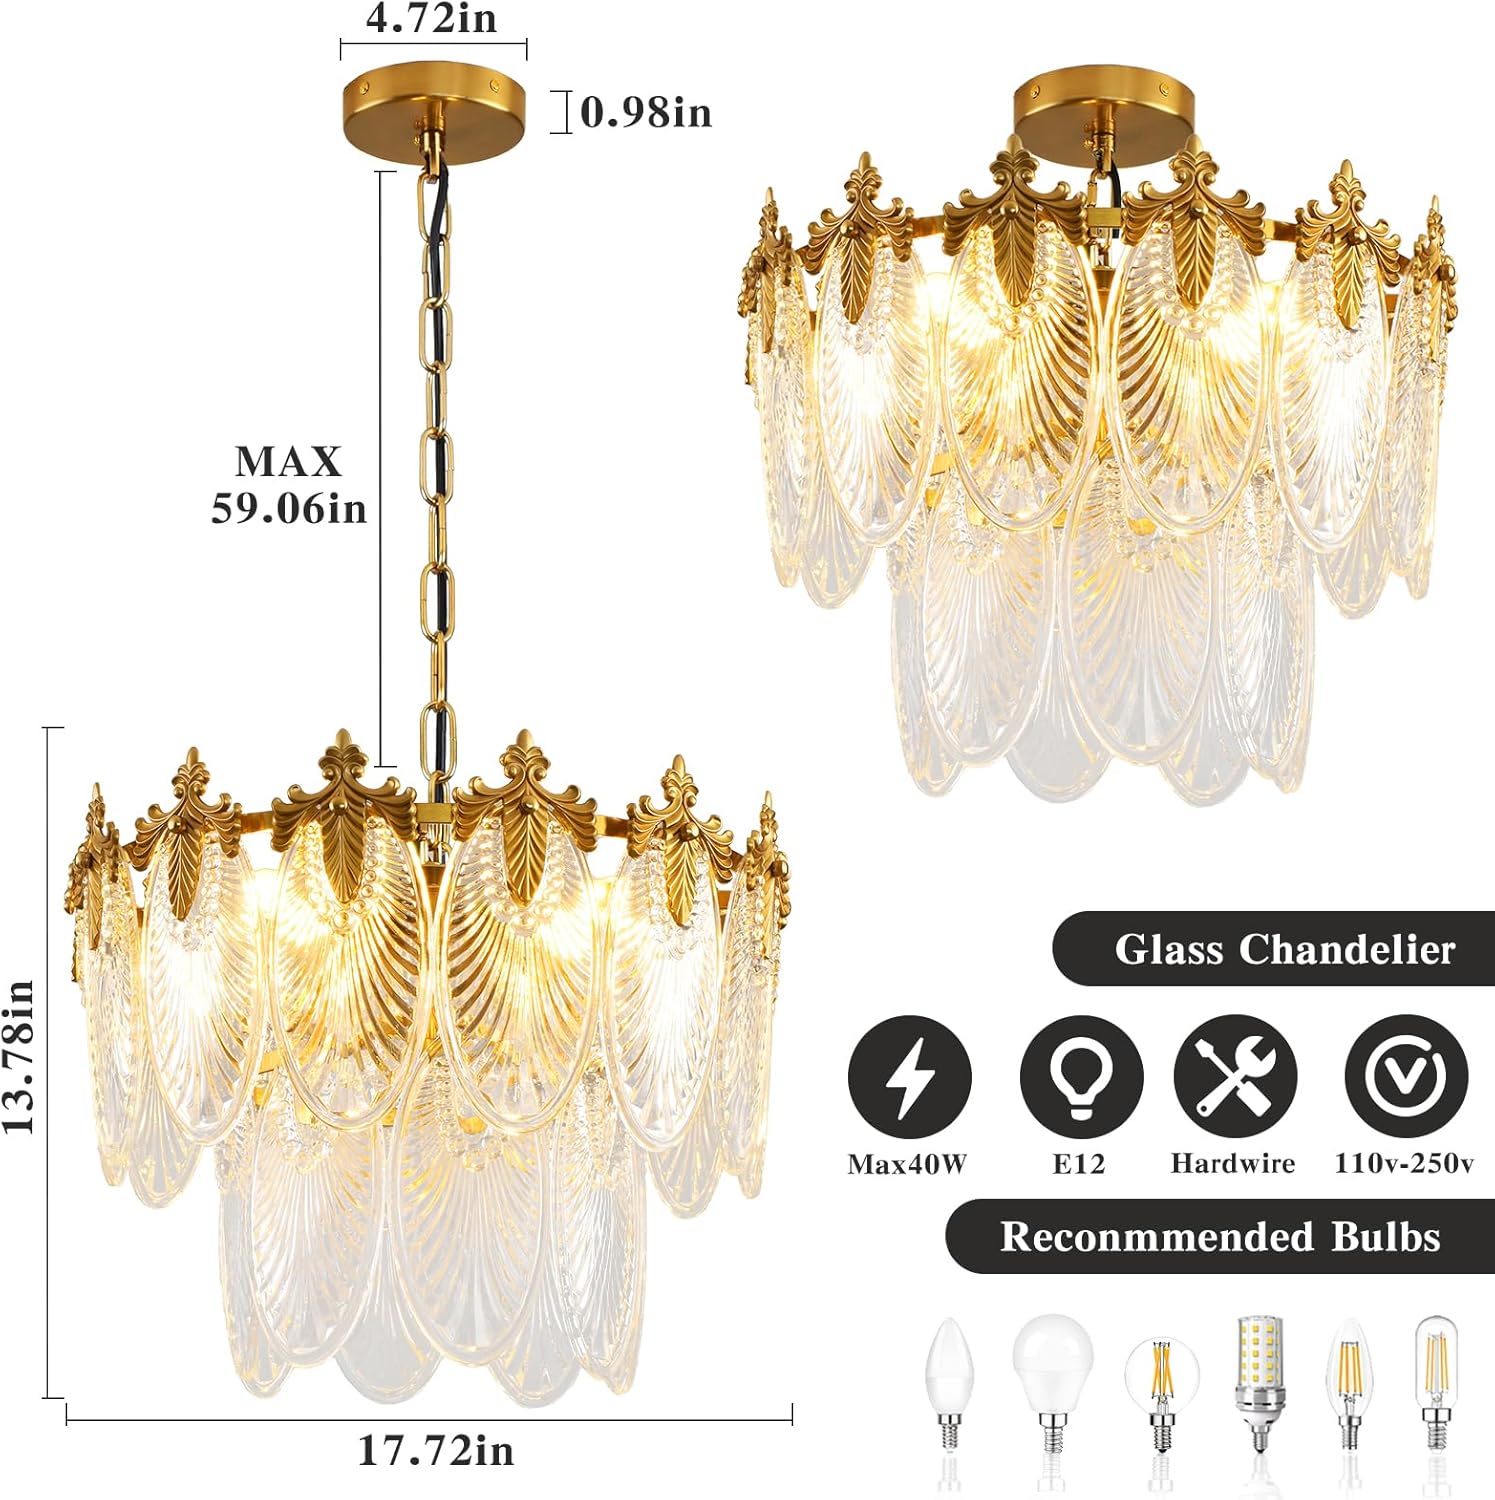
| Product Dimensions | 17.71 inches (Width) x 13.78 inches (Height) |
| Adjustable Height | Min 7.87 inches, Max 59.06 inches (with chain) |
| Power Source | Corded Electric |
| Installation Type | Semi Flush Mount / Chandelier (Adjustable) |
| Light Source Type | LED (Recommended) |
| Number of Light Sources | 4 |
| Bulb Base | E12 |
| Max Wattage per Bulb | 40W |
| Voltage | 110 Volts (AC) |
| Item Weight | 17.56 pounds (7.98 Kilograms) |
| Assembly Required | Yes |
5. Setup and Installation
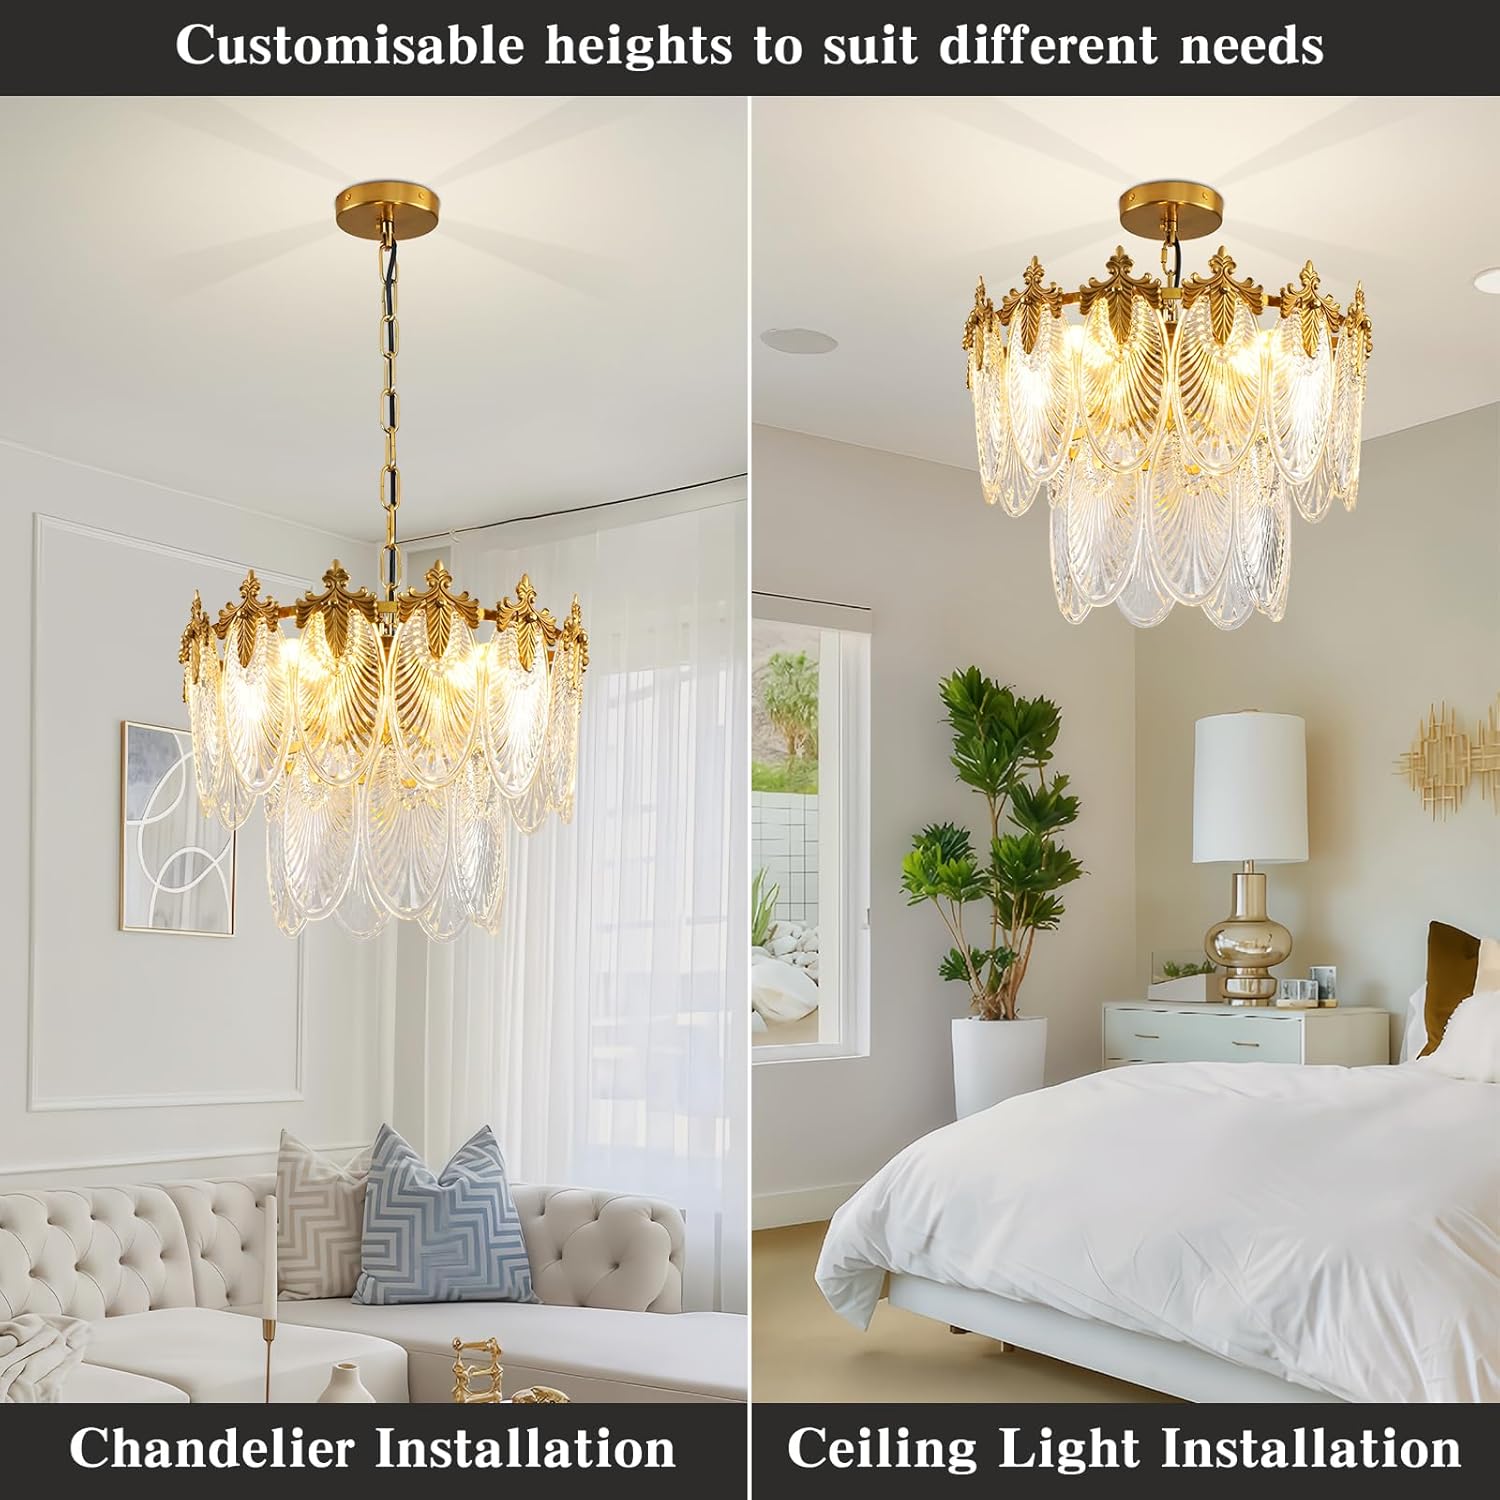
Installation of the KELUOLY Chandelier involves assembling the frame, attaching the glass shades, and wiring the fixture to your ceiling. It can be installed as a pendant light with an adjustable chain or as a semi-flush mount fixture. Refer to the following steps and diagrams for guidance.
Installation Steps:
- Install Luminaire Frames: Assemble the metal frame components according to the provided diagram.
- Hang Crystal and Metal Pieces: Carefully attach the leaf-textured glass shades and any decorative metal pieces to the frame.
- Screw on Metal Cap: Secure the metal cap or canopy to the top of the fixture.
- Screw in E12 Bulbs: Insert the E12 base bulbs into the sockets. Ensure bulbs are rated for 40W maximum.
- Fix the Light Body: Connect the fixture's wiring to your household electrical wires. Secure the canopy to the ceiling junction box.
- Finish: Ensure all components are secure and connections are tight. Restore power and test the light.

Adjustable Height and Mounting Options:
The chandelier features an adjustable chain, allowing for a customizable hanging height from a minimum of 7.87 inches to a maximum of 59.06 inches. The 180° tiltable angle design of the canopy also makes it compatible with sloping ceilings.

6. Operating Instructions
Once installed, the chandelier operates like any standard light fixture. Ensure the correct bulbs are used for optimal performance.
- Bulb Requirements: This chandelier requires 4 E12 base candle bulbs. The maximum wattage per bulb is 40W. Bulbs are not included.
- Dimmable Functionality: For dimming capabilities, use dimmable E12 LED candle bulbs and a compatible dimming switch (both sold separately). This allows you to adjust the brightness to create different lighting effects.
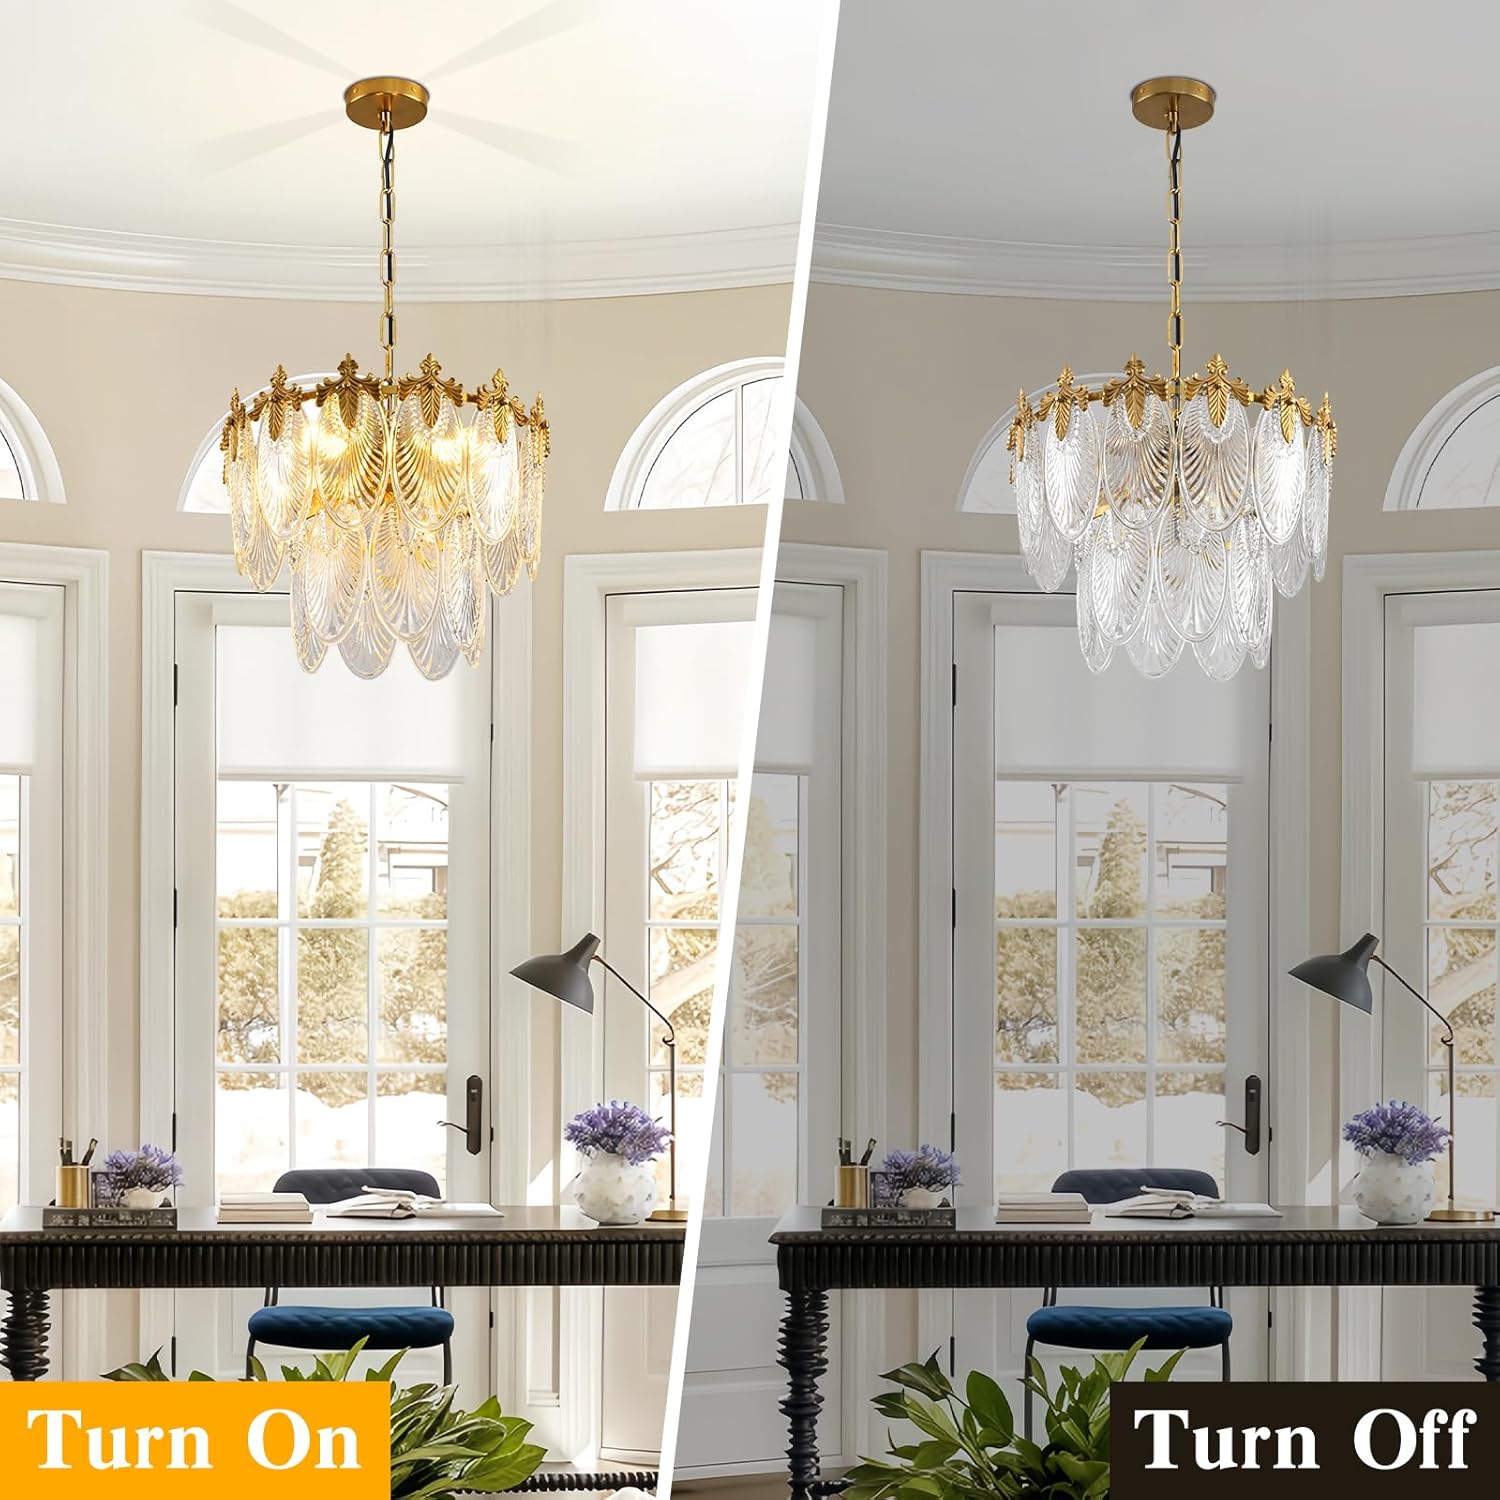
- Power On/Off: Control the light using your wall switch.

7. Maintenance
Regular cleaning and proper care will help maintain the appearance and functionality of your chandelier.
- Cleaning: Before cleaning, ensure the power supply to the fixture is turned off. Use a soft, dry cloth to wipe the metal frame. For glass components, a slightly damp cloth with a mild glass cleaner can be used, then dry immediately with a clean, soft cloth. Avoid abrasive cleaners or solvents that may damage the finish.
- Bulb Replacement: Always turn off power before replacing bulbs. Allow old bulbs to cool before handling. Replace with E12 base bulbs, not exceeding 40W per bulb.
- Inspection: Periodically check for any loose connections or damaged components. If any issues are found, consult a qualified electrician or contact customer support.
8. Troubleshooting
If you encounter any issues with your chandelier, refer to the following troubleshooting guide:
| Problem | Possible Cause | Solution |
|---|---|---|
| Light does not turn on | No power to the fixture Loose wiring connection Faulty bulb Faulty wall switch | Check circuit breaker. Ensure power is on. Verify all wire connections are secure (power off first). Replace bulb with a new, working one. Test wall switch or consult an electrician. |
| Light flickers | Loose bulb Incorrect bulb type Loose wiring Incompatible dimmer switch | Tighten bulbs. Ensure bulbs are E12 base and compatible with dimmers if used. Check wiring connections (power off first). Ensure dimmer switch is compatible with LED bulbs if using LED. |
| Missing or damaged parts | Shipping damage Packaging error | Contact KELUOLY customer support immediately for replacement parts. |
| Circuit breaker trips | Short circuit in wiring Overloaded circuit Faulty fixture wiring | Immediately turn off power. Inspect wiring for damage or improper connections. Reduce load on circuit. If problem persists, consult a qualified electrician. |
9. Warranty and Customer Support
KELUOLY provides a 2-year limited warranty for this product. This warranty covers manufacturing defects and quality issues under normal use.
What the Warranty Covers:
- Defects in materials and workmanship.
- Damaged items received upon delivery.
What the Warranty Does Not Cover:
- Damage caused by improper installation, misuse, or neglect.
- Normal wear and tear.
- Damage from unauthorized repairs or modifications.
Returns: The product is eligible for a refund/replacement within 30 days of purchase, subject to the retailer's return policy.
Customer Support: If you have any questions, require assistance with installation, or need to report missing/damaged parts, please contact KELUOLY customer support through your purchase platform or the contact information provided with your product packaging. Please have your model number (XY-LW1017-45J) and purchase details ready.