Introduction
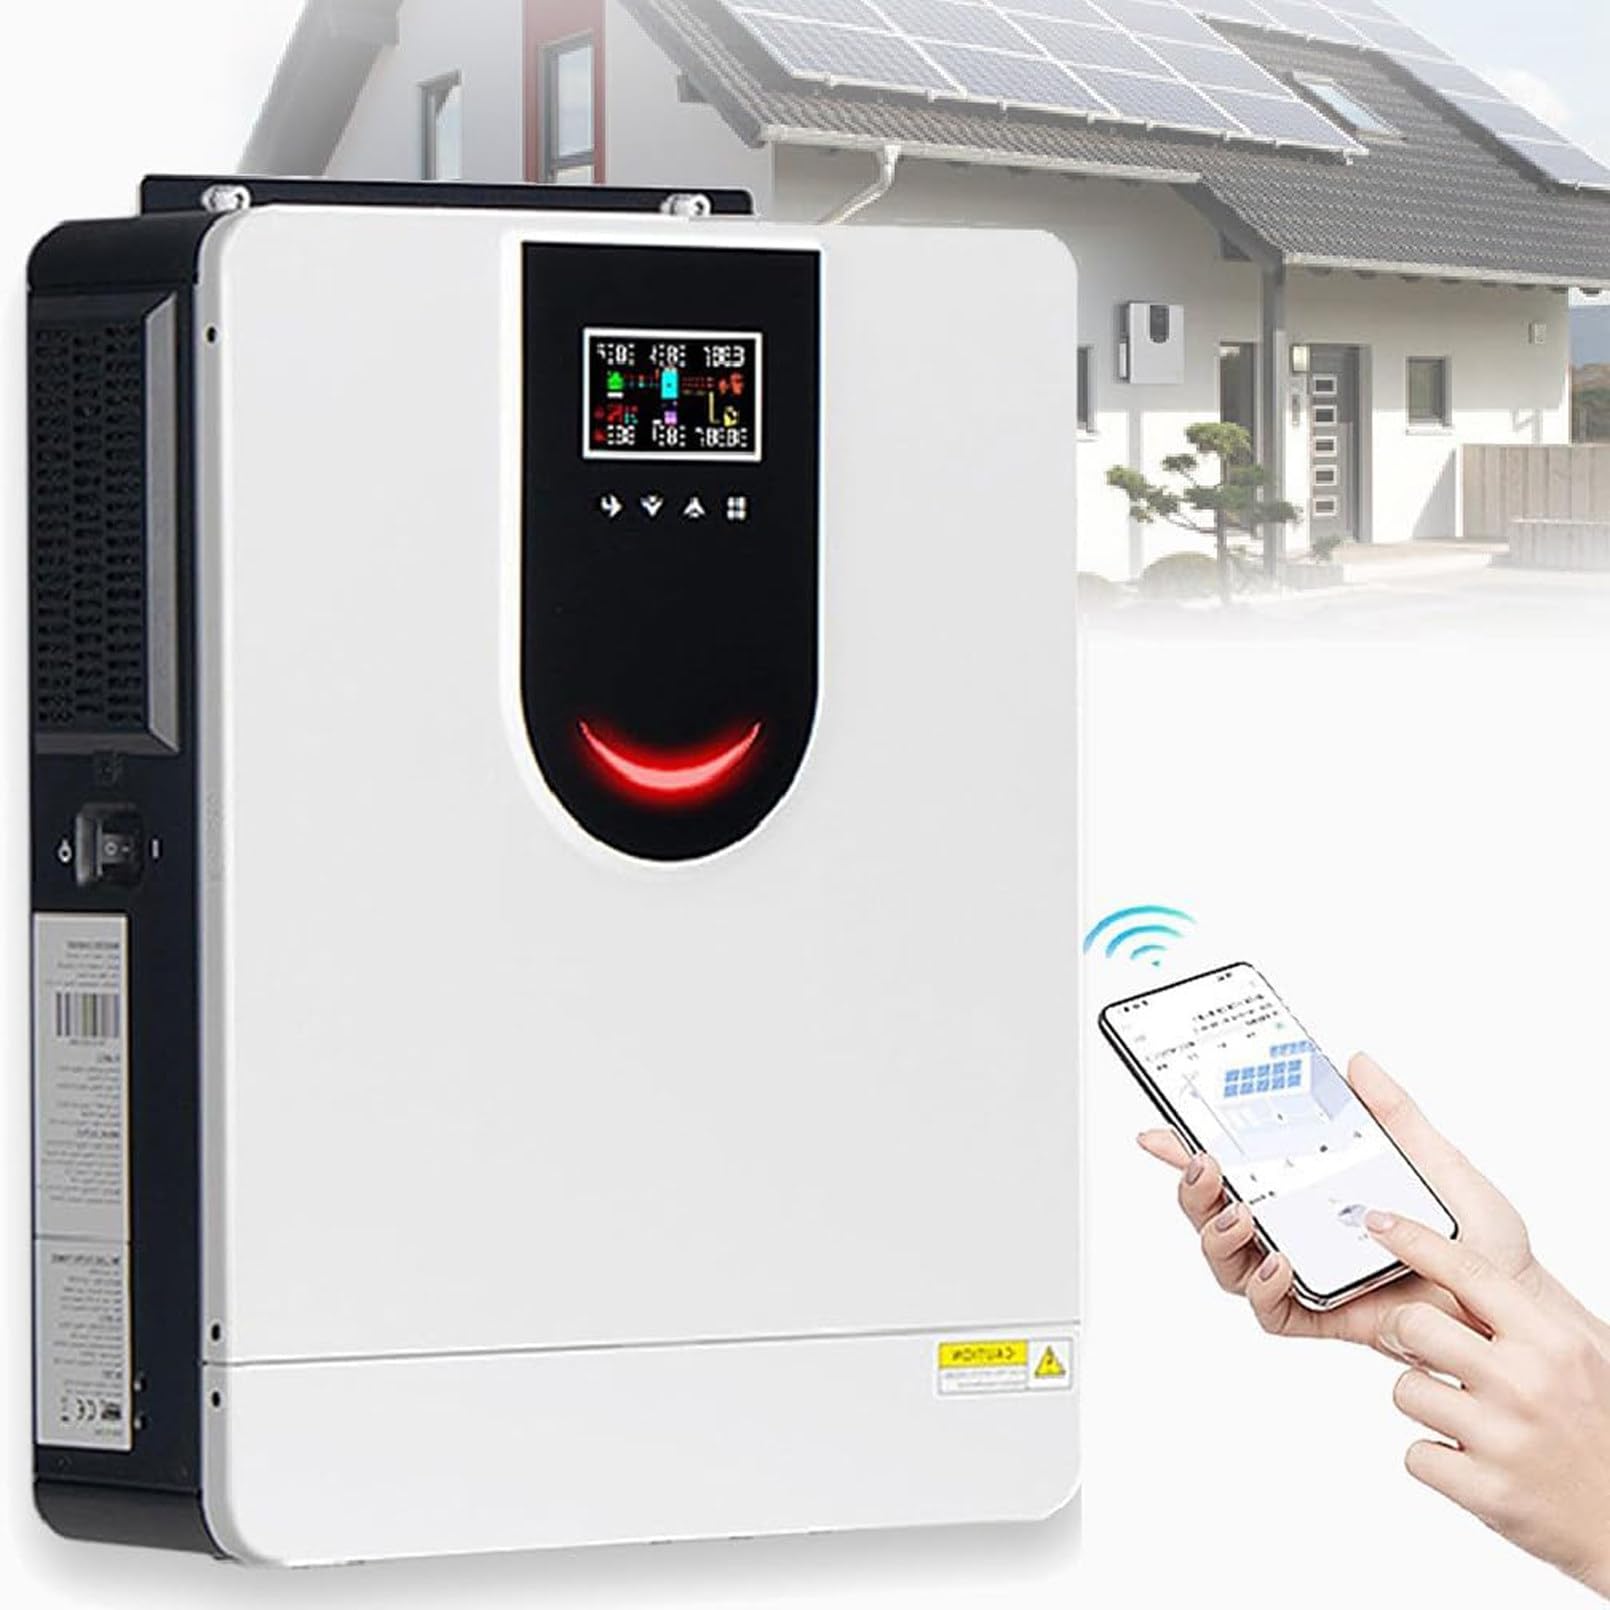
Figure 1: The Generic 6200W Solar Hybrid Inverter installed as part of a home energy storage system.
This manual provides detailed instructions for the installation, operation, and maintenance of your Generic 6200W Solar Hybrid Inverter. This unit is designed to efficiently convert DC power from solar panels into AC power for your home or business, integrating a pure sine wave inverter, a 120A MPPT solar charge controller, and a 100A smart battery charger. Please read this manual thoroughly before installation and use to ensure safe and optimal performance.
Important Safety Instructions
Please observe the following safety precautions to prevent injury and damage to the inverter:
- Qualified Personnel: Installation and maintenance must be performed by qualified personnel only.
- Electrical Shock Hazard: This device operates with high voltages. Do not open the casing or attempt repairs unless you are qualified.
- Proper Grounding: Ensure the inverter is properly grounded according to local electrical codes.
- Ventilation: Install the inverter in a well-ventilated area to prevent overheating.
- Flammable Materials: Do not install near flammable materials or in areas with explosive gases.
- Battery Safety: When connecting batteries, ensure correct polarity. Wear protective eyewear and clothing.
- Disconnect Power: Always disconnect all power sources (AC, DC, battery) before performing any maintenance or wiring.
Product Features
The Generic 6200W Solar Hybrid Inverter offers a range of advanced features for efficient energy management:
- Integrated System: Combines a 6200W pure sine wave inverter, a 120A MPPT solar charge controller, and a 100A smart battery charger.
- Pure Sine Wave Output: Provides stable and clean power, suitable for sensitive electronics.
- High Output Power Factor: Output power factor of 1.0.
- Battery-Less Operation: Capable of operating without a battery.
- Wide PV Input Range: Supports solar panel input voltage from 60VDC to 450VDC.
- High MPPT Charging: Maximum 6500W (6.2KW) solar charging capacity.
- Dual Output: Provides flexible power distribution.
- Intelligent Monitoring: WIFI and GPRS connectivity for iOS and Android applications.
- User-Friendly Interface: High-definition LCD display and feedback buttons for easy interaction.
- Comprehensive Protections: Includes power failure alarm, overload, overcurrent, lightning, low voltage, and short circuit protection.
- Efficient Cooling: Fan cooling system with thickened heat dissipation backplate for stable operation.
- Automatic Battery Activation: Built-in lithium battery automatic activation feature.
- Factory Reset: One-click restore to factory settings.

Figure 2: Pure Sine Wave Output. This image illustrates the smooth, consistent waveform of the inverter's pure sine wave output, which is ideal for sensitive electronic devices.
Setup and Installation
Proper installation is critical for the safe and efficient operation of your inverter. Refer to the diagram below for a typical system connection.

Figure 3: Typical System Connection Diagram. This diagram illustrates how the solar panels, battery, grid, and AC loads connect to the hybrid inverter.
Installation Steps:
- Mounting: Select a suitable location for mounting the inverter. Ensure it is indoors, well-ventilated, and protected from direct sunlight, moisture, and dust. The inverter features a hidden wiring design; unscrew the screws to open the bottom cover for wiring, then replace the cover after installation.
- Solar Panel Connection: Connect the solar panels to the designated PV input terminals. Observe correct polarity (+/-) and ensure the total PV voltage is within the specified range (60-450VDC).
- Battery Connection: Connect the battery bank to the battery terminals. Ensure correct polarity. The inverter supports 48V battery systems.
- AC Input (Grid/Generator): If connecting to a utility grid or generator, connect the AC input to the designated terminals.
- AC Output (Loads): Connect your AC loads (appliances) to the AC output terminals. Ensure the total load does not exceed the inverter's rated output power.
- Grounding: Connect the inverter to an earth ground using a proper grounding wire.
- Power On: Once all connections are secure and verified, switch on the battery breaker first, then the solar array breaker, and finally the AC input breaker (if applicable). Power on the inverter.
The inverter is compatible with various appliances. Ensure that the power requirements of your appliances match the inverter's capabilities.

Figure 4: Appliance Compatibility. This image shows various household appliances like laptops, pumps, speakers, fans, microwaves, air conditioners, refrigerators, and hair dryers, indicating the inverter's broad compatibility.
Operating Instructions
The inverter features an intuitive LCD display and RGB indicator lights to show its operational status.

Figure 5: RGB Indicator Lights. The inverter's RGB indicator light changes color to reflect different operating modes: Battery Mode, Utility Mode, and PV Mode.
LCD Display and Buttons:
The high-definition LCD display shows vital statistics such as status, mode, voltages, charging power, and current. Use the feedback buttons to navigate menus and adjust settings.

Figure 6: Inverter Display and Cooling. This image highlights the large LED screen with feedback buttons for user interaction and the fan cooling system for heat dissipation.
Monitoring:
The inverter supports WIFI and GPRS for intelligent monitoring via iOS and Android applications. This allows you to remotely check the system's status and performance.

Figure 7: Remote Monitoring and Efficiency. This image shows the inverter being monitored via a smartphone app and highlights the smart chip with a high conversion rate of up to 99%.
Maintenance
Regular maintenance ensures the longevity and optimal performance of your solar hybrid inverter.
- Cleaning: Keep the inverter's exterior clean and free from dust. Ensure ventilation openings are not blocked.
- Connection Checks: Periodically inspect all electrical connections (PV, battery, AC input/output) for tightness and signs of corrosion.
- Environmental Check: Ensure the installation environment remains within specified temperature and humidity ranges.
- Firmware Updates: Check for any available firmware updates through the monitoring application or manufacturer's website to ensure the inverter operates with the latest features and improvements.
Troubleshooting
If you encounter issues with your inverter, refer to the following common problems and solutions:
| Problem | Possible Cause | Solution |
|---|---|---|
| Inverter not turning on | No DC input from battery/PV, loose connections, blown fuse. | Check battery and PV connections. Verify battery voltage. Check fuses. |
| No AC output | Overload, short circuit, inverter fault, AC output breaker tripped. | Reduce load. Check for short circuits. Reset AC output breaker. Check error codes on LCD. |
| Low battery voltage alarm | Insufficient charging, excessive load, faulty battery. | Check solar panel output and connections. Reduce load. Inspect battery health. |
| Overload warning | Connected loads exceed inverter capacity. | Disconnect some loads. Ensure total load is within inverter's rated power. |
| Inverter overheating | Poor ventilation, blocked fan, excessive ambient temperature. | Ensure adequate airflow. Clean fan and vents. Relocate inverter if ambient temperature is too high. |
For issues not listed here or if problems persist, please contact customer support.
Specifications
| Parameter | Value |
|---|---|
| Model | 6.2KW |
| Rated Power | 6200W |
| DC Voltage | 48V |
| AC Output Voltage | 220V/230V/240V (Single Phase) |
| MPPT Charge Controller Current | 120A |
| PV Input Voltage Range | 60-450VDC |
| Maximum Solar Charging Power | 6500W (6.2KW) |
| Dimensions (L x W x H) | 440 x 355 x 115mm (17.32 x 14 x 4.5 inches) |
| Item Weight | 21.3 pounds |
| Working Temperature | -10~50℃ (14~122℉) |
Warranty and Support
For any questions, technical assistance, or support regarding your Generic 6200W Solar Hybrid Inverter, please contact our customer service. We are committed to providing assistance and will respond to your inquiries within 24 hours.
Please refer to your purchase documentation for specific warranty terms and conditions.


