Important Safety Information
- Read all instructions before installation and use.
- This gate is designed for pets. Do not use for children unless specifically rated for child safety.
- Ensure the gate is securely installed using the pressure-mounted system.
- Never cut the zip ties before completing the installation. The gate appears "open" before installation, which is normal.
- Regularly check all locking mechanisms and pressure mounts to ensure they remain secure.
- The narrow 1.37" gap between bars is designed to prevent small pets from squeezing through.
- Poorly installed or damaged gates can pose a risk of pets getting stuck or injured.
Package Contents
Please ensure all parts are present before beginning installation.
- Main Gate Frame
- Extension Rods (quantity may vary based on width)
- Bolts with Rings (4 for corners)
- Wall Protectors (4)
- Reinforcement Slot (for bottom frame, if applicable)
- Wrench (for tightening)
- Zip Ties (pre-installed on gate)
Installation Guide
This gate features a pressure-mounted design, requiring no drilling.
Step 1: Prepare the Gate
If using an extension kit (sold separately), install it onto the main body of the pet gate. If a reinforcement part is included (with extension kits), place it under the gate and press the joint between the gate and extension kit firmly to secure it.
Step 2: Insert Bolts and Wall Protectors
Insert the bolts into the four corners of the pet gate. Align the groove of the 4 wall protectors with the corresponding bolt head and stick them to the wall at your desired installation location.
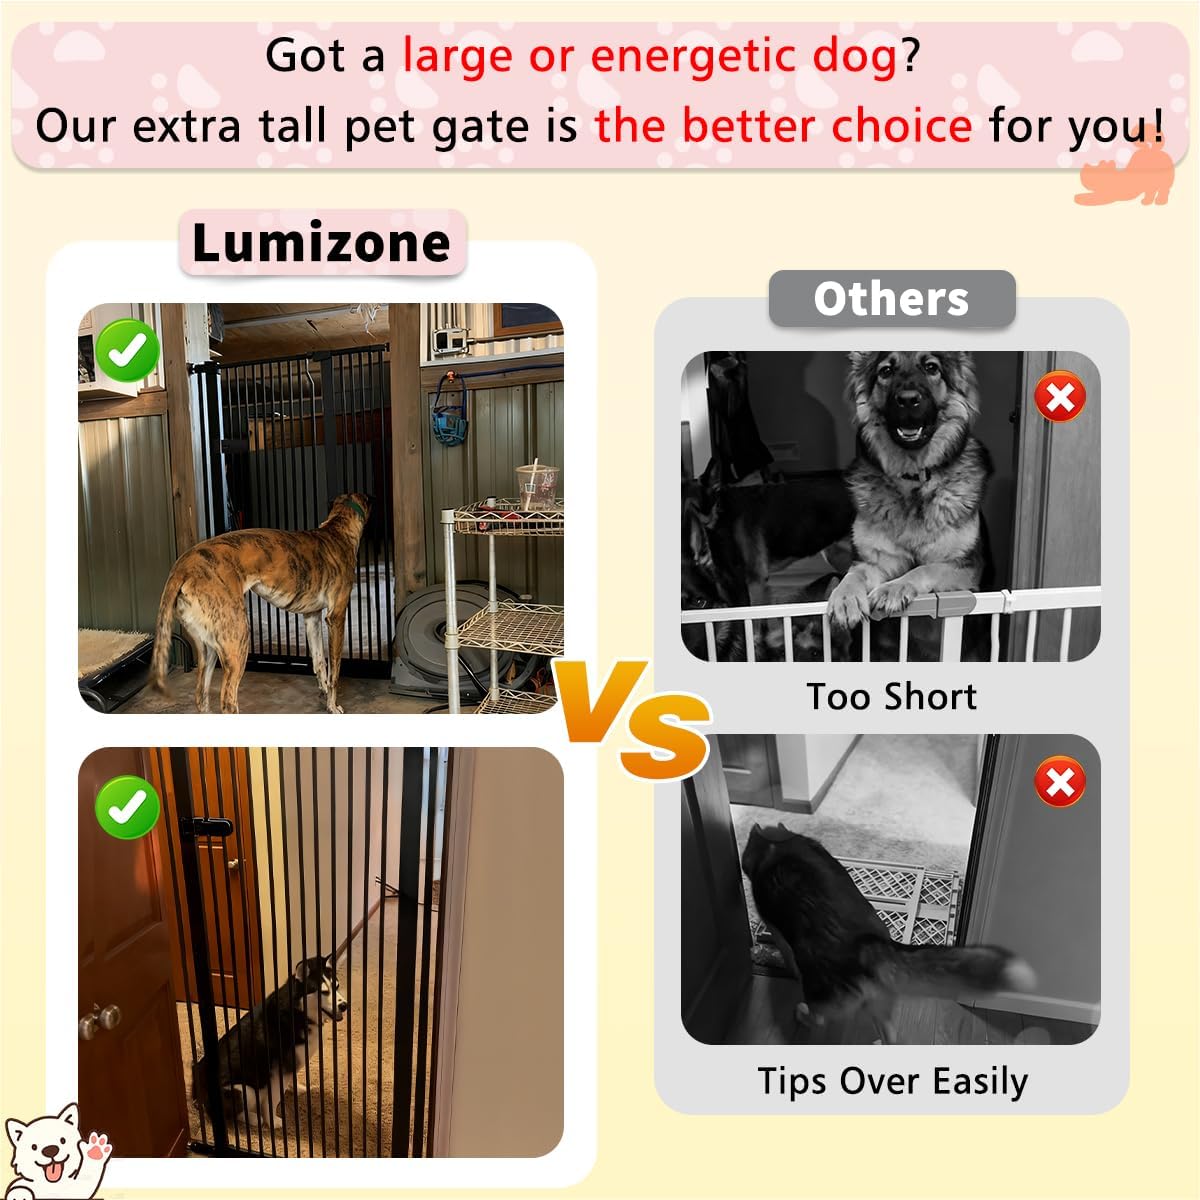
Image: The Lumizone Extra Tall Cat Gate with key dimensions highlighted. The gate is 55.12 inches high, with a setting width of 63.39-67.71 inches and an opening width of approximately 18.7 inches. This image emphasizes the importance of confirming dimensions before purchase.
Step 3: Position and Secure the Gate
Place the gate in the doorway or opening. Rotate the rings on the bolts to secure the gate against the walls. Tighten the screws and nuts at all four corners until the gate is firmly secured against the walls. Ensure the latch parts are approximately 0.08-0.12 inches apart for proper function.

Image: Detailed steps for pressure-mounted installation. It shows inserting the bolt, rotating the ring for tightening, and the final secure position against the wall.
Step 4: Remove Zip Ties
IMPORTANT: Do NOT cut off the zip ties until the installation is completely finished and the gate is securely in place. The gate will appear "open" or misaligned before the zip ties are cut, which is normal for pressure-mounted gates.

Image: Visual explanation regarding the pre-installed zip ties. It clarifies that the gate appearing open before cutting the zip ties is normal and not a defect, as the pressure mounting will secure it.
Installation Video
Video: Official Lumizone installation guide for the Extra Tall Pet Gate. This video demonstrates the step-by-step process of setting up the pressure-mounted gate, including how to use extension kits and secure the gate properly.
Operating Instructions
One-Handed Operation
The gate features an upgraded locking mechanism designed for easy one-handed operation. Hold the frame below the lock with one hand and use your thumb to slide the button to open.

Image: Illustration of the one-handed operation feature, showing how to hold the gate and slide the button for easy opening.
Auto-Close Function
- If the gate is opened to an angle less than 90 degrees, it will automatically close and latch.
- If the gate is opened to a 90-degree angle, it will stay open for convenient passage.

Image: Diagram illustrating the auto-close function (closes when angle is less than 90°) and the stay-open feature (stays open at 90°).
Maintenance
- Regularly inspect the gate for any loose parts, damage, or wear.
- Clean the gate with a soft, damp cloth and mild soap. Avoid abrasive cleaners.
- Ensure all pressure mounts are tight to maintain stability.
Troubleshooting
Gate Does Not Latch Properly
- Check the gap between the latch parts. It should be approximately 0.08-0.12 inches. Adjust the tension of the bolts at the corners until the latch aligns correctly.
- Ensure the gate is installed on a flat, stable surface.
Gate Feels Unstable
- Re-tighten all four pressure-mounted bolts.
- Verify that the wall protectors are securely attached and providing adequate grip.
- If using an extension kit, ensure the reinforcement part (if included) is correctly installed.
Pet is Climbing Over or Squeezing Through
- Confirm the gate height is appropriate for your pet's size and activity level. This model is 55.12" high.
- The narrow 1.37" gap is designed to prevent squeezing. If your pet is still getting through, consider additional barriers or a different gate model.
Specifications
| Feature | Detail |
|---|---|
| Brand | Lumizone |
| Model Number | 55.12" H-White |
| Height | 55.12 inches |
| Adjustable Width | 63.39" - 67.71" (with included extensions) |
| Bar Gap | 1.37 inches |
| Mounting Type | Pressure Mount |
| Material | Metal |
| Auto-Close | Yes (under 90 degrees) |
| One-Handed Operation | Yes |
Warranty and Support
Return Policy
This product is eligible for a refund or replacement within 90 days of purchase.
Customer Support
If you encounter any issues after receiving your product, including damaged parts, improper fit, missing components, or incorrect size, please contact Lumizone customer support directly for a free solution.
Email: lumizone2303@gmail.com

Image: Lumizone customer support information, detailing how to get assistance for various product issues and providing an email contact.