
1. Product Overview
The ASOFTY Motion Sensor Switch with Outlet is a wireless system designed to automate the control of household appliances based on motion detection. This kit includes a motion sensor and a plug-in outlet, enabling devices like lights, fans, and air conditioners to be activated or deactivated without manual intervention or reliance on Wi-Fi or Bluetooth.
- Wireless Operation: The motion sensor communicates wirelessly with the plug-in outlet for convenient placement and control.
- Adjustable Sensing Sensitivity: Customize the motion detector's sensitivity to suit various environments and installation locations, ensuring accurate detection. Settings include 'All Day', 'Daytime Environment', and 'Low Light Environment'.
- Adjustable Sensing Distance: The detection range can be set to 'Near' (0-4 meters), 'Medium' (0-8 meters), or 'Far' (0-12 meters).
- Adjustable Delay Time: Configure the duration the connected device remains active after motion is no longer detected. Options range from 3 seconds to 1 hour.
- Easy Installation: Offers flexible installation methods using either double-sided tape or screws.
- Wide Application: Suitable for various indoor and outdoor locations such as living rooms, bedrooms, kitchens, bathrooms, stairs, garages, corridors, basements, and parking lots. Compatible with most household appliances.
2. What's in the Box
- 1 x Motion Sensor Switch with Outlet
The package contains one motion sensor and one plug-in outlet. Additional mounting hardware (screws, anchors, double-sided tape) is typically included for installation.
3. Specifications
| Brand | ASOFTY |
| Model Number | ASHT190-US |
| Color | White |
| Power Source | Corded Electric |
| Maximum Range | 30 Meters |
| Mounting Type | Wall Mount |
| Battery Description | CR123A (3V) battery (for sensor, not included) |
| Temperature Range | -10°C to 45°C |
| Compatible Devices | Light, Fan, Air Conditioner, Exhaust Fan, Humidifier |
| AC Input Voltage | 125V 50/60Hz |
| Maximum Power | 2000W (16A) |
Note: The actual detection range may vary depending on the environment.
4. Setup and Installation
4.1. Sensor Battery Installation
- Gently twist the two halves of the spherical motion sensor to open it.
- Locate the battery compartment. If a battery is pre-installed, remove the protective pull tab. If not, insert a CR123A (3V) battery, ensuring correct polarity.
- Align the unique positioning column of the lower shell with the groove of the upper shell and firmly close the sensor until it clicks. Ensure it is securely fastened.
4.2. Pairing Method
The plug and infrared sensor are typically pre-paired at the factory. If re-pairing is required, follow these steps:
- Plug the outlet into a wall socket.
- Press and hold the button on the plug for 3 seconds. The plug's LED indicator will start to flash.
- Open the cover of the infrared sensor and press and hold the Reset key (a small button inside the sensor) until the indicator LED on the plug turns solid. This indicates successful pairing.
Note: One plug can be paired with up to 32 infrared sensors. One infrared sensor can be paired with multiple plugs.
4.3. Mounting the Motion Sensor
The motion detector offers two installation options:
- Method 1 (Adhesive): Tear off the double-sided tape from the back of the infrared sensor base and firmly stick it to your desired installation location.
- Method 2 (Screws): Push the silicone part out from under the base to expose two screw holes. Fix the base to the wall or ceiling using screws. Reinstall the silicone part to the base to complete the installation.
For optimal sensitivity, especially in suspended ceiling installations, position the sensor with the sun icon facing upwards, towards the direction where people enter and exit.

Figure 4.3.1: Easy Installation Steps
5. Operation
5.1. Adjusting Delay Time
The delay time determines how long the connected appliance remains on after motion is no longer detected. This setting helps conserve energy by automatically turning off devices.
- Rotate the bottom shell of the motion sensor to select the desired delay time.
- Available delay times: 3 seconds, 10 seconds, 30 seconds, 1 minute, 3 minutes, 5 minutes, 10 minutes, 30 minutes, 1 hour.
Attention: When adjusting, ensure accurate delay time by pointing the arrow towards the specific time scale. If motion is continuously detected, the infrared sensor will continue to operate.

Figure 5.1.1: Adjustable Motion State Delay
5.2. Adjusting Light Sensing Settings
The sensor can be configured to operate based on ambient light conditions:
- Short touch: Press the sun light sensing icon on the sensor to display the current mode via the indicator light.
- Long touch: Press and hold the sun light sensing icon to switch between modes.
| Indicator Color | Setting |
| Red | Available in daytime environment |
| Green | Available in relatively dark environment |
| Blue | Available for full-day operation |

Figure 5.2.1: Adjustable Light Sensitivity
5.3. Adjusting Sensing Range
The detection range can be adjusted to optimize performance for your specific area:
- Short touch: Press the three-circle distance icon on the sensor to display the current mode via the indicator light.
- Long touch: Press and hold the three-circle distance icon to switch between modes.
| Indicator Color | Sensing Range |
| Red (flashing) | Far: 0-12 meters |
| Green (flashing) | Near: 0-4 meters |
| Blue (flashing) | Mid: 0-8 meters |
The above distances were tested in an environment with a temperature of 25°C and a humidity of 50% RH. The closer the distance, the greater the sensing angle. The farther the distance, the smaller the sensing angle.
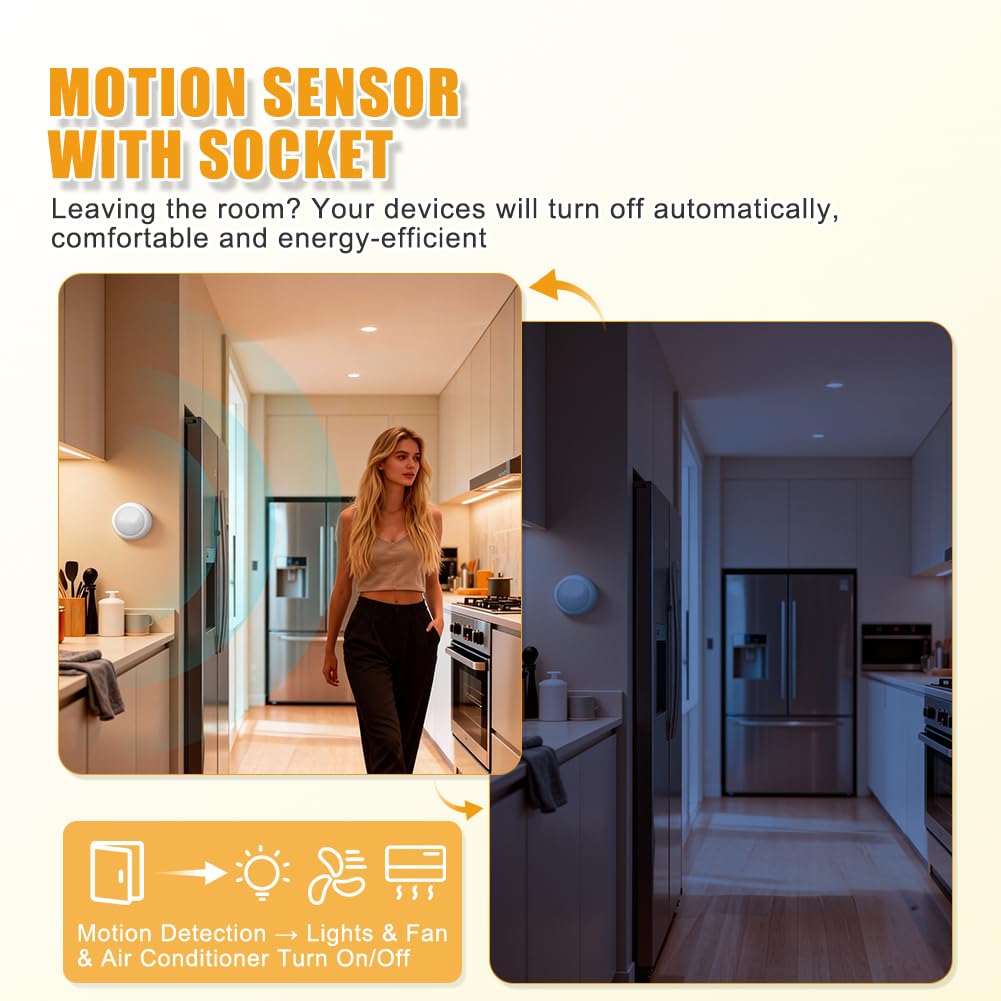
Figure 5.3.1: Adjustable Detection Angle & Range
5.4. PIR Working Principle
The Passive Infrared (PIR) sensor detects changes in infrared radiation caused by the movement of heat sources, such as people. Signal triggering is most effective when the person cuts across the sensing area and moves tangentially to the sensor.
6. Care and Maintenance
- Keep the sensor and outlet clean by wiping with a soft, dry cloth. Avoid using abrasive cleaners or solvents.
- Ensure the sensor lens is free from dust or obstructions for optimal performance.
- Replace the CR123A (3V) battery in the motion sensor as needed.
- Avoid exposing the device to extreme temperatures or high humidity, as this product is not designed for such conditions.
7. Troubleshooting
- Device not turning on/off: Ensure the plug is securely inserted into a working outlet and the sensor has a fresh battery. Verify pairing between the sensor and plug (refer to Section 4.2).
- Inconsistent detection: Check the sensor's placement and ensure there are no obstructions. Adjust the sensing sensitivity and range settings (refer to Sections 5.2 and 5.3). Ensure the sensor is installed in a recommended location (e.g., not facing directly into a wall if detecting horizontal movement).
- Device stays on too long/short: Adjust the delay time setting on the sensor (refer to Section 5.1).
- Device activates unexpectedly: Adjust the light sensing settings if activation is occurring during unwanted light conditions (refer to Section 5.2). Reduce sensing sensitivity or range if false triggers are occurring.
8. Warranty Information
ASOFTY products are designed for reliability and performance. For specific warranty details, including coverage period and terms, please refer to the warranty card included with your purchase or contact ASOFTY customer support directly. Keep your purchase receipt as proof of purchase for any warranty claims.
9. Contact Information
For technical support, customer service, or inquiries regarding your ASOFTY Motion Sensor Switch with Outlet, please visit the official ASOFTY website or refer to the contact details provided in your product packaging.
ASOFTY Store: Visit ASOFTY Store on Amazon