VIRTAVO LJH10
VIRTAVO VistaFlask Wireless Outdoor Security Camera User Manual
Model: LJH10
1. Introduction
This manual provides instructions for the installation, operation, and maintenance of your VIRTAVO VistaFlask Wireless Outdoor Security Camera (Model: LJH10). Please read this manual thoroughly before using the product to ensure proper function and safety. Keep this manual for future reference.
2. Package Contents
Verify that all items listed below are present in your package:
- VIRTAVO VistaFlask Wireless Outdoor Security Camera (LJH10)
- Mounting Bracket
- Mounting Screws and Wall Anchors
- USB Charging Cable
- User Manual (this document)
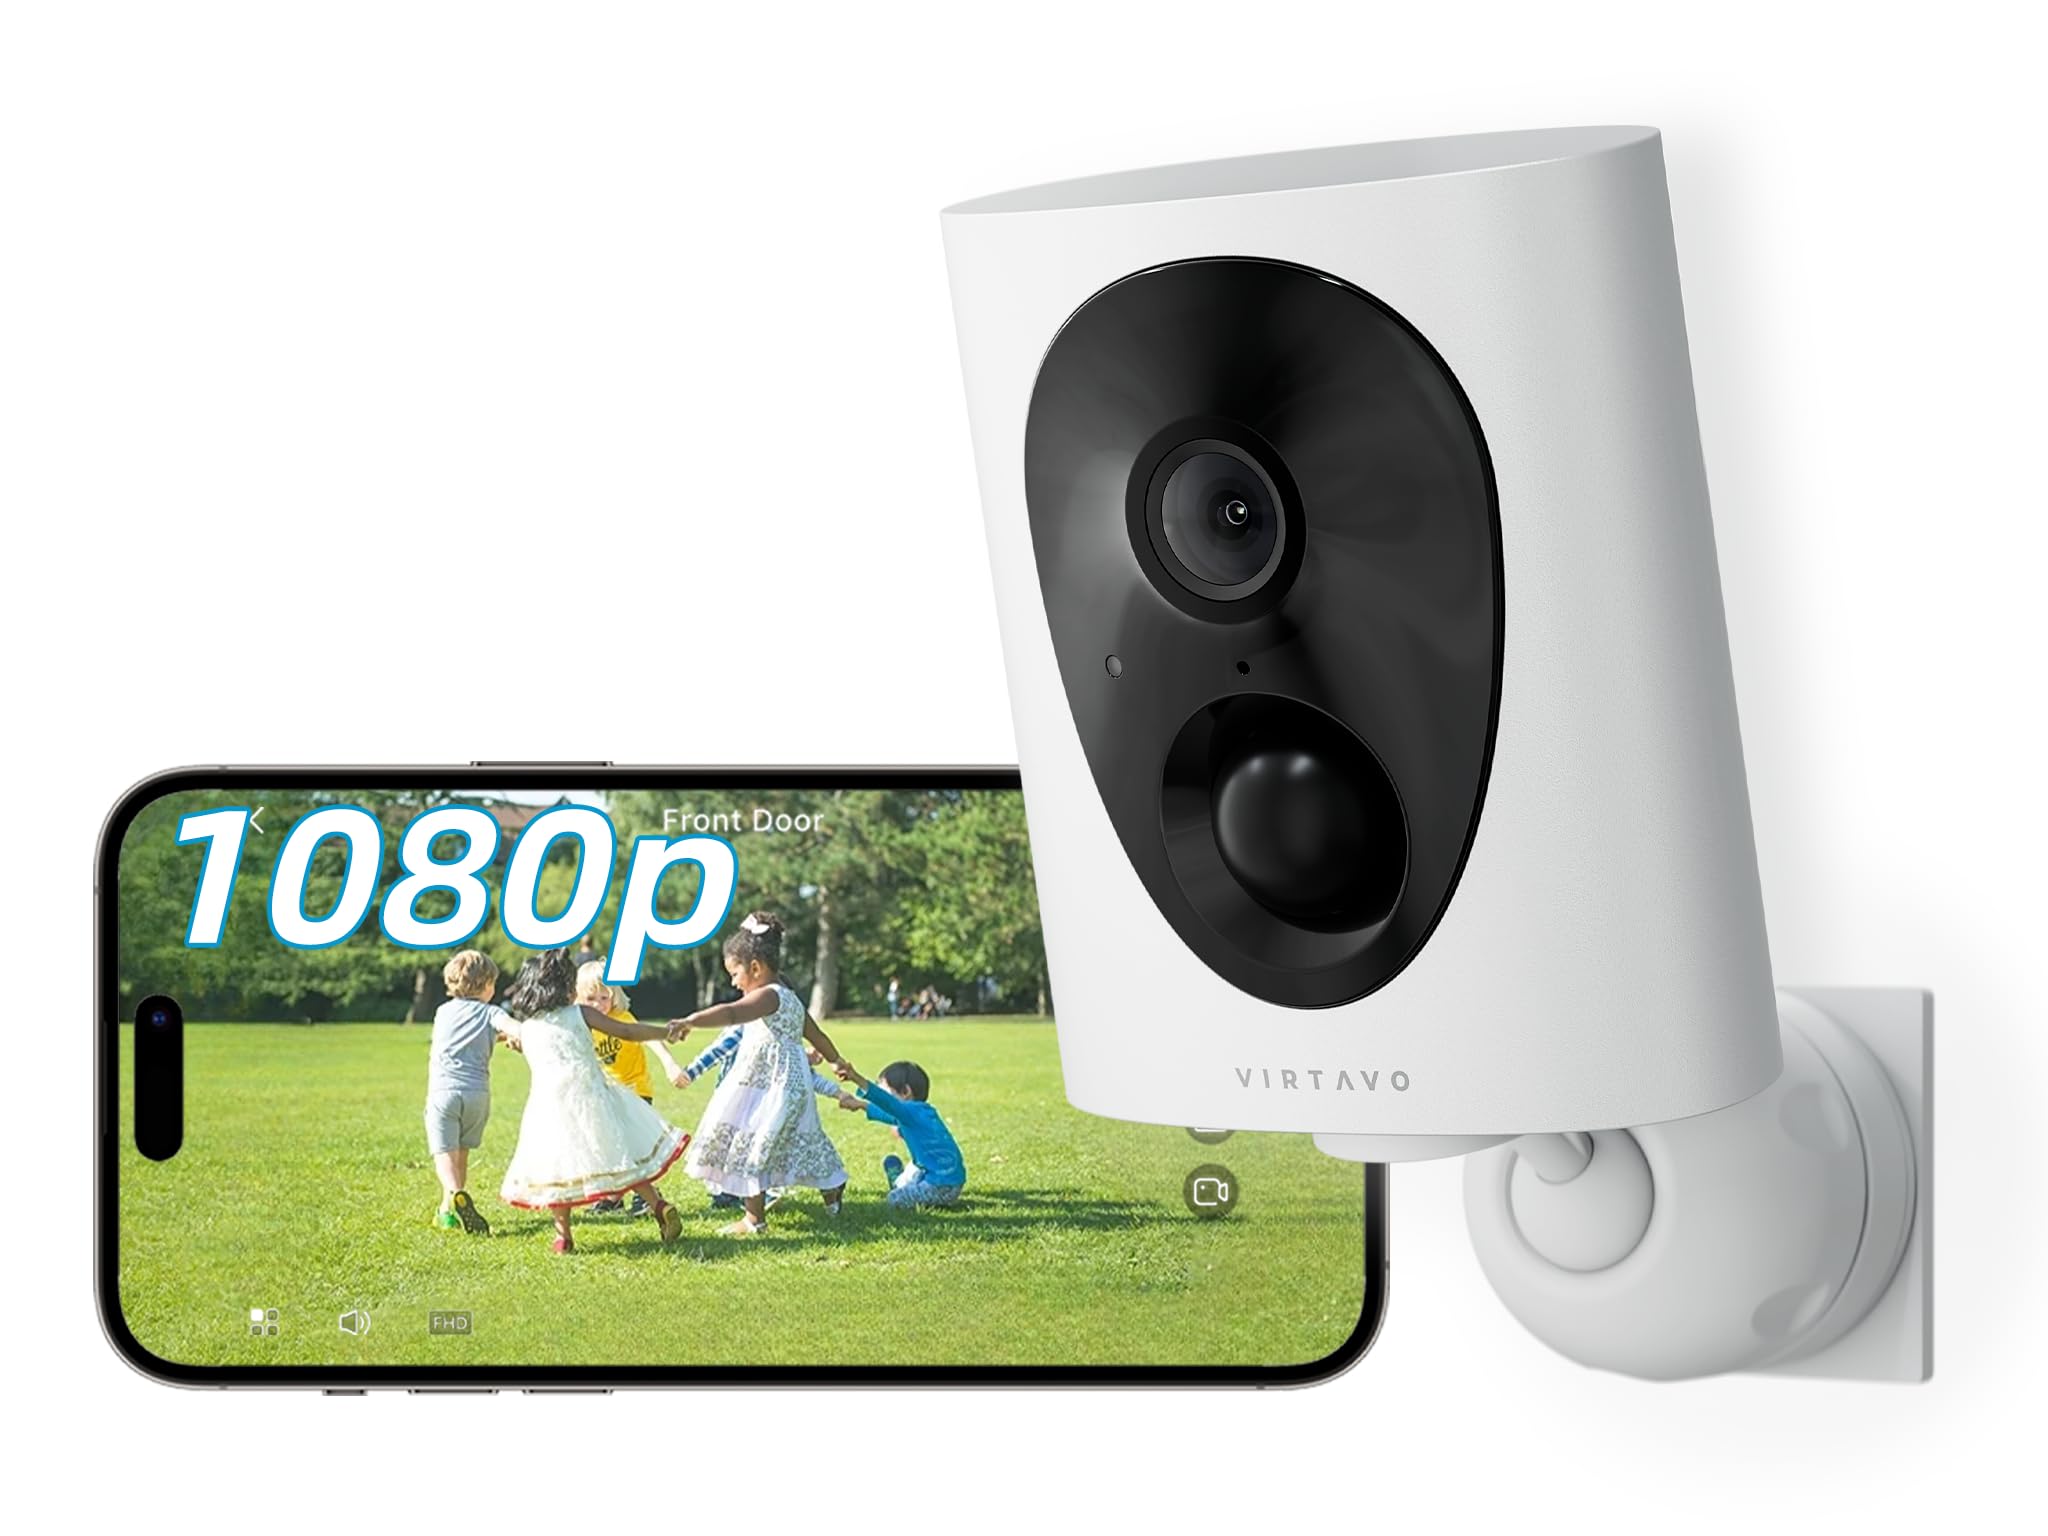
Image 1: VIRTAVO VistaFlask Camera and included accessories. The image shows the camera unit, a mounting bracket, screws, and a charging cable.
3. Product Overview
Familiarize yourself with the components of your VIRTAVO VistaFlask camera.
Image 2: Front and side view of the VIRTAVO VistaFlask camera. Key components include the lens, IR LEDs, PIR sensor, microphone, speaker, and charging port.
- Camera Lens: Captures 1080P FHD video.
- Starlight Sensor: Enables color-rich night vision in low-light conditions.
- IR LEDs (x2): Provides infrared illumination for clear night vision.
- PIR Motion Sensor: Detects passive infrared changes for motion detection.
- Microphone: Captures audio for two-way communication.
- Speaker: Outputs audio for two-way communication and alerts.
- Status Indicator Light: Displays camera status (e.g., charging, connected, recording).
- Reset Button: Used to reset the camera to factory settings.
- Micro SD Card Slot: Supports local storage (32GB to 256GB, not included).
- USB Charging Port: For charging the internal battery.
4. Setup
4.1 Charging the Camera
Before initial use, fully charge the camera's internal 4400mAh battery. Connect the provided USB charging cable to the camera's charging port and a standard 5V/1A USB power adapter (not included). The status indicator light will show charging status and turn off when fully charged. A full charge typically takes 6-8 hours.
4.2 Installing the 'HOME V' App
The VIRTAVO VistaFlask camera operates via the 'HOME V' mobile application.
- Scan the QR code below or search for "HOME V" in your device's app store (App Store for iOS, Google Play Store for Android).
- Download and install the app.
- Register a new account or log in if you already have one.
Image 3: Placeholder QR code for downloading the 'HOME V' application. Scan this code with your smartphone to quickly find and install the app.
4.3 Connecting the Camera to Wi-Fi
Follow these steps to connect your camera to your home Wi-Fi network:
- Ensure your smartphone is connected to a 2.4GHz Wi-Fi network. The camera does not support 5GHz Wi-Fi.
- Open the 'HOME V' app and tap "Add Device" or the "+" icon.
- Select "Battery Camera" or the appropriate camera type.
- Power on the camera. The status indicator light should blink blue, indicating it's ready for pairing. If not, press and hold the reset button for 5 seconds until it blinks.
- Follow the in-app instructions to enter your Wi-Fi network name (SSID) and password.
- The app will generate a QR code. Hold your phone approximately 6-8 inches (15-20 cm) in front of the camera lens until you hear a confirmation sound.
- Once connected, the status indicator light will turn solid blue, and the camera will appear in your 'HOME V' app.
4.4 Mounting the Camera
Choose a suitable location for mounting, ensuring good Wi-Fi signal strength and an unobstructed view. The camera is weatherproof for outdoor use.
- Mark the desired drilling spots using the mounting bracket as a template.
- Drill pilot holes and insert wall anchors if mounting on masonry or drywall.
- Secure the mounting bracket to the wall or ceiling using the provided screws.
- Attach the camera to the mounting bracket and adjust the angle for optimal coverage.
Image 4: Illustrative diagram of the camera mounting process. It depicts marking drill points, securing the bracket, and attaching the camera.
5. Operating Instructions
5.1 Live View and Playback
Access the 'HOME V' app to view live footage or review recorded events.
- Open the 'HOME V' app and select your camera from the device list.
- Tap on the camera feed to enter live view.
- To view recorded footage, tap the "Playback" or "History" icon within the live view interface.
5.2 Two-Way Audio
The camera supports two-way audio communication.
- In live view, tap the microphone icon to speak through the camera's speaker.
- Tap the speaker icon to listen to audio from the camera's microphone.
5.3 Motion Detection and Alerts
The camera uses PIR motion detection to trigger recordings and send alerts.
- Enable or disable motion detection in the camera settings within the 'HOME V' app.
- Adjust sensitivity levels to minimize false alarms.
- Receive instant push notifications on your smartphone when motion is detected.
5.4 Night Vision
The camera automatically switches to night vision mode in low-light conditions, utilizing its Starlight lens and IR LEDs for clear imaging up to 30 feet.
- The camera will automatically activate IR LEDs for black and white night vision.
- The Starlight lens provides color-rich images in very low ambient light before IR activation.
5.5 Storage Options
The camera supports both local Micro SD card storage and optional cloud storage.
- Micro SD Card: Insert a Micro SD card (32GB-256GB, Class 10 or higher) into the designated slot. The camera will automatically begin recording motion-triggered events to the card.
- Cloud Storage: Subscribe to the optional cloud storage service via the 'HOME V' app for additional features and secure off-site storage.
6. Maintenance
6.1 Cleaning the Camera
To ensure optimal performance, periodically clean the camera lens and housing.
- Use a soft, dry cloth to wipe the camera body.
- For the lens, use a lens cleaning cloth and a specialized lens cleaning solution if necessary. Avoid abrasive materials.
6.2 Battery Management
The camera's 4400mAh rechargeable battery provides 1-3 months of operation depending on usage and motion detection frequency.
- Recharge the battery when the app indicates a low battery level.
- Use the provided USB cable and a 5V/1A power adapter for charging.
- Avoid exposing the camera to extreme temperatures during charging or operation, as this can affect battery life.
6.3 Firmware Updates
Periodically check the 'HOME V' app for available firmware updates. Updates can improve performance, add new features, and enhance security.
- Follow the in-app instructions to download and install firmware updates.
- Ensure the camera has sufficient battery charge before starting an update.
7. Troubleshooting
| Problem | Possible Cause | Solution |
|---|---|---|
| Camera fails to connect to Wi-Fi. | Incorrect Wi-Fi password; 5GHz Wi-Fi network; weak Wi-Fi signal; camera too far from router. |
|
| No motion detection alerts. | Motion detection disabled; low sensitivity; app notifications blocked; camera offline. |
|
| Poor night vision quality. | Dirty lens; obstructions near IR LEDs; insufficient ambient light for Starlight vision. |
|
| Battery drains quickly. | Frequent motion detection; live view accessed often; extreme temperatures. |
|
8. Specifications
| Feature | Detail |
|---|---|
| Model | LJH10 |
| Resolution | 1080P FHD |
| Field of View | 130 Degrees |
| Night Vision | Starlight Color Night Vision, 2x IR LEDs (up to 30 feet) |
| Audio | Two-Way Audio |
| Motion Detection | PIR (Passive Infrared), 30-foot range |
| Connectivity | 2.4GHz Wi-Fi (IEEE 802.11b/g/n) |
| Power Source | 4400mAh Rechargeable Battery |
| Storage | Micro SD Card (32GB-256GB), Cloud Storage (optional) |
| Weather Resistance | Weatherproof |
| App Compatibility | 'HOME V' (iOS, Android) |
| Dimensions | 2.7 x 1.3 x 3.2 inches |
| Weight | 11.2 ounces |
9. Warranty and Support
VIRTAVO products come with a limited warranty. For detailed warranty information, please refer to the warranty card included in your package or visit the official VIRTAVO website.
For technical support, troubleshooting assistance, or customer service inquiries, please contact VIRTAVO support through the 'HOME V' app or visit our website.
- Online Support: VIRTAVO Official Store
- Email Support: Refer to the 'HOME V' app or product packaging for contact details.