1. Introduction
This instruction manual provides essential information for the safe and effective replacement of LED backlight strips for 70-inch televisions, specifically for models compatible with HEZNtXZ RWOSU6549-B series. These LED strips are designed to restore vibrant colors and brightness to your television. Please read all instructions carefully before proceeding with installation.
2. Safety Information
- Always disconnect the television from the power source before beginning any repair or installation work.
- LED backlight replacement involves working with sensitive electronic components and potentially sharp edges. Exercise caution to prevent injury.
- If you are not comfortable performing this repair, seek assistance from a qualified technician.
- Handle LED strips by their edges to avoid damaging the individual LED components.
- Ensure your workspace is clean, well-lit, and free of static electricity.
3. Package Contents
Your package should contain the following items:
- HEZNtXZ 70-Inch TV LED Backlight Strips (Quantity may vary based on TV model requirements)
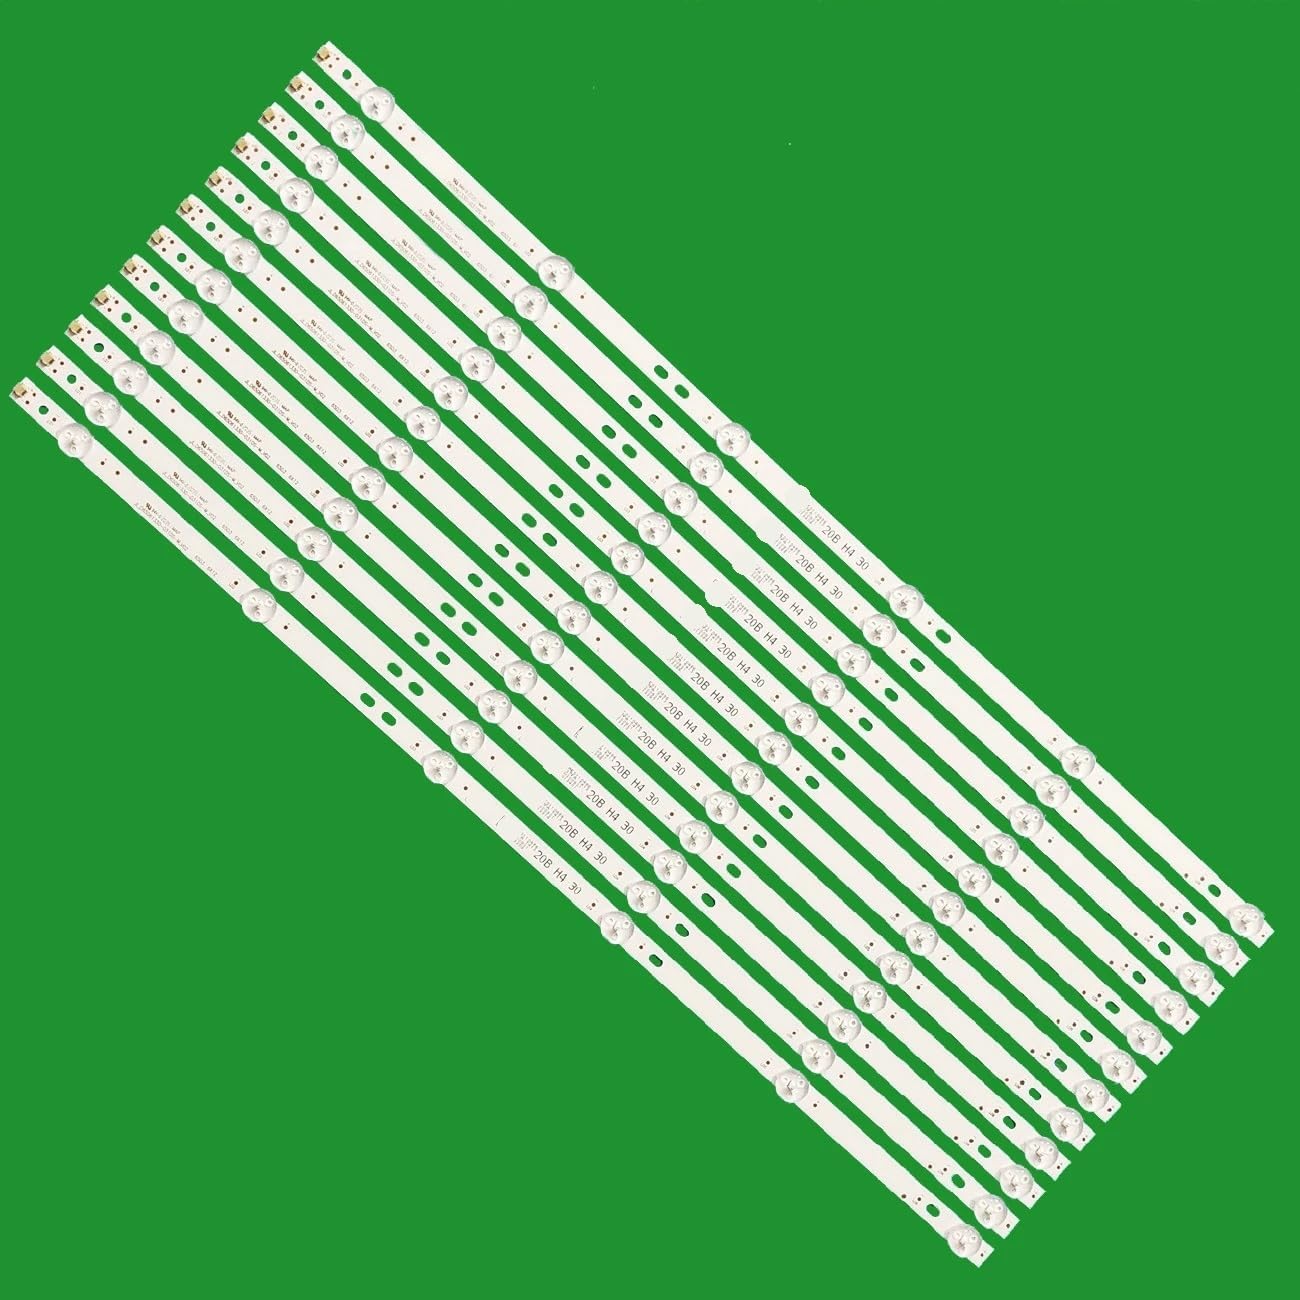
Figure 1: HEZNtXZ 70-inch TV LED Backlight Strips.
4. Specifications
| Feature | Detail |
|---|---|
| Product Type | TV LED Backlight Strips |
| Compatibility | Designed for 70-inch LED TVs (e.g., RCA 70 TV RWOSU6549-B) |
| Model Numbers | RWOSU6549-B, SJ.QA.D6500601-3030DS-M, AE0110652 |
| Manufacturer | HEZNtXZ |
| Special Feature | Energy Efficient |
| Item Weight | 50 Grams |
5. Installation Guide
Replacing TV LED backlight strips requires careful disassembly and reassembly of the television. It is recommended that this procedure be performed by individuals with experience in electronics repair. Incorrect installation can damage your television.
- Preparation: Disconnect the TV from all power sources. Place the TV face down on a soft, clean surface to prevent screen damage.
- Disassembly: Carefully remove the TV back cover, stand, and any internal components (e.g., main board, power supply board, speakers) that obstruct access to the display panel. Document each step with photos for easier reassembly.
- Panel Removal: Gently remove the LCD panel and diffuser layers. These components are fragile and must be handled with extreme care.
- Old Strip Removal: Locate the existing LED backlight strips. Disconnect their power connectors and carefully peel them off the TV chassis.
- New Strip Installation: Align the new HEZNtXZ LED backlight strips in the correct positions. Ensure proper orientation and secure them firmly. Connect the power connectors.
- Testing (Pre-Reassembly): Before fully reassembling, temporarily connect the TV to power and test the new LED strips to ensure they illuminate correctly. (Refer to Section 6 for detailed testing).
- Reassembly: Once confirmed working, carefully reassemble the diffuser layers, LCD panel, and all other components in reverse order of disassembly. Ensure all cables are properly connected and screws are tightened appropriately.

Figure 2: Individual LED Backlight Strip with connection details.
Installation Video Guide
Video 1: General guide for replacing LED backlight strips in a 70-inch TV. This video demonstrates the unpacking, inspection, and connection of LED strips, similar to the installation process for the HEZNtXZ RWOSU6549-B model.
6. Operating (Testing) the LED Strips
Before final reassembly, it is crucial to test the functionality of the newly installed LED strips. A dedicated LED TV backlight tester is recommended for this purpose.
- Connect Tester: Connect the probes of the LED TV backlight tester to the positive (+) and negative (-) terminals of each LED strip.
- Observe Illumination: The LED strip should illuminate evenly. Check for any unlit LEDs, flickering, or inconsistent brightness.
- Individual LED Test: If a strip does not light up, you can test individual LEDs by carefully touching the tester probes to the positive and negative contacts of each LED on the strip.
LED Strip Testing Demonstration
Video 2: Demonstration of using an LED tester to verify the functionality of LED backlight strips. This process is applicable to the HEZNtXZ replacement strips.
7. Maintenance
Once installed, the LED backlight strips require minimal maintenance. To ensure longevity:
- Avoid exposing the TV to excessive heat or moisture.
- Keep the TV's ventilation openings clear to prevent overheating.
- Do not attempt to clean the LED strips directly once installed within the TV panel.
8. Troubleshooting
| Problem | Possible Cause | Solution |
|---|---|---|
| No backlight after installation | Loose connection, faulty strip, power supply issue | Check all connections. Test each strip individually (refer to Section 6). Verify power supply board functionality. |
| Flickering or uneven brightness | Faulty LED on a strip, loose connection, driver board issue | Identify and replace the faulty strip. Ensure all connections are secure. Inspect the LED driver board. |
| Dark spots on screen | Unlit or damaged individual LEDs | Pinpoint the exact location of the unlit LEDs and replace the corresponding strip. |
9. Warranty and Support
HEZNtXZ products are manufactured to high-quality standards. For warranty information or technical support, please refer to the contact details provided with your purchase or visit the official HEZNtXZ website. Keep your proof of purchase for warranty claims.