Introduction
This manual provides detailed instructions for the installation, operation, and maintenance of your Hifonics Alpha A2000.1D 2000W Super D-Class Monoblock Car Amplifier. Please read this manual thoroughly before attempting installation or operation to ensure proper function and safety.
Safety Information
- Always disconnect the vehicle's battery negative terminal before beginning any installation.
- Ensure all wiring is properly routed and secured to prevent damage or short circuits.
- Use appropriate gauge wiring as specified in the installation section to handle the amplifier's power requirements.
- Mount the amplifier securely in a location that allows for adequate ventilation and is protected from moisture and excessive heat.
- If you are unsure about any part of the installation process, consult a professional car audio installer.
Package Contents
Verify that all items are present in your package:
- Hifonics Alpha A2000.1D Monoblock Amplifier
- O Gauge Amp Kit (includes power cable, ground cable, remote wire, RCA cables, speaker wire, fuse holder, fuse, terminals, and zip ties)
- HFR-31 Wired Bass Remote
- Mounting Hardware
- User Manual (this document)
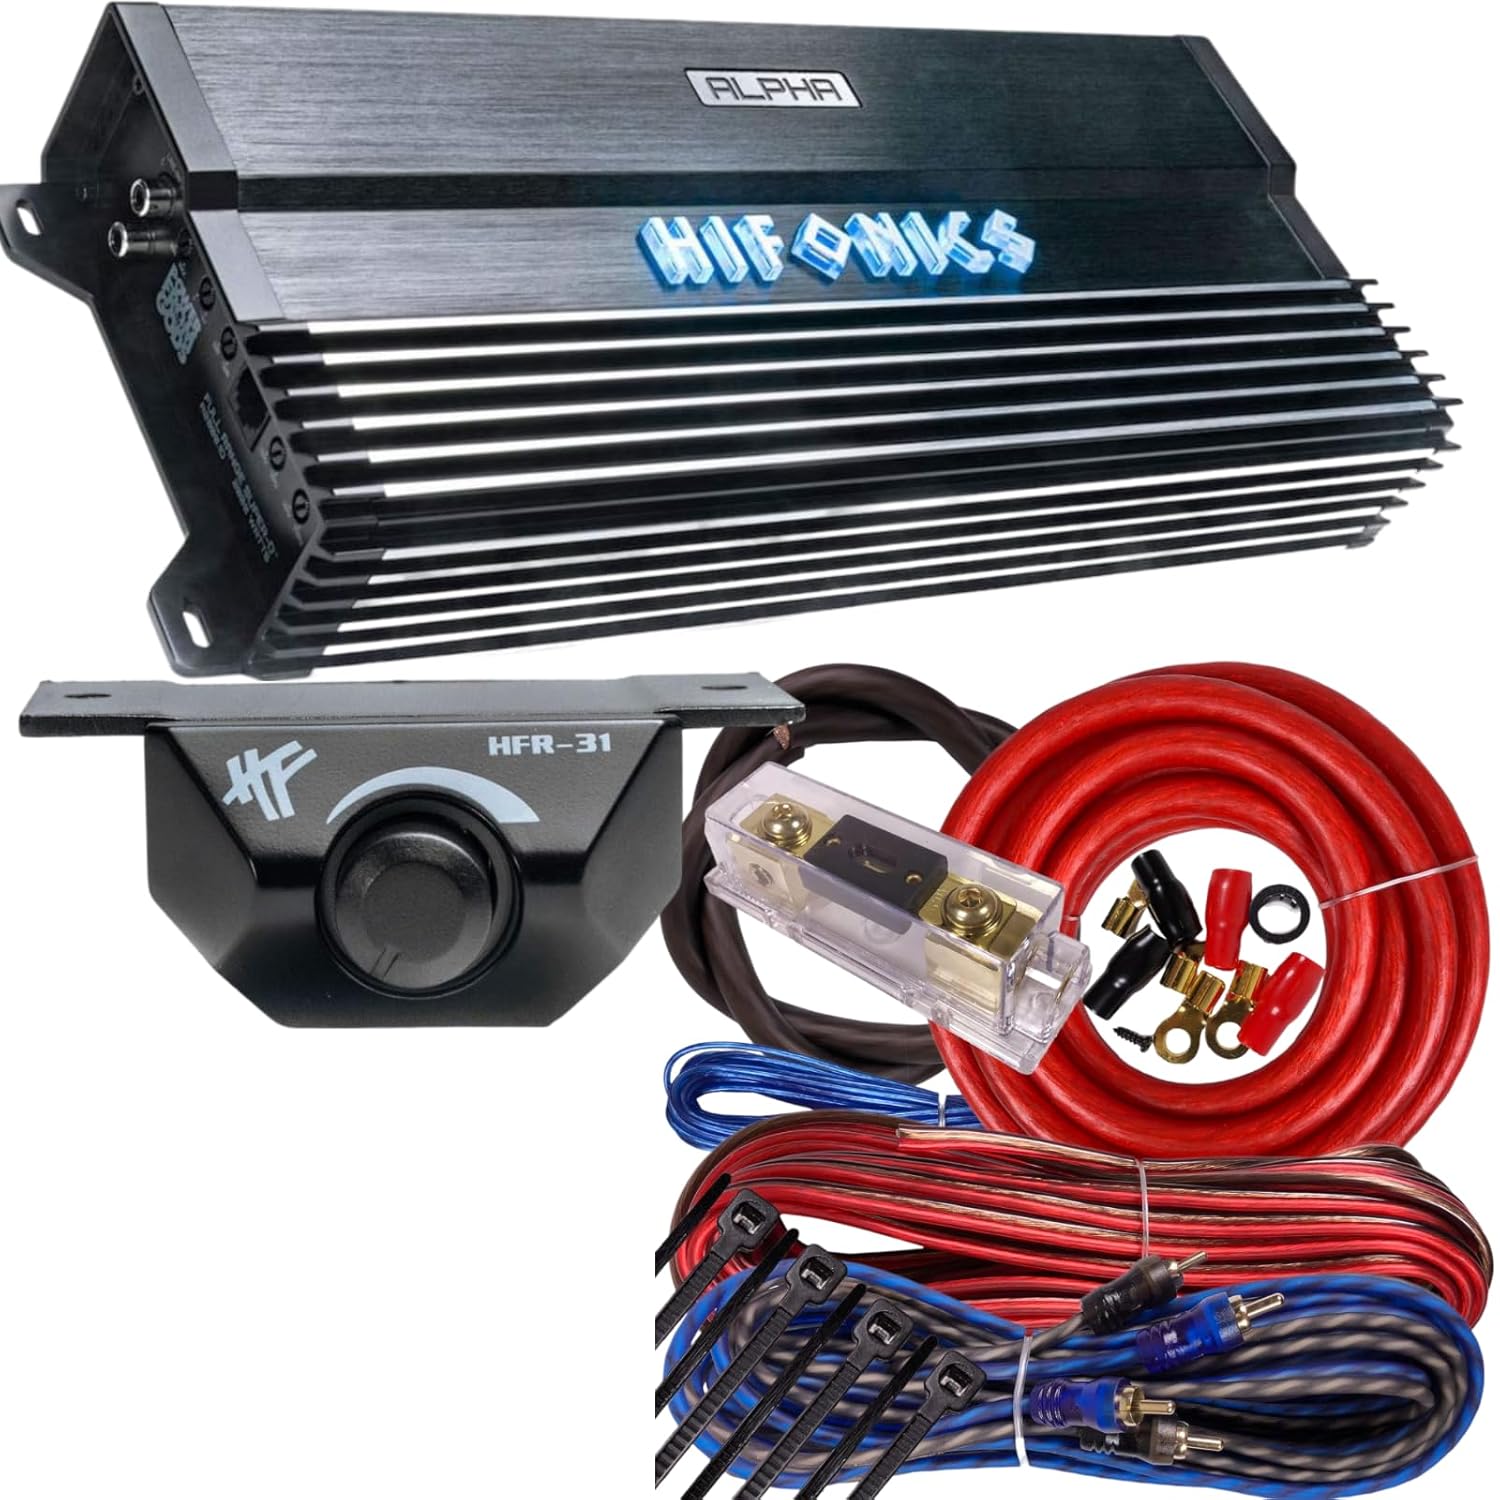
Image: The Hifonics Alpha A2000.1D amplifier shown with the included O Gauge amp kit components and the HFR-31 wired bass remote.
Features
- 2000W Super D-Class Monoblock Amplifier: Designed for powerful, distortion-free bass output to subwoofers.
- Ultra-Fi MOSFET Technology: Ensures high-quality sound reproduction and efficient thermal management.
- Adjustable Low-Pass and Subsonic Filters: Allows for precise customization of audio frequencies.
- Bass Boost Function: Provides additional low-frequency enhancement.
- HFR-31 Wired Bass Remote: Enables convenient bass level adjustments from the vehicle's interior.
- Three-Way Protection Circuitry: Safeguards against thermal overload, speaker short circuits, and other potential issues.
- Heavy-Duty Aluminum Alloy Heat Sink: Aids in efficient heat dissipation for consistent performance.
- LED Indicators: For power and protection status monitoring.
Setup and Installation
Proper installation is crucial for optimal performance and safety. Refer to the diagram of the amplifier's rear panel for connection points.

Image: Rear panel of the Hifonics Alpha A2000.1D amplifier, displaying the Line-Input (RCA), Level, Phase, Bass Boost, HFR-31 remote port, Subsonic filter, and LPF (Low-Pass Filter) controls.
- Mounting the Amplifier:
Choose a secure, well-ventilated location for the amplifier, such as under a seat or in the trunk. Ensure there is sufficient airflow around the heat sink. Use the provided mounting hardware to secure the amplifier.
- Power Connection (BATT+):
Connect the O Gauge power cable from the amplifier's BATT+ terminal to the positive terminal of the vehicle's battery. Install the included fuse holder within 18 inches (45 cm) of the battery and insert the appropriate fuse. Ensure the fuse is removed during initial wiring to prevent accidental short circuits.
- Ground Connection (GND):
Connect the O Gauge ground cable from the amplifier's GND terminal to a clean, unpainted metal surface on the vehicle's chassis. The ground point should be as short as possible and provide a solid electrical connection. Sand away any paint or rust from the contact area.
- Remote Turn-On (REM):
Connect a remote turn-on wire from the amplifier's REM terminal to the remote output of your head unit. This wire signals the amplifier to turn on when the head unit is activated.
- Audio Input (LINE-INPUT):
Connect RCA cables from the RCA outputs of your head unit to the LINE-INPUT (L and R) terminals on the amplifier. For monoblock operation, both L and R inputs should be connected.
- Speaker Output:
Connect your subwoofer(s) to the speaker output terminals on the amplifier. Ensure correct polarity (+ to + and - to -) and that the total impedance of your subwoofer(s) matches the amplifier's specifications (e.g., 1-ohm stable).
- Bass Remote Connection (HFR-31):
Connect the HFR-31 wired bass remote to the dedicated HFR-31 port on the amplifier's rear panel. Route the cable to a convenient location within the vehicle's cabin for easy access.
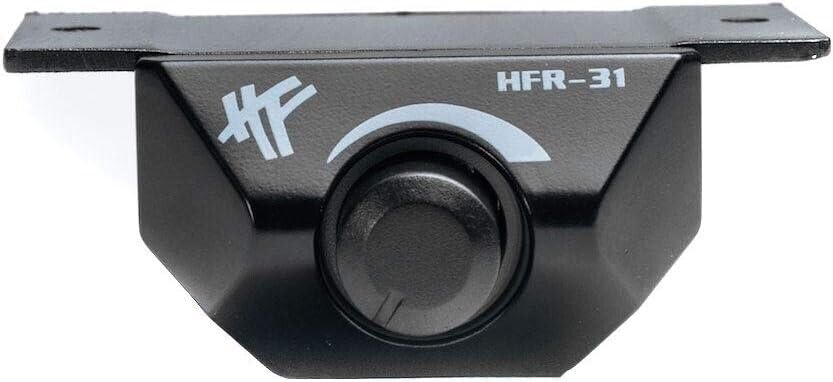
Image: The Hifonics HFR-31 wired bass remote, featuring a rotary knob for adjusting bass levels.
Operating Instructions
Once the amplifier is installed and powered on, you can adjust its settings to optimize sound performance.
- Level Control (Gain):
This control matches the amplifier's input sensitivity to the output level of your head unit. Start with the level control at minimum. Play a familiar track at about 75% of your head unit's maximum volume. Slowly increase the amplifier's level control until you hear distortion, then back it off slightly. This ensures maximum clean output.
- Phase Control:
Adjusts the phase of the subwoofer output (0° or 180°). Experiment with both settings to find the one that provides the most impactful and cohesive bass response with your main speakers.
- Bass Boost:
Provides an adjustable boost to specific low frequencies (0dB to 12dB). Use sparingly to avoid distortion and potential damage to your subwoofer. Adjust to taste.
- Subsonic Filter:
This high-pass filter removes extremely low frequencies (below 10Hz to 50Hz) that are inaudible but can waste amplifier power and potentially damage subwoofers. Set it slightly below your subwoofer's resonant frequency or around 20-30Hz.
- Low-Pass Filter (LPF):
This filter allows only frequencies below the set point (30Hz to 250Hz) to pass through to the subwoofer. Adjust this to blend the subwoofer's output seamlessly with your main speakers. A common starting point is 80Hz.
- HFR-31 Wired Bass Remote:
The wired bass remote allows you to conveniently adjust the subwoofer's output level from your listening position without accessing the amplifier directly.
Maintenance
- Keep the amplifier clean and free of dust and debris. Use a soft, dry cloth for cleaning.
- Ensure adequate ventilation around the amplifier to prevent overheating. Do not block the heat sink fins.
- Periodically check all wiring connections for tightness and corrosion. Loose connections can lead to poor performance or damage.
- Avoid exposing the amplifier to moisture or extreme temperatures.
Troubleshooting
| Problem | Possible Cause | Solution |
|---|---|---|
| No Power / Amplifier Not Turning On | Blown fuse, loose power/ground/remote wire, faulty remote turn-on signal. | Check fuse in fuse holder. Verify all power, ground, and remote connections are secure and receiving proper voltage. Ensure head unit is on. |
| No Sound Output | Loose RCA cables, incorrect input/output connections, amplifier in protection mode, speaker wiring issues. | Check RCA connections at both amplifier and head unit. Verify speaker wiring polarity and connections. Check if the protection LED is illuminated. |
| Distorted Sound | Gain set too high, damaged speaker, poor ground connection, incorrect filter settings. | Reduce gain level. Inspect speaker for damage. Ensure ground connection is solid. Adjust LPF and Subsonic filter settings. |
| Amplifier Overheating (Protection LED On) | Insufficient ventilation, impedance too low, prolonged high output. | Ensure adequate airflow around the amplifier. Check subwoofer impedance. Reduce volume or allow amplifier to cool down. |
Specifications
| Feature | Detail |
|---|---|
| Model | A2000.1D |
| Brand | Hifonics |
| Amplifier Class | Super D-Class Monoblock |
| Output Power | 2000 Watts (Peak) |
| Number of Channels | 1 |
| Mounting Type | Freestanding |
| Low-Pass Filter (LPF) | Adjustable (30Hz - 250Hz) |
| Subsonic Filter | Adjustable (10Hz - 50Hz) |
| Bass Boost | Adjustable (0dB - 12dB) |
| Remote Bass Control | Included (HFR-31) |
| Protection Circuitry | Thermal, Overload, Short Circuit |
Warranty and Support
For warranty information and technical support, please refer to the official Hifonics website or contact their customer service department. Keep your purchase receipt as proof of purchase for warranty claims.
For further assistance, visit the Hifonics Store on Amazon.