1. Introduction
Thank you for choosing the VELPAX 12V 5kW Diesel Air Heater. This product is designed to provide efficient and reliable heating for various vehicles, including cars, SUVs, RVs, campers, and trucks. It features an LCD control panel, remote control, and Bluetooth app connectivity for convenient operation. Please read this manual thoroughly before installation and operation to ensure safe and optimal performance.
2. Product Overview and Components
The VELPAX 12V 5kW Diesel Air Heater system includes the main heating unit and various accessories for installation and control. Familiarize yourself with all components before proceeding with setup.

Figure 2.1: Main heating unit dimensions and included accessories. The image displays the heater unit with lengths of 15 inches (38cm) and heights of 5.3 inches (13.5cm), and an air outlet diameter of 3 inches (7.6cm). Below the main unit, individual components are shown: LCD Controller, Remote controls, Wire Bundle, Silencers, Tank, Fixed plate, Air filter, Vent, Oil pump clamp, Fuel pump, Fuel filter, Screw accessory kit, and Exhaust pipe Tubing.
The heater is designed for quick and effective warming of your vehicle's cabin, ensuring comfort in cold conditions.

Figure 2.2: The 12V 5kW Diesel Air Heater quickly preheats the engine and warms up the cabin. This image illustrates the heater's benefits, including temperature regulation, remote control, time adjustment, wide application, quiet operation, and app adjustment, with an RV in the background being warmed by the heater.
3. Specifications
| Feature | Specification |
|---|---|
| Brand | VELPAX |
| Model | ZCJRQ-Black-BT |
| Heating Power | 5 kW |
| Rated Voltage | 12 V |
| Item Weight | 6.66 Kilograms |
| Package Dimensions | 45 x 45 x 25 cm |
| Operating Temperature Range | -40°C to 50°C |
| Control Methods | LCD Switch, Remote Control, Bluetooth App |
4. Safety Information
Read and understand all safety warnings and instructions before installing or operating this heater. Failure to follow these instructions may result in fire, explosion, electric shock, or serious injury.
- Ventilation: Ensure adequate ventilation when operating the heater. Do not operate in enclosed, unventilated spaces.
- Fuel: Use only diesel fuel. Do not use gasoline or other volatile fuels. Ensure fuel lines are properly secured and free from leaks.
- Exhaust: The exhaust system must be routed safely outside the vehicle and away from combustible materials. Ensure exhaust fumes cannot enter the vehicle cabin.
- Electrical: Connect the heater to a 12V DC power source only. Ensure all electrical connections are secure and insulated to prevent short circuits.
- Mounting: Mount the heater securely on a stable, non-combustible surface. Maintain adequate clearance from flammable materials.
- Children and Pets: Keep children and pets away from the heater during operation.
- Maintenance: Perform regular maintenance as described in this manual. Disconnect power before performing any maintenance or repairs.
5. Setup and Installation
Proper installation is crucial for the safe and efficient operation of your diesel air heater. If you are unsure about any step, consult a qualified professional.
- Choose a Location: Select a dry, secure, and well-ventilated location for the main heating unit, away from flammable materials. Ensure sufficient space for air intake and exhaust connections.
- Mount the Heater: Use the provided fixed plate and screws to securely mount the heater unit.
- Install Fuel System: Connect the fuel pump, fuel filter, and fuel lines to the fuel tank and the heater. Ensure all connections are tight and leak-free.
- Install Exhaust System: Attach the exhaust pipe and silencer. Route the exhaust safely outside the vehicle, ensuring it is clear of any obstructions and directed away from the cabin and combustible materials.
- Install Air Intake: Connect the air filter to the air intake port of the heater.
- Install Hot Air Ducting: Connect the hot air vent to the heater's outlet and route it to the desired heating area within the vehicle.
- Electrical Connections: Connect the wire bundle to the heater and the 12V DC power source (vehicle battery). Ensure correct polarity and secure connections. Install the LCD controller in an accessible location.
6. Operating Instructions
Your VELPAX diesel air heater can be controlled via the LCD switch, remote control, or a Bluetooth-enabled smartphone app.
6.1. LCD Thermostat Control
The LCD thermostat allows for precise temperature control and monitoring. It can be set for 24-hour heating, providing warmth and comfort.

Figure 6.1: The LCD thermostat features a setup key, adjustment knob, pump key, and turn key. It displays current temperature, operating mode, and other settings. The image also contrasts a cold car before use with a warm car after using the heater, highlighting benefits like quick interior heating and fast heat defrosting.
- Power On/Off: Use the power button on the LCD panel to turn the heater on or off.
- Temperature Adjustment: Use the adjustment knob or arrow keys to set the desired temperature.
- Mode Selection: Navigate through different operating modes (e.g., constant heat, timed heating) using the setup key.
- Fuel Pump Control: The pump key may allow manual control or priming of the fuel pump.
6.2. Remote Control Operation
The included remote control allows for convenient operation from a distance, enabling you to pre-heat your vehicle before entry.
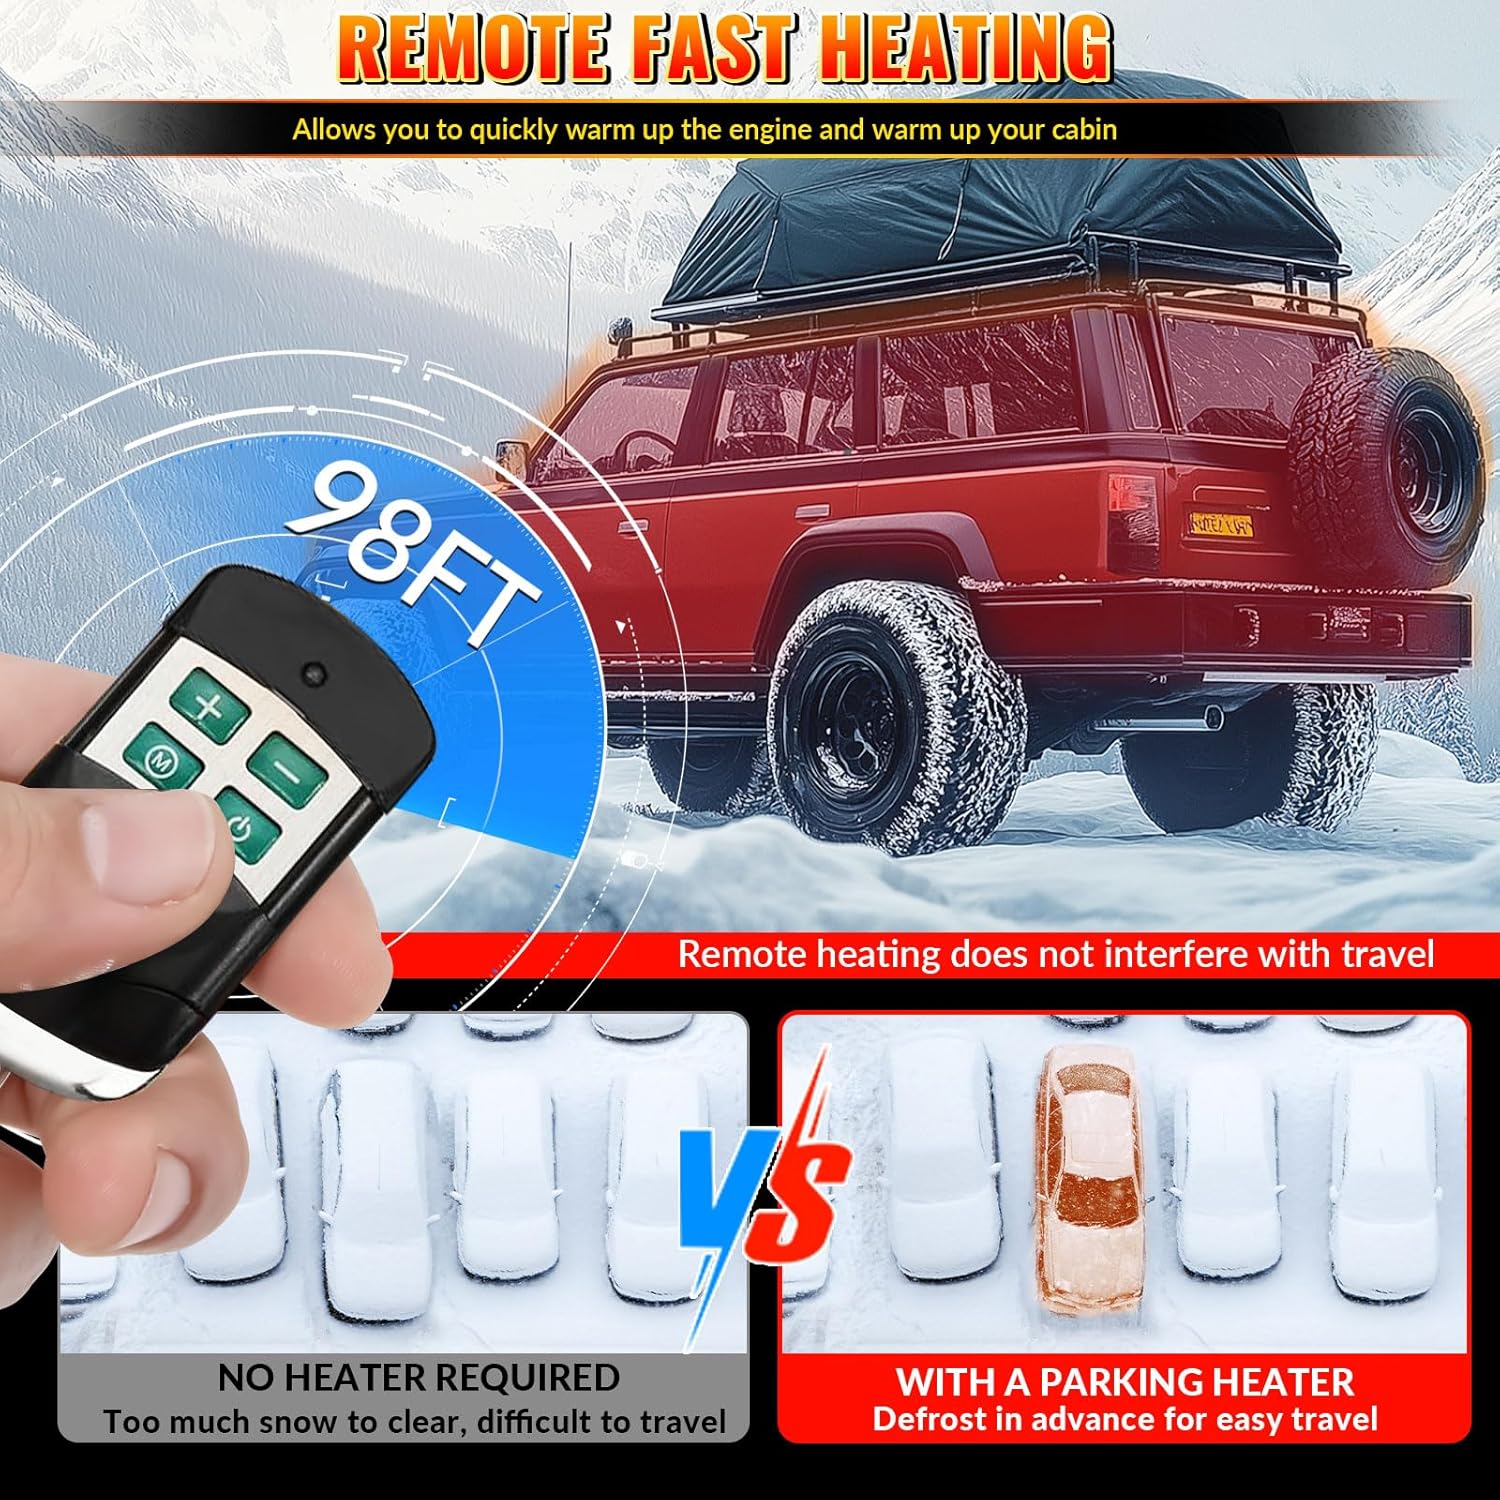
Figure 6.2: The remote control allows you to quickly warm up the engine and cabin from up to 98 feet away. This image contrasts a car without a heater, requiring snow clearing, with a car using a parking heater for advanced defrosting and easier travel.
- Power: Press the power button to turn the heater on or off.
- Temperature/Settings: Use the '+' and '-' buttons to adjust temperature or other settings as indicated by the remote's display or the main unit's LCD.
- Mode: The 'M' button typically cycles through operating modes.
6.3. Bluetooth App Control
The dedicated smartphone app provides advanced control and monitoring features via Bluetooth connectivity.
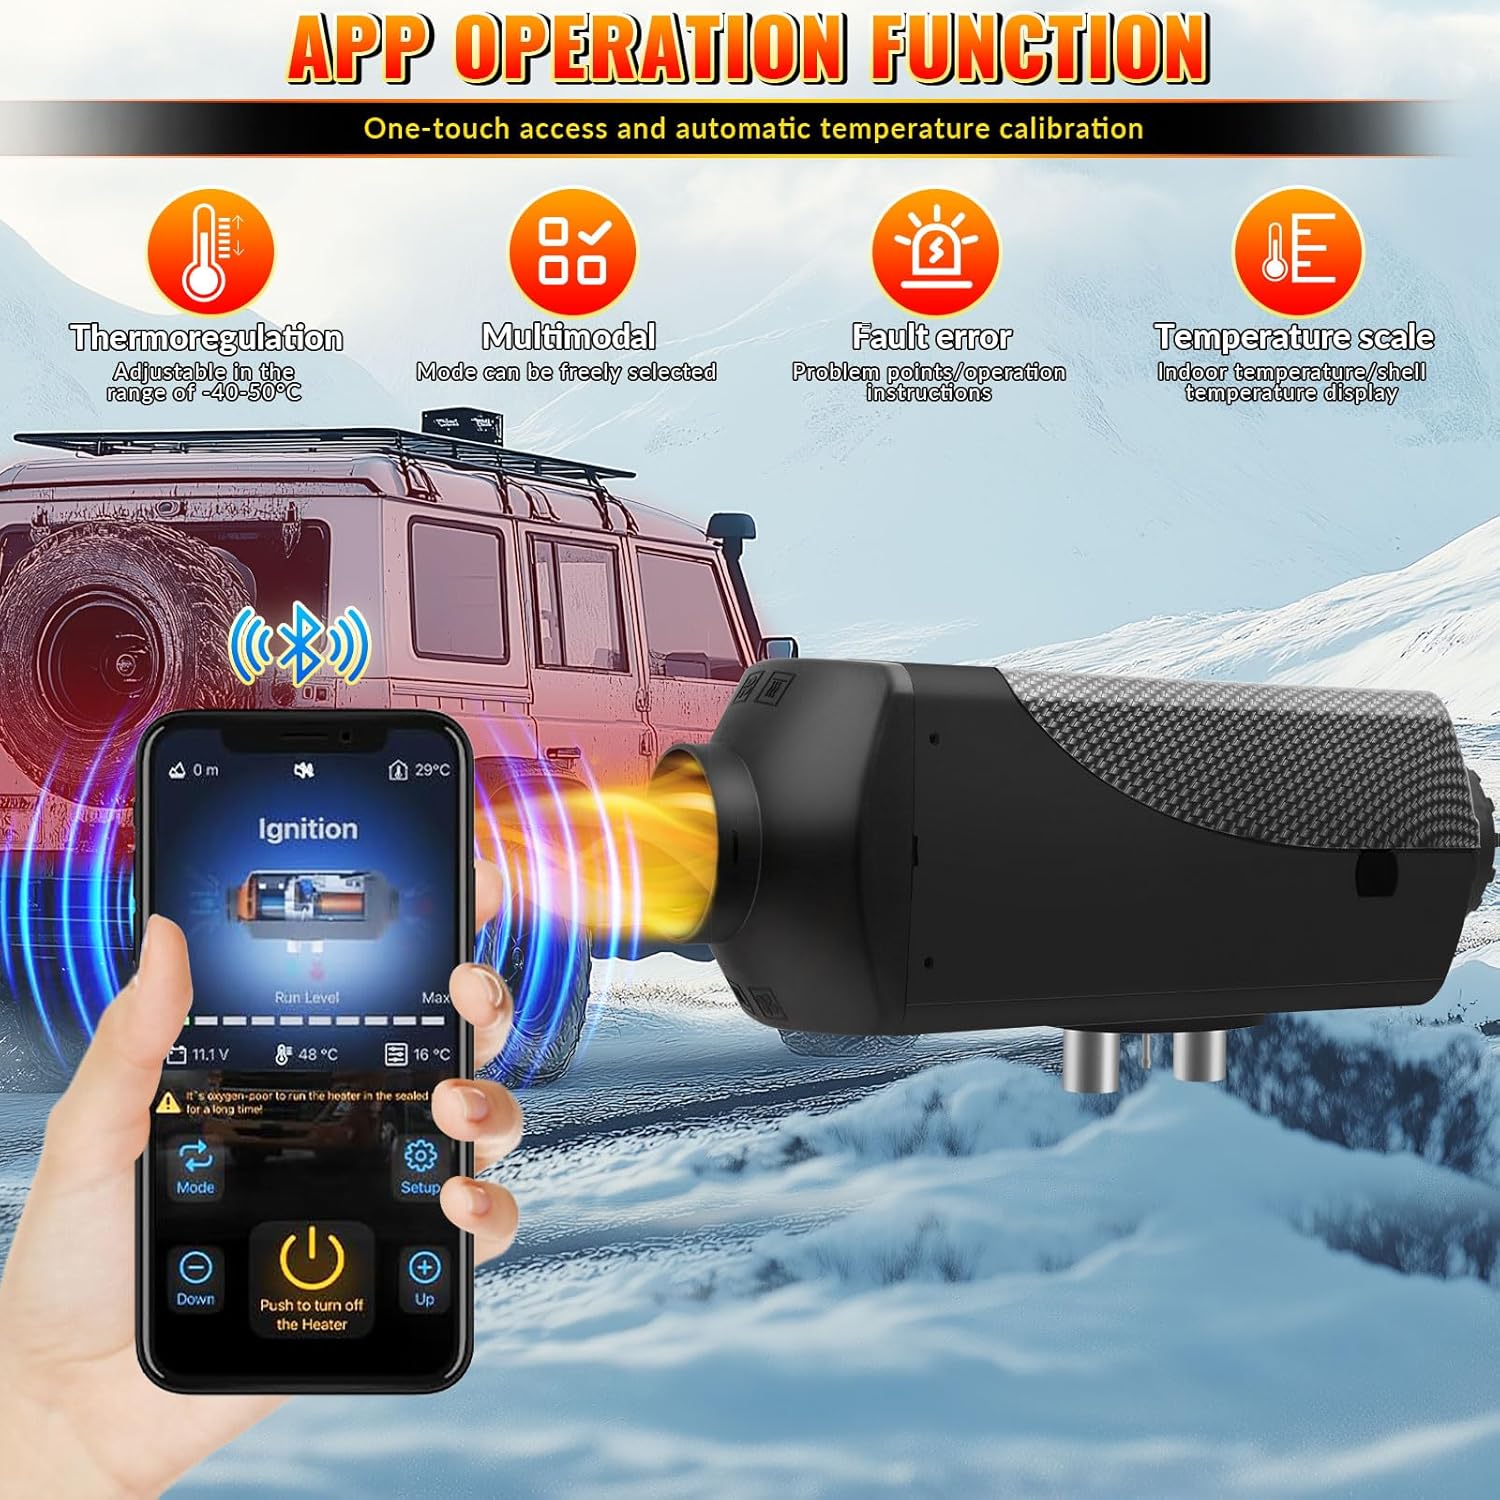
Figure 6.3: The app offers one-touch access and automatic temperature calibration. Features include thermoregulation (adjustable from -40 to 80°C), multimodal selection, fault error display, and indoor/shell temperature display. The image shows a smartphone screen with heater controls and status.

Figure 6.4: Bluetooth app control allows you to preheat your vehicle remotely, ensuring a warm interior even in snowy conditions. The image depicts a hand holding a smartphone displaying the heater control app, with a vehicle in a snowy landscape.
- Download App: Scan the QR code provided in the product packaging or search for the VELPAX heater app in your smartphone's app store.
- Pairing: Follow the in-app instructions to pair your smartphone with the heater via Bluetooth.
- Control Functions: Use the app to turn the heater on/off, adjust temperature, select operating modes, and monitor status.
7. Maintenance
Regular maintenance ensures the longevity and safe operation of your heater. Always disconnect power before performing any maintenance.
- Clean Air Filter: Periodically check and clean the air filter to ensure proper airflow.
- Inspect Exhaust System: Regularly inspect the exhaust pipe for blockages, damage, or leaks. Ensure it remains clear of debris.
- Check Fuel Lines: Inspect fuel lines for cracks, leaks, or damage. Ensure all connections are secure.
- Electrical Connections: Verify that all electrical connections are tight and free from corrosion.
- General Cleaning: Keep the exterior of the heater clean and free from dust and debris.
8. Troubleshooting
If you encounter issues with your heater, refer to the following common problems and solutions:
| Problem | Possible Cause | Solution |
|---|---|---|
| Heater does not start | No power, low battery voltage, fuel supply issue, clogged fuel filter | Check power connections, ensure 12V supply, check fuel level, clean/replace fuel filter |
| No heat output | Clogged air intake/exhaust, faulty glow plug, fuel pump issue | Clear obstructions, inspect glow plug, check fuel pump operation |
| Excessive smoke | Incorrect fuel mixture, faulty combustion, clogged exhaust | Check fuel quality, inspect combustion chamber, clear exhaust |
| Unusual noise | Loose components, fan obstruction, faulty motor | Tighten loose parts, clear fan, contact support if motor is faulty |
| App/Remote not connecting | Bluetooth off, out of range, pairing issue | Ensure Bluetooth is on, move closer to heater, re-pair device |
For issues not listed here or if troubleshooting steps do not resolve the problem, please contact VELPAX customer support.
9. Warranty and Support
VELPAX products are designed for quality and reliability. For warranty information or technical assistance, please refer to the warranty card included with your product or visit the official VELPAX website. You may also contact customer support directly for any inquiries regarding your VELPAX 12V 5kW Diesel Air Heater.