Introduction
Thank you for choosing the CUTEBEE Retro Coffee Shop DIY Miniature Dollhouse Kit. This kit provides a rewarding crafting experience, allowing you to construct a detailed miniature coffee shop scene. Designed for individuals aged 14 and above, this project requires patience and attention to detail to bring the intricate components to life. The finished model serves as a unique decorative piece or collectible.

Image: The fully assembled CUTEBEE Retro Coffee Shop miniature dollhouse kit, showcasing its detailed exterior and interior lighting.
What's Included
Your CUTEBEE Retro Coffee Shop DIY Miniature Dollhouse Kit includes all necessary components for assembly:
- Pre-cut wooden pieces for the structure and furniture.
- Various paper and paper accessories for decorations and details.
- LED lighting components.
- Detailed English instruction manual with colored pictures.
Safety Information
- Small Parts: This kit contains small parts and is not suitable for children under 3 years due to choking hazards. Keep all components out of reach of young children.
- Sharp Tools: Assembly may require the use of sharp tools (e.g., scissors, utility knife). Exercise caution and supervise children if they are assisting.
- Adhesives: Use silicone liquid glue in a well-ventilated area. Avoid contact with skin and eyes. In case of contact, rinse thoroughly with water.
- Batteries: Ensure correct battery polarity when inserting. Do not mix old and new batteries. Dispose of used batteries responsibly.
Tools and Materials Required
To complete your miniature dollhouse, you will need the following additional items:
- Silicone liquid glue (not included).
- Two (2) AAA batteries (not included) for the LED lights.
- Scissors or a craft knife for cutting paper and other materials.
- Tweezers for handling small parts.
- Ruler for precise measurements.
Assembly Instructions
The assembly process is designed to be a step-by-step creative journey. Please follow the included English manual carefully. It features detailed, colored pictures to guide you through each stage.
General Tips for Assembly:
- Patience is Key: Take your time with each step. Rushing can lead to errors or damaged parts.
- Organize Parts: Before starting, sort and organize all components according to the manual's numbering.
- Test Fit: Whenever possible, dry-fit pieces before applying glue to ensure a proper fit.
- Use Glue Sparingly: Apply a thin, even layer of glue. Excess glue can be messy and affect the final appearance. Allow sufficient drying time.
- Refer to Visuals: The manual's pictures are crucial. Pay close attention to the orientation and placement of each piece.
Step-by-Step Guidance:
- Preparation: Unpack all components and verify against the parts list in your manual. Identify the main structural pieces.
- Building the Structure: Begin by assembling the main walls and floor sections of the coffee shop. These are typically larger wooden pieces that interlock or require gluing.
- Adding Interior Details: Proceed to assemble the miniature furniture, shelves, and counter. These often involve smaller wooden and paper components.
- Decorating: Attach the numerous paper accessories, such as signs, menus, books, and other decorative elements, using tweezers for precision.
- Wiring the LED Lights: Follow the manual's specific instructions for wiring the LED lights. Ensure all connections are secure before inserting batteries.
- Final Assembly: Connect all sections of the coffee shop and add any remaining exterior details like the street lamp and signage.

Image: A detailed view of the miniature coffee shop interior, showing the coffee machine, various cups, and tiny books on shelves.

Image: A pair of hands carefully assembling small paper components, demonstrating the intricate nature of the kit's details.
Video Resources:
For visual assistance, you may find the following official CUTEBEE assembly videos helpful:
Video: An official CUTEBEE video demonstrating the assembly process for a DIY miniature dollhouse kit.
Video: An official CUTEBEE video providing further guidance on assembling a DIY dollhouse for adults.
Operating Instructions
LED Lighting:
Once the LED lights are wired and batteries are inserted into the battery box (requires 2 AAA batteries), locate the small switch on the battery box. Flip the switch to the 'ON' position to illuminate your miniature coffee shop. Flip to 'OFF' to conserve battery life.
Maintenance
- Cleaning: Use a soft, dry brush or a can of compressed air to gently remove dust from the miniature. Avoid using wet cloths or harsh chemicals.
- Dust Cover: The kit includes a dust cover to protect your finished model from dust and damage. Ensure it is properly placed over the miniature when not on display.
- Storage: Store the miniature in a cool, dry place away from direct sunlight and extreme temperatures to prevent material degradation.
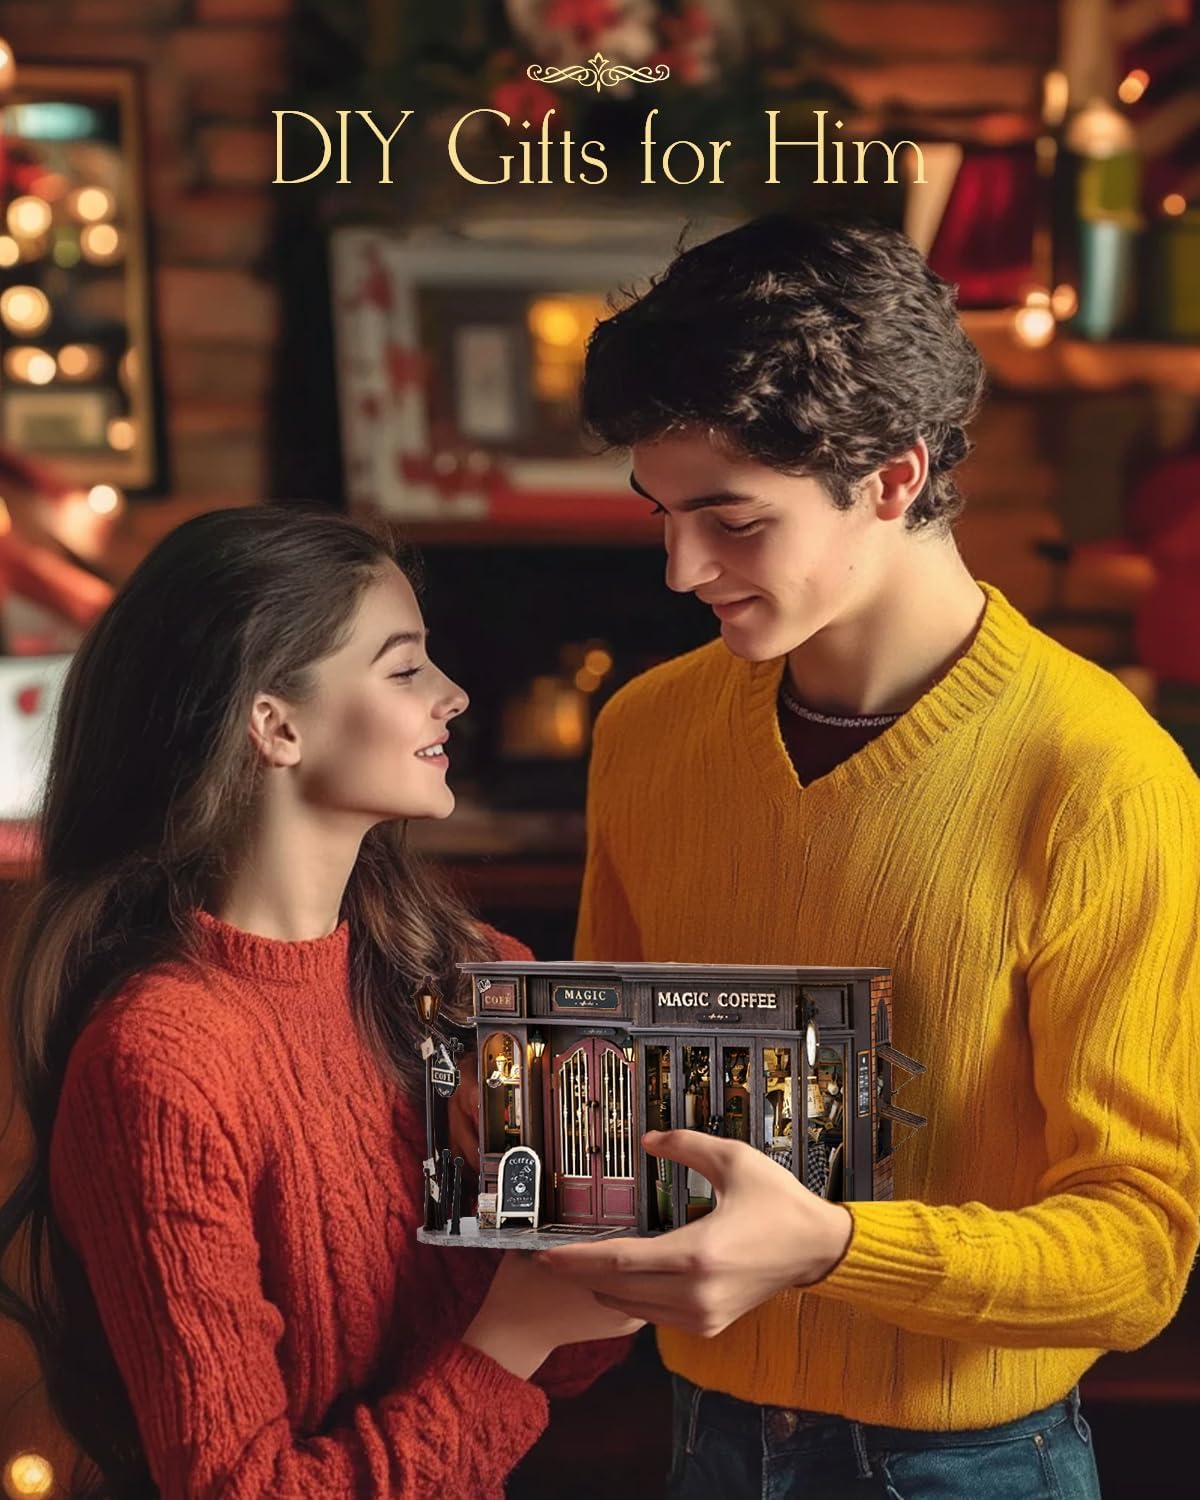
Image: The CUTEBEE Retro Coffee Shop miniature dollhouse kit enclosed within its clear dust cover for protection.
Troubleshooting
- Missing Parts: The kits are inspected carefully before delivery. If you find any missing parts, please contact CUTEBEE customer support immediately.
- Lights Not Working: Check that batteries are inserted correctly with the proper polarity. Ensure all wiring connections are secure. Replace batteries if they are old or depleted.
- Pieces Not Fitting: Ensure you are using the correct pieces for the step. Sometimes gentle sanding of wooden edges can help with a snug fit. Avoid forcing pieces together.
Specifications
| Feature | Detail |
|---|---|
| Brand | CUTEBEE |
| Model Number | F41B |
| Product Name | Retro Coffee Shop |
| Materials | Wood, Paper, Paper Accessories |
| Assembled Dimensions (L x W x H) | 9.4" x 2.25" x 12.4" |
| Item Weight | 1.27 Kilograms |
| Recommended Age | Adult (14+ years) |
| Assembly Required | Yes |
Warranty and Support
CUTEBEE is committed to customer satisfaction. If you encounter any issues during assembly, have questions about missing parts, or require further assistance, please do not hesitate to contact CUTEBEE customer support. Our team is ready to help resolve any problems promptly.
For support, please visit the official CUTEBEE store on Amazon: CUTEBEE Store