1. Introduction
This manual provides detailed instructions for the setup, operation, and maintenance of your DreamBean Mini Projector. Please read this manual thoroughly before using the product to ensure proper functionality and to prevent damage.

Figure 1.1: DreamBean Mini Projector with remote control and projected interface, highlighting Native 1080P, 2.4+5G WiFi, and 5.1 Bluetooth capabilities.
2. Safety Information
- Do not look directly into the projector lens when the lamp is on. The intense light can cause eye damage.
- Ensure proper ventilation around the projector. Do not block ventilation openings.
- Keep the projector away from water, moisture, and excessive heat sources.
- Use only the power adapter supplied with the projector.
- Do not attempt to disassemble or repair the projector yourself. Refer all servicing to qualified personnel.
- Keep out of reach of children.
3. Package Contents
Verify that all items are present in the package:
- DreamBean Mini Projector
- Remote Control
- Power Adapter
- HDMI Cable
- User Manual
4. Setup
4.1 Placement Options
The DreamBean Mini Projector offers flexible placement options to suit various environments:
- Table Placement: Place the projector on a flat, stable surface in front of the projection screen or wall.
- Ceiling Mount: The projector can be mounted to the ceiling using a compatible projector mount (not included). Ensure the image is inverted in the settings if mounted upside down.
- Tripod Installation: Utilize the tripod screw hole on the bottom of the projector for tripod mounting (tripod not included).

Figure 4.1: Various installation methods for the projector, including table, ceiling, and tripod setups.

Figure 4.2: Visual representation of flexible projector placement for different viewing environments.
4.2 Power Connection
Connect the power adapter to the projector's power input port, then plug the other end into a standard electrical outlet.
4.3 Focus and Keystone Adjustment
Adjust the focus ring on the projector lens until the image appears sharp and clear. Use the keystone correction feature (if available via remote or menu) to correct trapezoidal distortion, ensuring a rectangular image.
5. Operating Instructions
5.1 Power On/Off
- Power On: Press the power button on the projector or the remote control.
- Power Off: Press the power button again. Confirm shutdown if prompted.
5.2 Input Source Selection
Use the "Source" button on the remote control or projector to cycle through available input options:
- HDMI: For connecting devices like laptops, gaming consoles, or TV sticks.
- USB: For playing media directly from a USB drive.
- WiFi: For screen mirroring from smartphones or tablets.

Figure 5.1: Projector interface showing compatibility with multiple streaming services and apps via a TV stick (not included).

Figure 5.2: Projector's smart interface, demonstrating its ability to display content from various applications.
5.3 WiFi Screen Mirroring
The projector supports 2.4G and 5G WiFi for seamless screen mirroring from iOS and Android devices.
- Ensure your projector and mobile device are connected to the same WiFi network.
- Select the "WiFi" input source on the projector.
- On your mobile device, activate screen mirroring (e.g., "Screen Mirroring" for iOS, "Smart View" or "Cast" for Android).
- Select the projector's name from the list of available devices.

Figure 5.3: Demonstrating 5G WiFi mirrored screen connection from mobile devices to the projector.
5.4 Bluetooth Connectivity
The projector features advanced 5.1 Bluetooth for connecting external audio devices like speakers or headphones.
- Navigate to the Bluetooth settings on the projector.
- Enable Bluetooth on the projector and your external audio device.
- Select your audio device from the list of available devices on the projector to pair.

Figure 5.4: Projector connected to external Bluetooth speakers for enhanced audio experience.

Figure 5.5: Visual demonstration of the projector's advanced Bluetooth capabilities for immersive sound.
5.5 Image Size Adjustment
The projector can produce a large display ranging from 35 inches to 200 inches, depending on the projection distance.

Figure 5.6: Illustration of the projector's ability to create a giant display, showing various screen sizes.

Figure 5.7: Demonstrating the scalable display size from 35 to 200 inches for various viewing preferences.
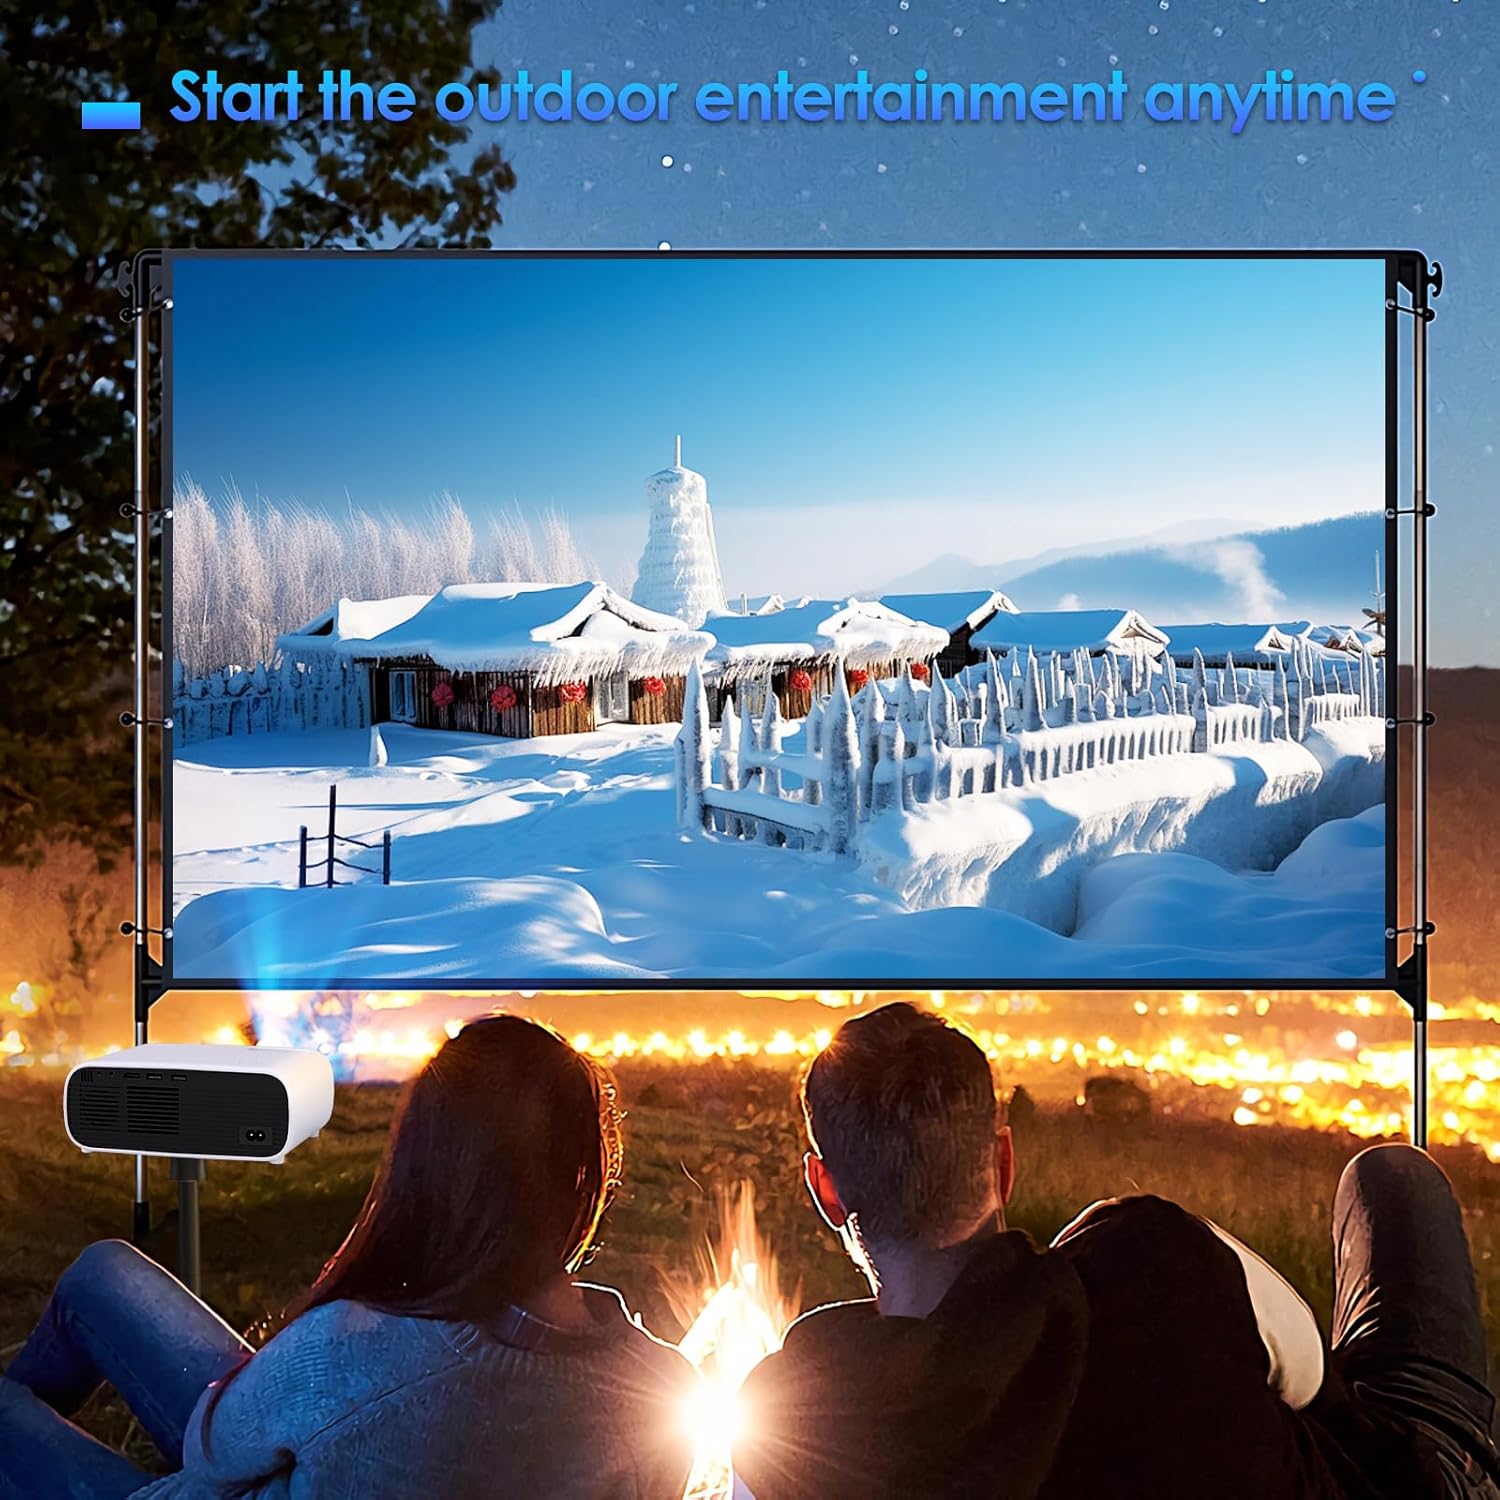
Figure 5.8: The projector is suitable for outdoor entertainment, providing a large screen experience.

Figure 5.9: The projector is versatile and suitable for various scenarios, including indoor and outdoor use.
6. Maintenance
6.1 Cleaning the Lens
Gently wipe the projector lens with a soft, lint-free cloth specifically designed for optical lenses. Do not use abrasive cleaners or excessive force.
6.2 Cleaning the Exterior
Use a soft, dry cloth to clean the exterior of the projector. For stubborn marks, a slightly damp cloth can be used, followed by a dry cloth.
6.3 Storage
When not in use for extended periods, store the projector in a cool, dry place, away from direct sunlight and extreme temperatures. Use the original packaging or a protective case to prevent dust accumulation and damage.
7. Troubleshooting
| Problem | Possible Cause | Solution |
|---|---|---|
| No image displayed | Power cable disconnected; Incorrect input source; Device not connected properly. | Check power connection; Select correct input source (HDMI, USB, WiFi); Ensure source device is on and connected securely. |
| No sound | Volume too low; Muted; External audio device not connected/paired. | Increase volume; Unmute projector/source device; Check Bluetooth connection or audio cable. |
| Blurry image | Out of focus; Incorrect projection distance; Keystone not adjusted. | Adjust focus ring; Move projector closer/further from screen; Adjust keystone correction. |
| WiFi/Bluetooth connection issues | Out of range; Interference; Incorrect pairing steps. | Ensure devices are within range; Reduce interference; Re-attempt pairing process. |
8. Specifications
| Feature | Detail |
|---|---|
| Brand | DreamBean |
| Model Number | Portable Projector |
| Display Resolution | Native 1920 x 1080 (Full HD) |
| Display Type | DLP |
| Connectivity Technology | HDMI, USB, 2.4G/5G WiFi, Bluetooth 5.1 |
| Item Weight | 2.83 pounds |
| Product Dimensions | 10 x 11 x 4.3 inches |
| Max Display Size | 200 inches |
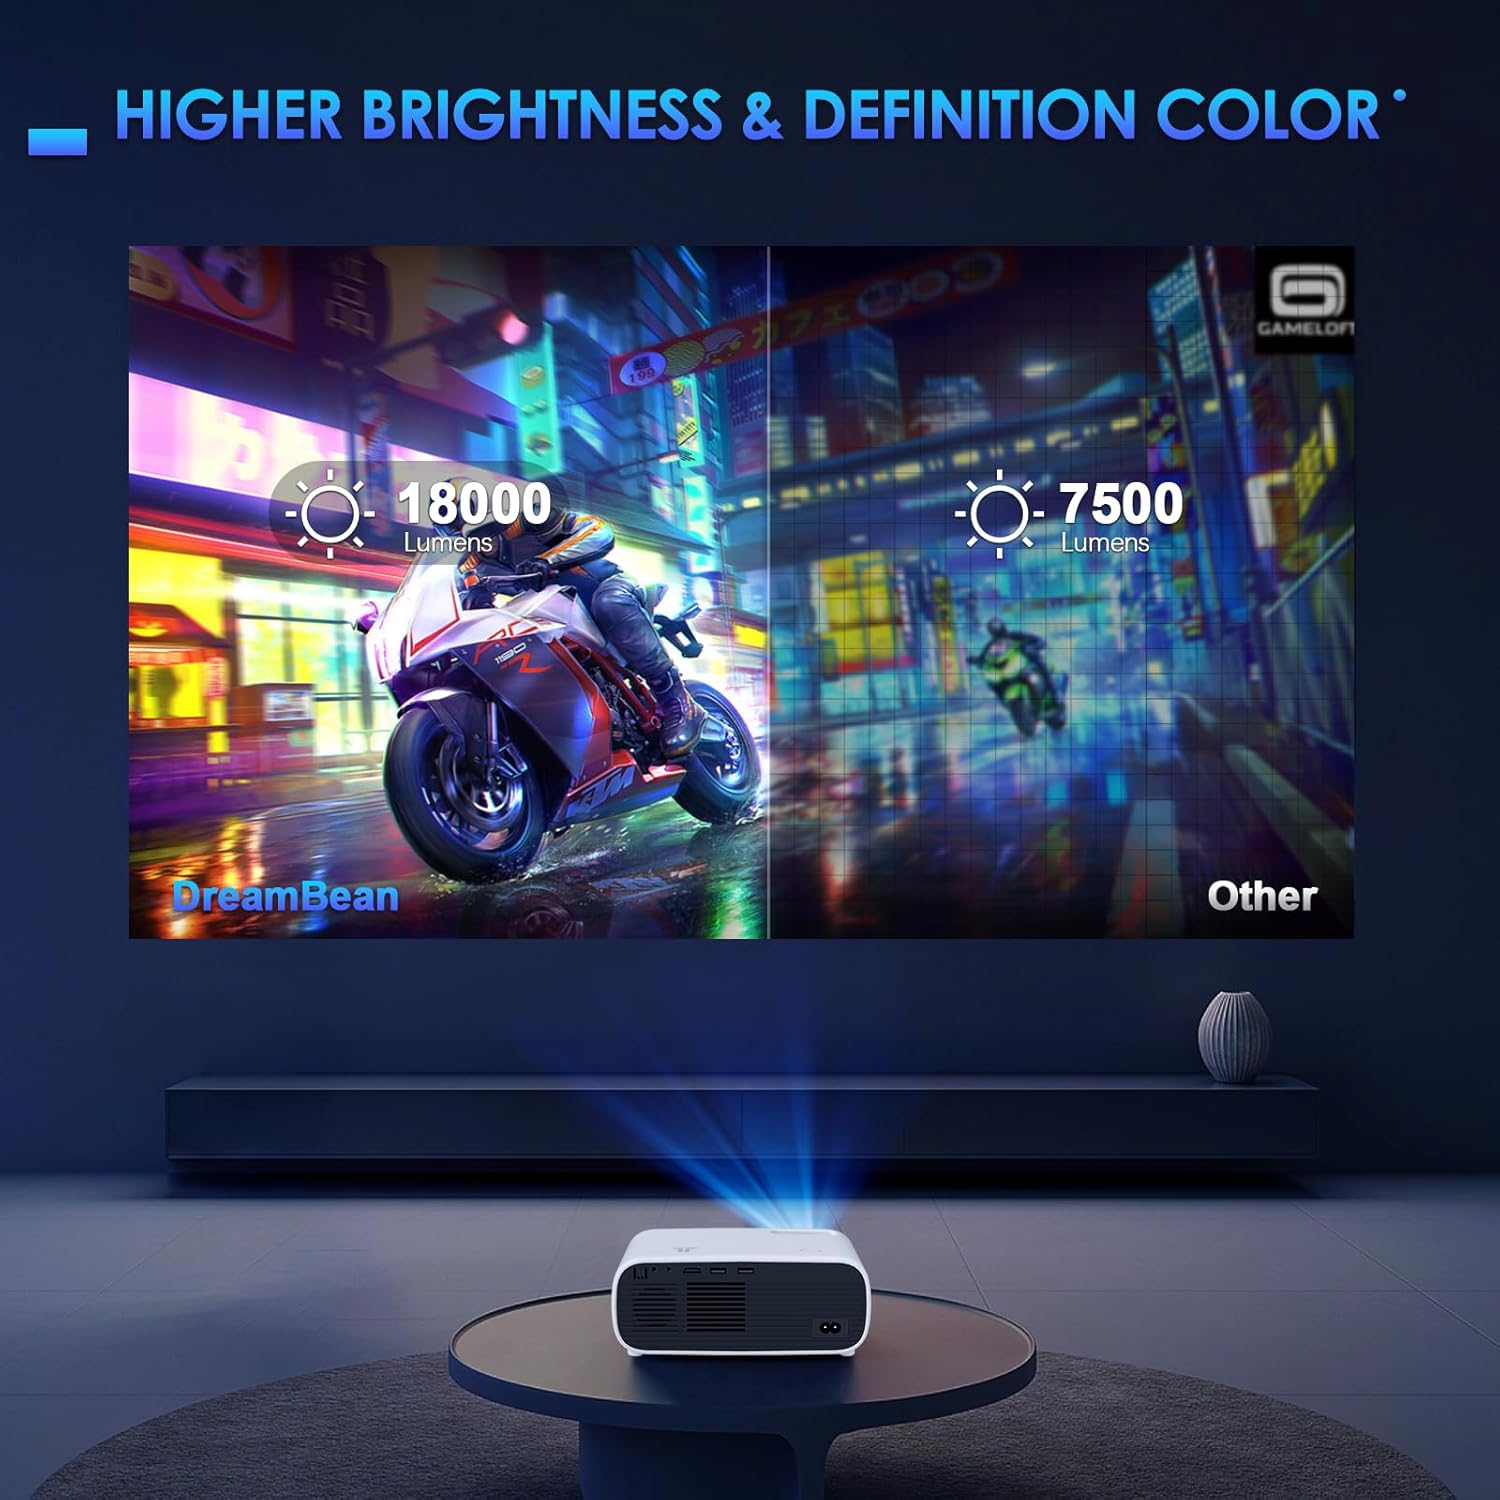
Figure 8.1: Brightness and color definition comparison, highlighting the projector's performance.
9. Warranty and Support
For warranty information and technical support, please refer to the contact details provided on the product packaging or the official DreamBean website. Keep your purchase receipt as proof of purchase for warranty claims.