1. Introduction
This manual provides essential information for the safe and efficient operation, assembly, and maintenance of your VECTOR 91 Volcano Mountain Bike. Please read this manual thoroughly before assembling or riding your bicycle to ensure proper function and safety.
The VECTOR 91 Volcano is a rugged mountain bike designed for versatile terrain, featuring 29-inch wheels, a 21-speed Shimano gear system, front suspension, and mechanical disc brakes. It is built with an ultra-light steel frame for durability and ease of handling.
2. Safety Guidelines
Your safety is paramount. Always adhere to the following guidelines:
- Always wear a helmet that meets safety standards.
- Perform a pre-ride safety check before each use, including brakes, tires, and quick releases.
- Ensure all bolts and fasteners are securely tightened.
- Ride defensively and be aware of your surroundings.
- Obey all traffic laws and regulations.
- Use appropriate lighting when riding in low-light conditions.
- Do not ride under the influence of alcohol or drugs.
- Regularly inspect your bicycle for wear and tear.
3. Package Contents
Upon opening the package, verify that all components are present:
- 85% Assembled Bicycle Frame
- Front Wheel
- Handlebar Assembly
- Seat Post and Saddle
- Pedals (Left and Right)
- Front and Rear Mudguards
- Side Stand
- Reflector Set
- Tool Kit (for basic assembly)

Figure 3.1: Main view of the VECTOR 91 Volcano Mountain Bike, showing its overall design and components.
4. Setup and Assembly
Your VECTOR 91 Volcano bicycle comes 85% assembled. The following steps detail the completion of the assembly process. It is recommended to have the final assembly and tuning performed by a professional bicycle mechanic if you are unsure.
4.1. Handlebar Installation
- Loosen the bolts on the stem faceplate.
- Position the handlebar in the stem, ensuring it is centered.
- Tighten the faceplate bolts evenly in a crisscross pattern until secure.
4.2. Front Wheel Installation
- Ensure the quick release skewer is properly installed through the hub.
- Align the front wheel with the fork dropouts, ensuring the disc rotor slides into the brake caliper.
- Close the quick release lever firmly. Ensure the wheel is centered and spins freely without rubbing the brake pads.
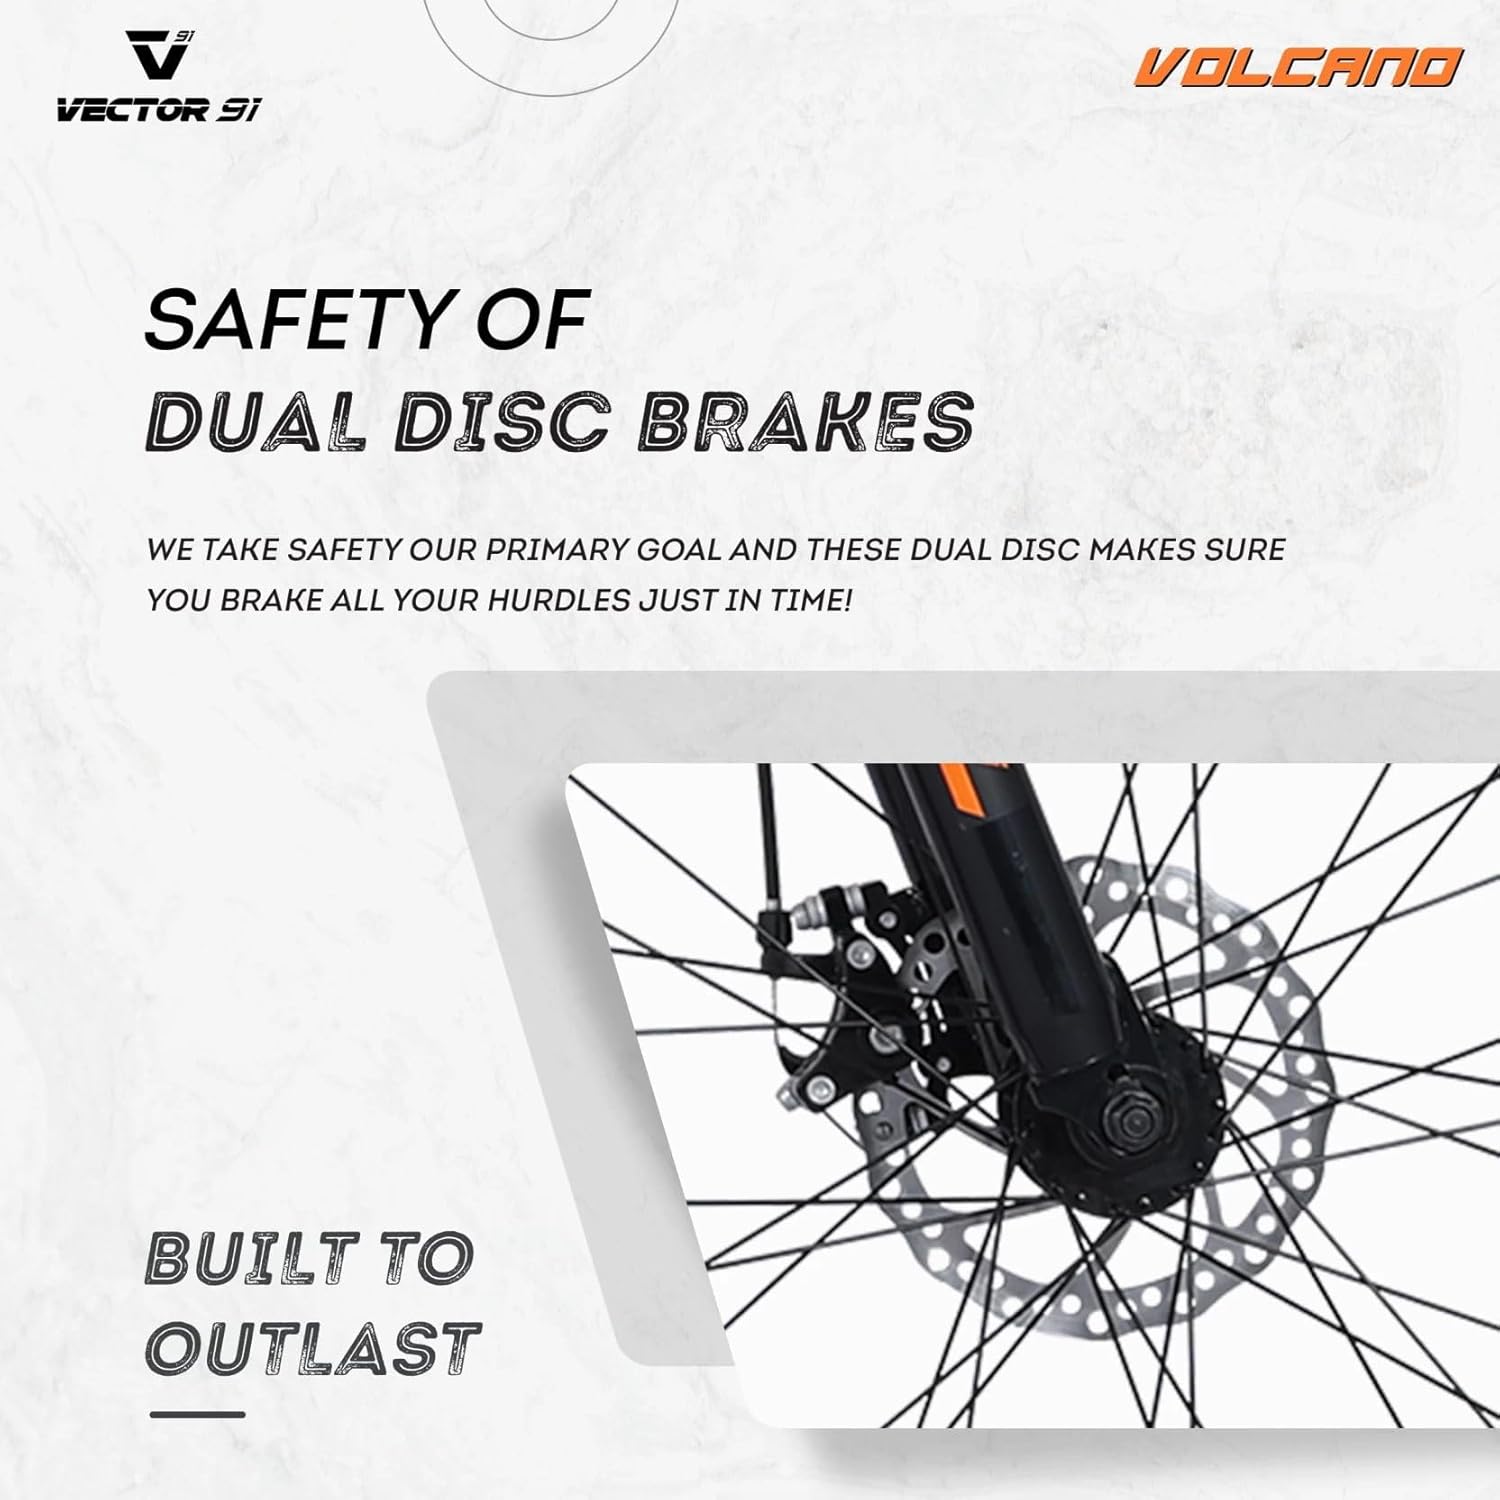
Figure 4.2: Detail of the front disc brake system, crucial for proper wheel installation.
4.3. Seat Post and Saddle Adjustment
- Insert the seat post into the frame's seat tube.
- Adjust the saddle height so that your leg has a slight bend at the knee when the pedal is at its lowest point.
- Secure the seat post clamp. The VECTOR 91 Volcano features a quick-release seat post for easy adjustment.

Figure 4.3: Key features including the quick release seat post for convenient height adjustment.
4.4. Pedal Installation
Important: Pedals are side-specific. The left pedal is marked 'L' and tightens counter-clockwise. The right pedal is marked 'R' and tightens clockwise.
- Apply a small amount of grease to the pedal threads.
- Carefully thread the 'L' pedal into the left crank arm and the 'R' pedal into the right crank arm.
- Tighten securely with a pedal wrench.
4.5. Mudguard and Side Stand Installation
Attach the front and rear mudguards and the side stand using the provided hardware and tool kit, following the specific instructions in the included assembly guide.
5. Operating Your Bicycle
5.1. Gear Shifting (21-Speed Shimano)
Your VECTOR 91 Volcano is equipped with a 21-speed Shimano gear system for optimal performance across various terrains. The gear shifters are located on the handlebars.
- Left Shifter (Front Derailleur): Controls the chain on the front chainrings (usually 3 speeds). Use this for large changes in resistance, such as climbing steep hills or riding on flat terrain.
- Right Shifter (Rear Derailleur): Controls the chain on the rear cassette (usually 7 speeds). Use this for fine-tuning your pedaling resistance.
- Shift gears smoothly by pedaling lightly while shifting. Avoid shifting under heavy load.
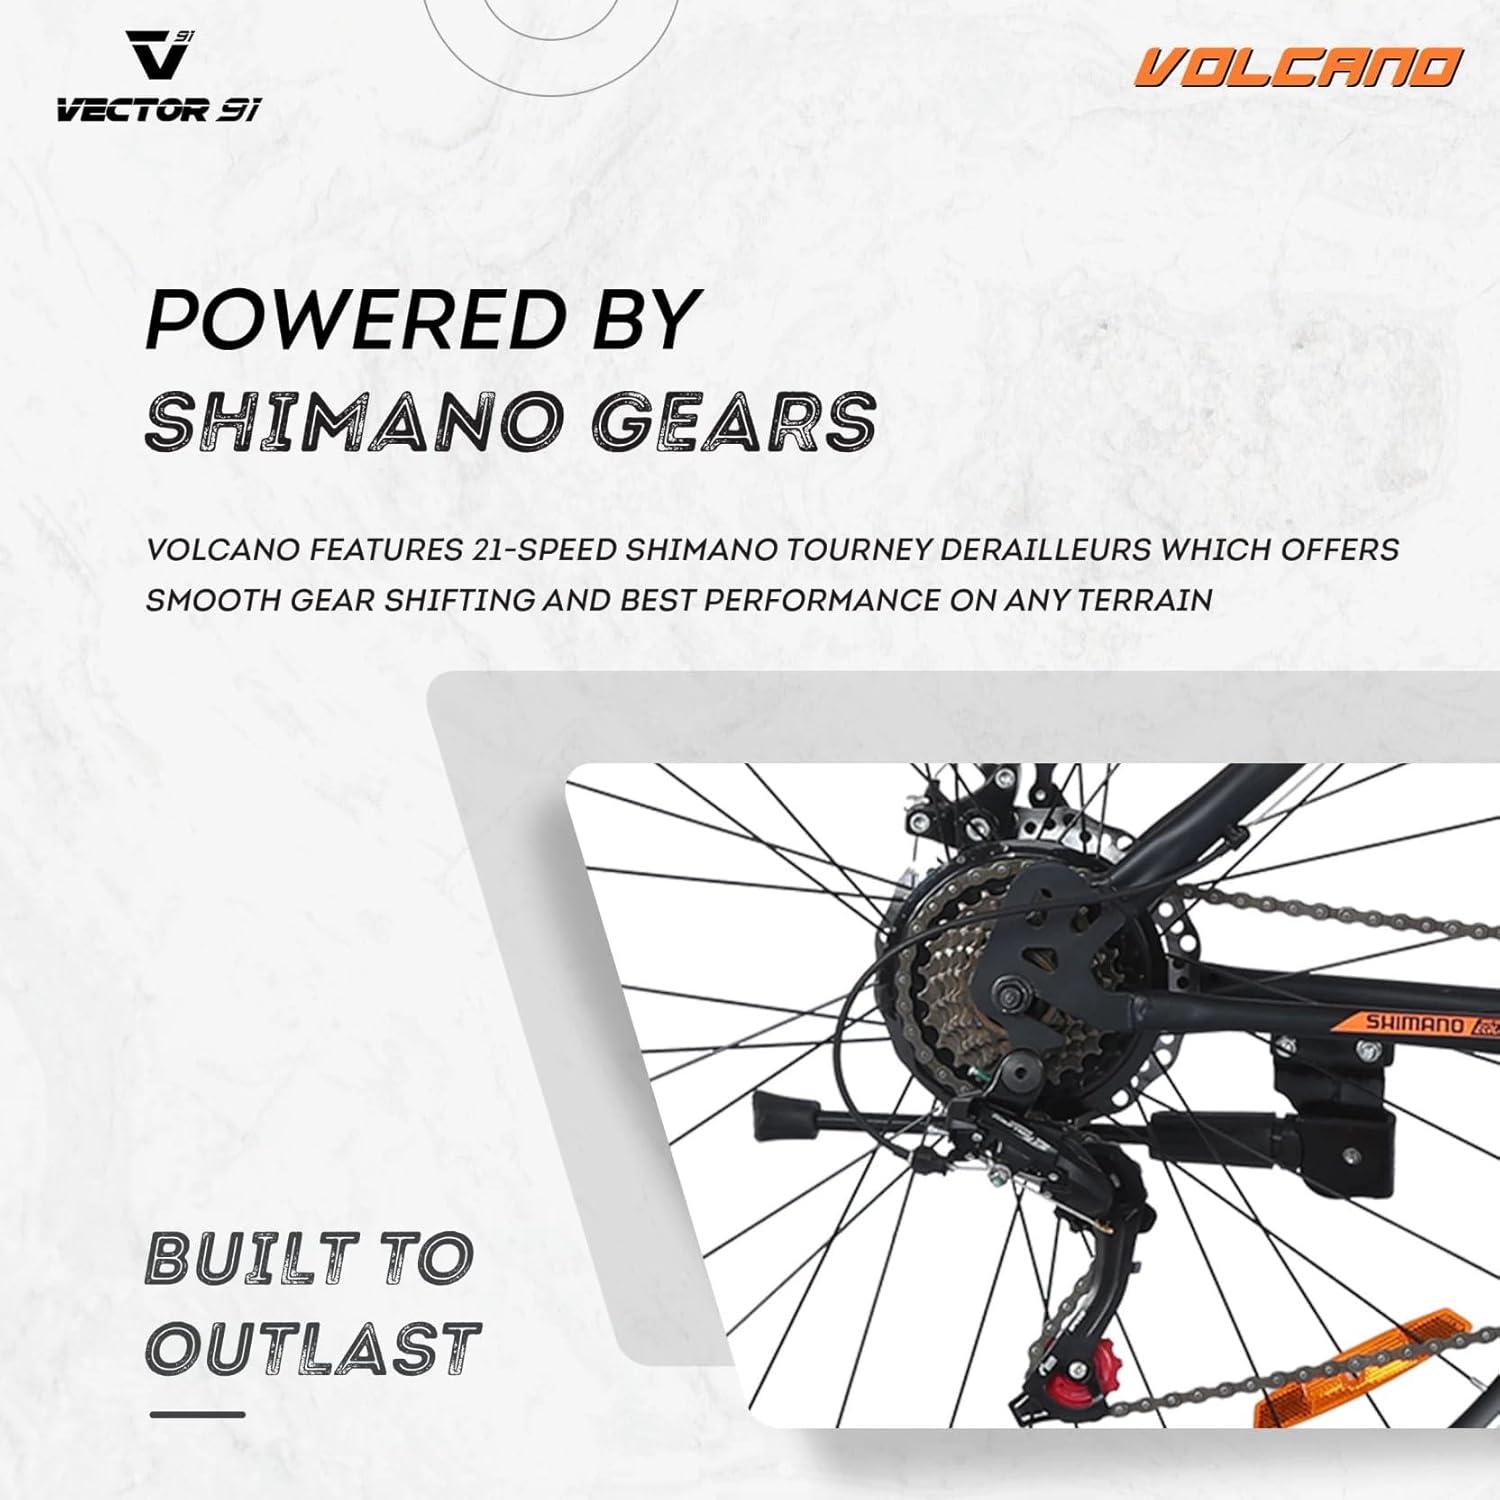
Figure 5.1: The 21-speed Shimano gear system, providing smooth and reliable shifting.
5.2. Braking (Mechanical Disc Brakes)
The mechanical disc brakes provide reliable stopping power in various conditions.
- The right brake lever controls the rear brake.
- The left brake lever controls the front brake.
- Apply both brakes simultaneously for effective and controlled stopping. Avoid sudden, hard braking with only the front brake, especially at high speeds, to prevent loss of control.
5.3. Front Suspension
The front suspension system absorbs shocks and bumps, enhancing comfort and control on rough terrain. This model features a fixed front suspension designed to provide consistent shock absorption without manual adjustment.
6. Maintenance
Regular maintenance ensures the longevity and safe operation of your bicycle.
- Tire Pressure: Check tire pressure before each ride. Refer to the sidewall of the tire for recommended PSI.
- Brakes: Regularly check brake pad wear and cable tension. Adjust or replace as needed.
- Chain: Keep the chain clean and lubricated. Lubricate every 100-200 miles or after riding in wet conditions.
- Gears: Ensure smooth shifting. If gears are skipping or not shifting properly, adjust the derailleur cables or consult a mechanic.
- Bolts and Fasteners: Periodically check and tighten all bolts, especially on the handlebars, seat post, wheels, and crank arms.
- Cleaning: Clean your bicycle regularly with mild soap and water. Avoid high-pressure washers directly on bearings.
7. Troubleshooting
This section addresses common issues you might encounter:
| Problem | Possible Cause | Solution |
|---|---|---|
| Brakes feel spongy or weak. | Loose brake cable, worn pads, contaminated rotor. | Adjust cable tension, replace pads, clean rotor with disc brake cleaner. |
| Gears are skipping or not shifting. | Derailleur cable tension incorrect, bent derailleur hanger, dirty chain. | Adjust cable tension, inspect hanger (consult mechanic if bent), clean and lubricate chain. |
| Tires frequently go flat. | Puncture, low tire pressure, faulty valve. | Inspect tire for punctures, inflate to recommended PSI, check valve stem. |
| Creaking noise from pedals/crank. | Loose pedals, dry bottom bracket. | Tighten pedals, lubricate bottom bracket (professional service recommended). |
8. Technical Specifications
| Feature | Specification |
|---|---|
| Model Name | Volcano |
| Item Model Number | V91-29-VOLCANO-OE |
| Bike Type | Mountain Bike |
| Wheel Size | 29 Inches |
| Number of Speeds | 21 |
| Gear Shifter Type | Trigger (Shimano) |
| Brake Style | Dual Mechanical Disc Brake |
| Suspension Type | Front |
| Frame Material | Ultra-Light Steel |
| Color | Orange |
| Item Weight | 18 Kilograms |
| Item Dimensions (LxWxH) | 153 x 23 x 77 Centimeters |
| Assembly Required | Yes (85% Assembled) |
| Included Components | 85% Assembled Cycle and Tool kit, Front and rear mudguards, side stand and Reflector Set |

Figure 8.1: Rider height and key dimensions for the VECTOR 91 Volcano Mountain Bike.
9. Warranty and Support
Your VECTOR 91 Volcano Mountain Bike comes with a 6-month warranty from the date of purchase, covering manufacturing defects. This warranty does not cover damage due to misuse, accidents, improper assembly, lack of maintenance, or normal wear and tear.
For warranty claims, technical support, or spare parts, please contact the manufacturer or authorized service center. Keep your proof of purchase for warranty validation.
Manufacturer: Outdoors Collective Private Ltd
For further assistance, please refer to the contact information provided with your purchase documentation or visit the official VECTOR 91 website.