Product Overview
This manual provides essential information for the installation, operation, and maintenance of the NB.Q6X11.002 NBQ6X11002 Laptop Motherboard, designed as a compatible replacement part for Acer Predator Triton 500 PT515-52 Series laptops.
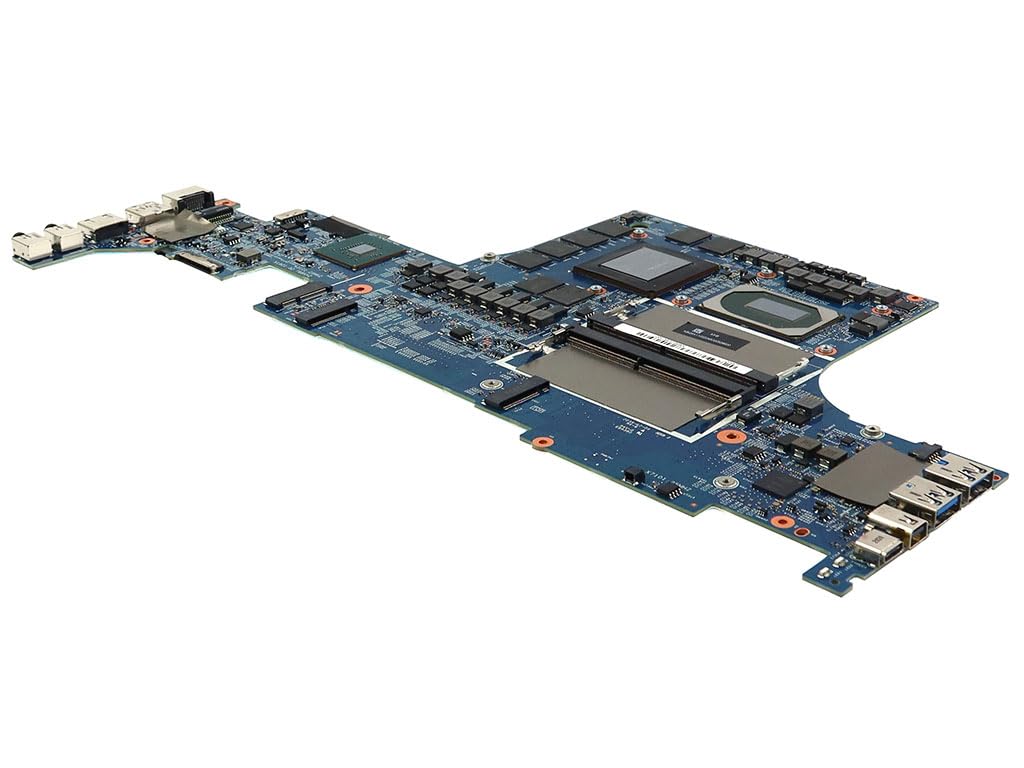
Image: Overview of the NB.Q6X11.002 NBQ6X11002 Laptop Motherboard. This image displays the full board with various components and connectors visible, including the CPU area covered by a black thermal pad.
The motherboard integrates an Intel Core i7-10750H processor and an NVIDIA GeForce RTX 2070 Super GPU, offering high performance for compatible systems.
Specifications
| Feature | Detail |
|---|---|
| Part Number | NB.Q6X11.002, NBQ6X11002 |
| Compatible Models | Acer Predator Triton 500 PT515-52 Series |
| Chipset | Intel HM470 (SRJAU) |
| Processor/CPU | Intel Core i7-10750H (SRH8Q) |
| CPU Speed | 2.60GHz (5.00GHz Max Turbo) |
| Max Supported Memory | 64GB |
| Number of Memory Slots | 2 |
| Memory Type | DDR4 SDRAM |
| Memory Speed | 3200MHz |
| Video Chipset/GPU Model | GeForce RTX 2070 Super (N18E-G2R-A1) |
| Graphics Memory | 8GB GDDR6 (0KA77 D9WCW) |
| Item Weight | 2 pounds |
Safety Information
Always disconnect power before handling internal computer components. Static electricity can damage sensitive electronics. Use an anti-static wrist strap and work on a grounded surface. If you are unsure about any step, consult a qualified technician.
Setup and Installation
- Preparation: Ensure your workspace is clean, well-lit, and free of static. Gather necessary tools, including a Phillips head screwdriver, anti-static wrist strap, and thermal paste (if reusing the CPU cooler).
- Disassembly: Carefully disassemble your Acer Predator Triton 500 PT515-52 laptop according to its service manual. This typically involves removing the bottom cover, battery, cooling system, and any connected cables.
- Motherboard Removal: Disconnect all cables from the old motherboard (e.g., display, keyboard, touchpad, speakers, storage drives). Unscrew the motherboard from the laptop chassis. Gently lift and remove the old motherboard.
- Component Transfer: Transfer any necessary components from the old motherboard to the new one, such as RAM modules, M.2 SSDs, and Wi-Fi card. Ensure RAM modules are seated correctly in the two DDR4 slots.
- New Motherboard Installation: Carefully place the new NB.Q6X11.002 NBQ6X11002 motherboard into the laptop chassis, aligning it with the screw posts. Secure it with the appropriate screws.
- Cable Connections: Reconnect all cables to their respective ports on the new motherboard. Double-check each connection to ensure it is secure.
- Cooling System: Apply new thermal paste to the CPU and GPU if necessary. Reinstall the cooling system, ensuring proper contact and screw tension.
- Reassembly: Reinstall the battery, then the bottom cover, and any other removed components.
- Initial Power On: Connect the AC adapter and attempt to power on the laptop. Observe for any error codes or unusual behavior.

Image: A close-up view of the NB.Q6X11.002 NBQ6X11002 motherboard, highlighting various connectors and integrated circuits. This image can assist in identifying connection points during installation.
Operating Considerations
Once installed, the motherboard operates as the central component of your laptop. Ensure proper ventilation to prevent overheating, especially during demanding tasks. Regularly update drivers for the integrated Intel HM470 chipset, Intel Core i7-10750H processor, and NVIDIA GeForce RTX 2070 Super graphics card to maintain optimal performance and stability.
Maintenance
- Dust Removal: Periodically clean dust from the laptop's cooling system (fans and heatsinks) to ensure efficient heat dissipation. Use compressed air for this purpose, holding the fan blades to prevent over-spinning.
- Thermal Paste: Consider reapplying thermal paste to the CPU and GPU every 2-3 years, or if you notice increased operating temperatures.
- Software Updates: Keep your operating system, drivers, and BIOS/UEFI firmware updated. Check the Acer support website for the latest updates for your Predator Triton 500 PT515-52 Series laptop.
Troubleshooting
- No Power/No Display:
- Verify all power connections, including the AC adapter and internal battery.
- Ensure RAM modules are properly seated. Try reseating them or testing with one module at a time.
- Check display cable connections.
- System Instability/Crashes:
- Check for overheating. Monitor CPU and GPU temperatures using software utilities.
- Ensure all drivers are up to date.
- Run memory diagnostics to check for RAM issues.
- Peripheral Issues (USB, Audio, etc.):
- Verify internal cable connections to the motherboard.
- Update relevant drivers from the Acer support website.
- Test peripherals on another device to rule out external component failure.
Warranty and Support
This motherboard is a compatible replacement part. Warranty coverage, if any, is typically provided by the seller or manufacturer of the replacement part, not necessarily Acer. Please refer to your purchase documentation for specific warranty terms and conditions. For technical support related to the Acer Predator Triton 500 PT515-52 Series laptop, please visit the official Acer support website or contact their customer service.
For general information regarding the Intel Core i7-10750H processor, visit Intel's official website.
For information regarding the NVIDIA GeForce RTX 2070 Super graphics card, visit NVIDIA's official website.